Adding the Login Input Fields in MEAN Stack
In our previous module, we successfully implemented pagination in our project and built a nice application already. But one thing is missing there, and that is authentication. Right now, we got no users, and anonymous users create our posts. It means anyone can create posts, delete posts, and update posts. We will now restrict access and make sure that everyone can read posts, but not everyone can create or delete them. Only the creator of posts should be able to delete them. We will do it step by step, so first, we will create an authentication form for sign up and login. We will use the following steps to add the signup and login form in our application:
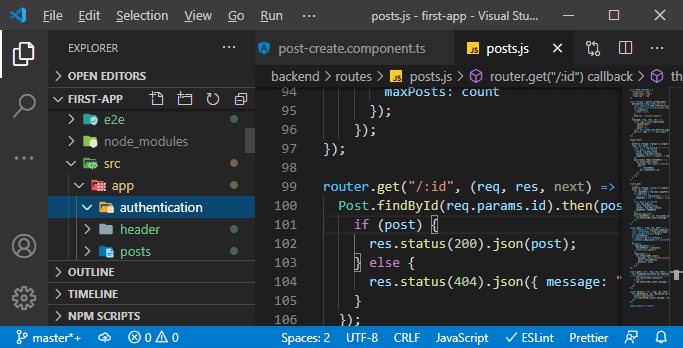
1) We will create a new folder in the app folder and name it authentication. In the folder, we will do all the authentication-related things.
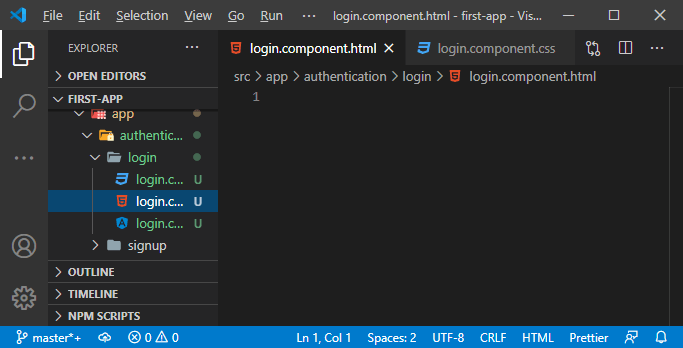
2) In this authentication folder, we will create two sub-folders, i.e., signup and login. In the login folder, we will create the typescript, HTML, and CSS files.
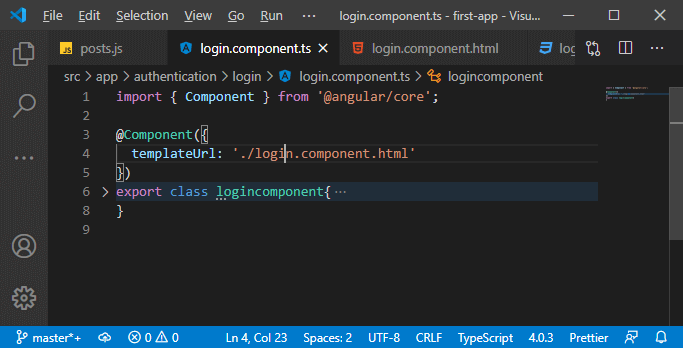
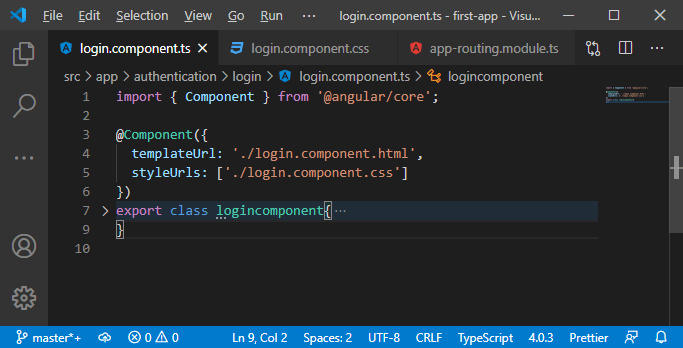
3) We will export a class name logincomponent as we have created before and turn this class into a component by adding the @Component() We will load this by routing, so we don’t need to add the selector to this component. The thing which we need to add is templateURL like:
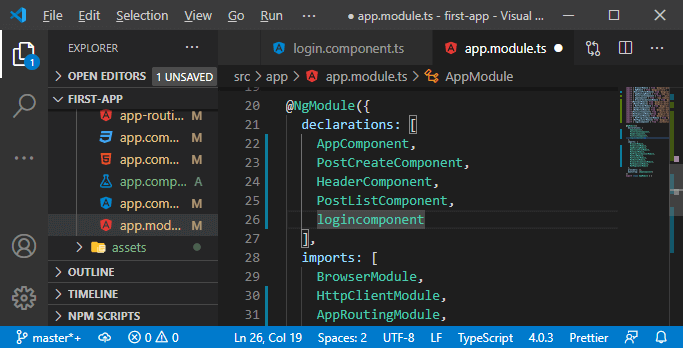
4) In order to use it, we will register it, and we will do that by going to our module.ts file. In this file, we will declare the logincomponent like this:
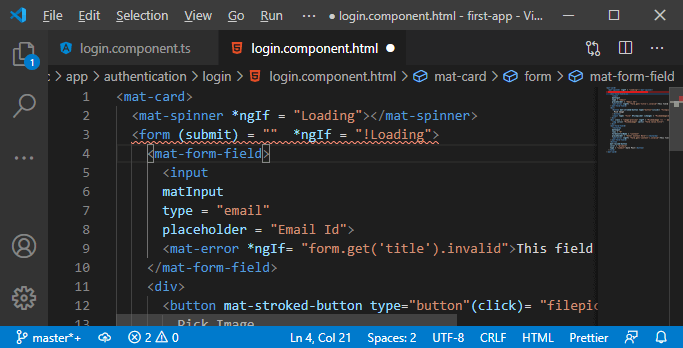
5) Now, we will create a template or login form. We will create a login form with an email field and password field. We will copy the code from the post-list.component.html file and paste the code into the component.html file. We will make some changes in this code to make this form valid for login.

We will do the following changes in the code:
I. We will leave the spinner in <ma-card> because we want to have that card look, and we also want to show a spinner while we are logging the user.
II. We will remove the formGroup because we will go back to use the template-driven approach. We will change our submit listener, so we will remove the calling function for now.

III. The mat-form-field is fine, matInput is fine, but the type is not fine. We will set the type to email. We will remove the formControlName because we will not use the reactive form approach. The placeholder value will be Email Id, not “enter post title”.
IV. The error should be “Please enter a valid email id”, and in this, the condition will be changed, which we will set later.
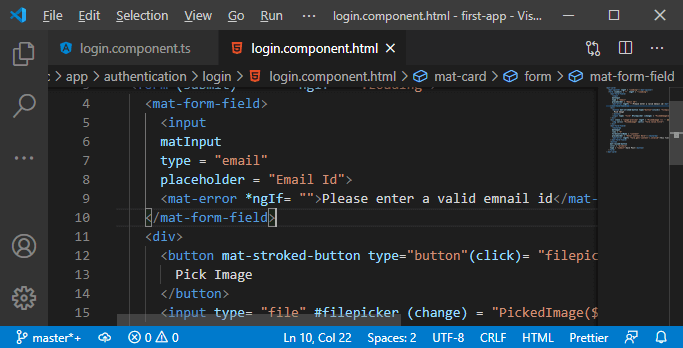
V. We will remove the div with the button, and with the image uploader preview and on that second mat-form field, we will keep it. But we will remove the textarea, and instead of this, we will add an input filed, which is of type password because we want to hide the characters. We will add the mat-input directive to turn this into an input handled by Angular material. We will also add a placeholder, which is a password because it will also serve as a label.
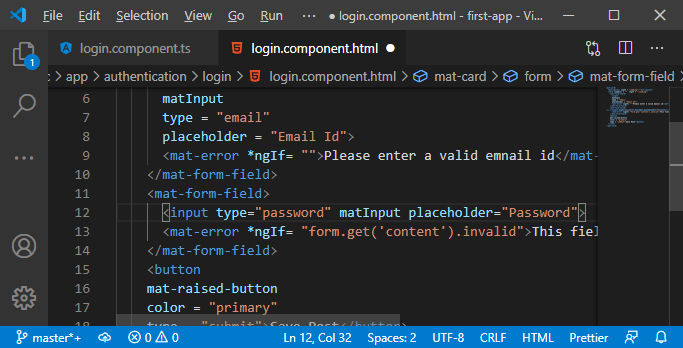
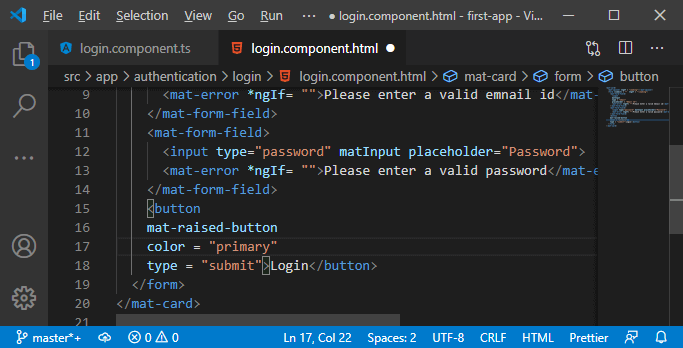
VI. Now, in the mat-error field, the ngIf needs to be revisited, so we will do it later. The error which we will set in between the <mat-error></mat-error> tag will be “Please enter a valid password”. In the button, the button caption will be replaced with the login.
6) Now, we will work on functionality. We will go back to our component.ts file and add the functionality for our spinner. Before that, we will make available template-driven approach by adding the FormsModule in the app.module.ts file.
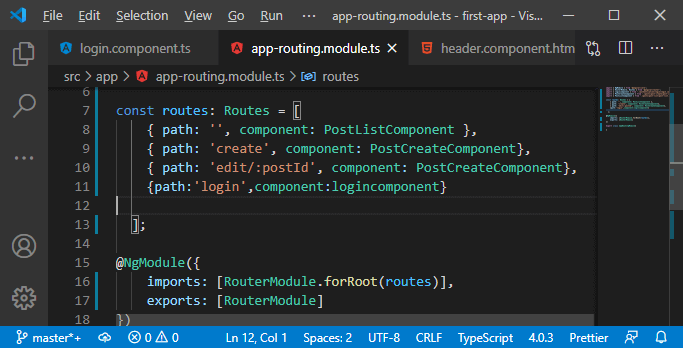
7) Now, we want to load it by routing. So, we will go to our app-routing.module.ts file, and there, we will add a new path. The path should be loaded when we visit /login, and there we want to load our logincomponent.

8) With all set up, we should be able to visit this when we enter /login but manually typing is not what we want to do. So, we will go to the header component and simply add a new link or a new list item with an anchor tag which has a mat-button directive, and there we go to /login, and the caption will be login:
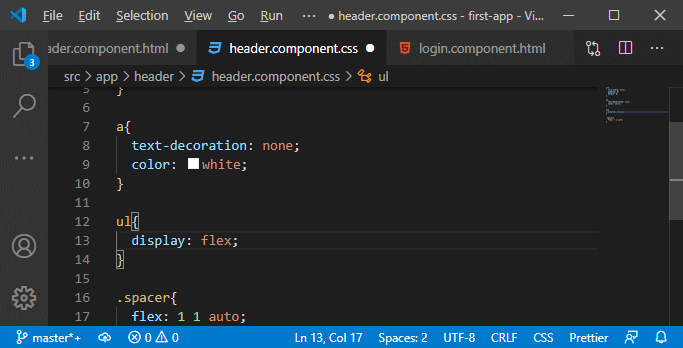
9) Now, we will make sure that these links are aligned in the header component, and we will go to the component.css file and write the CSS code for that.
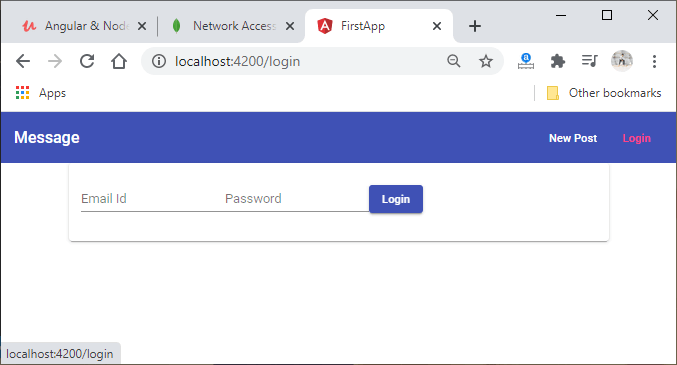
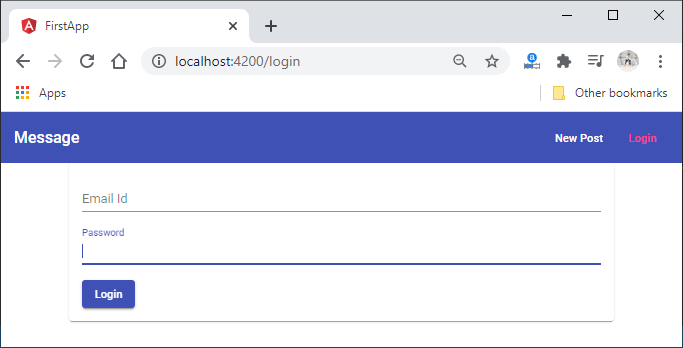
If we go back to our angular app, we will see the login button next to the new post.
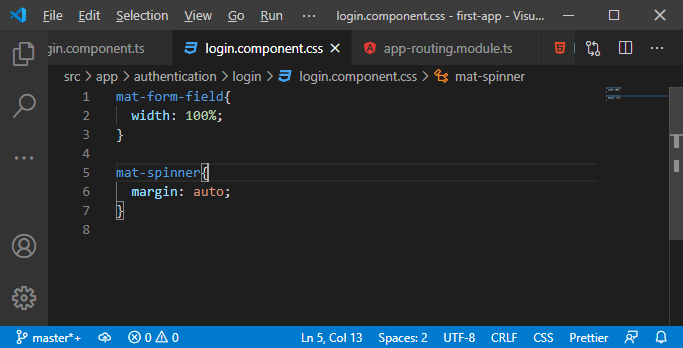
10) We need to change the style of the form. So, we will create the component.css file, and here, we will write the CSS code for our mat-form-fields.
11) We will go back to our component.ts file, and here, we will include that newly added style file by adding styleUrls.
Now, if we go back to our angular app, our login form will look much better.
Now, our login form is designed, but it is not doing anything yet because we are not handling the user input. We will do this later in the next section.