Adobe Illustrator installation
The Adobe Illustrator is a vector graphics application marketed and developed by Adobe Corporation, the most famous and popular application developed in 1987. It comes with a cloud as well as the downloadable version from the Adobe website. You can also try it for free for seven days, after which you have to purchase it on a yearly or monthly subscription to continue using the application over the cloud. You can also purchase a downloadable version from the official adobe website. The app is compatible with both the MAC and Windows operating systems.
The minimum requirement of the system to install Adobe Illustrator on Windows operating system are given below:
- To install Illustrator, the RAM should be the minimum of 2GB/4GB for 32 Bits/64 bits.
- The Recommended processor to run Illustrator should be the Multicore Intel process with 32bit or 65bit support, or you can use the AMD Athlon 64 processor.
- We should have installed an operating system, Windows 7 or later.
- The monitor should be with minimum support of 1024 X 768 resolution.
- Free space of Hard disk should be a minimum of 2 GB for the program installation.
- We recommend you to have a Graphic card installed on your system.
- We recommend you to install OpenGL 4.x for the clean working of the Illustrator.
Steps to install Adobe Illustrator on Windows
Step 1: Open any browser on your computer and go to https://www.adobe.com/.

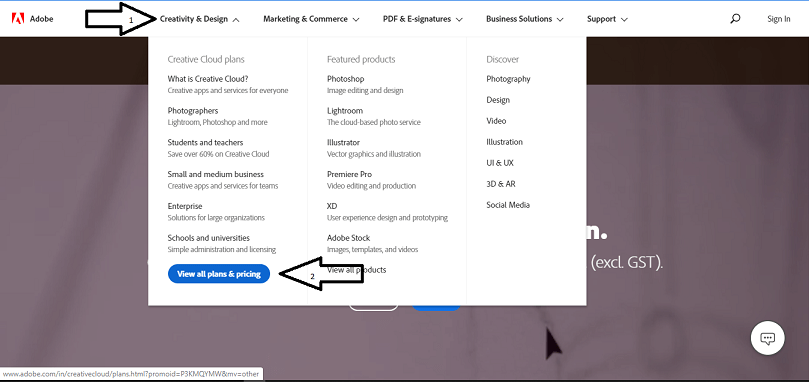
Step 2: Once the webpage will opens, click on the “creativity and design” and select the “View all plans and Pricing.”
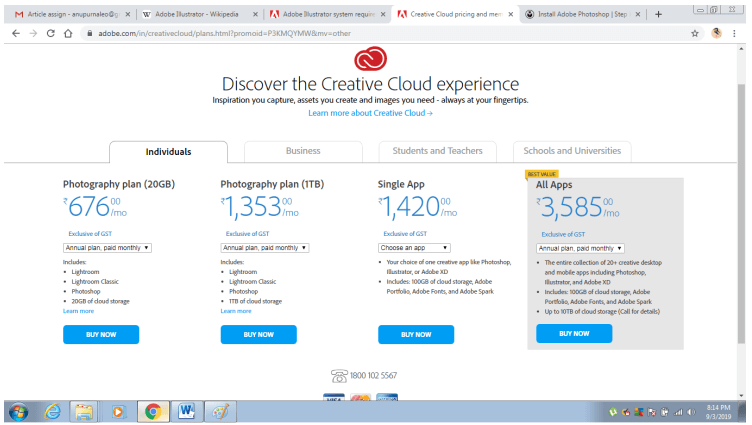
Step 3: You will be redirected to the page, which displays different categories of pricing tier available, i.e., Individual, Business, Student, Teacher, and University. You can now select any of them according to your requirement.
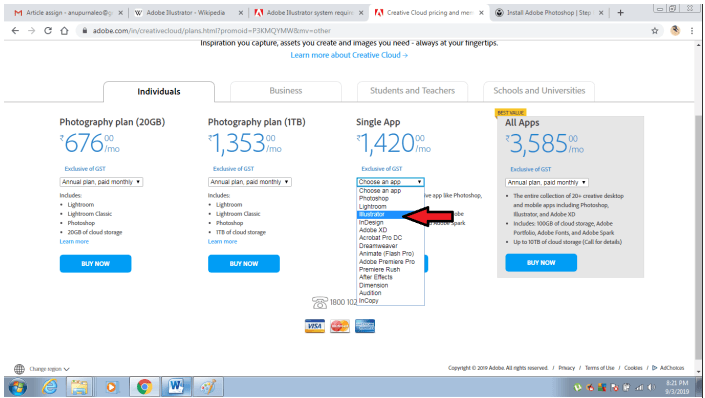
Step 4: After that, click on Single App and then use the Adobe Illustrator option for any plan and then finally click on Buy Now to continue with the payment option.
Step 5: After you click on the Buy now button, it will redirect to the page where you have to fill in your email id and ask you to continue with the payment.
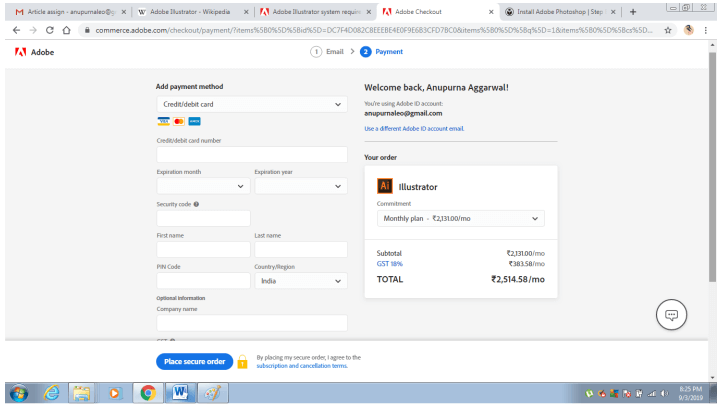
Step 6: After the successful payment, a download of the application will start.
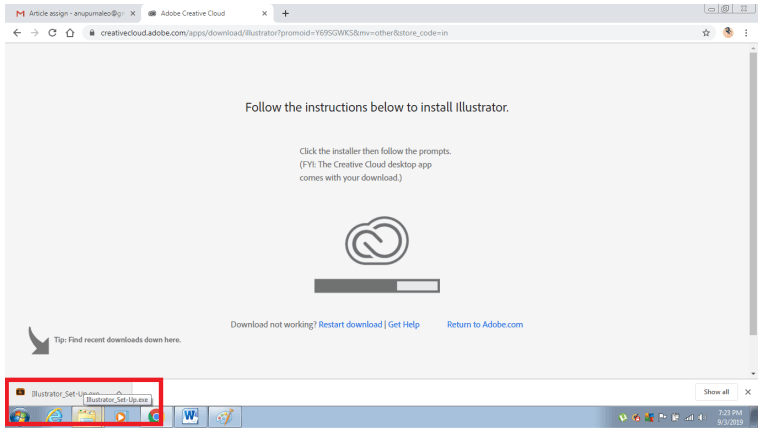
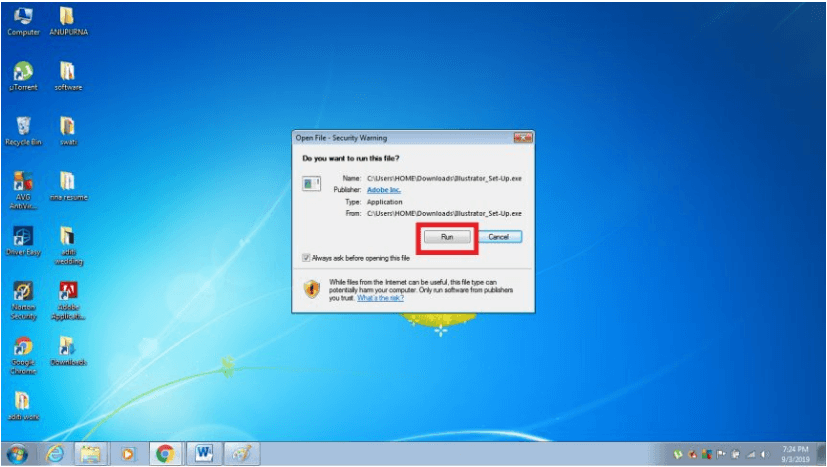
Step 7: When the download of the application will be completed, double click on the downloaded setup to run it. The appeared dialogue box, click on the run button.
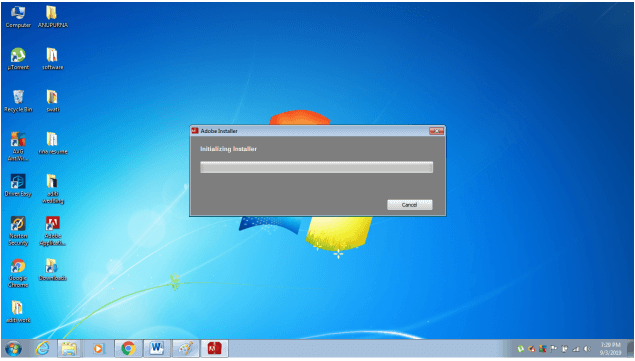
Step 8: When you click on it, the installation process will start.
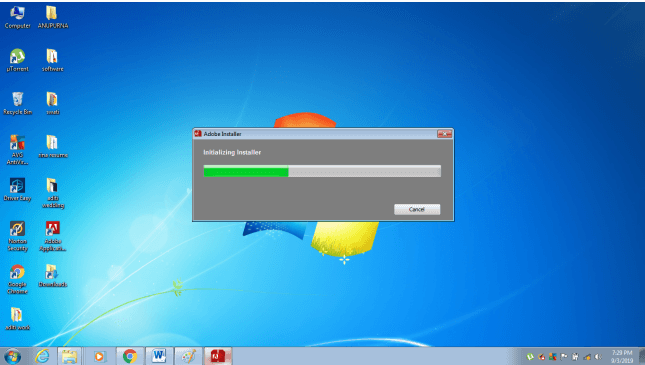
Step 9: Once the initial setup will be completed, a dialogue box will appear. The dialogue box shows two options, i.e., Install and Try.
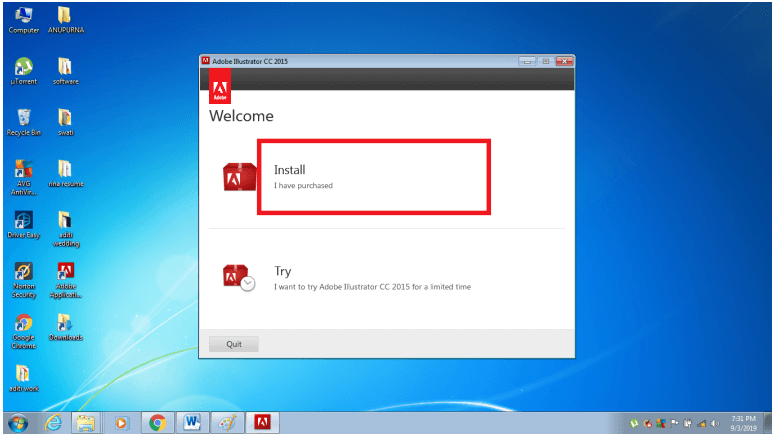
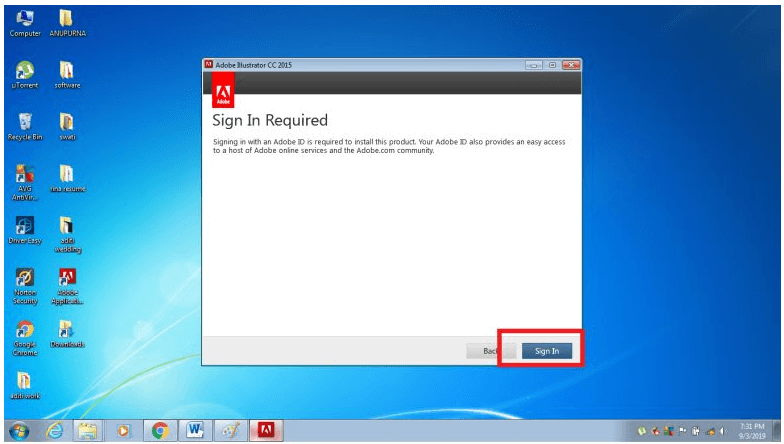
Step 10: After you click on the install option, it will ask you to enter the required Email ID on the appeared dialogue box. Finally, click on the Sign-in to continue with the installation.
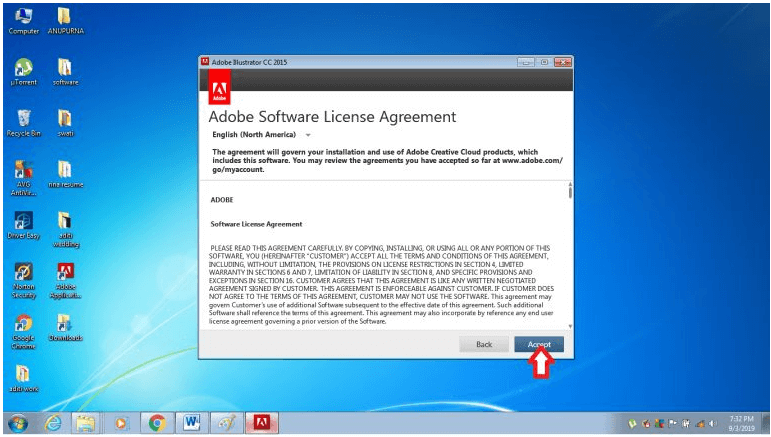
Step 11: On the next dialogue, click on the Accept option.
Step 12: Now, in the next dialogue, you will be asked to select the required storage location and a language before installation.
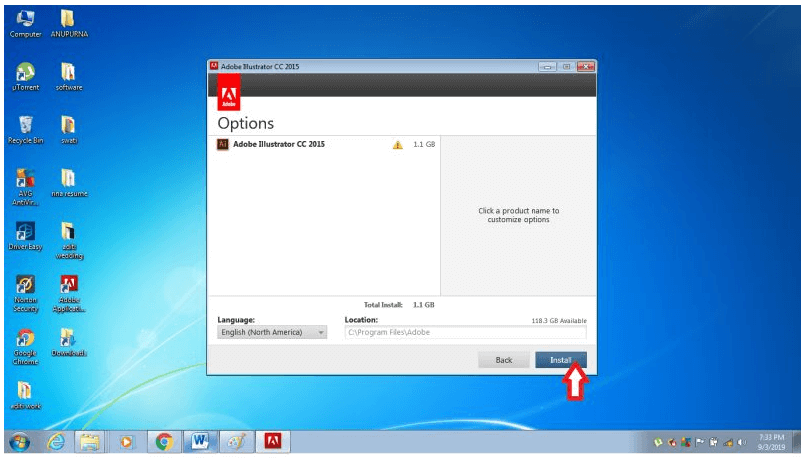
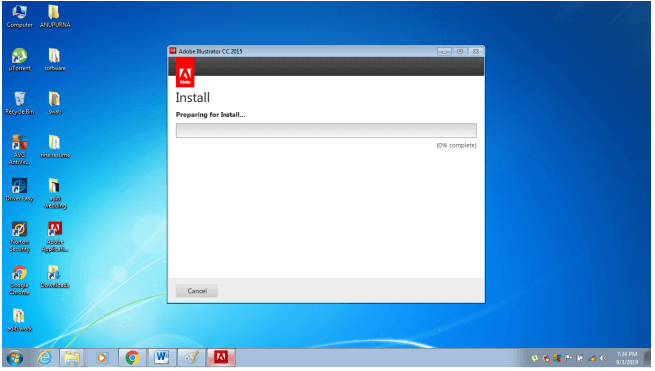
Step 13: The minimum requirement will be checked and processed for the installation.
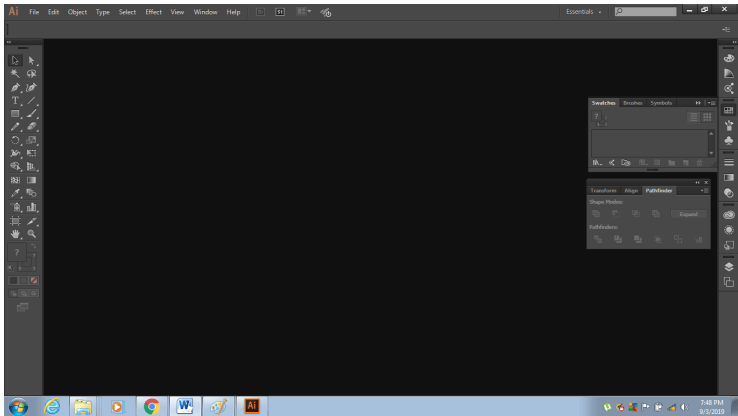
Step 14: After the successful installation, the application will start to run, as shown in the figure below.
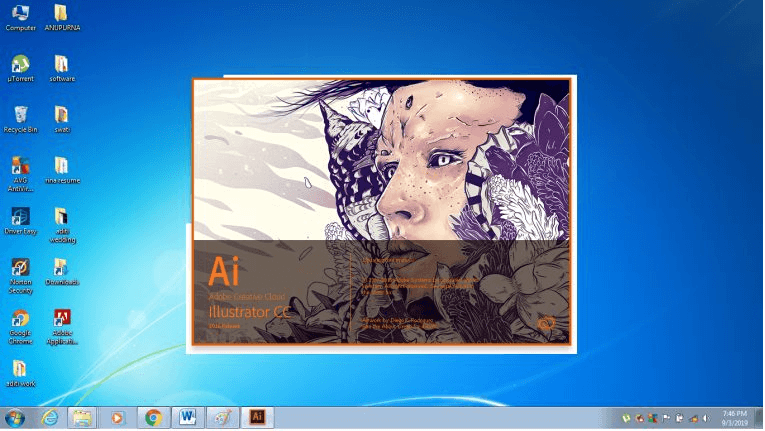
Finally, you can now use the Adobe illustrator complete functionality.