Spring Angular File Upload Application
In this section, we are going to create a File Upload web application. This application includes a registration form. In this integration, we are using Spring to handle the backend part and Angular to handle the frontend part.
Working of Application
- Once we deployed our application on the server, a registration page generates.
- A user can fill the required information and upload the image.
- Remember, the image size must not exceed 1 MB.
Tools to be used
- Use any IDE to develop the Spring and Hibernate project. It may be MyEclipse/Eclipse/Netbeans. Here, we are using Eclipse.
- MySQL for the database.
- Use any IDE to develop the Angular project. It may be Visual Studio Code/Sublime. Here, we are using Visual Studio Code.
- Server: Apache Tomcat/JBoss/Glassfish/Weblogic/Websphere.
Technologies we used
Here, we use the following technologies:
- Spring 5
- Hibernate 5
- Angular 6
- MYSQL
Create Database
Let’s create a database fileuploadexample. There is no need to create a table as Hibernate automatically created it.
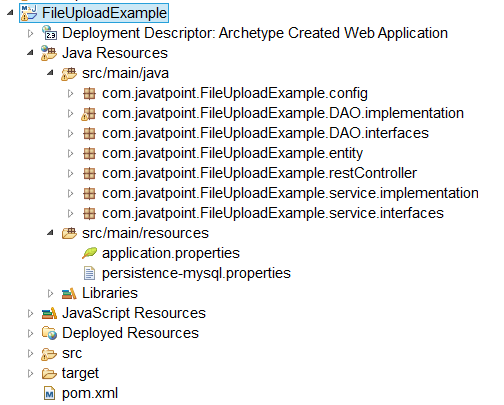
Spring Module
Let’s see the directory structure of Spring we need to follow:
To develop a file upload application, follow the below steps: –
- Add dependencies to pom.xml file.
pom.xml
- Create the configuration classes
Instead of XML, we perform annotation-based configuration. So, we create two classes and specify the required configuration in it.
DemoAppConfig.java
MySpringMvcDispatcherServletInitializer.java
- Create the entity class
Here, we are creating an Entity/POJO (Plain Old Java Object) class.
UserDetail.java
- Create the DAO interface
Here, we are creating a DAO interface to perform database related operations.
UserDAO.java
- Create the DAO interface implementation class
UserDAOImpl.java
- Create the service layer interface
Here, we are creating a service layer interface that acts as a bridge between DAO and Entity classes.
UserService.java
- Create the service layer implementation class
UserServiceImpl.java
- Create the controller class
UserController.java
- Create the properties file
Here, we are creating properties file inside the src/main/resources in the project.
application.properties
persistence-mysql.properties
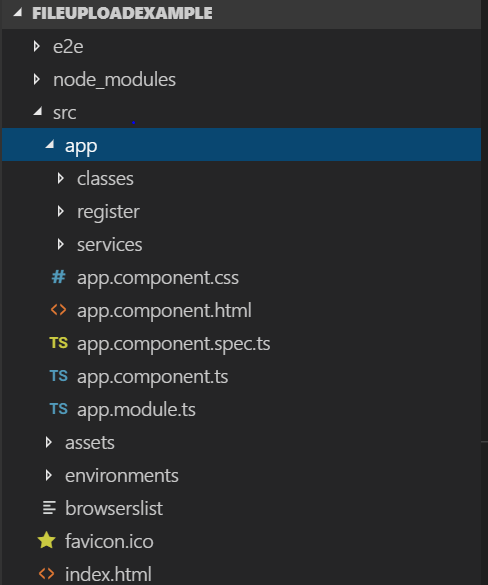
Angular Module
Let’s see the directory structure of Angular we need to follow:
- Create an Angular project
Let’s create an Angular project by using the following command:
ng new FileUploadExample
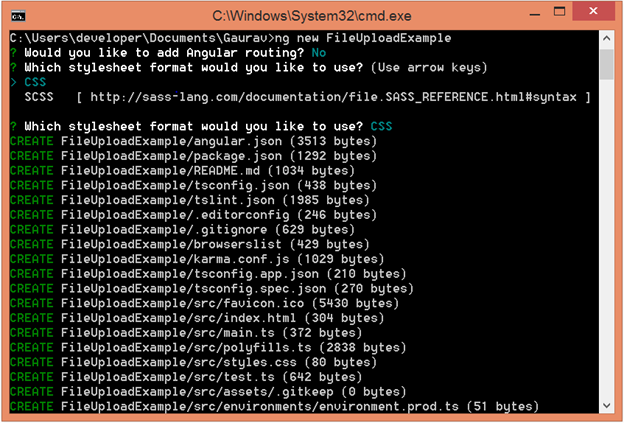
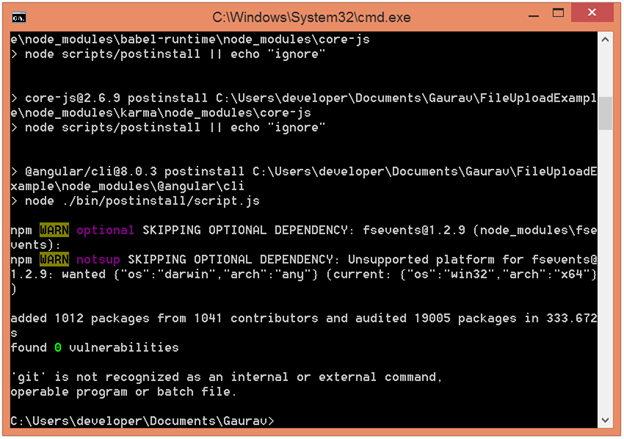
Here, FileUploadExample is the name of the project.
Install Bootstrap CSS framework
Use the following command to install bootstrap in the project.
Now, include the following code in the style.css file.
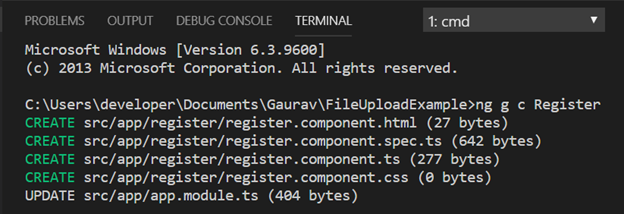
- Generate Component
Open the project in visual studio and then use the following command to generate Angular component:
ng g c Register
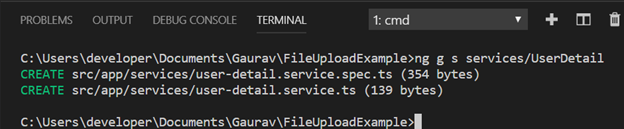
Let’s also create a service class by using the following command: –
ng g s services/UserDetail
- Edit the app.module.ts file
- Import ReactiveFormsModule – Here, we are importing the ReactiveFormsModule for reactive forms and specifying it in imports array.
- Import HttpModule – Here, we are importing the HttpModule for server requests and specifying it in the imports array.
- Register Service class – Here, we are mentioning the service class in the provider’s array.
- Edit the app.component.html file
- Create the UserDetail.ts class
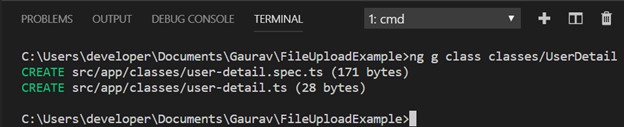
Let’s create a class by using the following command: –
ng g class classes/UserDetail
Now, specify the required fields within the UserDetail class.
The purpose of this class is to map the specified fields with the fields of the Spring entity class.
- Edit the user-detail.service.ts file
- Edit the register.component.ts file
- Edit the register.component.html file
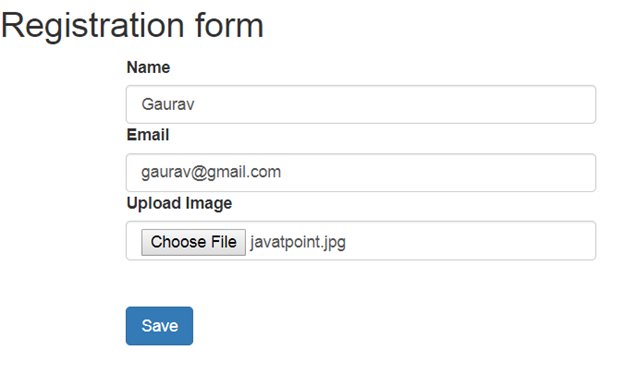
Once completed, provide the URL http://localhost:4200/ at the web browser. The following web page occurs:
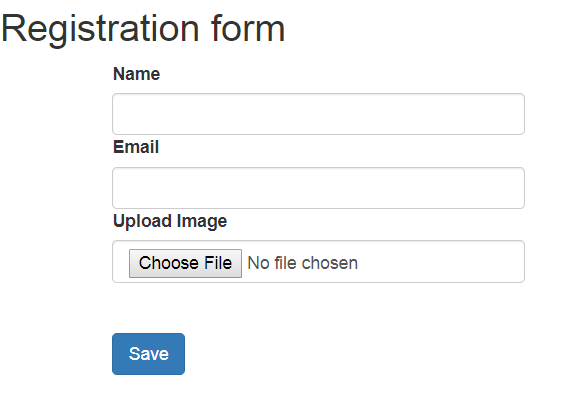
Now, we can fill the required information and choose the file need to be uploaded.