Atom Python
An Introduction to Atom
It is a universal fact that Time does not pause for anyone, and we consistently have to upgrade tools in order to keep up with this immeasurably rapid era. Software development is among the chief professions that need the most resourceful environments for the programmers to write the code and efficiently produce software. Thus, it comes to the requirement of an effective Text Editor and IDE (Integrated Development Environment). With respect to Python Programming Language, Atom serves best in terms of IDE. Atom is a free and Open-Source Integrated Development Environment specially designed for Python developers in their endeavor.
But before we get deeper into the concept, let us have a quick look at the topics we will be covering in the tutorial:
- Understanding the need for Atom Python
- Understanding Atom Text Editor
- Downloading and Installing Atom Python
- Code Execution in Atom Python
- Atom Python Theming
- Atom Python Experimenting
- Python Specific Configurations
Let us begin with understanding the actual importance of Python Atom IDE.
Understanding the need for Atom Python
The most fundamental method in order to create and execute a Python program is by creating an empty file using a .py extension that stands for Python. After that, we have to use Command line shell or terminal in order to the point that file using the following syntax:
On the other hand, we can utilize IDLE Integrated Development and Learning Environment of Python), a by default application for executing Python’s code. However, in order to get something productive, these two primary options would not appear like a good choice. We will require something more productive and reliable. Thus, when the Atom Python IDE comes in handy. Atom does not contain any special features in the traditional sense; instead, it builds packages that store to its hackable core. These packages include features such as code lines, auto-complete, and code highlights.
Now, let’s head up to understanding the remarkable Atom Text Editor.
Understanding Atom Text Editor
Atom is a free, open-source, and multi-platform text editor or IDE which supports NodeJS developed packages and embedded Git control. Most of the extending packages are freely available and developed by open-source communities. Atom IDE is based on Electron Framework (previously called Atom Shell). The electron framework allows the developers to use the desktop application on multiple platforms such as Linux, MacOS, and Windows, with the help of NodeJS and Chromium. Atom IDE is written in Less and CoffeeScript, developed and maintained by GitHub.
Atom Text Editors is also known as Hackable Text Editor for the Twenty-First Century by its developers and is fully customizable in HTML, JavaScript, and CSS.
Now, let us see how to download and install Atom Text Editor.
Downloading and Installing Atom Python Text Editor
We can download Atom Python Text Editor from the official website: https://atom.io/. It will automatically detect the current operating system configuration and display the corresponding setup file for download.
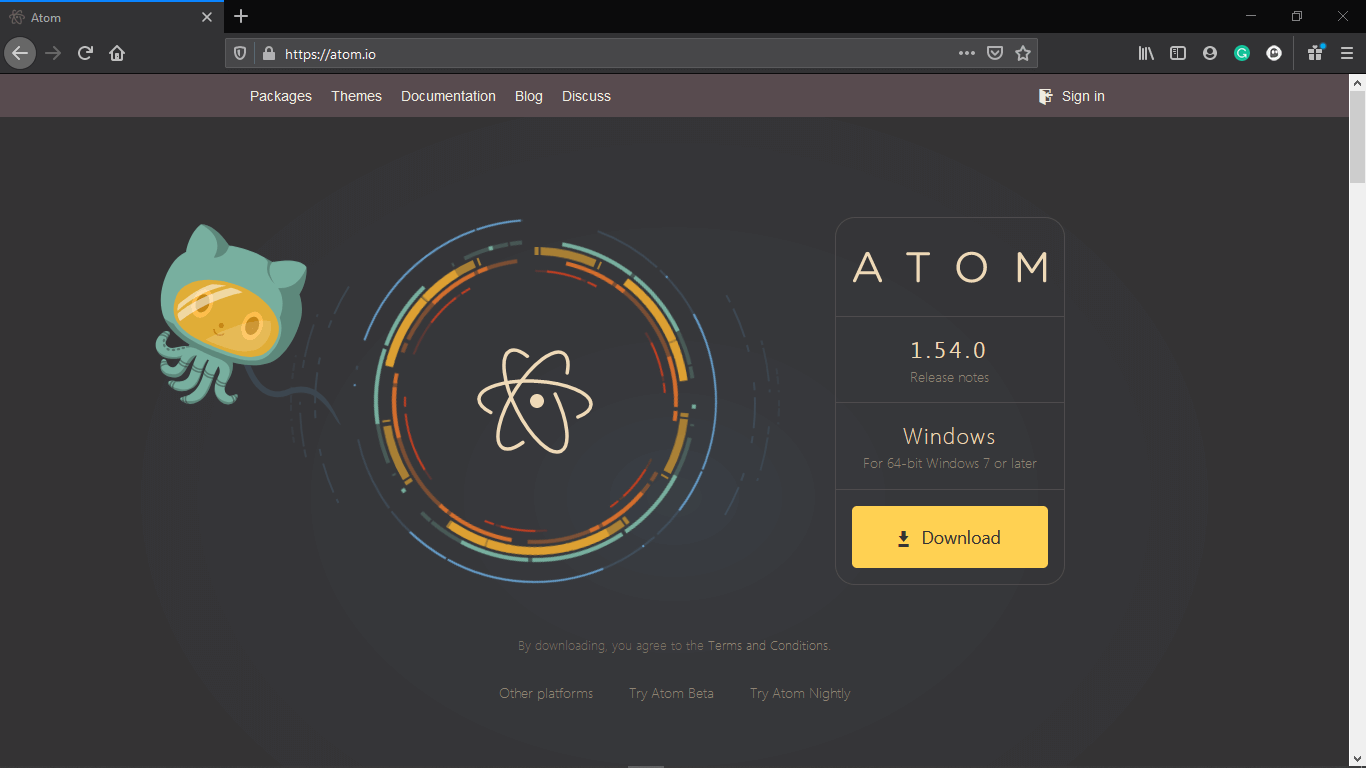
In order to download the setup file, click on Download. Once the download process is completed, open the setup file in order to install the application in the System. Since the installation process is automatic, there is no need for any manual. Atom will open automatically in the default directory once it gets installed successfully, and an application shortcut will also be created in the start menu.
Now, we have to install the required plugins and packages in order to execute Python code.
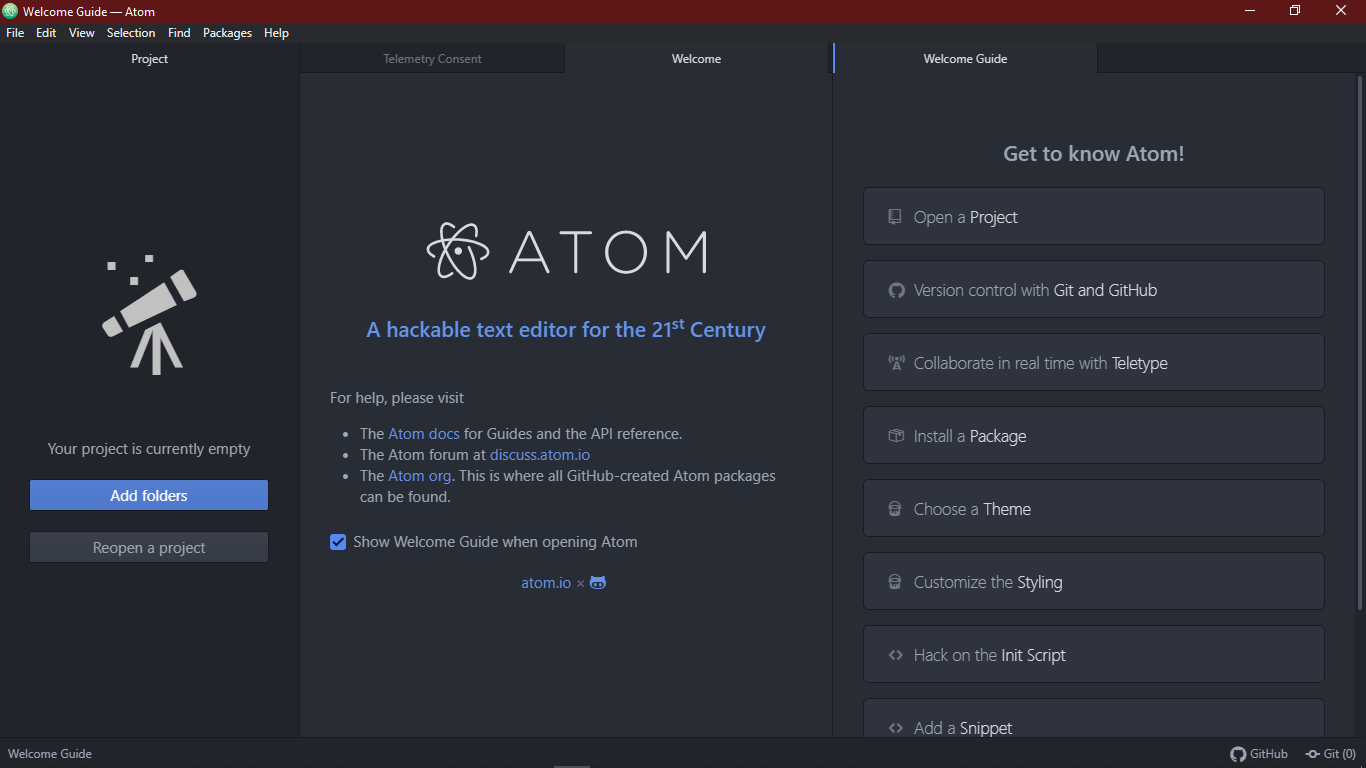
Let us now understand the configuration of Atom Python to access it from the directory of the user’s preference in a standard method. Atom also provides features such as theme or package installation with the help of a welcome guide. We are now closing the welcome guide and unchecking the ‘Show Welcome Guide when opening Atom‘ option. As a result, the welcome guide will not appear the next time when we launch the atom application.
We can now go to the directory, right-click on the folder or file, and select the “Open with Atom” option.
If the option is not available in the context menu, we can launch it from the programs. All we have to do is to go to the File menu in Atom. Go to Settings. We can also use the shortcut key: Ctrl + Comma (Ctrl+,) in order to open settings in Atom.
In Settings, we have to click on the System Tab and Check the options as follows:
- Show in File Context Menus
- Show in Folder Context Menus
After this, the context menu will start displaying the ‘Open with Atom‘ option. Now, we can open the selected file or folder directly in Atom.
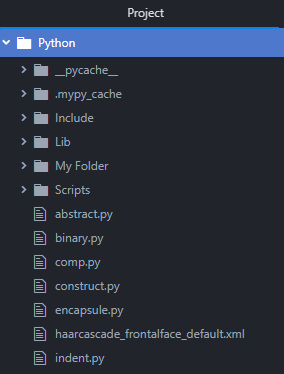
When we open the Atom application, we can see the tree view at the left. However, if the tree view is not visible, we can go to view in the menu bar and click on Toggle Tree View. We can also use the shortcut: Ctrl + K Ctrl + B. This tree view contains the files present in the linked folder, from which we can double click on any python file to see its content.
Code Execution in Atom Python
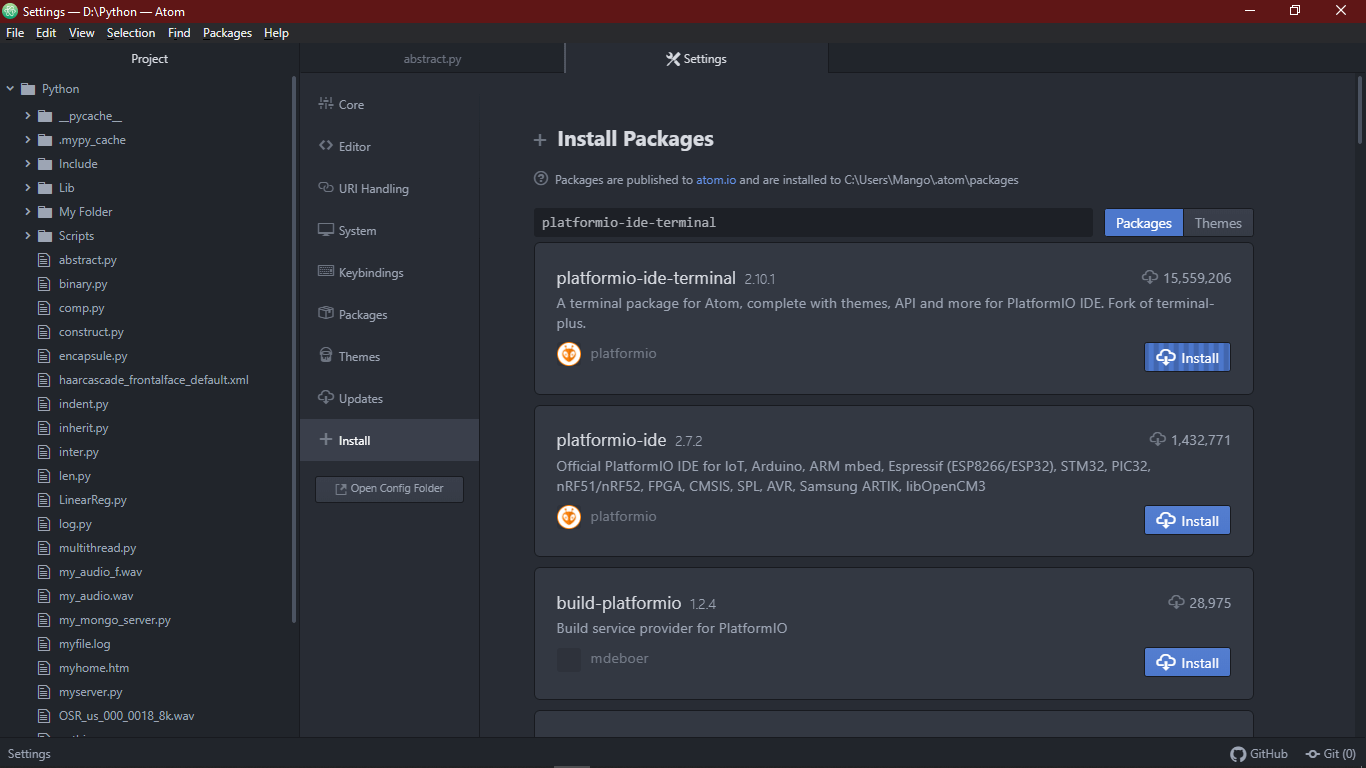
Generally, we use the command prompt or terminal to execute Python programs. However, Atom provides a plugin known as platformio-ide-terminal in order to execute the python code. We can set up this plugin by navigating to the File in the Menu bar. Go to Settings. Click on Install Tab. Now, in the search bar, search and install the platformio-ide-terminal plugin. We can use the above method in order to install other packages, plugins as well as themes.
Once the plugin is successfully installed, a terminal will be integrated within the Atom text editor. We can toggle this terminal using the + icon available in the bottom-left corner of the editor.
Splitting the Editor
We can open multiple files in Atom and split the window by navigating to View in the Menu bar. Go to Panes and select the Split Right option in order to send the present file to the right half of the window. This will help the users to enhance productivity while working with more than one file.
Atom Python Theming
Atom provides two types of themes, called, Syntax themes and UI themes. The Syntax themes are used to determine the color of the code and highlight the details in the syntax. In contrast, the UI themes are used to change the style of dropdowns, buttons, and a lot more.
We can check all the installed themes by navigating the Settings present in the File menu and clicking on the Themes tab. The Theme tab will display the relevant output. We can also download a variety of new themes available in the market by clicking on the + Install tab in the Settings and searching for the desired theme.
Formatting
We can also change the font’s default settings by again navigating to the Settings and clicking on the Editor tab. In the following tab, we can find many options related to the Editor style, which includes the font size, font style, and a lot more. We can change the font by using Font Family in order to style it as per our choice.
Atom Python Experimenting
There are various things that we can also experiment with using the options as follows:
line-height:
Line-height is generally defined as the spacing between two lines. We can also change the line-height by navigating to the Editor tab and changing it as per the requirement.
Scroll Past End:
Generally, we can only scroll through the code until its last line, which is also referred to as the bottom of the screen. We cannot usually scroll beyond this limit. However, if we enable the Scroll Past End package, we can view the bottom line at the screen’s top. This package provides blank space at the bottom for the users to comfortably work with their codes.
Show Indent Guide:
Indent Guide is used to display the vertical lines, which denotes that the indentations should appear. We can enable the Show Indent Guide from the Editor tab in the Settings.
There are various other options we can experiment with. But for now, let us head onto understanding some Python-specified configurations.
Python particular Configurations
In order to boost the productivity of Python, some of the extremely beneficial plugins are as follows:
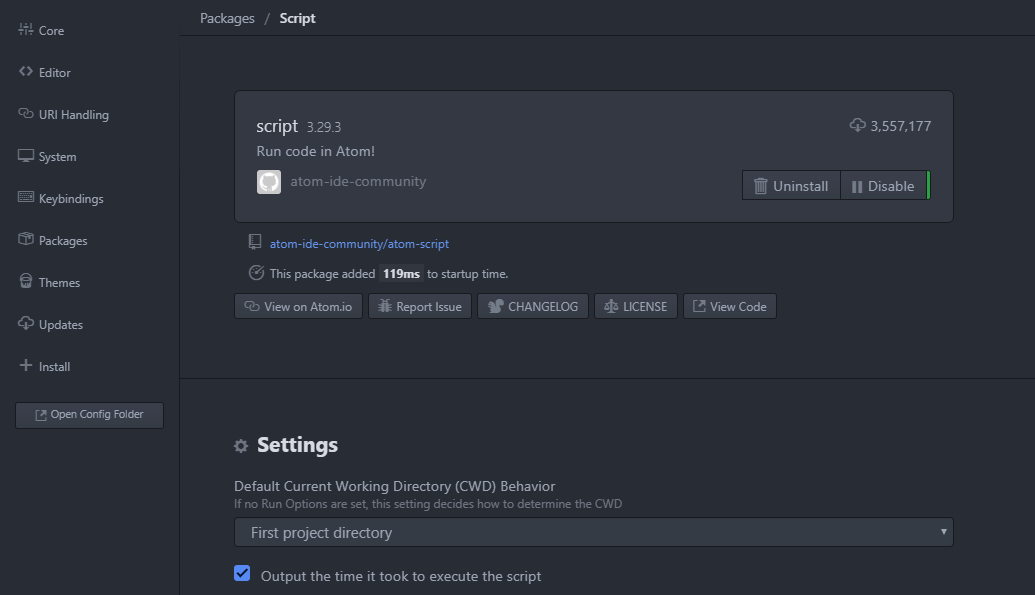
Script:
The Script package is designed to display a document related to all the details of other packages like shortcuts, commands, and many more. We can always change these default shortcuts if it feels uncomfortable by navigating to the view code tab, which stores the keymaps folder. Then, we have to open the script.cson file and update it as per preferences.
For instance, we have changed the shortcut to Ctrl + R. Once the updating processing is done, close all the windows and restart Atom IDE. After the restart, we can use the Python Script using the customized shortcut, and an output box is also appeared at the bottom. But we can also customize this output box as shown below:
Go to the Settings in the File menu and click on the Themes tab. A link to customize the stylesheet is visible towards the top. This link will navigate us to the stylesheet. Once the stylesheet is opened, paste the following snippet of code to increase the size of the font of the script console.
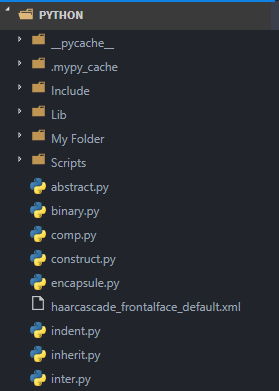
atom-file-icons:
The atom-file-icons package is used to insert icons leading the files in the tree view as shown below:
Before Installing the atom-file-icons package
After Install the atom-file-icons package
autocomplete-python:
The autocomplete-python package displays the suggestions window in respect to what can give the impression when we reach a specific point while writing a code.

Flake:
Flake acts as a Python linter used to find the errors within the script and highlight them all. We can enable the flake package by installing flake8 using the following command in the command shell or terminal:
Once the installation is completed, we will view a little icon at the bottom left corner of Atom IDE. This icon will display the error list that was encountered during the writing.
python-autopep8:
The python-autopep8 package is used for code formatting. We can enable it from the autopep8 plugin settings by checking the Format on the Save option.
Now, let us understand the python code execution in Atom IDE.
How to execute Python code in Atom IDE?
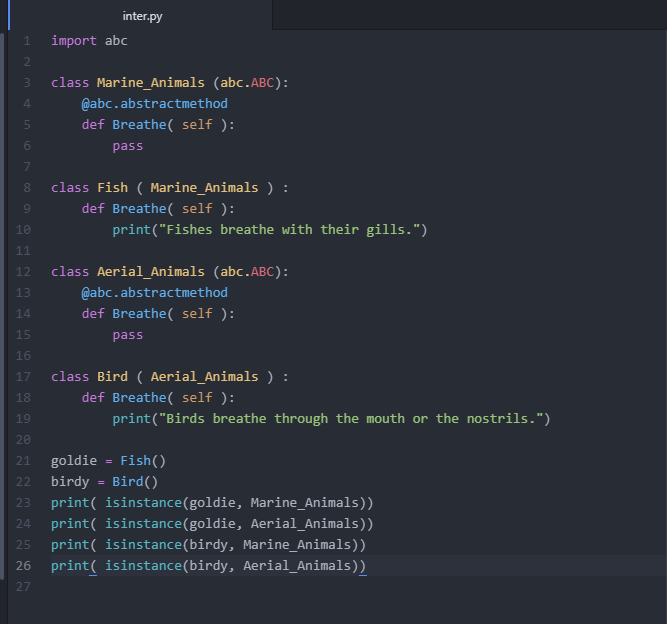
Let us understand the Python code execution in Atom IDE by writing a simple code for abstract class.
Example:
File: inter.py
Once we are done with writing the code, it will look like the following image:
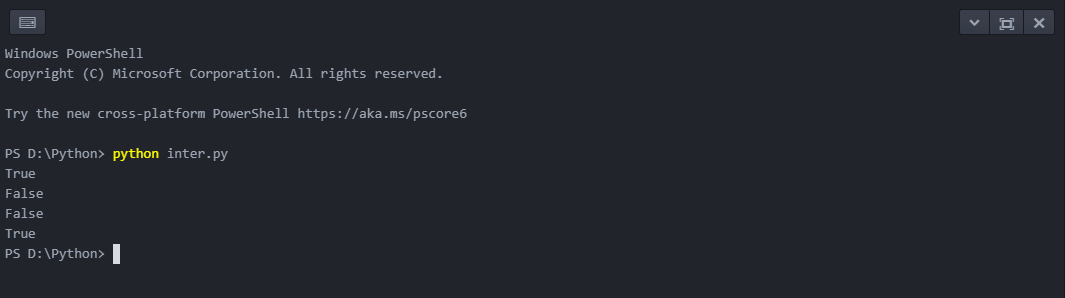
Now let us move onto the code execution using the terminal we have installed earlier. To use the terminal, click on the + icon located at the bottom left. Now, type the following command to run the program:
Output:
$ python inter.py True False False True
The same can be viewed in the following image:
Now, let us understand the code.
Explanation:
In the above example, we have defined two abstract classes: Marine_Animals and Aerial_Animals, respectively. We have also defined an abstract method, namely Breathe(), for these classes. We have also defined two child classes, namely Fish and Bird, that inherit the above abstract classes’ attributes and methods. Finally, we have instantiated both the classes using the objects goldie and birdy, respectively, and use the isinstance() function to check if the object is an instance of the class.