Creating a Load Balancer
- Sign in to the AWS Management Console.
- Create an EC2 instance.
- An EC2 instance is in a stopped state. Start the instance by clicking on the Actions dropdown menu and then click on the start.
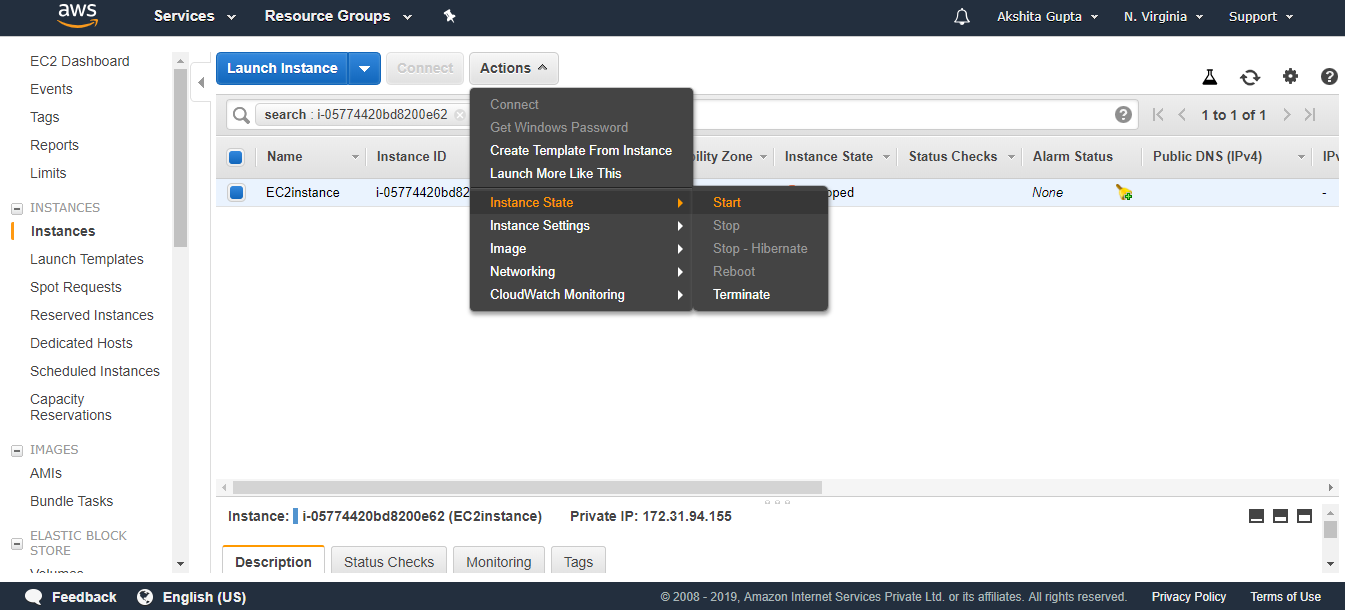
Now, my instance is running, and its IP address is 18.191.224.149.
- Open the putty.
- Run the command sudo su to provide the privileges to the root device.
- Run the command yum update ?y to update the EC2 instance.
- Install the Apache server by using the command yum install httpd ?y.
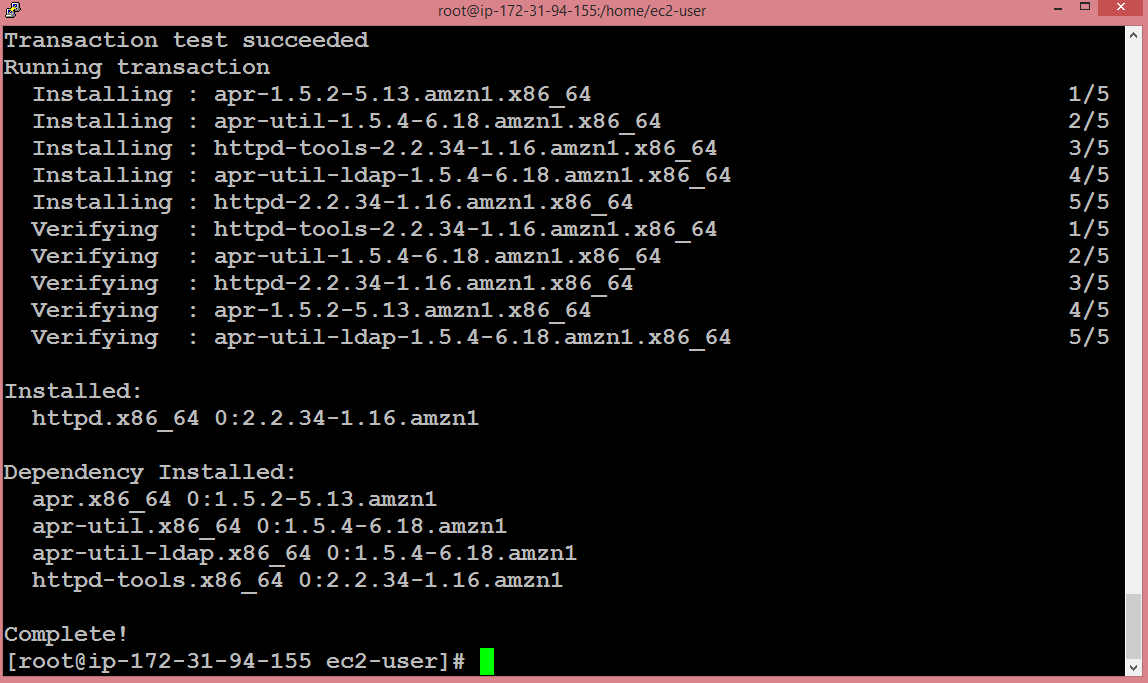
The above screen shows that the server has been installed successfully.
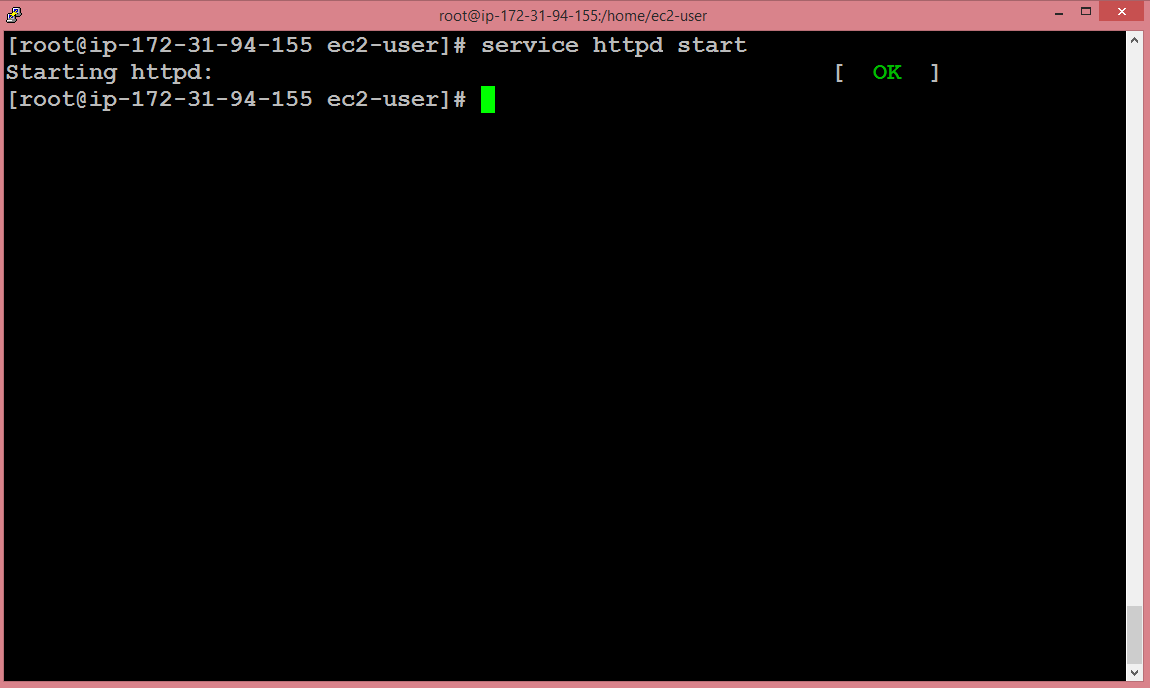
- Start the server by using the command service httpd start.
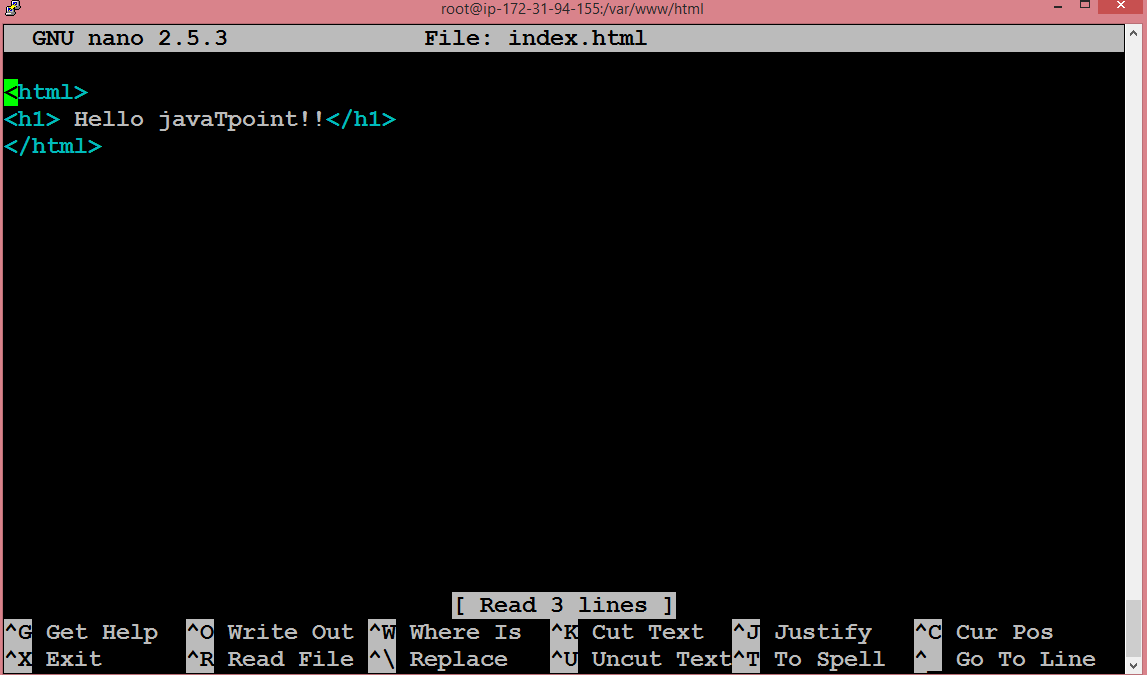
- Move to the html directory by running the command cd /var/www/html.
- Run the command nano index.html to create the editor.
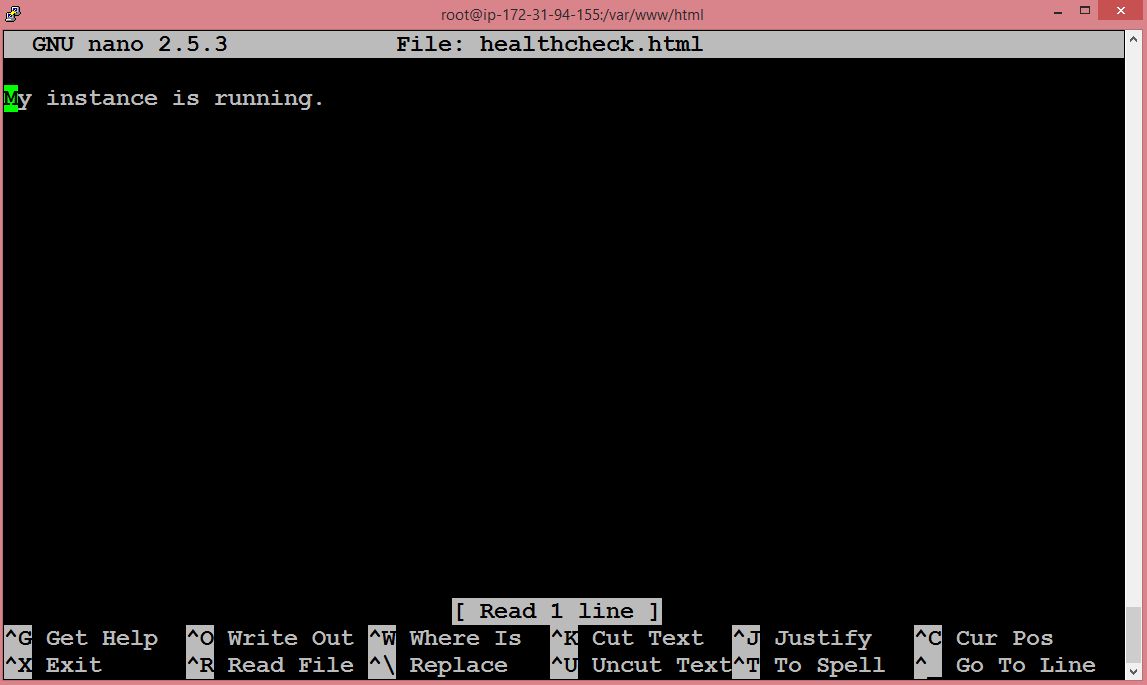
- Now, we are going to create nano healthcheck.html file.

- I write “My instance is running” to healthcheck file.
- Move to the EC2 service, click on the Load Balancer appearing on the left side of the console.
- Click on the Create Load Balancer. On clicking, three types of Load Balancers are shown:
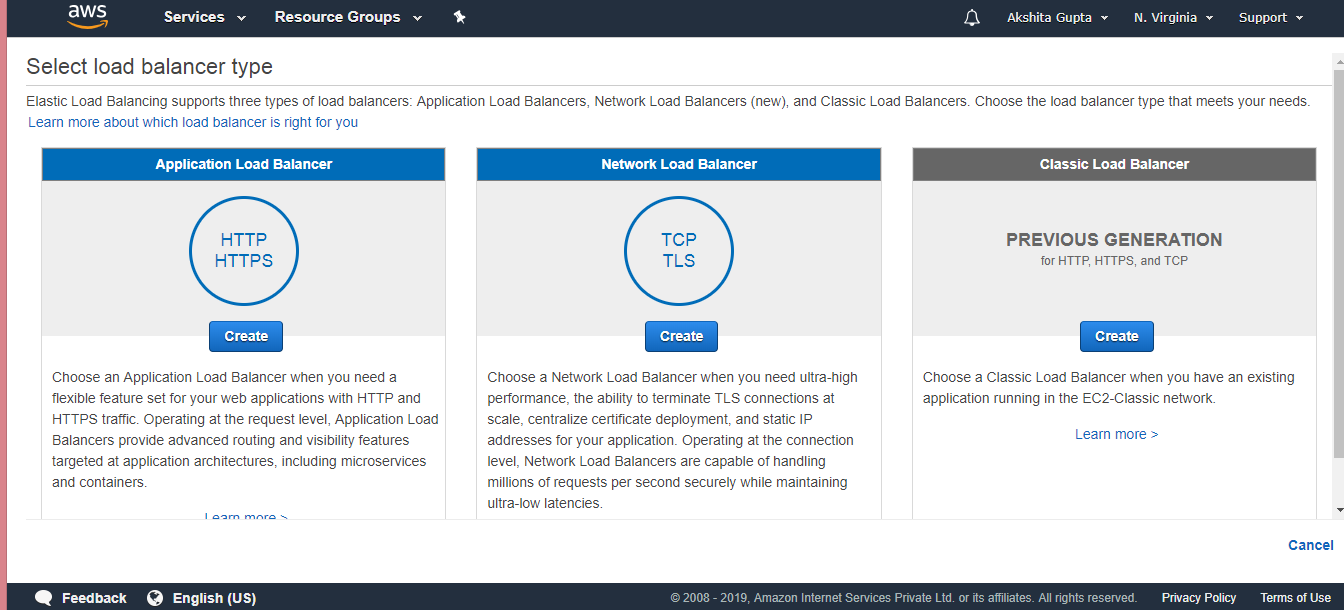
- We create a Classic Load Balancer.
- On clicking on the create button, the screen appears shown below:

Load Balancer name: It is the name of the Load balancer that the user provides. Suppose I have given a ClassicELB as a load balancer name.
Create LB inside: I kept it as a default VPC.
Create an internal load balancer: As we want to serve external web traffic, so we need an external load balancer, not an internal load balancer. Uncheck this field.
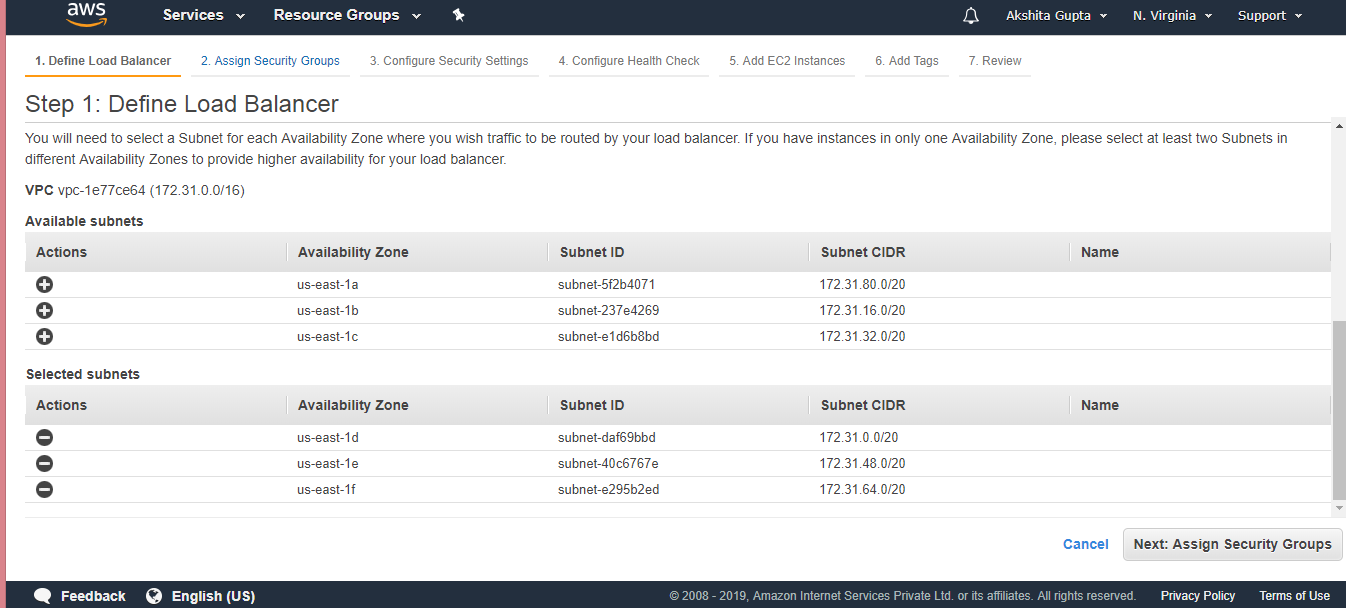
Enable advanced VPC configuration: Check this field to add at least one subnet.
Linear Configuration: It describes from which protocol and port, it is listening, and to which port it is passing.
- Click on the Next button.
- Configure Health check.

Ping Protocol: It defines the type of protocol.
Ping port: It defines the port number.
Ping Path: It defines the path of the web page that we created, i.e., healthcheck.html.
Response Timeout: It defines how long it will take and waits for the response.
Interval: It is the amount of time between health checks.
Unhealthy threshold: It defines the number of consecutive health check failures before declaring an EC2 instance unhealthy.
Healthy threshold: It defines the number of consecutive health check successes before declaring an EC2 instance healthy.
- Click on the Next.
- Add your EC2 instance to the Load Balancer. Check the EC2 instance box.
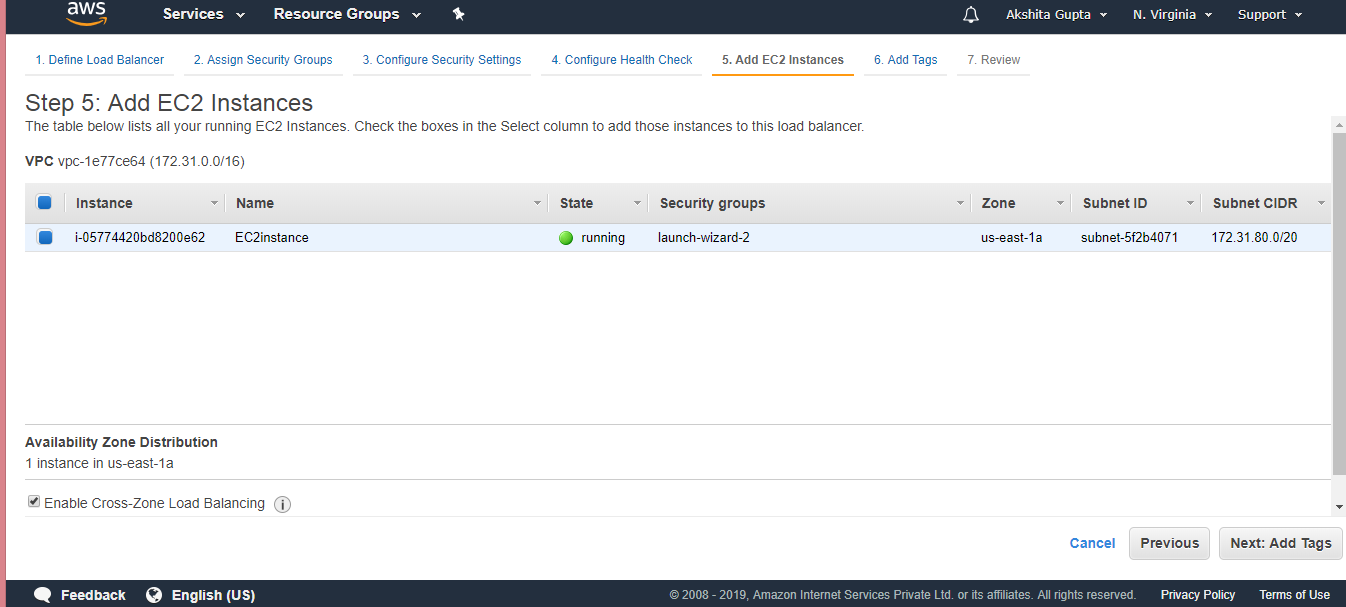
- Click on the Next.
- Review the load balancer, and then click on the Create button.
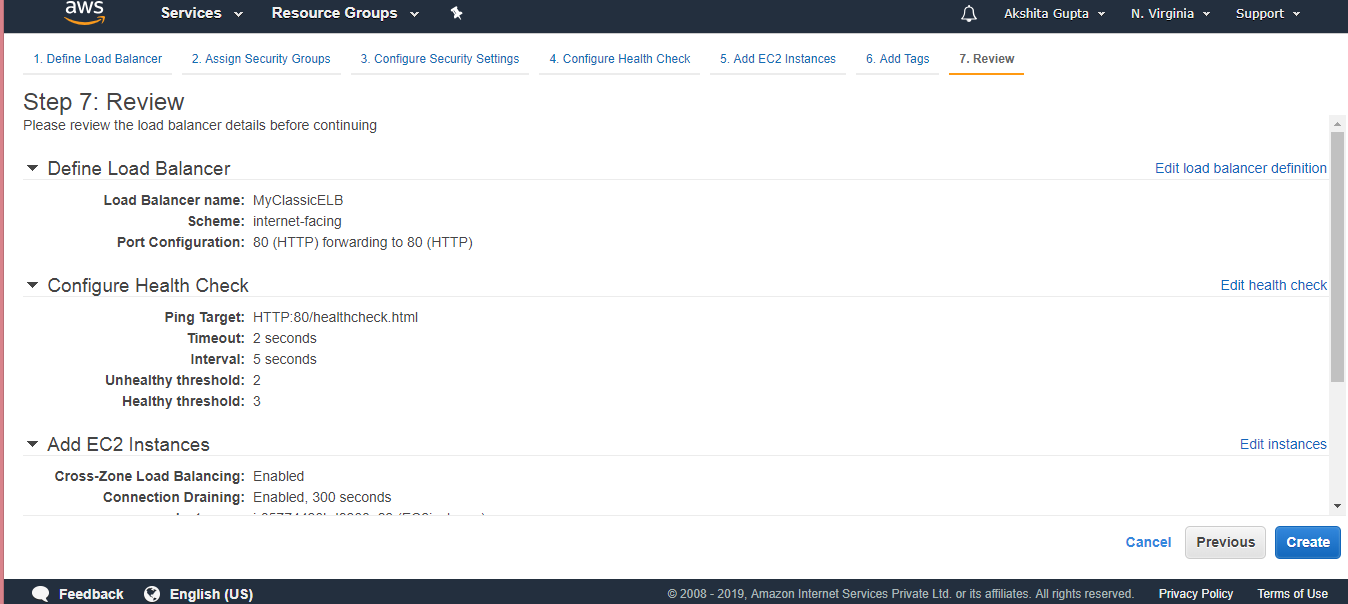
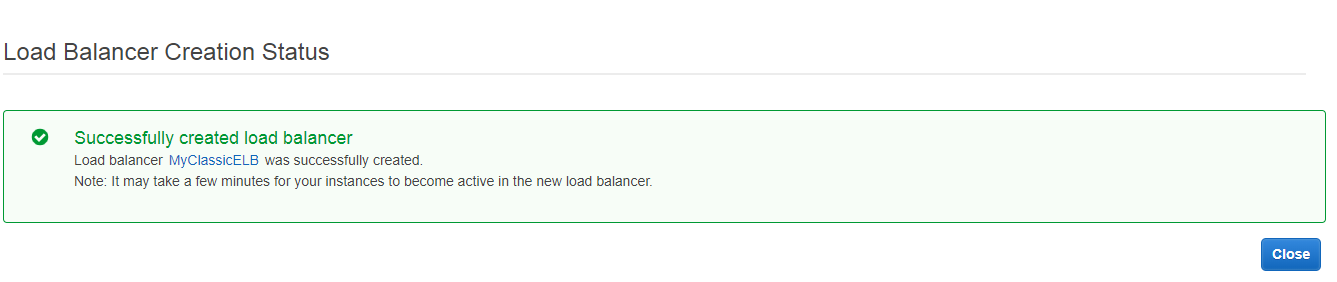
The above screen shows that Class load balancer has been successfully created.
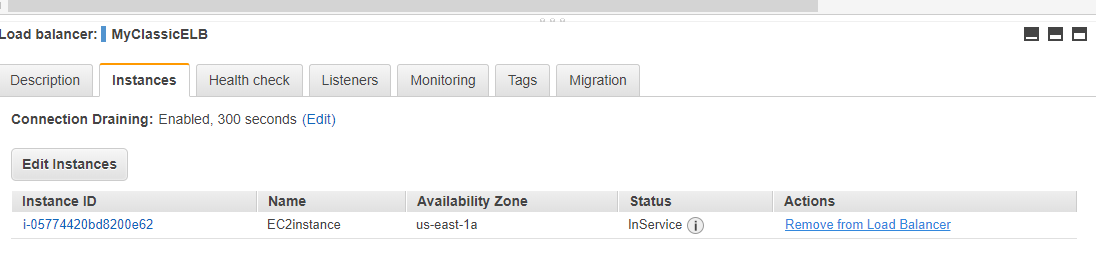
- When we check the status of an instance, the status appears as OutOfService.

- After 1 or 2 minutes, the status of an instance appears as InService.
- Copy the DNS name of a Load balancer and paste it to the clipboard of a web browser. You will see the output which is shown below:

Therefore, we can say that DNS name is converted into a public IP address which is directing you to the index.html. Amazon provides DNS name to the Classic Load Balancer rather than a public IP address as the public IP address can be changed.
Note: Once the EC2 instance is out of service, the load balancer would not send the traffic to EC2 instance as it is presuming that healthcheck file that we created has been failed.