Creating an EC2 instance
- Sign in to the AWS Management Console.
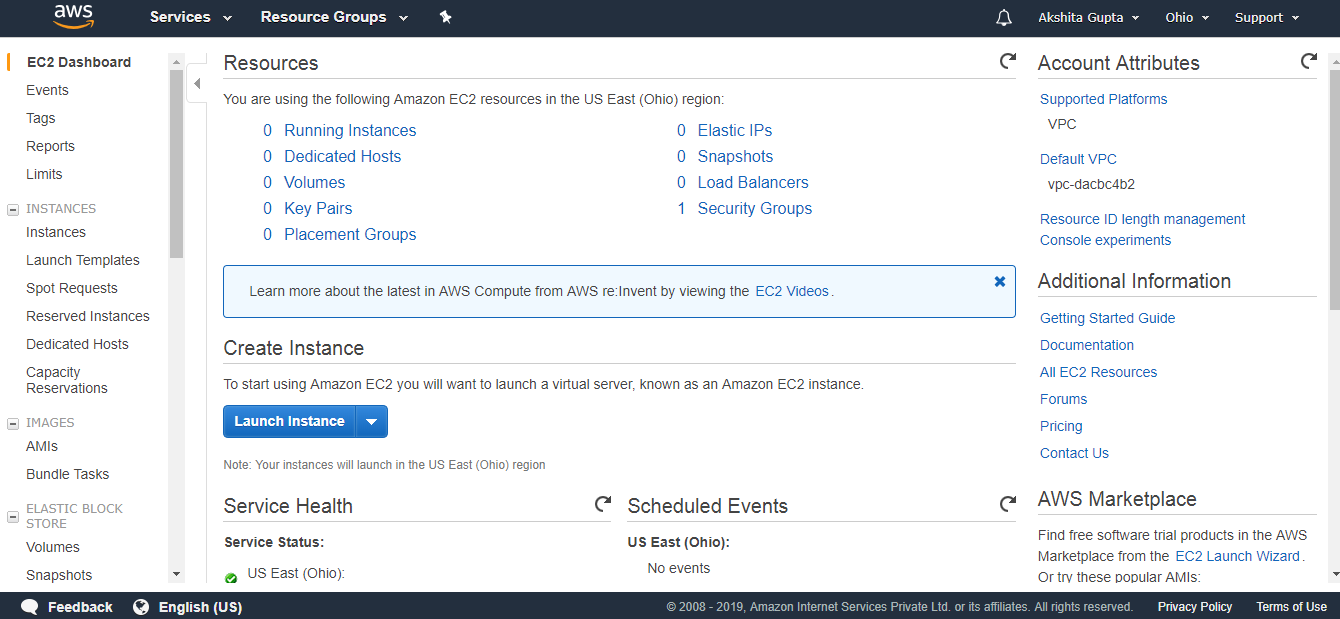
- Click on the EC2 service.
- Click on the Launch Instance button to create a new instance.
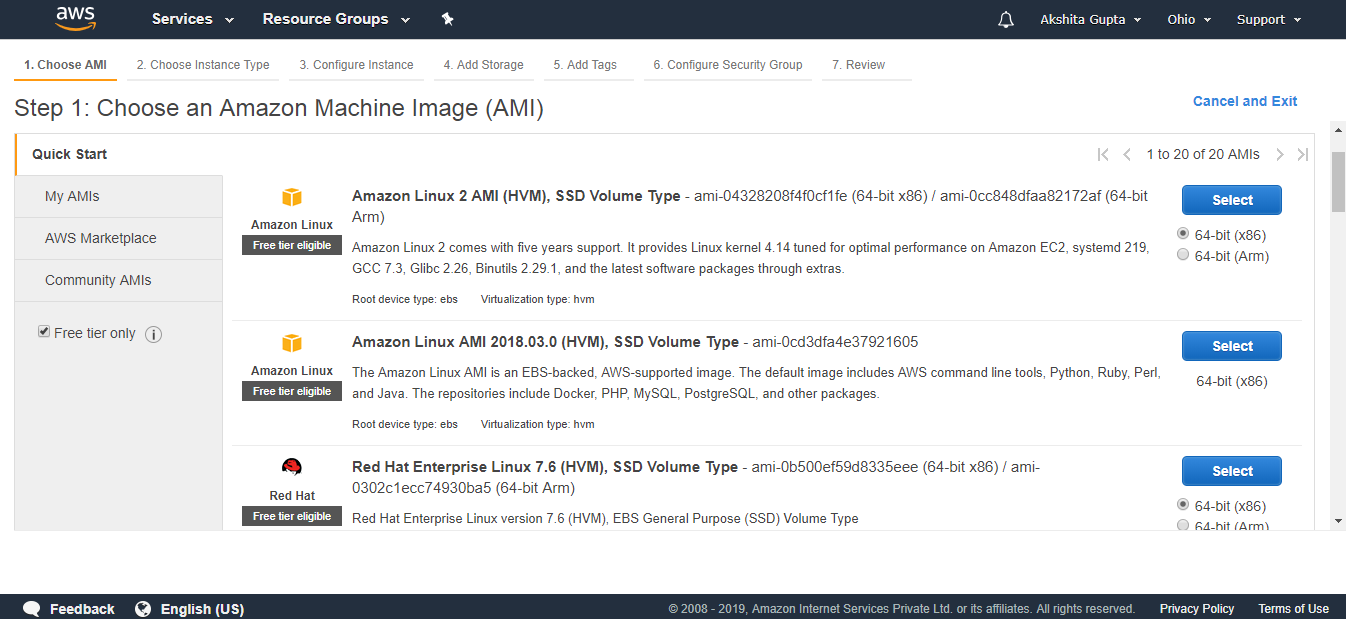
- Now, we have different Amazon Machine Images. These are the snapshots of different virtual machines. We will be using Amazon Linux AMI 2018.03.0 (HVM) as it has built-in tools such as java, python, ruby, perl, and especially AWS command line tools.
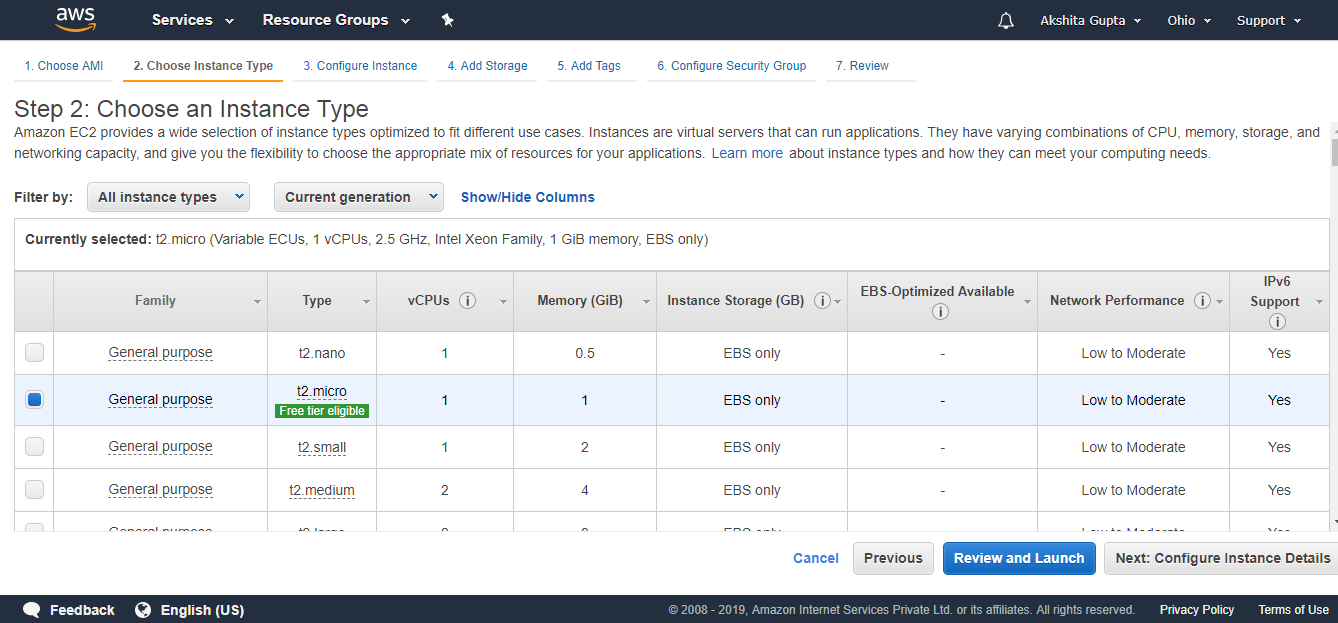
- Choose an Instance Type, and then click on the Next. Suppose I choose a t2.micro as an instance type.
- The main setup page of EC2 is shown below where we define setup configuration.
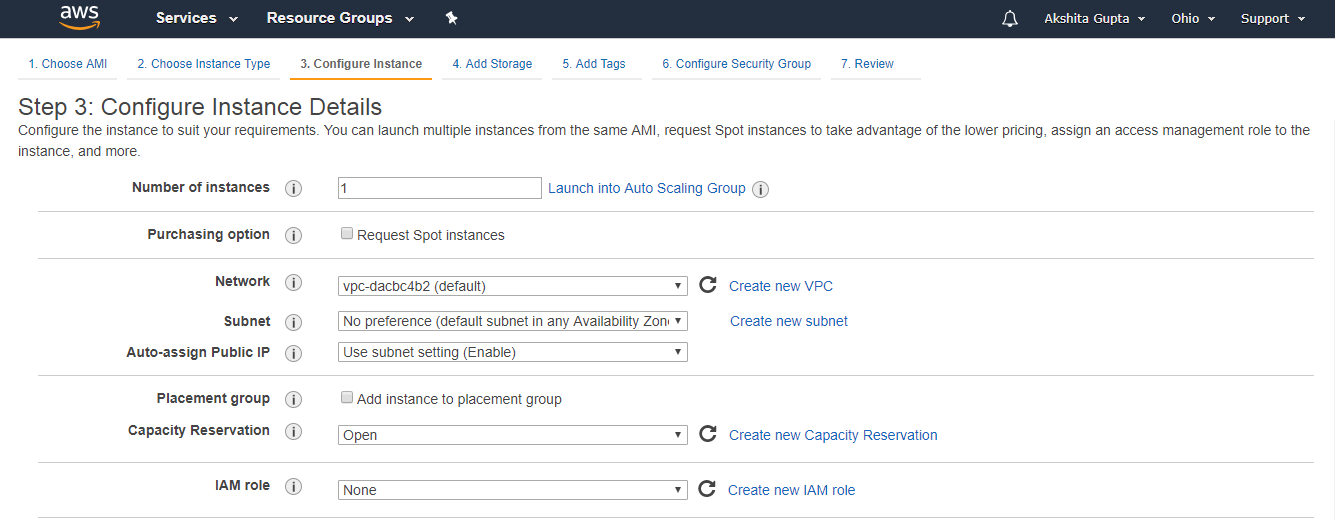
Where,
Number of Instances: It defines how many EC2 instances you want to create. I leave it as 1 as I want to create only one instance.
Purchasing Option: In the purchasing option, you need to set the price, request from, request to, and persistent request. Right now, I leave it as unchecked.
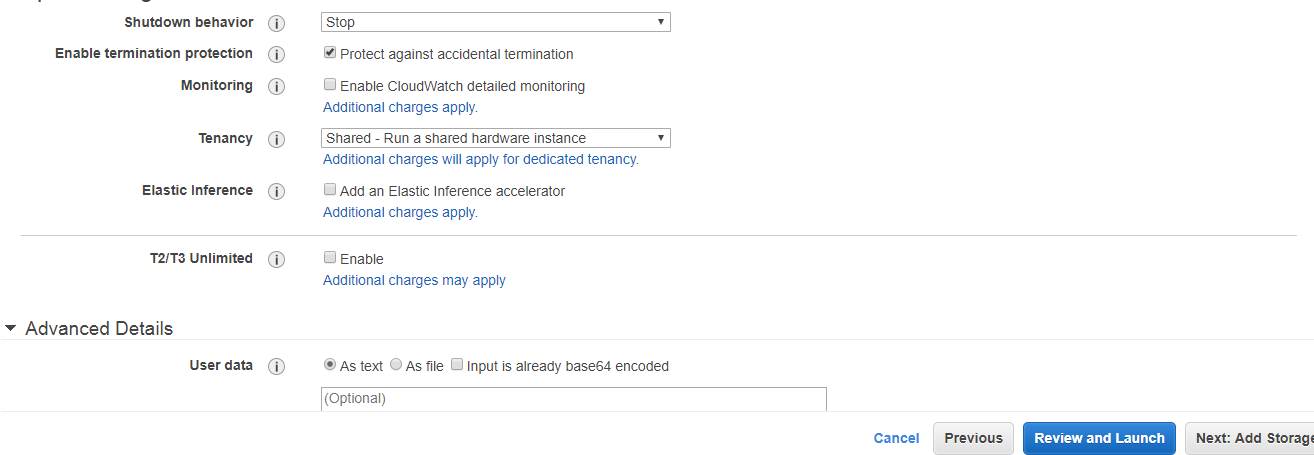
Tenancy: Click on the Shared-Run a shared hardware instance from the dropdown menu as we are sharing hardware.
Network: Choose your network, set it as default, i.e., vpc-dacbc4b2 (default) where vpc is a virtual private cloud where we can launch the AWS resources such as EC2 instances in a virtual cloud.
Subnet: It is a range of IP addresses in a virtual cloud. In a specified subnet, you can add new AWS resources.
Shutdown behavior: It defines the behavior of the instance type. You can either stop or terminate the instance when you shut down the Linux machine. Now, I leave it as Stop.
Enable Termination Protection: It allows the people to protect against the accidental termination.
Monitoring: We can monitor things such as CPU utilization. Right now, I uncheck the Monitoring.
User data: In Advanced details, you can pass the bootstrap scripts to EC2 instance. You can tell them to download PHP, Apache, install the Apache, etc.
- Now, add the EBS volume and attach it to the EC2 instance. Root is the default EBS volume. Click on the Next.
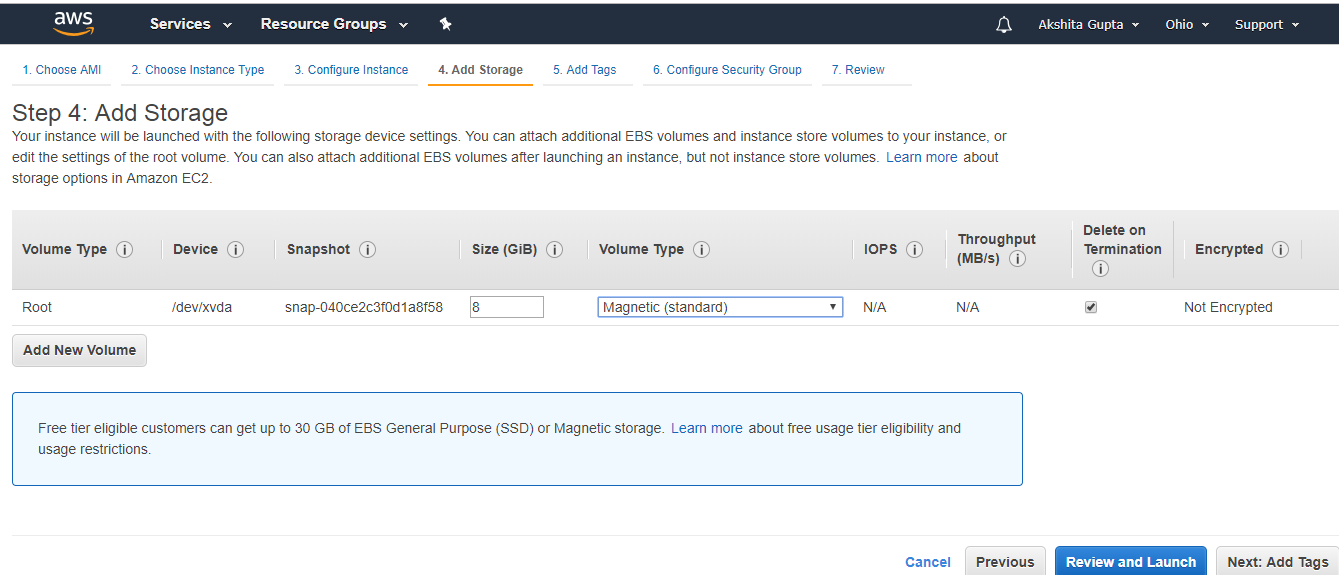
Volume Type: We select the Magnetic (standard) as it is the only disk which is bootable.
Delete on termination: It is checked means that the termination of an EC2 instance will also delete EBS volume.
- Now, Add the Tags and then click on the Next.
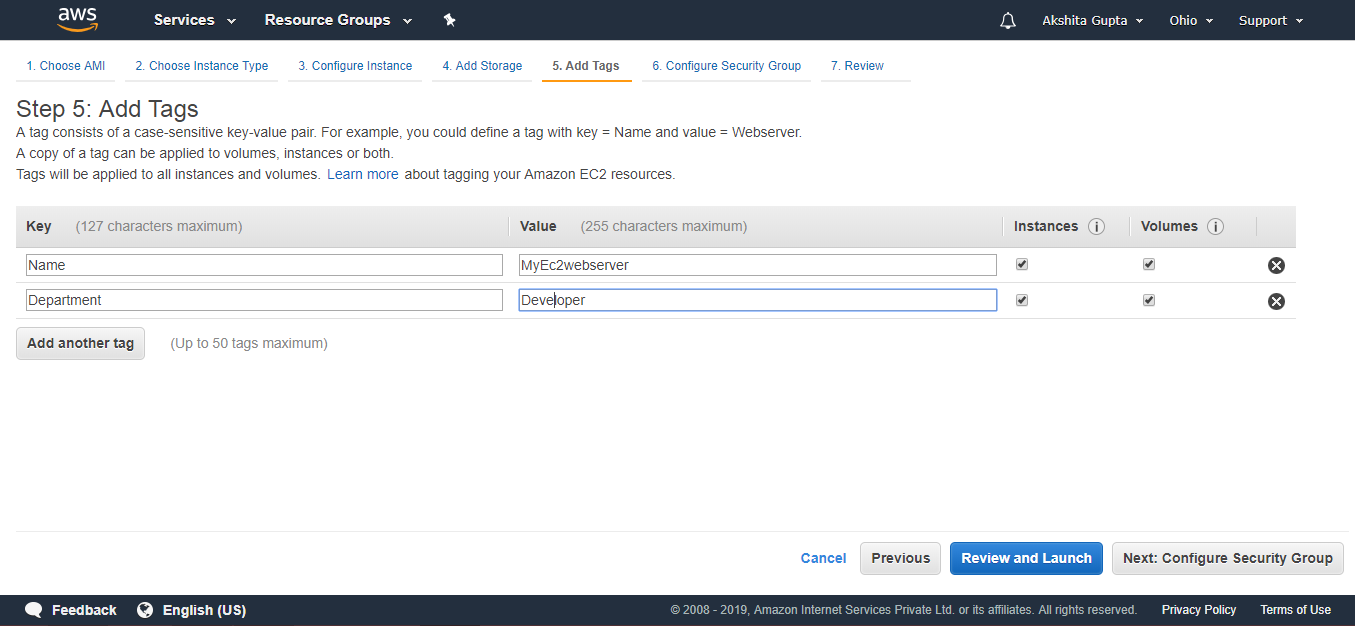
In the above screen, we observe that we add two tags, i.e., the name of the server and department. Create as many tags as you can as it reduces the overall cost.
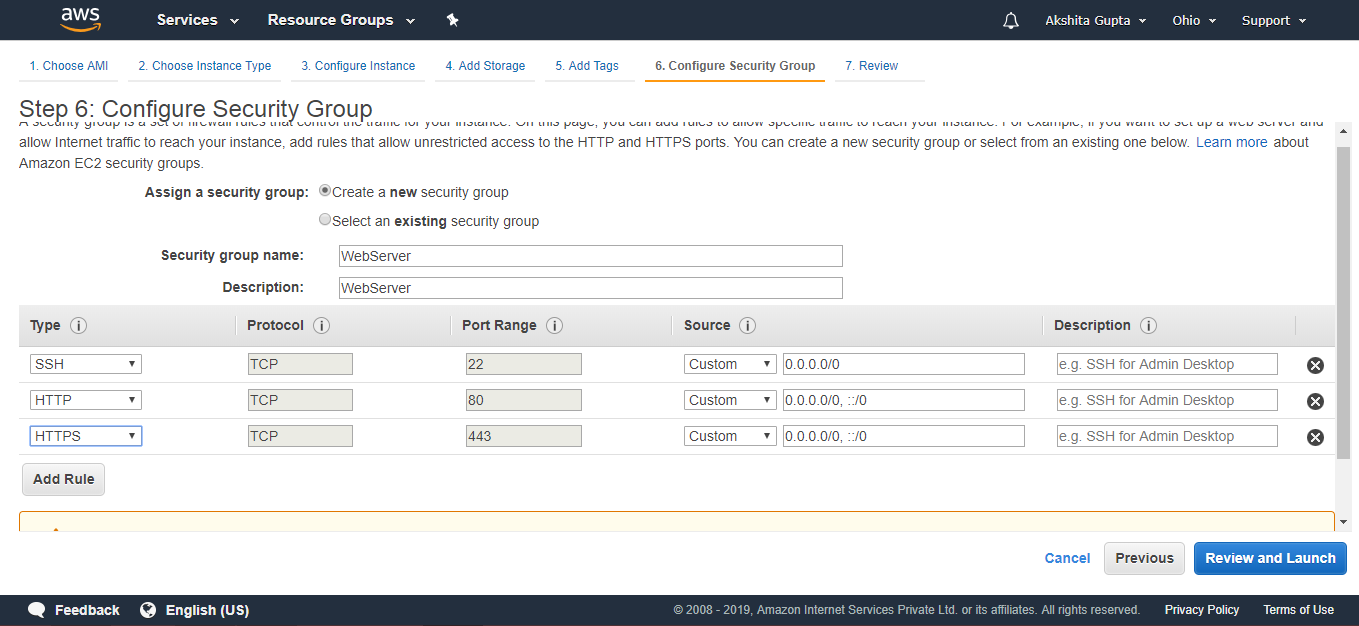
- Configure Security Group. The security group allows some specific traffic to access your instance.
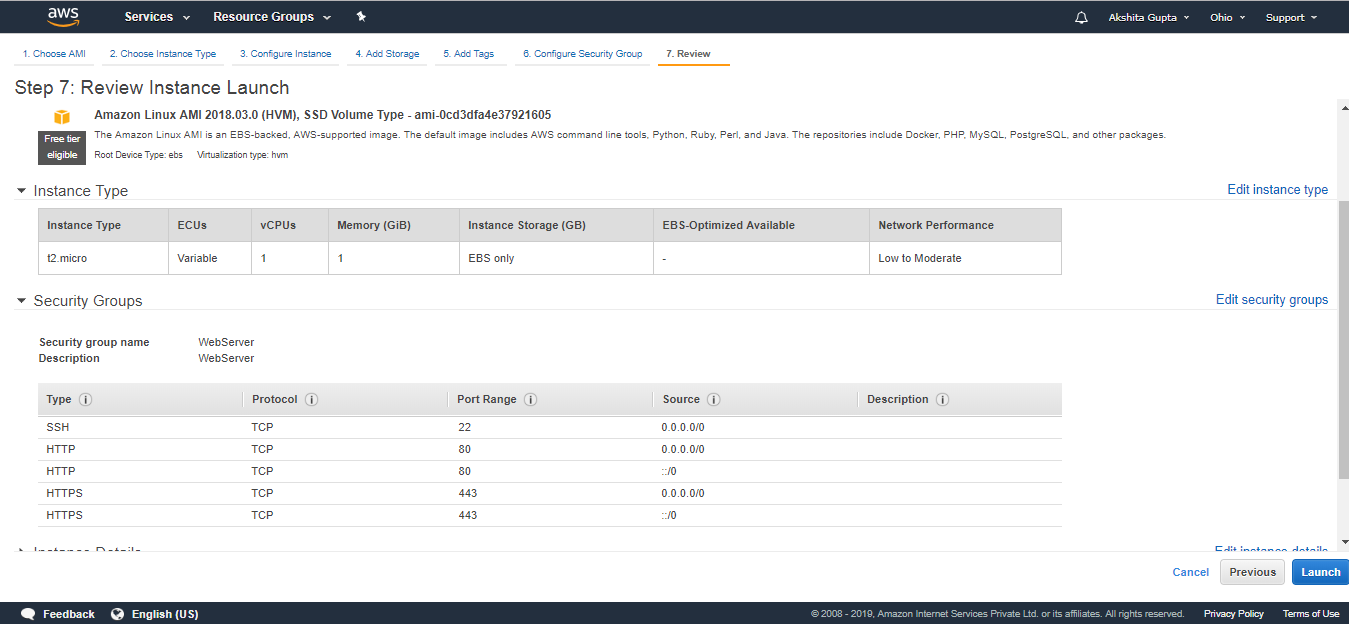
- Review an EC2 instance that you have just configured, and then click on the Launch button.
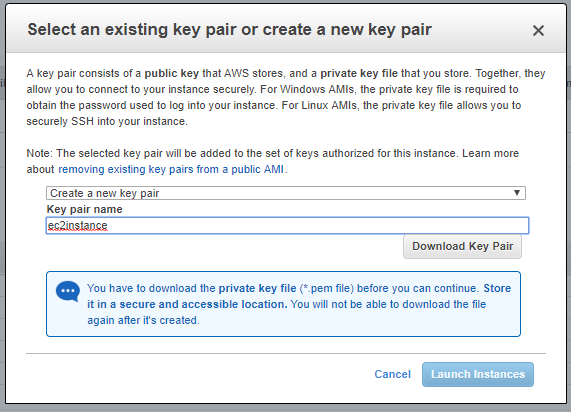
- Create a new key pair and enter the name of the key pair. Download the Key pair.
- Click on the Launch Instances button.
- To use an EC2 instance in Windows, you need to install both Putty and PuttyKeyGen.
- Download the Putty and PuttyKeyGen.
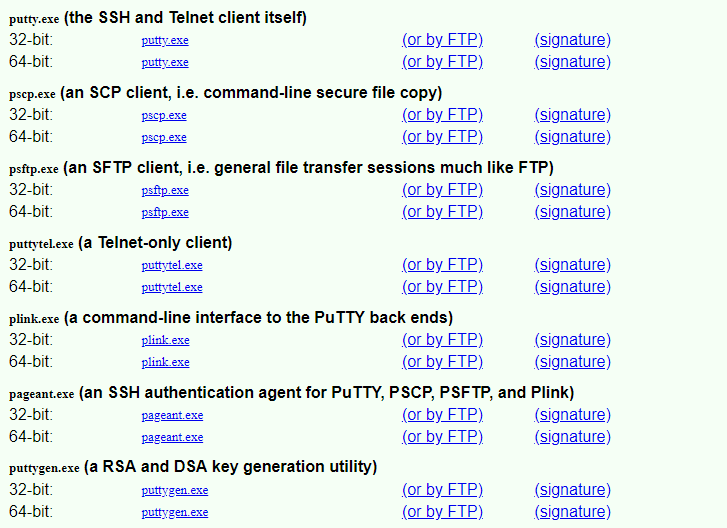
- Download the putty.exe and puttygen.exe file.
- In order to use the key-pair which we have downloaded previously, we need to convert the pem file to ppk file. Puttygen is used to convert the pem file to ppk file.
- Open the Puttygen software.
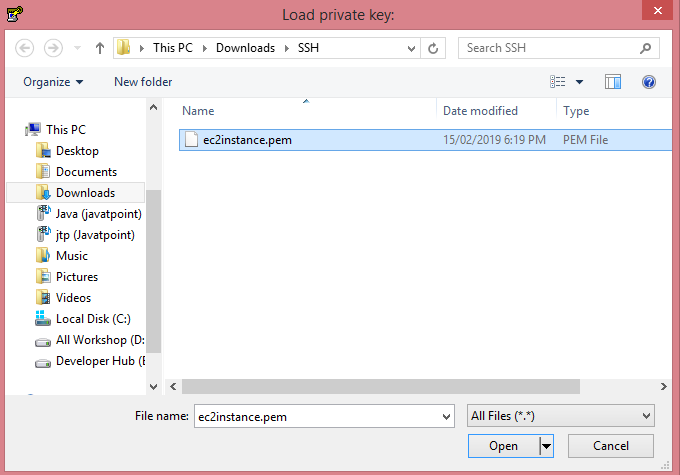
- Click on the Load.

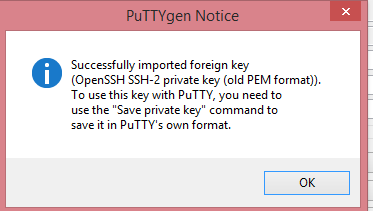
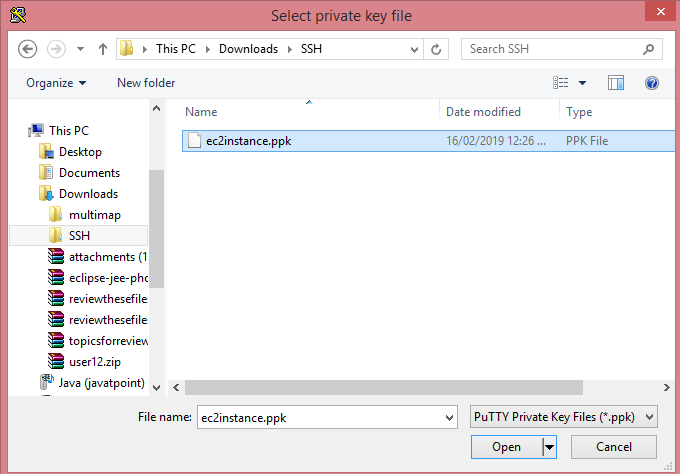
- Open the key-pair file, i.e., ec2instance.pem.
- Click on the OK button.
- Click on the Save private key. Change the file extension from pem to ppk.
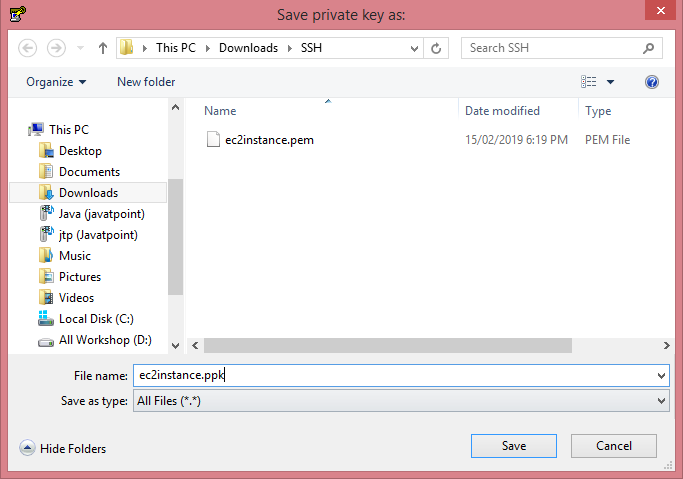
- Click on the Save button.
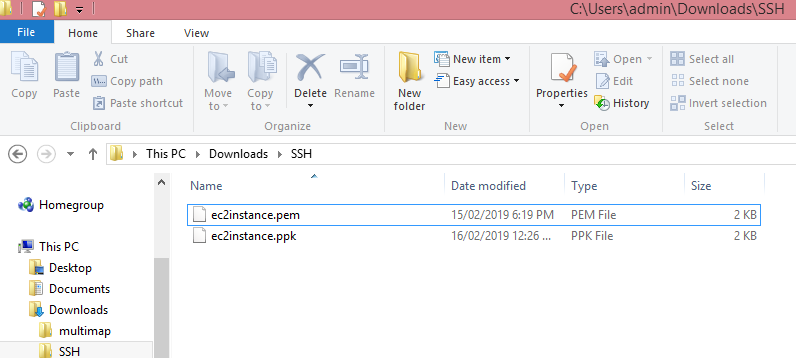
- Move to the download directory where the ppk file is downloaded.
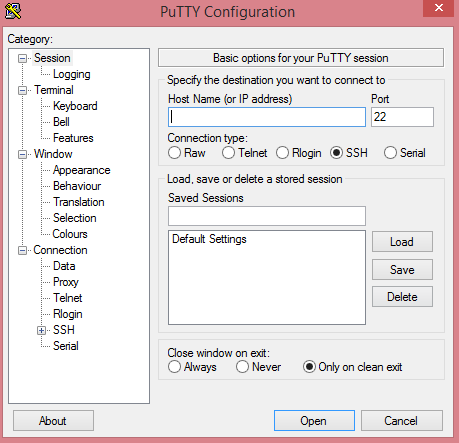
- Open the Putty.
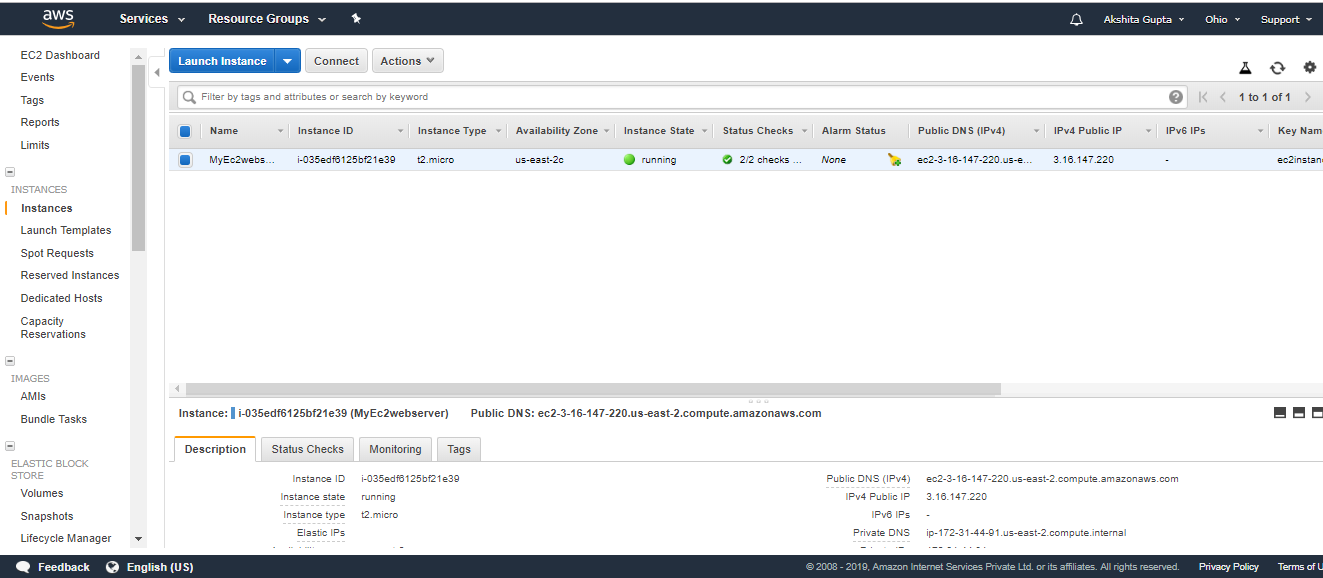
- Move to the EC2 instance that you have created and copy its IP address.

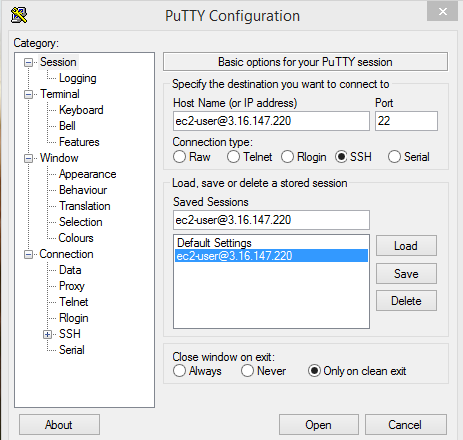
- Now, move to the Putty configuration and type [email protected], and then paste the IP address that you have copied in a previous step. Copy the Host Name in Saved Sessions.
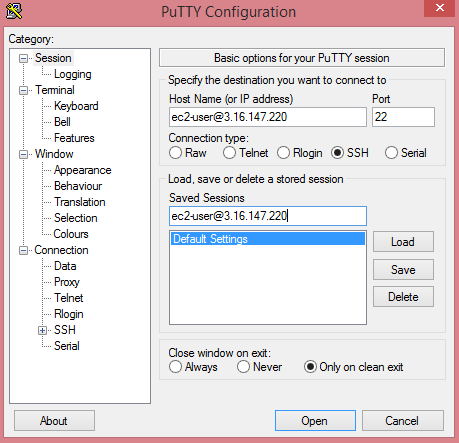
Now, your Host Name is saved in the default settings.
- Click on the SSH category appearing on the left side of the Putty, then click on the Auth.
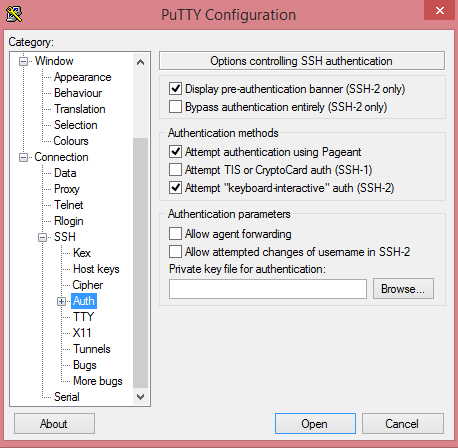
- Click on the Browse to open the ppk file.
- Move to the Session category, click on the Save to save the settings.
- Click on the Open button to open the Putty window.
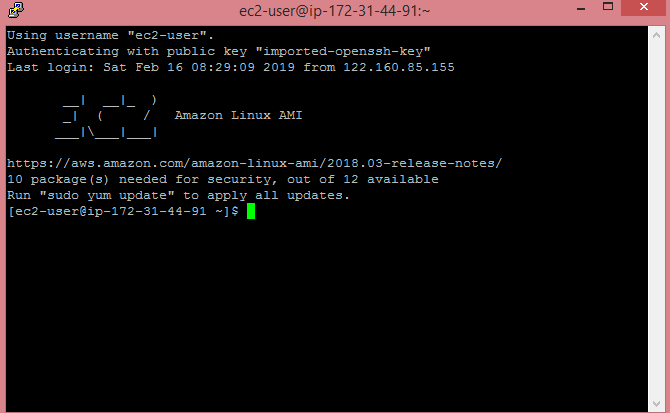
The above screen shows that we are connected to the EC2 instance.
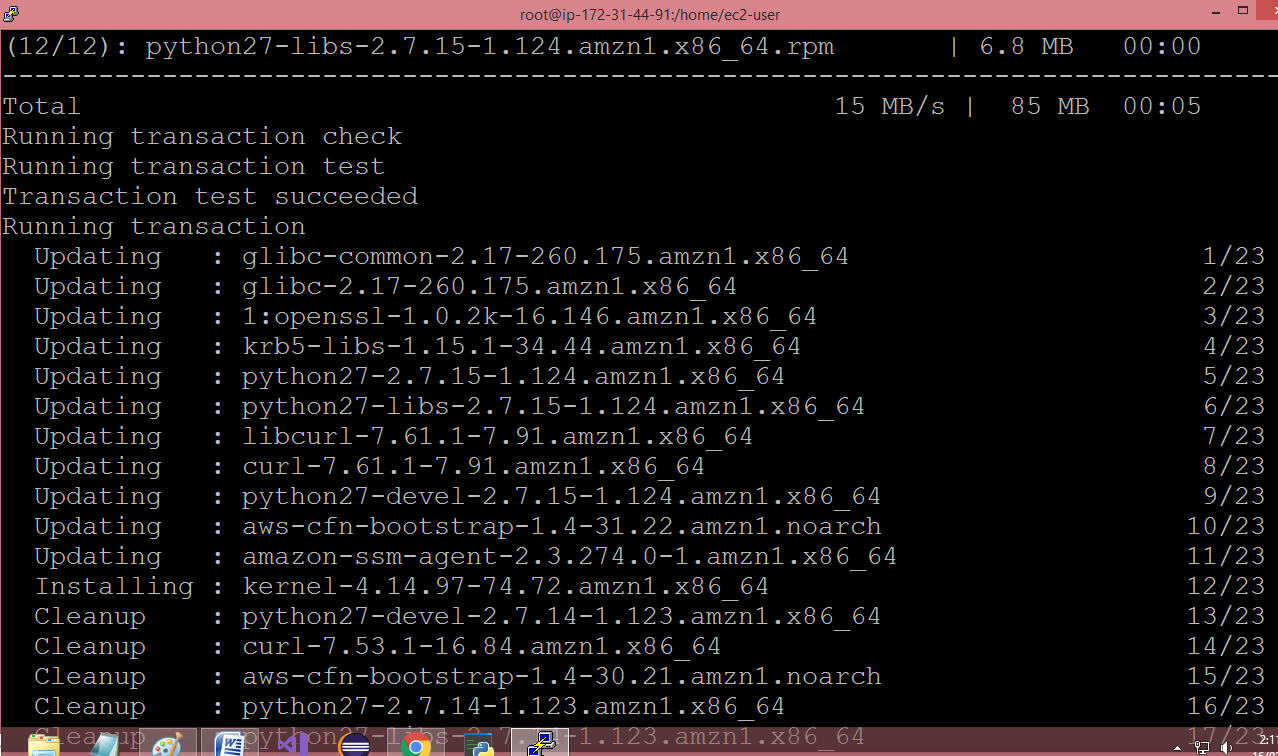
- Run the command sudo su, and then run the command yum update -y to update the EC2 instance.
Note: sudo su is a command which is used to provide the privileges to the root level.
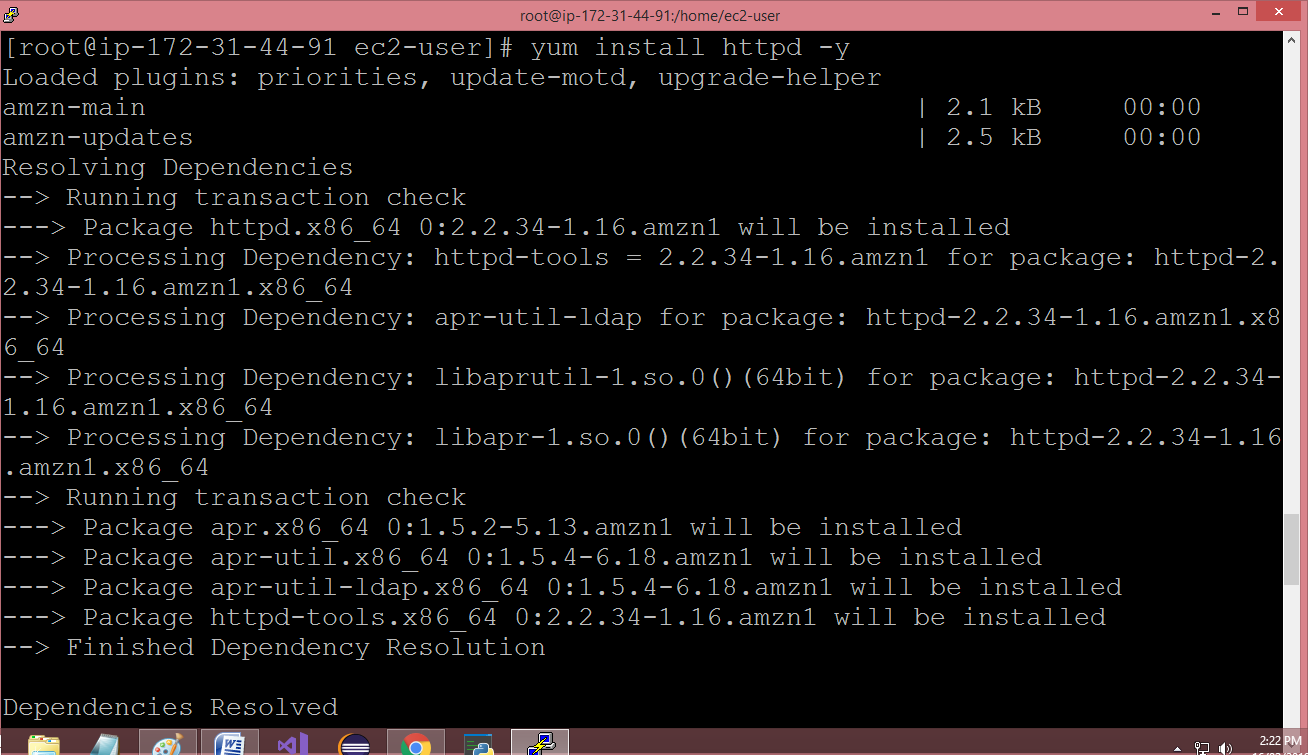
- Now, we install the apache web server to ensure that an EC2 instance becomes a web server by running a command yum install httpd -y.
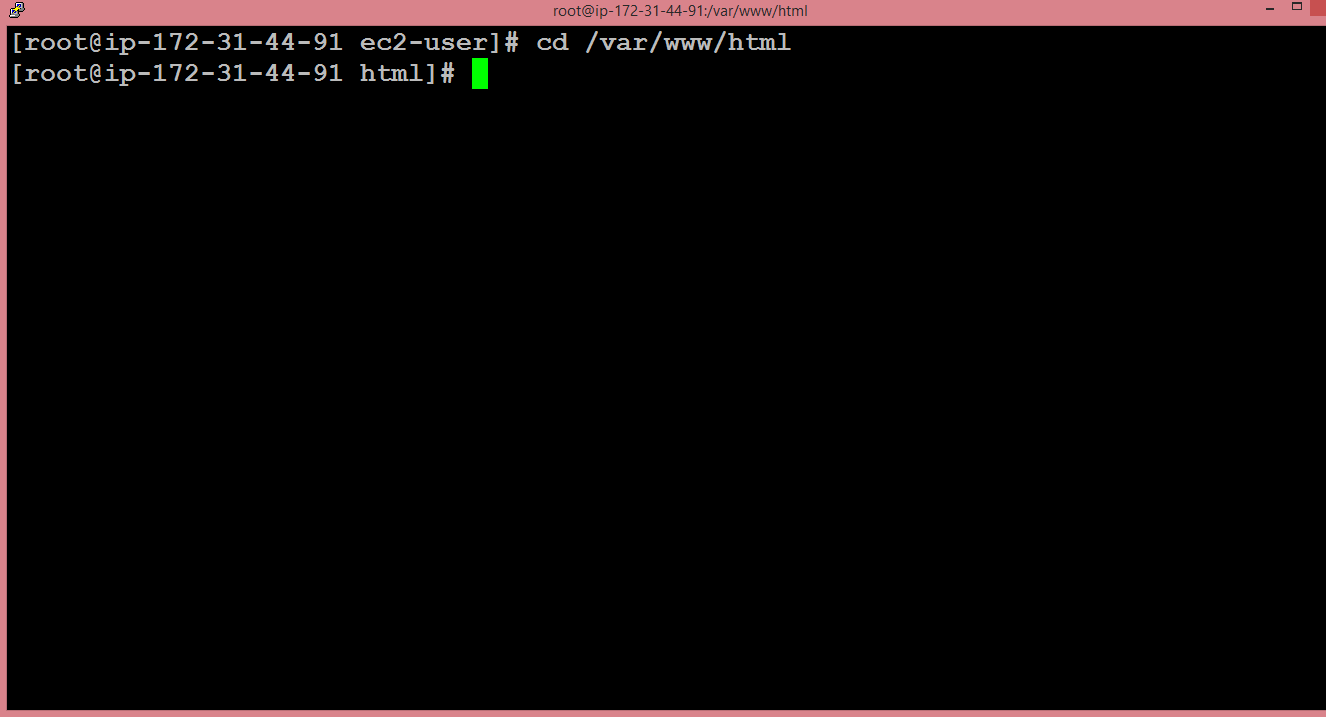
- Run the command cd /var/www/html.
- To list the files available in the html folder, run the command ls.
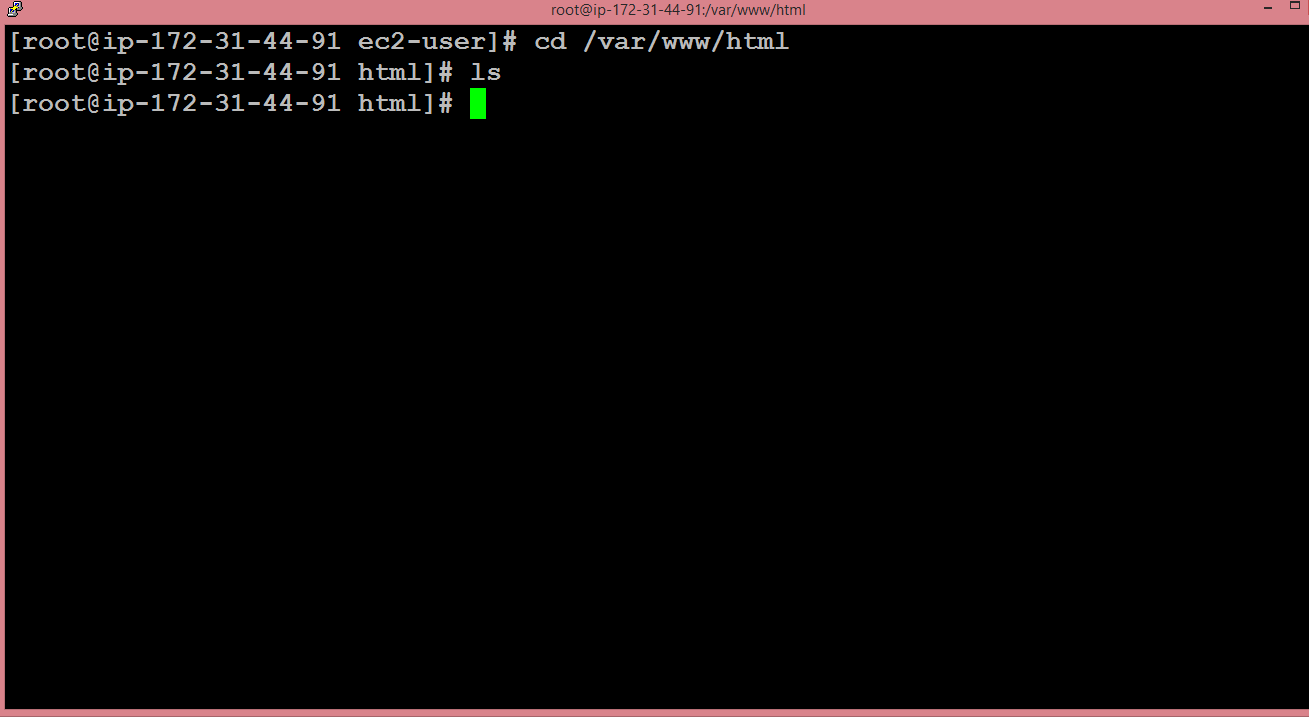
We observe that on running the command ls, we do not get any output. It means that it does not contain any file.
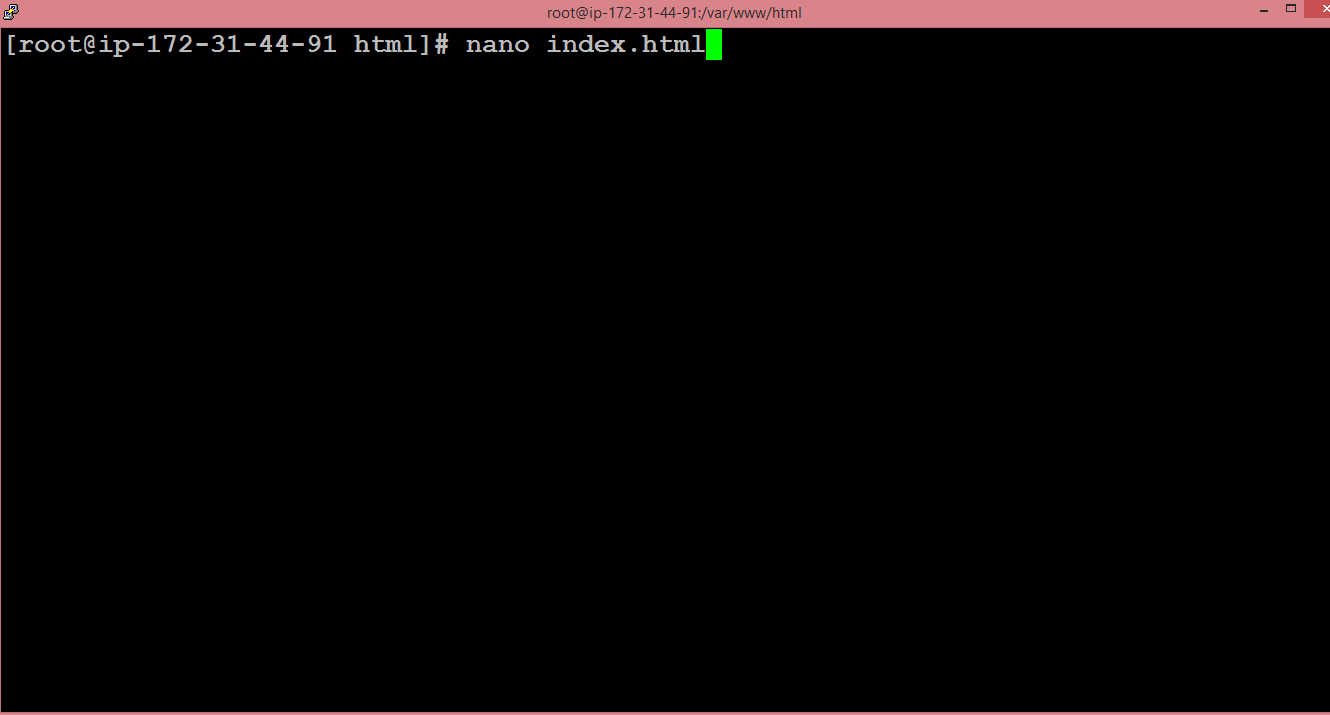
- We create a text editor, and the text editor is created by running the command nano index.html where index.html is the name of the web page.
- The text editor is shown below where we write the HTML code.
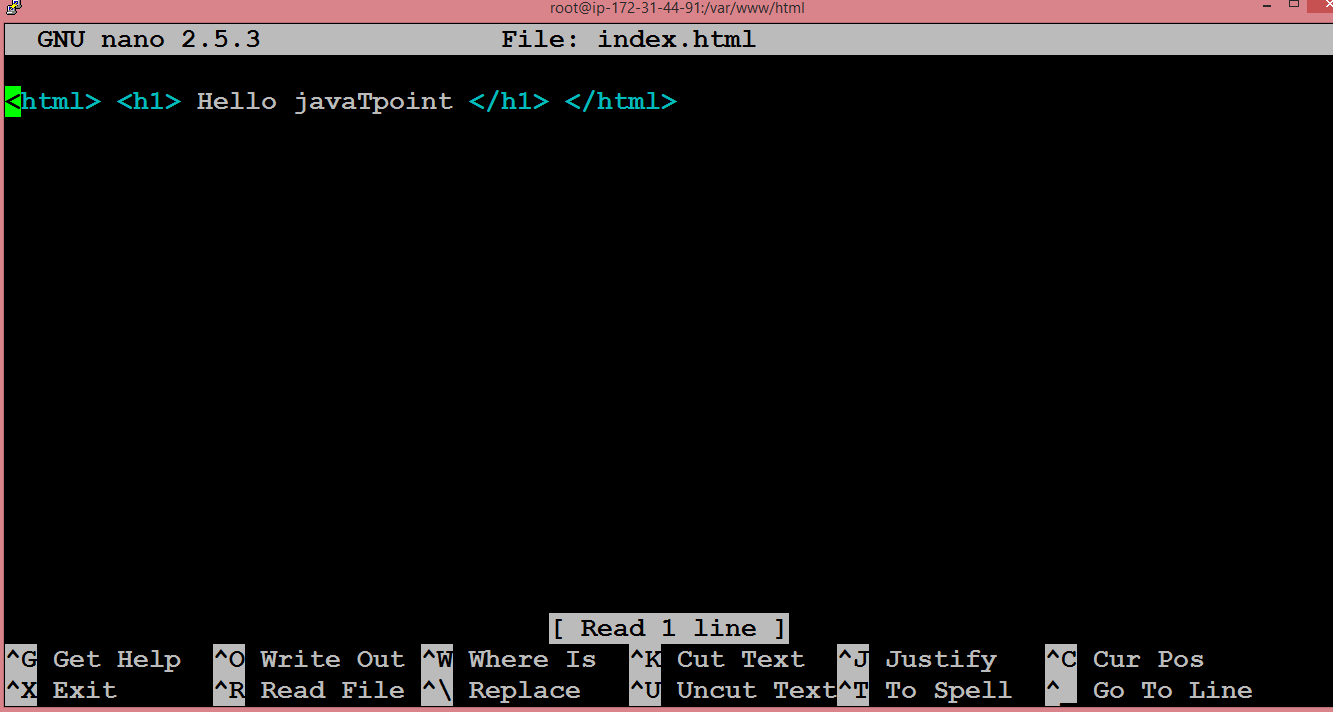
After writing the HTML code, press ctrl+X to exit, then press ‘Y’ to save the page and press Enter.
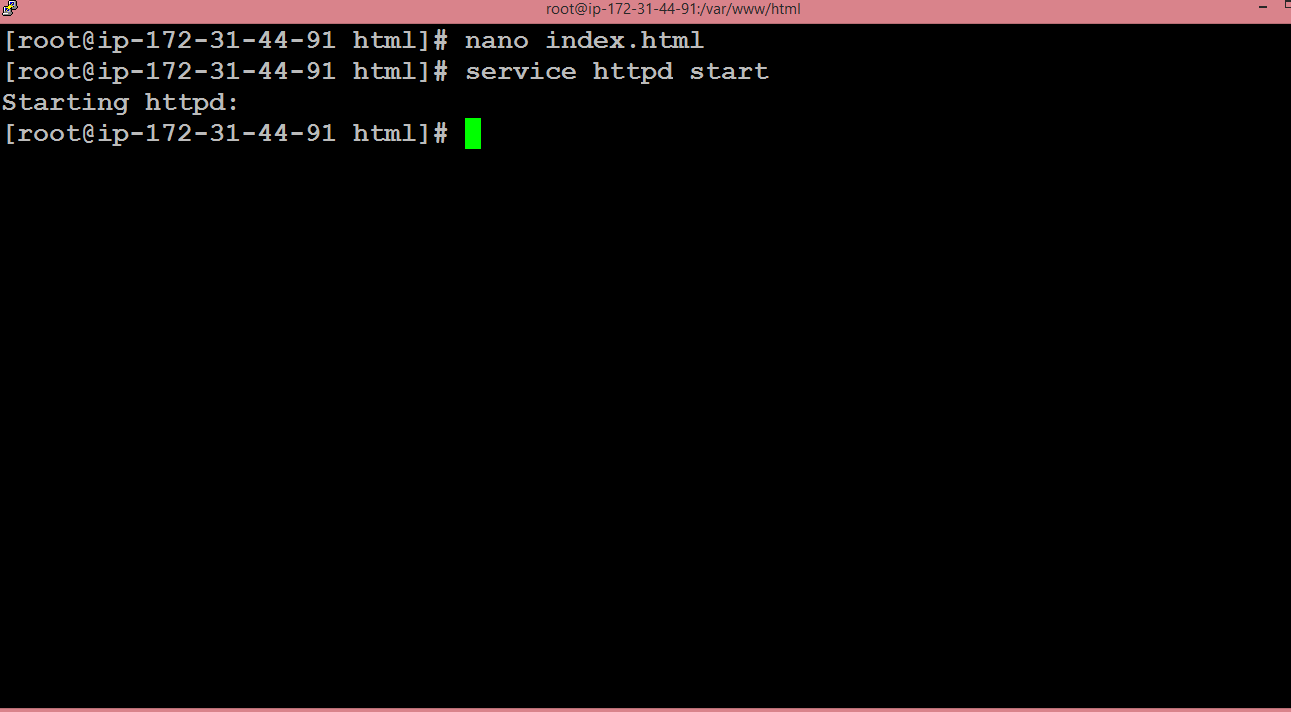
- Start the Apache server by running the command service httpd start.
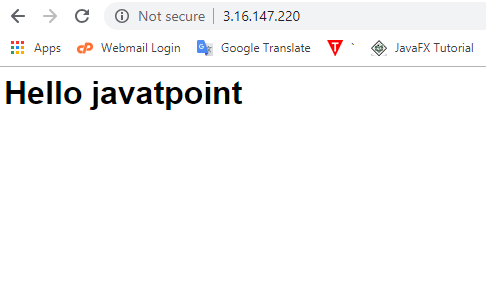
- Go to the web browser and paste the IP address which is used to connect to your EC2 instance. You will see the web page that you have created.