What is a VPC FlowLog?
- VPC FlowLog is a feature of aws that captures the information about the IP traffic going to or from the network interfaces in a VPC.
- Amazon FlowLog data can be either stored either by using the Amazon CloudWatchLogs or Amazon S3 bucket.
- After you have created a FlowLog, you can view and retrieve the data from the Amazon CloudWatch Logs.
- In short, we can say that VPC FlowLog is a way of storing the traffic going in a VPC.
- FlowLogs serve a number of purposes:
- Troubleshoot the problem “why specific traffic is not reaching an instance”.
- VPC FlowLog can also be used as a security tool to monitor the traffic which is reaching your instance.
Limitations of VPC FlowLog:
- You cannot enable the flowlog of VPC that are peered with your VPC unless it has peered with the VPC in the same account.
- While creating a flowlog, you cannot tag a flowlog.
- Once you have created the flowlog, you cannot change its configuration. For example, if you associate an IAM role to the flowlog then you cannot change the IAM role. In such cases, you need to delete the flowlog and create the new flowlog with the desired configuration.
VPC FlowLog Levels
VPC FlowLogs can be created at three levels:
- VPC
- Subnet
- Network Interface Level
How to create a VPC FlowLog
- Sign in to the AWS Management Console.
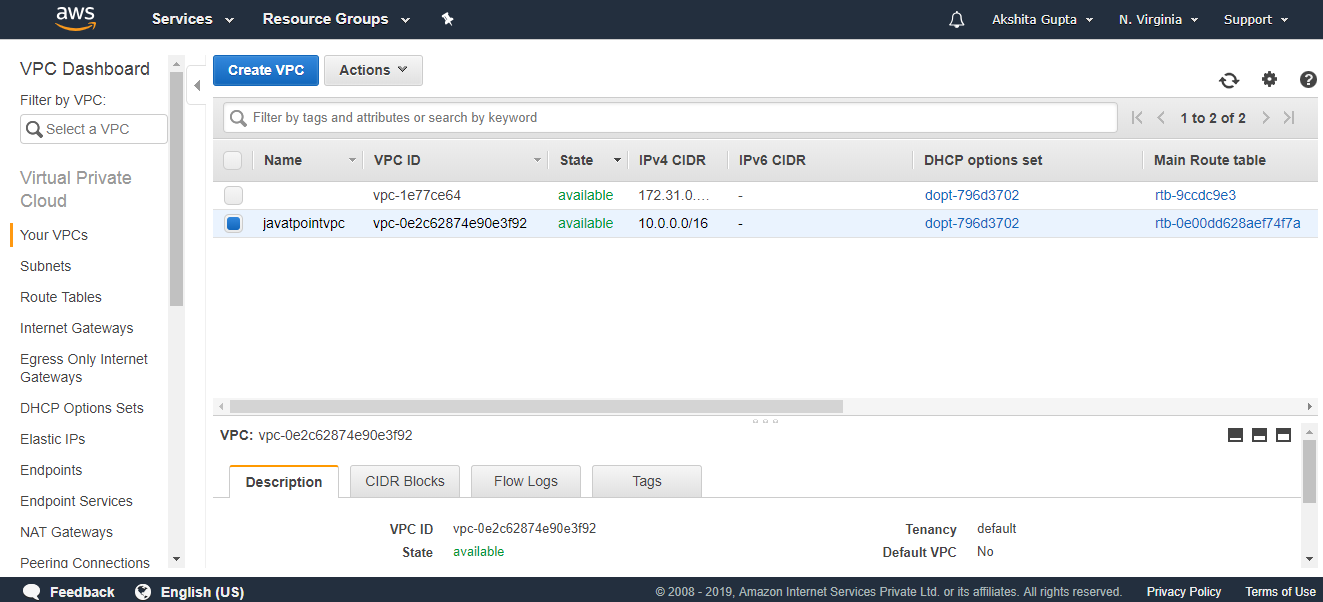
- Move to the VPC service and we can see from the below screen that VPC with the name tutoraspirevpc has already been created.
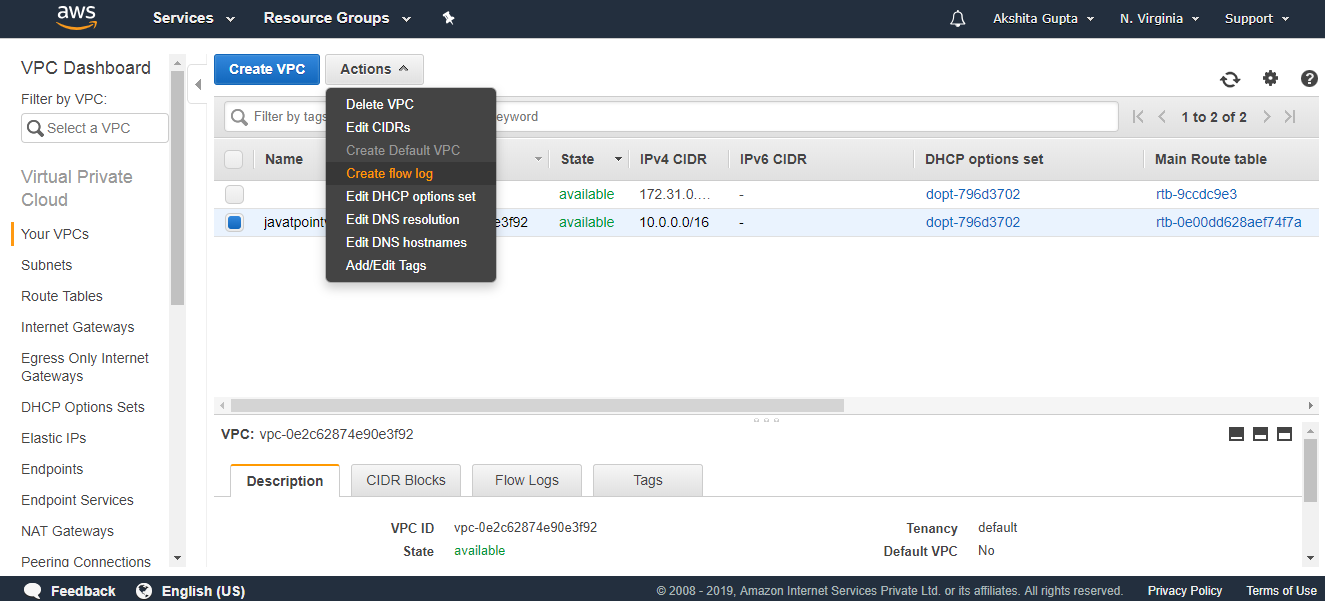
- Click on the custom VPC and then click on the Actions drop-down menu. Click on the create FlowLog.
- Fill the following details to create a flow log.
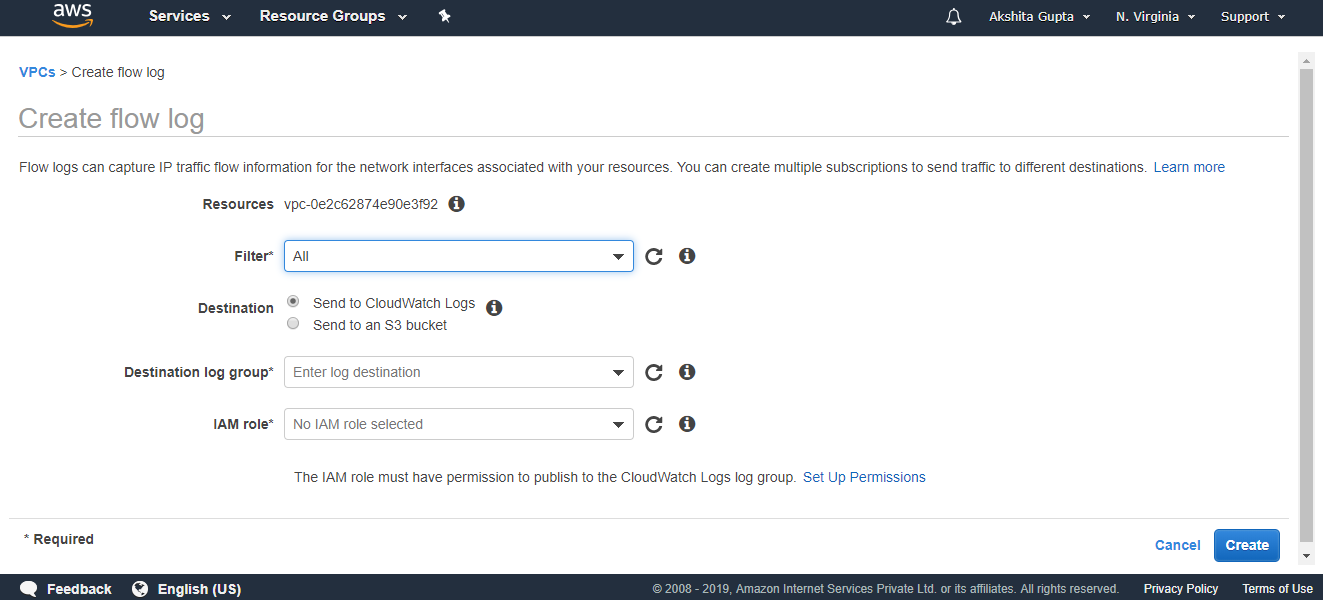
Where,
Filter: It determines the type of traffic to be logged. There are three types of filters: All, Accept and Reject. ‘All’ is used to log both accepted and rejected traffic. ‘Accept’ is used to log only accepted traffic while ‘Reject’ logs only rejected traffic.
Destination: Destination determines where you want to send your traffic. Two types of destinations are available: Send to CloudWatch Logs and Send to an S3 bucket. I choose “Send to CloudWatch Logs” as a destination.
Destination log group: It determines the name of the destination. Till now, we have not created the CloudWatch Log. First, we create CloudWatch Log and then add the name of the Log to this Log group.
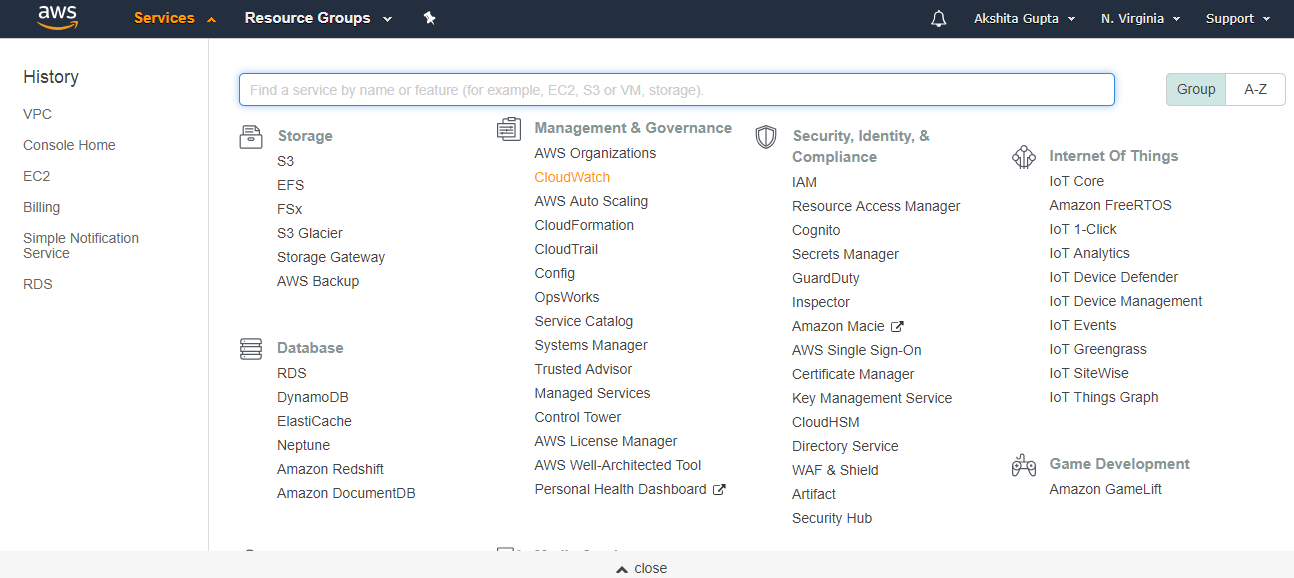
- Click on the CloudWatch.
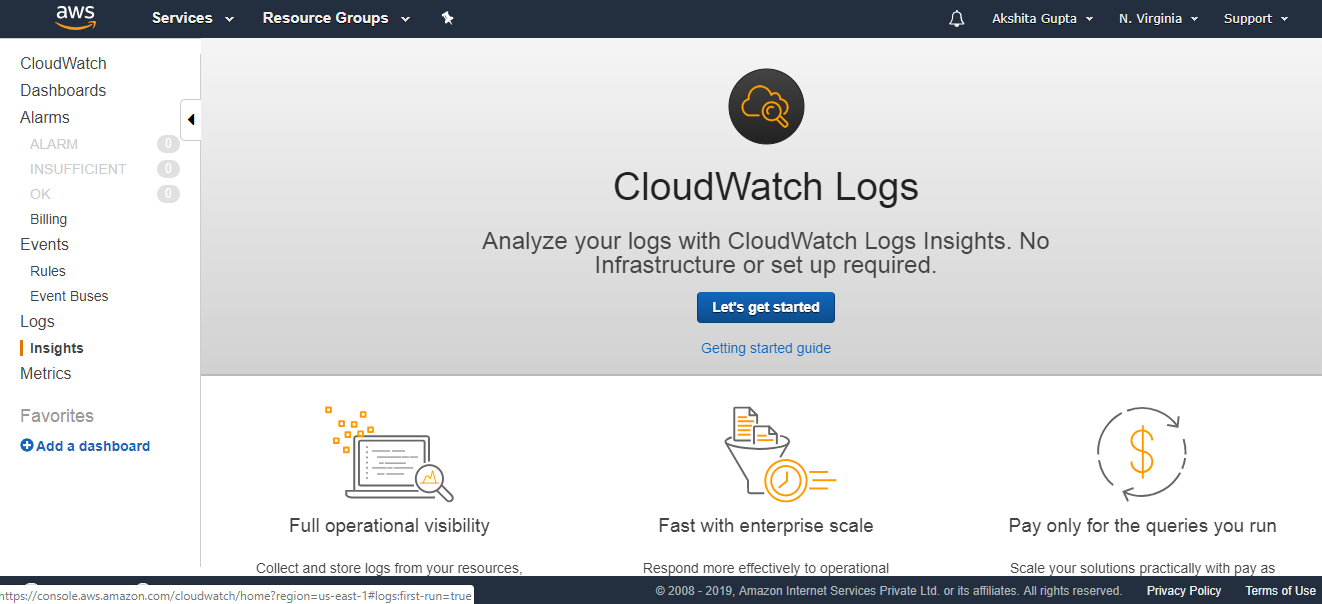
- Click on the Logs appearing on the left side of the console.

- Click on the “Let’s get started” button.
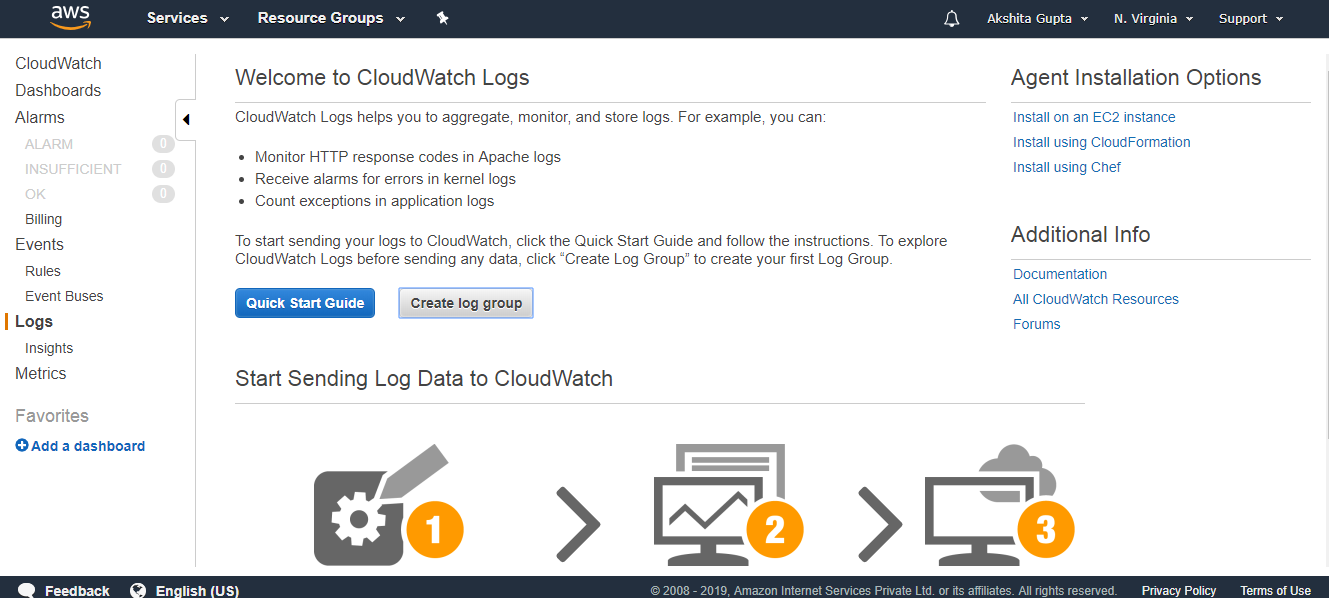
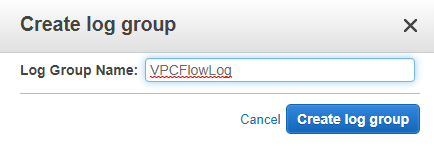
- Click on the Create log group button.
- Enter the Log Group Name.
- Finally, CloudWatch log is created. Enter the log name in FlowLog console.
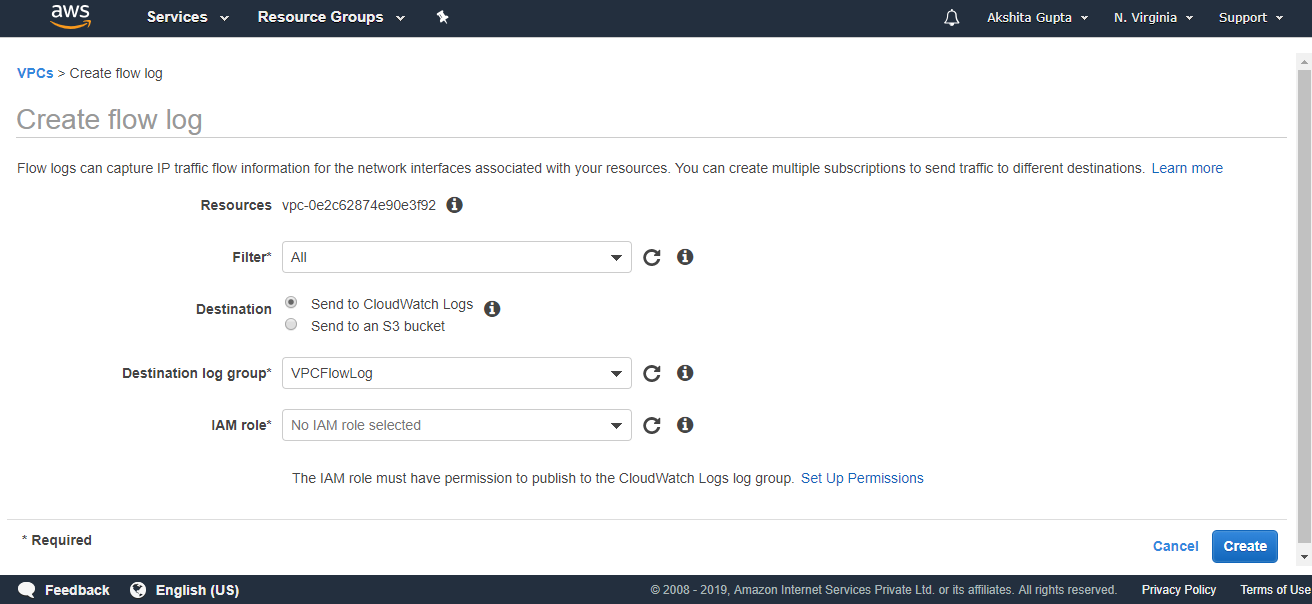
From the above screen, we have observed that “No IAM role selected”. To select the IAM role, we need to create an IAM role first. Click on the Set Up Permissions.
- To create an IAM role, enter the role name and then click on the Allow button.

- After creating the IAM role, enter the IAM role in the FlowLog console.
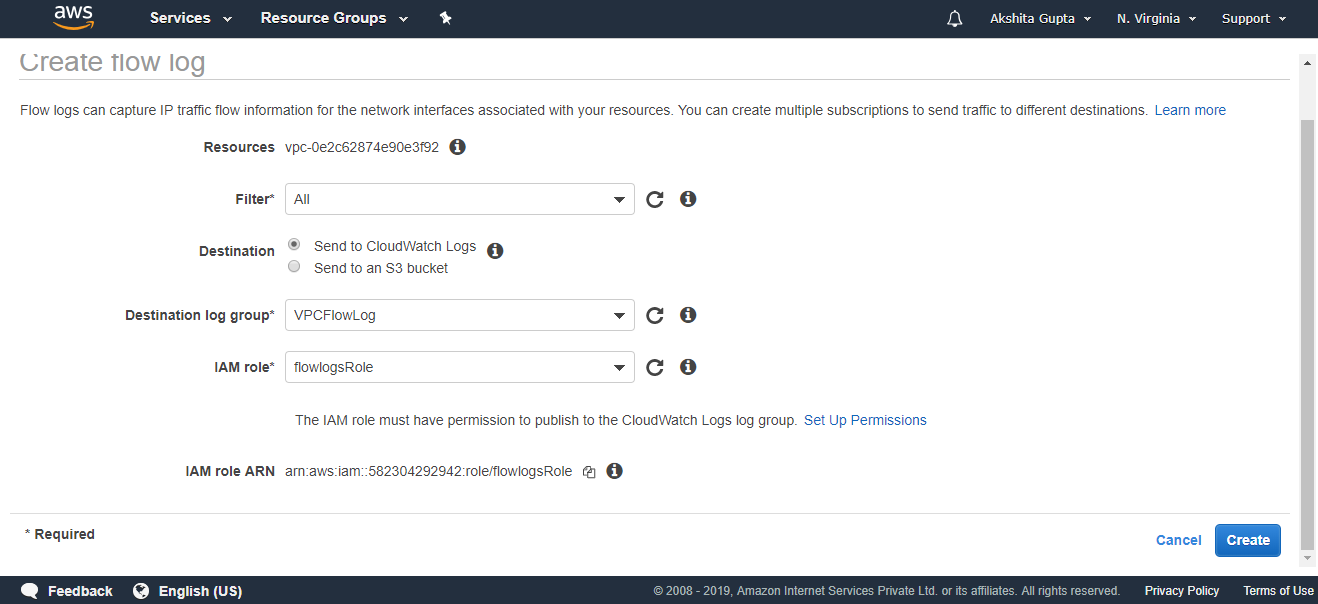
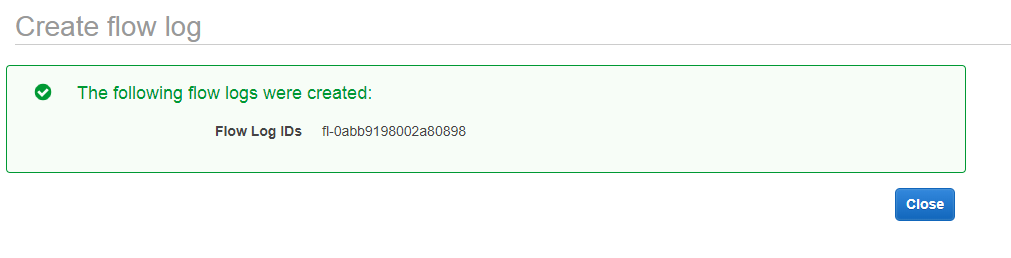
- The below screen shows that the flowlog hs been created.