Azure DevOps Pipeline
Azure Pipeline is a cloud service that we can use to build and test our code project automatically. The Azure pipeline has a lot of capabilities such as continuous integration and continuous delivery to regularly and consistently test and builds our code and ship to any target.
There are three key distinct advantages of using Azure DevOps pipelines.
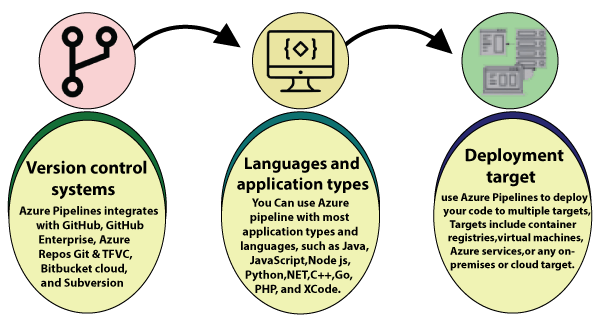
Version control system: Azure Pipelines integrates with GitHub, GitHub Enterprise, Azure Repos Git & TFVC, Bitbucket Cloud, and Subversion.
Language and application types: We can use Azure Pipeline with most application types and languages, such as Java, JavaScript, Node.js, Python, .Net, C++, Go, PHP, and Xcode.
Deployment target: We can use Azure Pipelines to deploy our code to multiple targets. Targets include – container registries, virtual machines, Azure services, or any on-premises or cloud target.
Azure DevOps Pipeline concepts
- Pipeline: It is a workflow that defines how our test, build, and deployment steps are run.
- Stage: It is a logical boundary in the pipeline. It can be used to mark the separation of concerns. Each stage contains one or more jobs.
- Job: A stage can contain one or more jobs. Each job runs on an agent. It represents an execution boundary of a set of steps.
- Step: It is the smallest building block of a pipeline. It can either be a script or a task. A task is simply an already created script offered as a convenience to you.
- Agent and Agent pools: An agent is an installable software that runs one job at a time. Instead of managing each agent individually, you organize agents into agent pools.
- Artifact: It is a collection of files or packages published by a run. The Artifact is made available to subsequent tasks, such as distribution or deployment.
- Trigger: It is something that is set up to tell the pipeline when to run. We can configure a pipeline to run upon a push to the repository, at scheduled times, etc.
- Environment: It is a collection of resources, where you deploy your application. It contains one or more virtual machines, containers, web apps, etc.
- Checks: Checks define a set of validations required before a deployment can be performed.
- Runs: It represents a single execution of a pipeline and collects the logs associated with running the steps and the results of running tests.
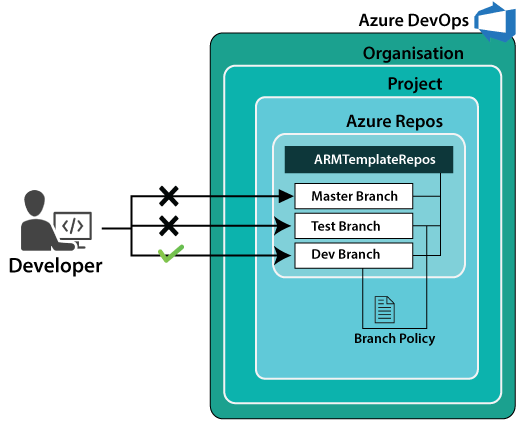
Publish ARM deployment project into DevOps Repos and deploy using pipeline
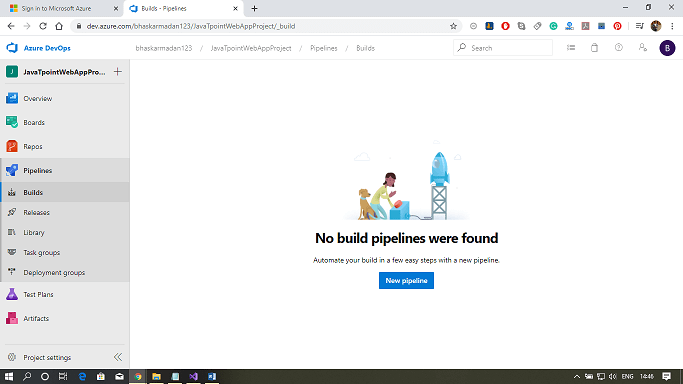
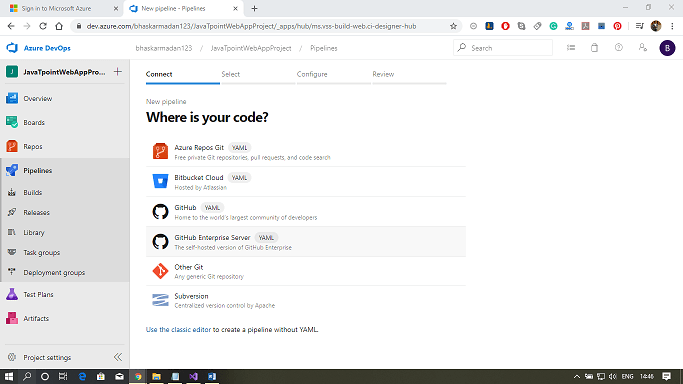
Step 1: Go into the Azure DevOps project and click on pipelines. After that, click on the New pipeline button.
Step 2: Now, Click on the “use the classic editor” link down below.
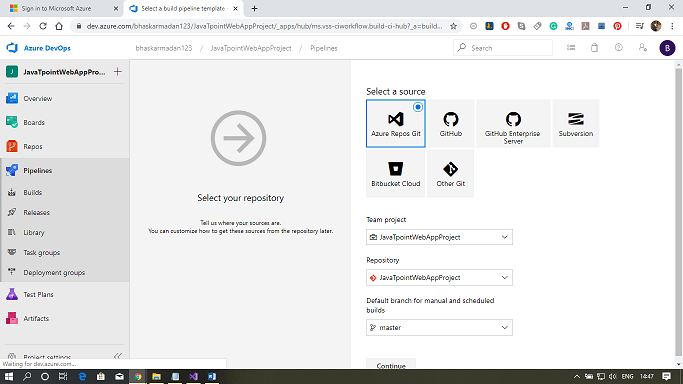
Step 3: Select the project and repository where you want to create the pipeline then click on Continue.
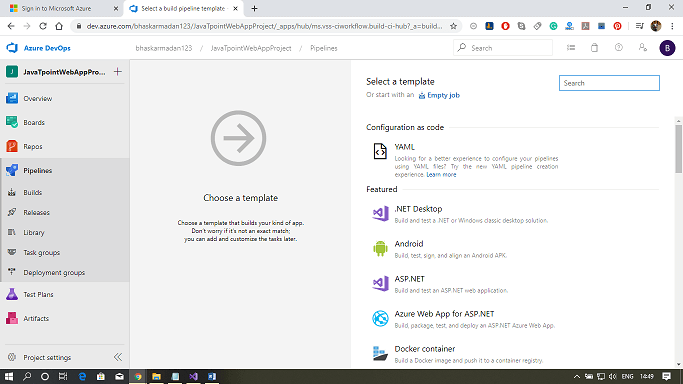
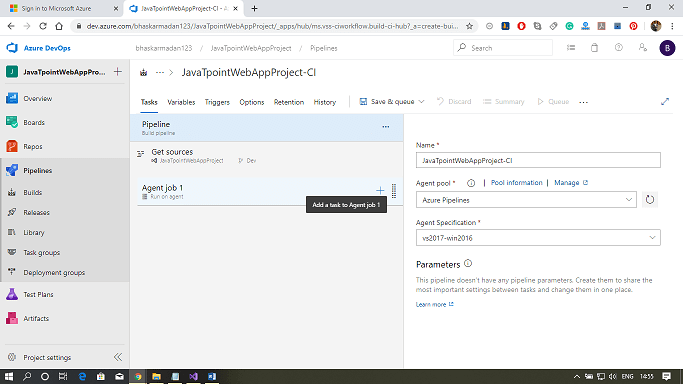
Step 4: Click on the Empty job link to create a job.
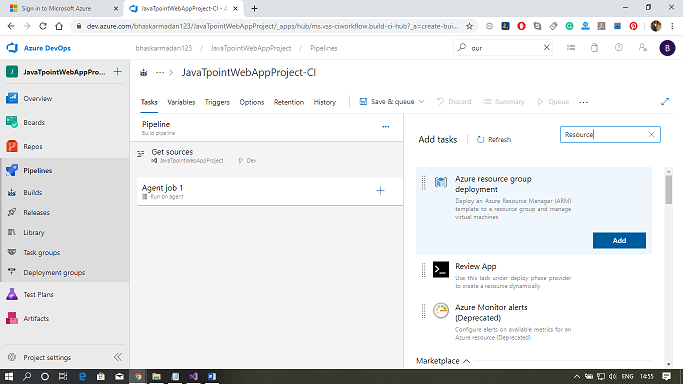
Step 5: Now, you need to add a task for building the activity. Click on the add button on the Agent job 1, then type-in resource group. Finally, click on the Azure Resource group deployment add button.
Step 6: Now, you need to select in which Azure subscription you want to deploy the infrastructure, into which resource group you want to deploy, and what you want to deploy in the form of JSON.
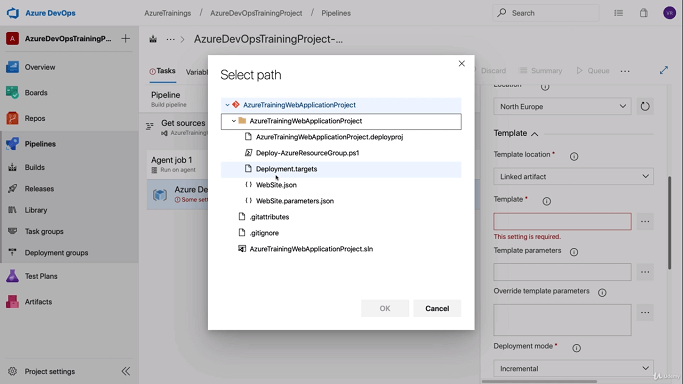
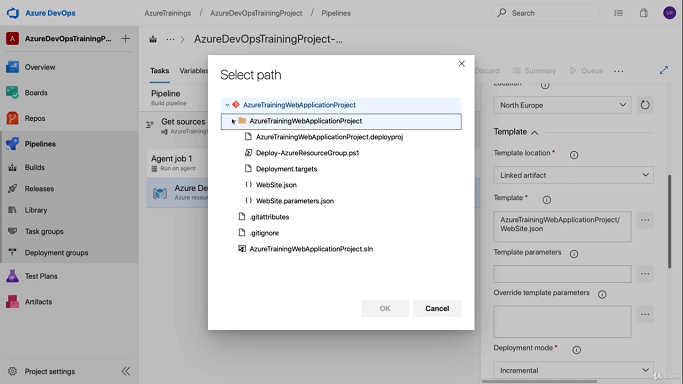
Step 7: Select the template from the repository.
Step 8: After that, select the parameters file.
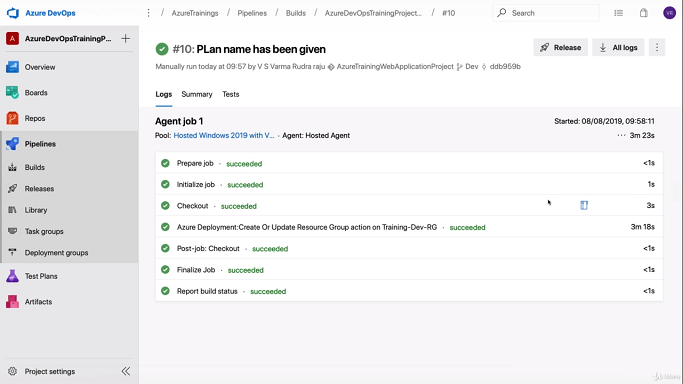
Step 9: Finally, click on Save & Queue. The deployment will take some time.
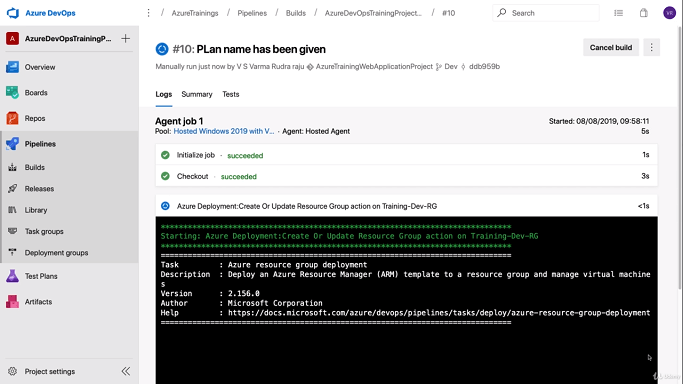
Step 10: Now, you can see the build has been completed successfully.