127
Azure Load Balancer
The load balancer is used to distribute the incoming traffic to the pool of virtual machines. It stops routing the traffic to a failed virtual machine in the pool. In this way, we can make our application resilient to any software or hardware failures in that pool of virtual machines.
Features of Azure load balancer
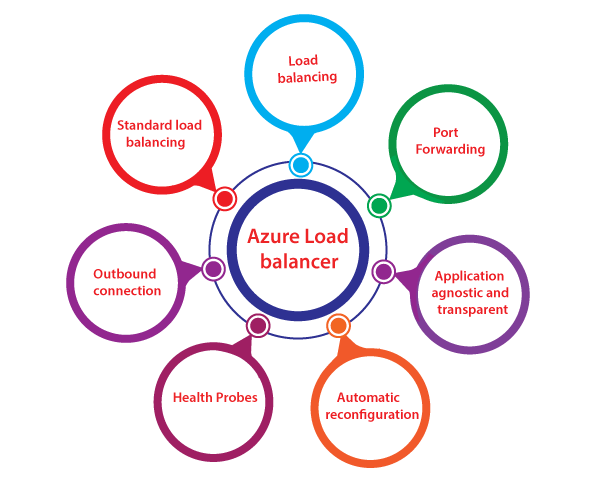
- Load Balancing: Azure load balancer uses a 5-tuple hash composed of source IP, source port, destination IP, destination port, and protocol. We can configure a load balancing role within the load balancer in such a way based on the source port and source IP address from where the traffic is originating.
- Port forwarding: Load balancer also has port forwarding capability if we have a pool of web servers, and we don’t want to associate public IP address for each web server in that pool. If we’re going to carry out any maintenance activities, you need to RDP into those Web servers having a public IP address on that web servers.
- Application agnostic and transparent: Load balancer doesn’t directly interact with TCP or UDP or the application layer. We can route the traffic based on URL or multi-site hosting, and then we can go for the application gateway.
- Automatic reconfiguration: Load balancer can reconfigure itself when we scale up or down instances. So, if we are adding more virtual machines into the backend pool, automatically load balancer will reconfigure.
- Health probes: As we discussed earlier, the load balancer can recognize any failed virtual machines in the backend pool and stop routing the traffic to that particular failed virtual machine. It will recognize using health probes we can configure a health probe to determine the health of the instances in the backend pool.
- Outbound connection: All the outbound flows from a private IP address inside our virtual network to public IP addresses on the Internet can be translated to a frontend IP of the load balancer.
Configuration elements of Load Balancer
- Front-end IP configuration: It is the IP address to which the incoming traffic will initially come to, and Azure load balancer can have one or more front end IP addresses. They are sometimes also called as virtual IPs.
- Back-end address pool: These are the pool of virtual machines to which the traffic will eventually go to.
- Load balancing rules: A load balancing rule is simply a mapping between the front end IP configuration and back-end address pool.
- Probes: Probes enable us to keep track of the health of VM instances. If a health probe files, the VM instance will be taken out of rotation automatically.
- Inbound & Outbound NAT rules: NAT rules defining the inbound traffic flowing through the front end IP and distributes to the backend IP. Outbound rules will transmit VM private IP to load balancer public IP.
Creating Azure Load Balancer
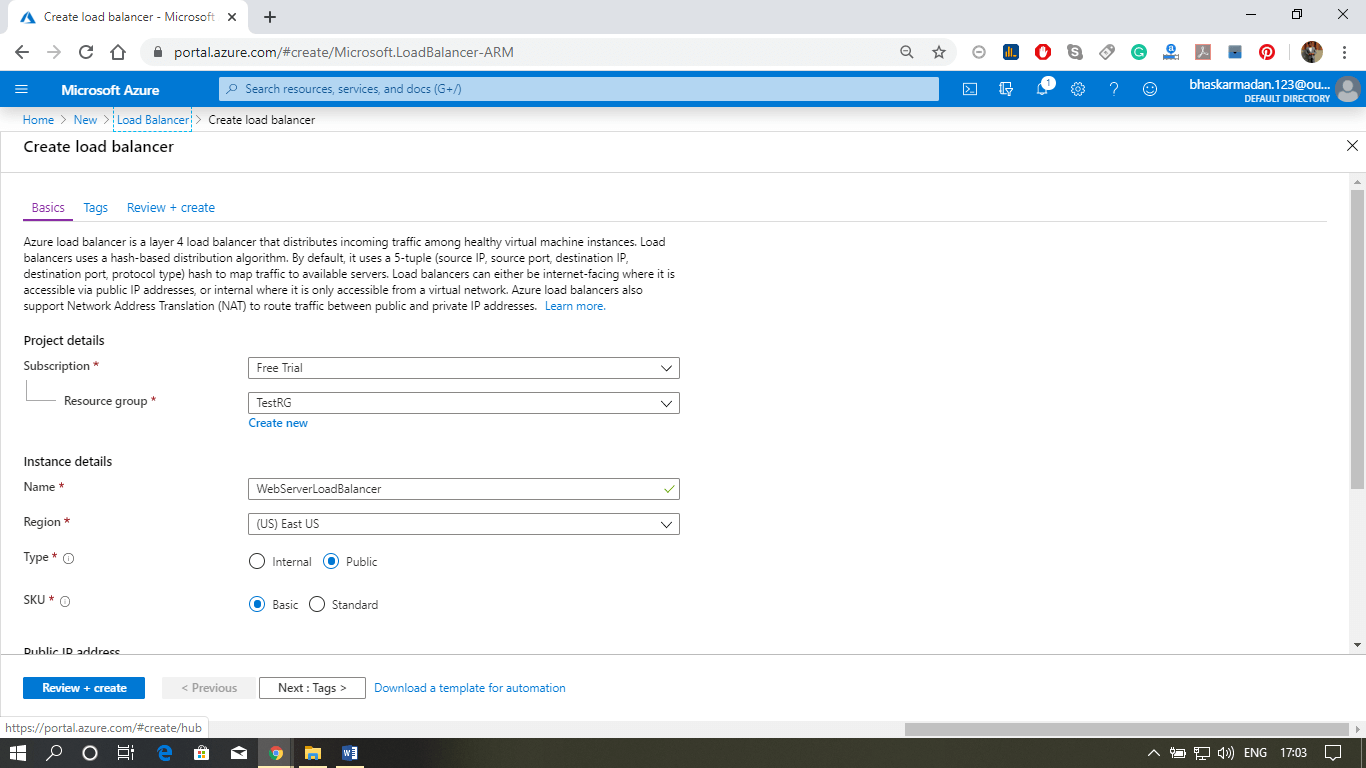
Step1: Go to the Azure portal, and click on create a Resource. After that, type-in Load Balancer, and click on it.

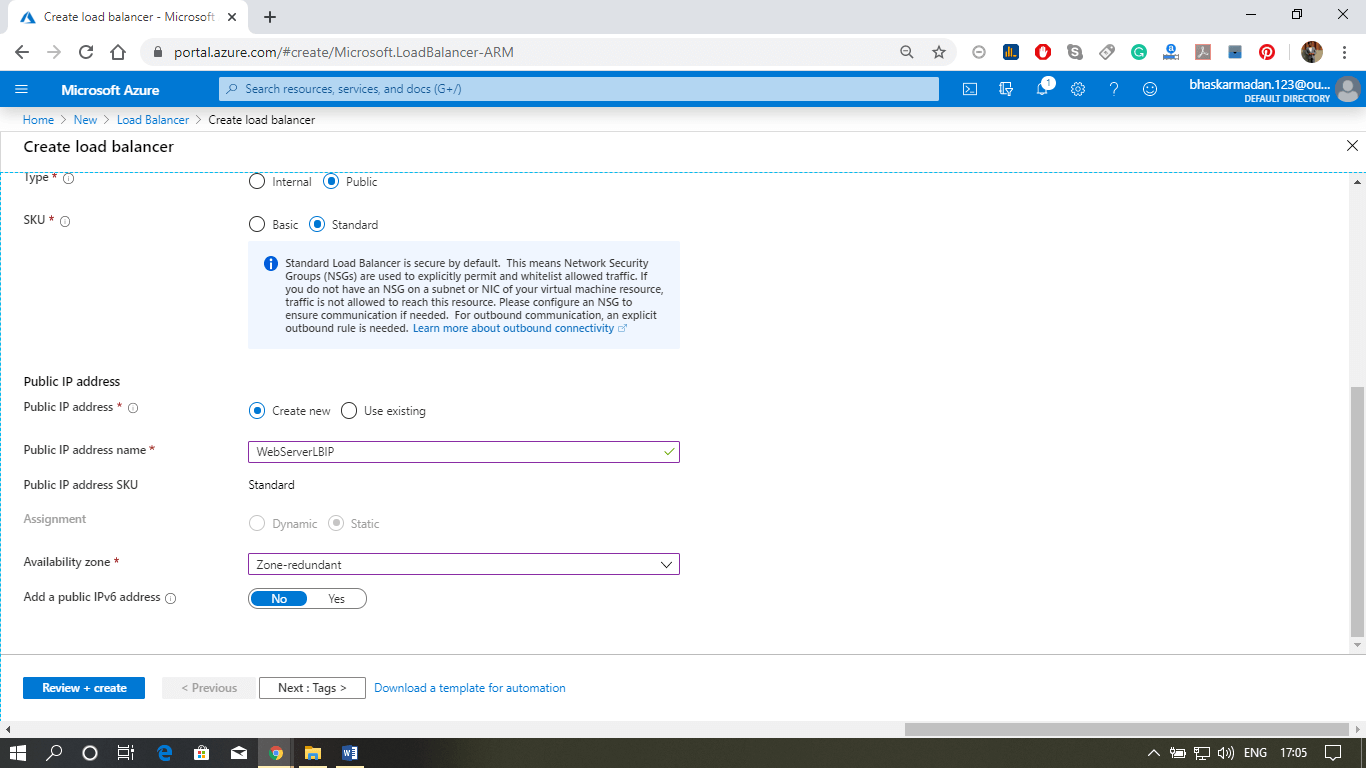
Step 2: You are now on the Load Balancer creation page. Fill all the required details as the figure below. And click on review+create.
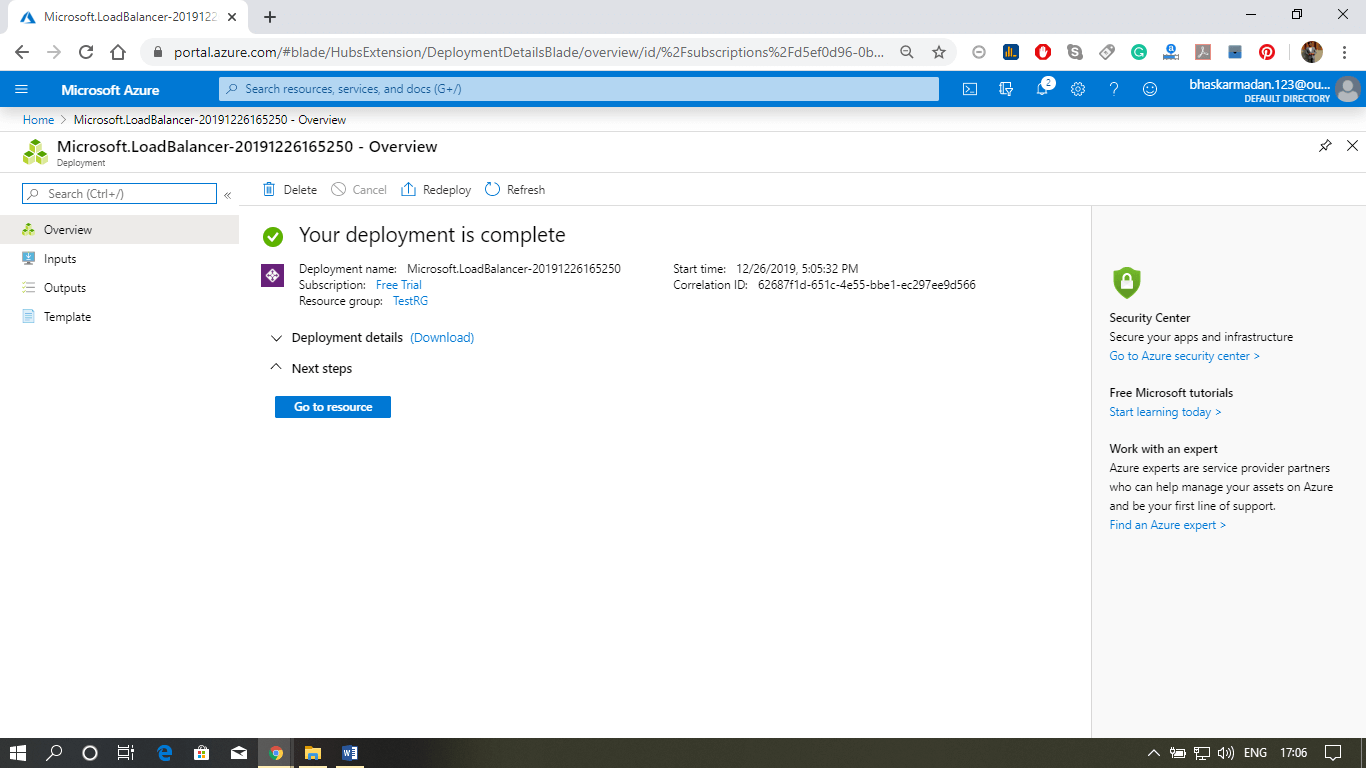
Step 3: You will be redirected to the review page. Check all the details and click on Create.
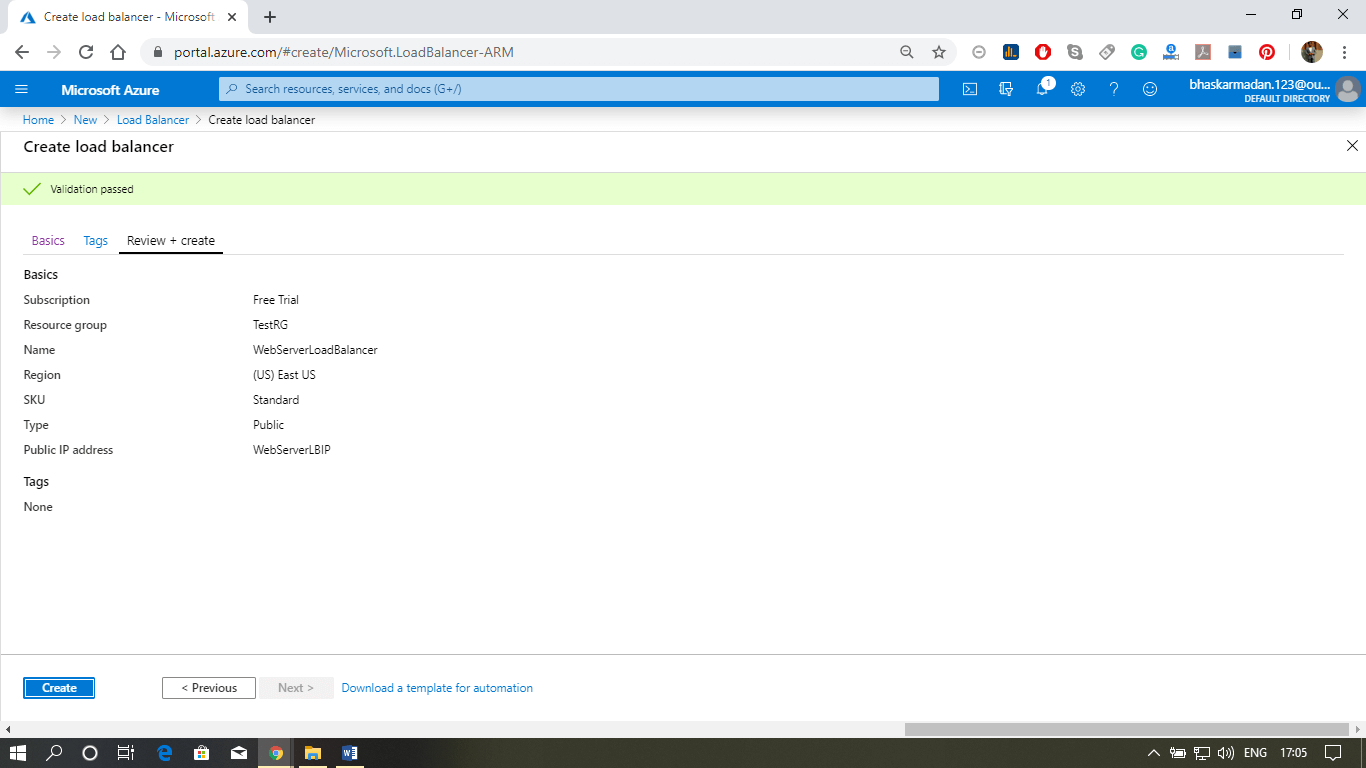
Your Load Balancer is now created.
Next TopicAzure VNet Connectivity