Azure Virtual Machines
Azure Virtual machine will let us create and use virtual machines in the cloud as Infrastructure as a Service. We can use an image provided by Azure, or partner, or we can use our own to create the virtual machine.
Virtual machines can be created and managed using:
- Azure Portal
- Azure PowerShell and ARM templates
- Azure CLI
- Client SDK’s
- REST APIs
Following are the configuration choices that Azure offers while creating a Virtual Machine.
- Operating system (Windows and Linux)
- VM size, which determines factors such as processing power, how many disks we attach etc.
- The region where VM will be hosted
- VM extension, which gives additional capabilities such as running anti-virus etc.
- Compute, Networking, and Storage elements will be created during the provisioning of the virtual machine.
VM Sizes
It is important to select the right VM size and type for the working of our virtual machine perfectly. So, these are the VM sizes that are available within Azure.
| Type | Sizes | Description |
|---|---|---|
| General-purpose | B, Dsv3, Dv3, DSv2, Dv2, DS, D, Av2, A0-7 | It has balanced CPU-to -memory ratio, It is ideal for testing and development, small to medium databases, and low to medium traffic web servers. |
| Compute-optimized | Fsv2, Fs, F | It has a high CPU-to-memory ratio. It is suitable for medium traffic web servers, network appliances, batch processes. |
| Memory-optimized | Esv3, Ev3, M, GS, G, DSv2, DS, Dv2, D | Is has a high memory-to-CPU ratio. Great for relational database servers, medium to large caches, and in-memory analytics. |
| Storage optimized | Ls | It has high disk throughput and IO that is Ideal for Big Data, SQL, and NoSQL databases. |
| GPU | NV, NC, NCv2, ND | It is a specialized virtual machine that is targeted for heavy graphic rendering and video editing. Available with single or multiple GPUs. |
| High performance compute | H, A8-11 | It is the fastest and most powerful CPU virtual machine with optional high-throughput network interfaces (RDMA). |
Creating Azure Virtual machine in Azure Portal
Step 1: Click on All services and then click on the Virtual machine button, as shown in the following image.
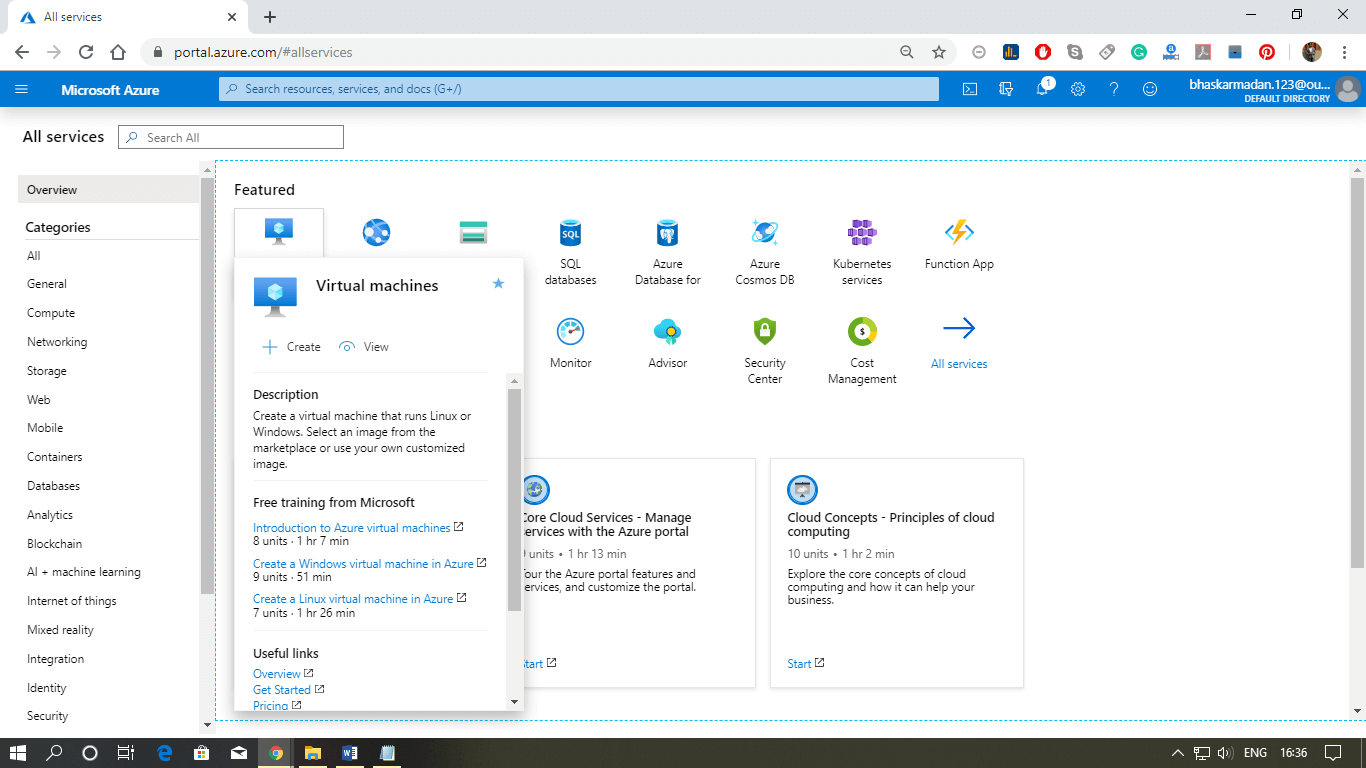
Step 2: Click on create, then you will be redirected to the Create Virtual machine page.
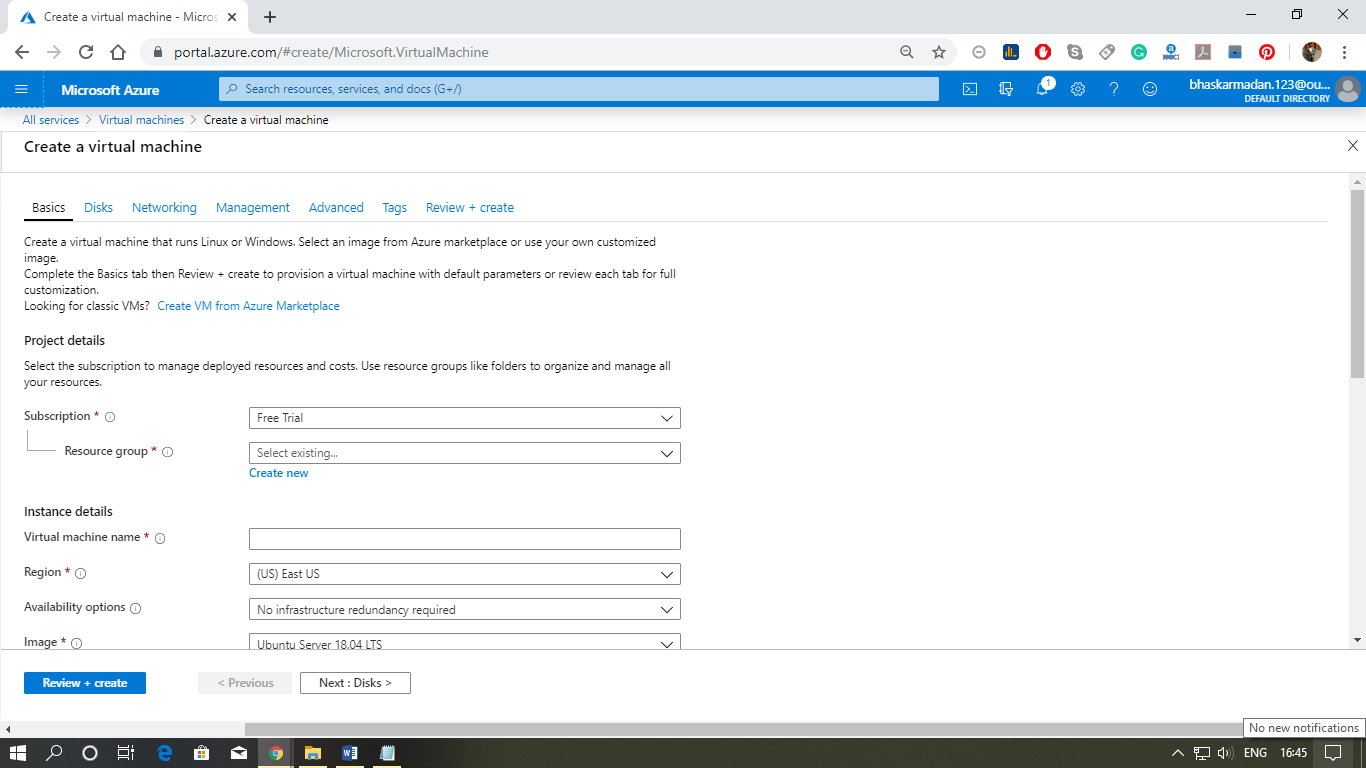
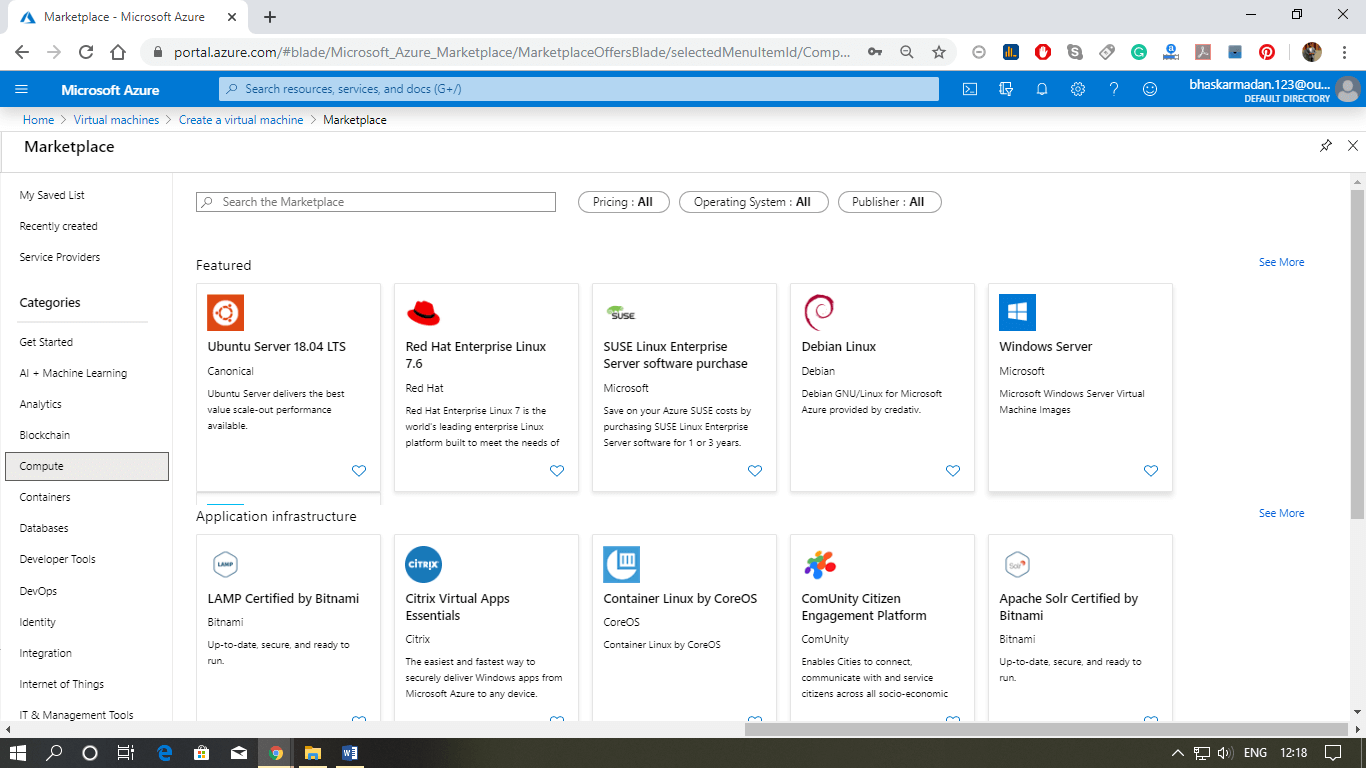
Step 3: Now, select the image for your virtual machine from the Azure marketplace by clicking on “Create VM from Azure marketplace”.
Step 4: After selecting the image, the first thing you need to do is to provide a name to your virtual machine.
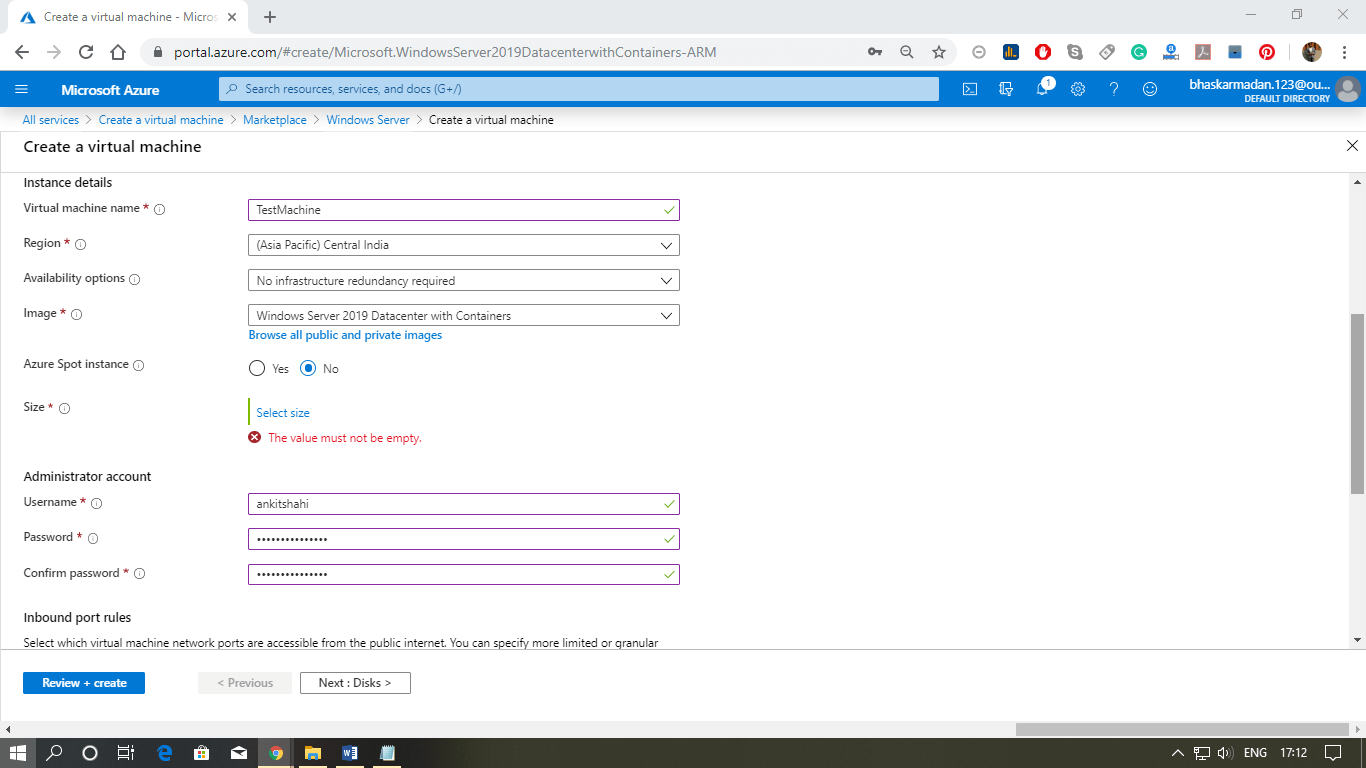
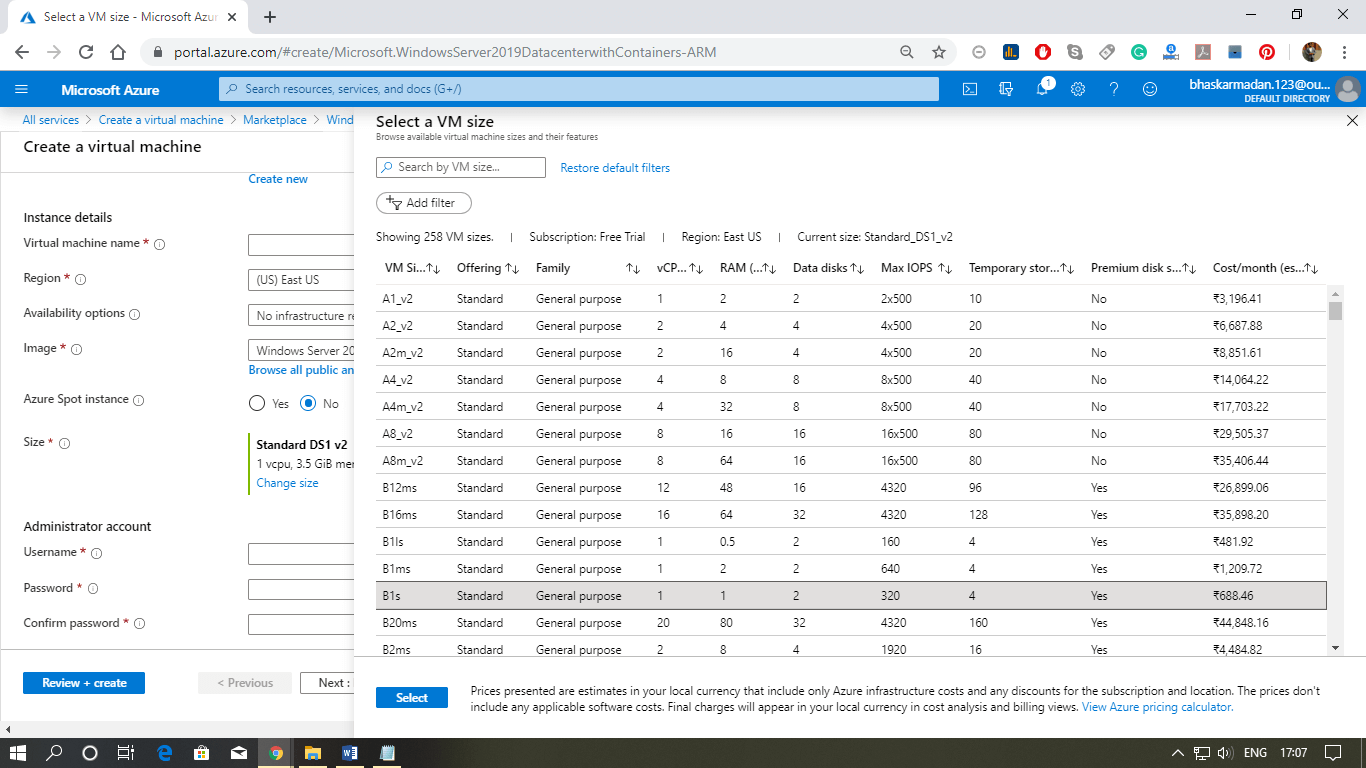
Step 5: Now select the size and type of VM according to your requirements. After that, set a User name and password for your Virtual Machine then click next.
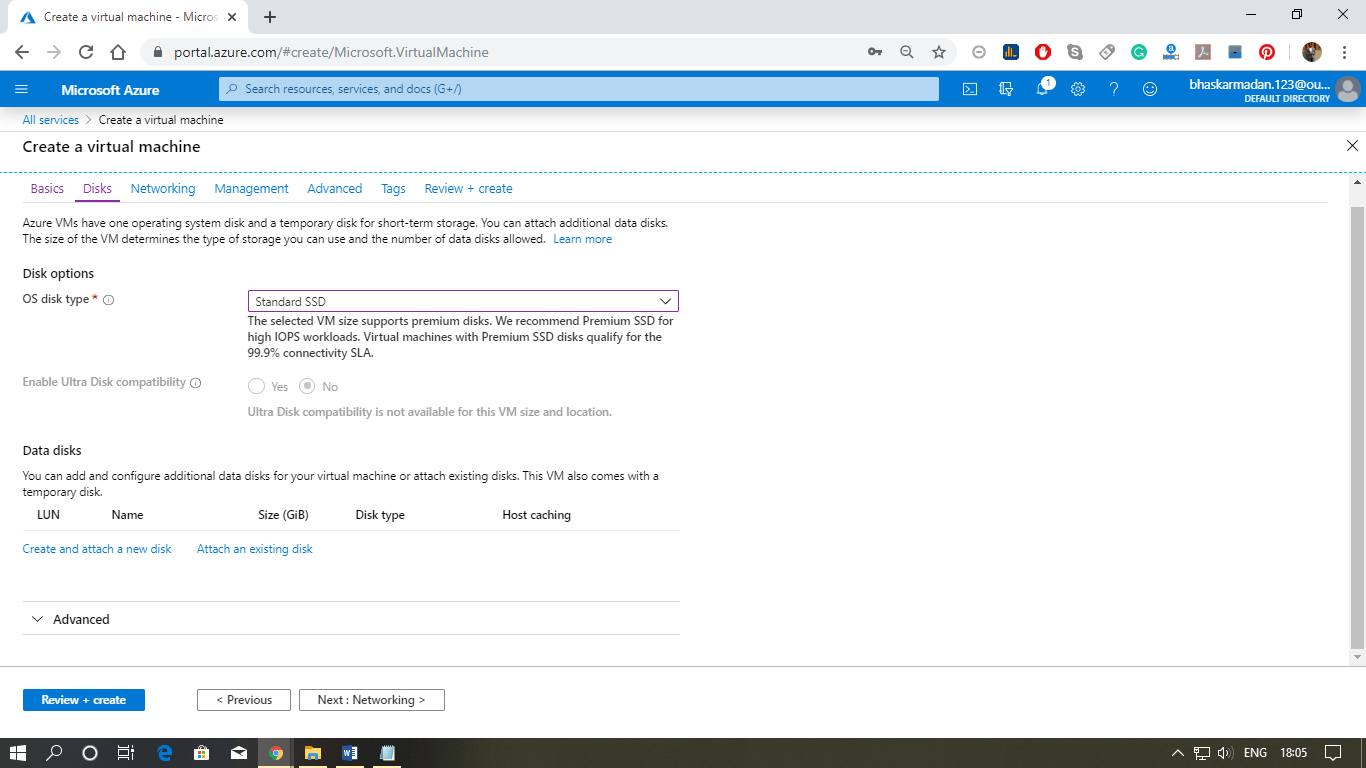
Step 6: You are on the disk tab now, Select the disk type you need then click next to redirect on the networking page.
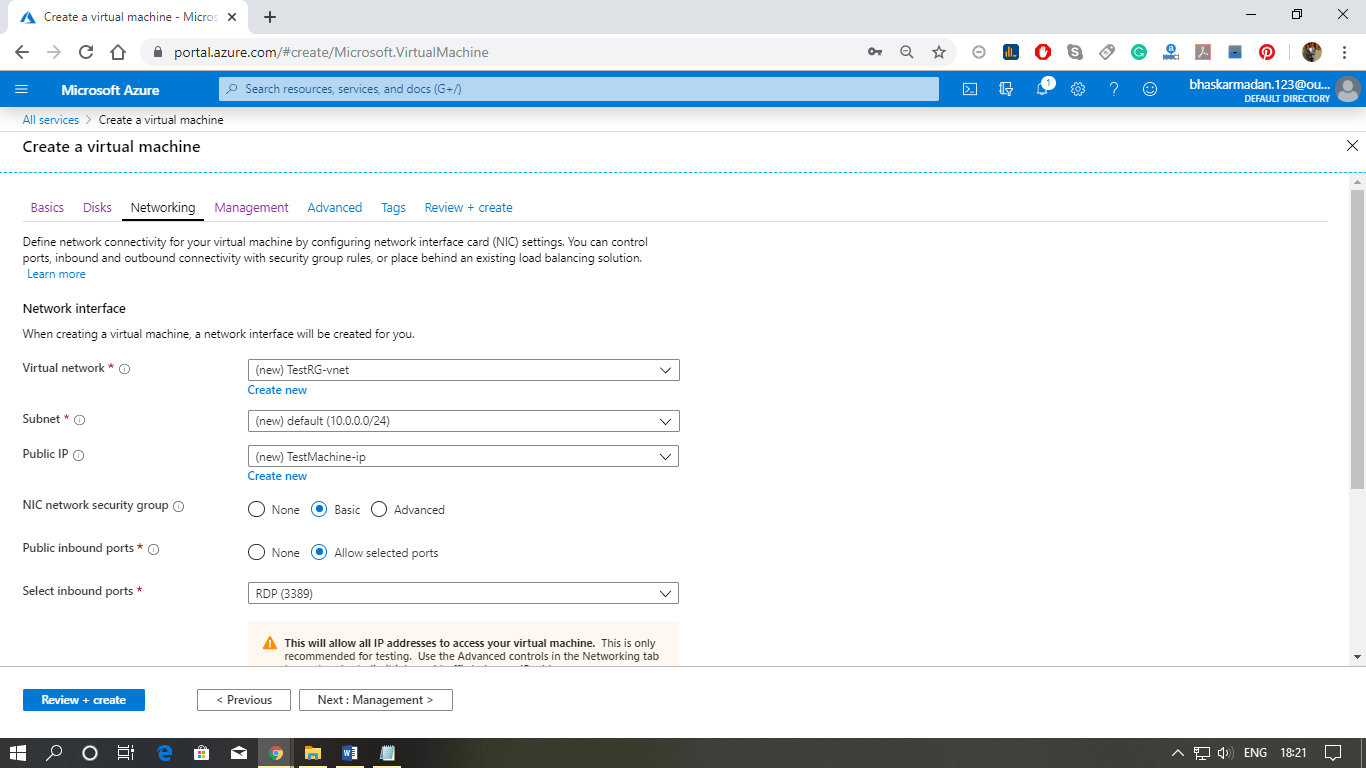
Step 7: Select the virtual network, subnet, and IP address for the Virtual machine. We are leaving it as default because we are creating it for the training purpose.
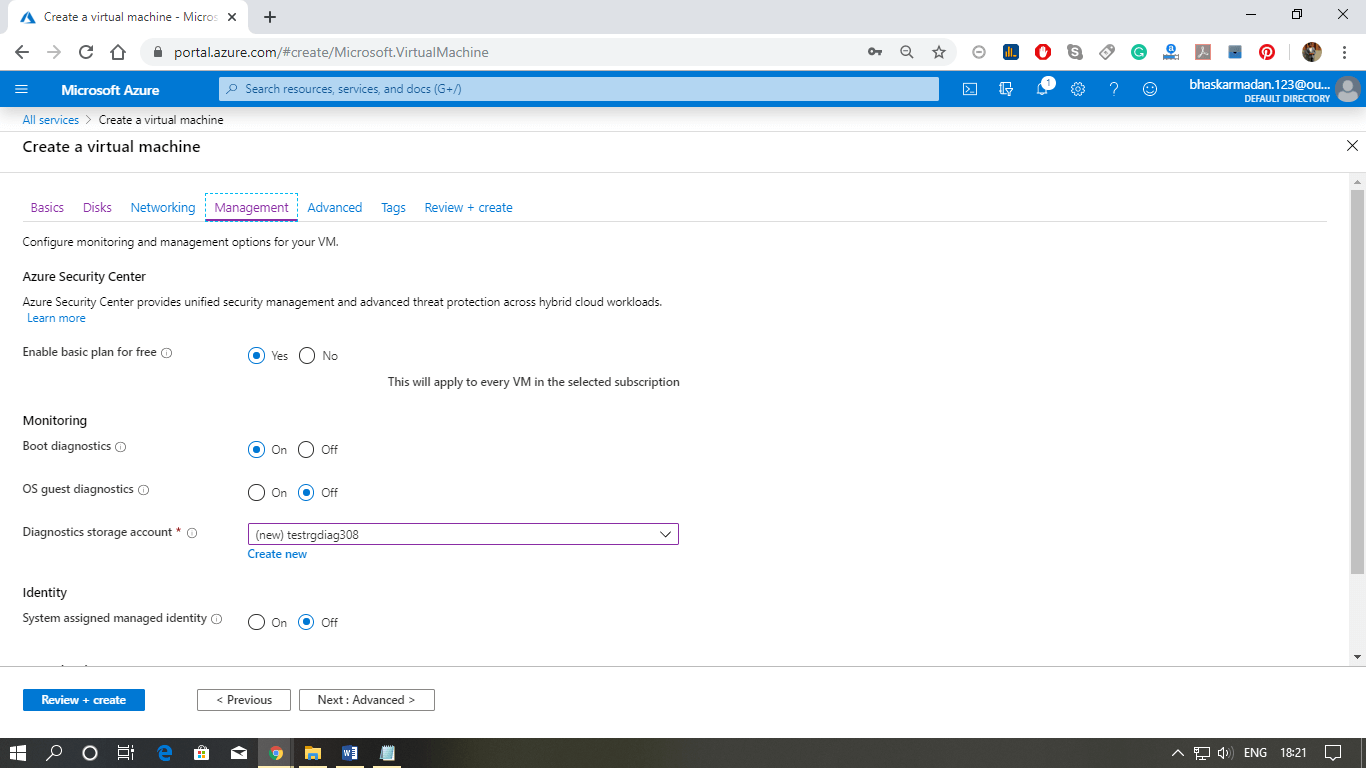
Step 8: Now select the management tab, and choose the boot and OS diagnostic option. Then click next.
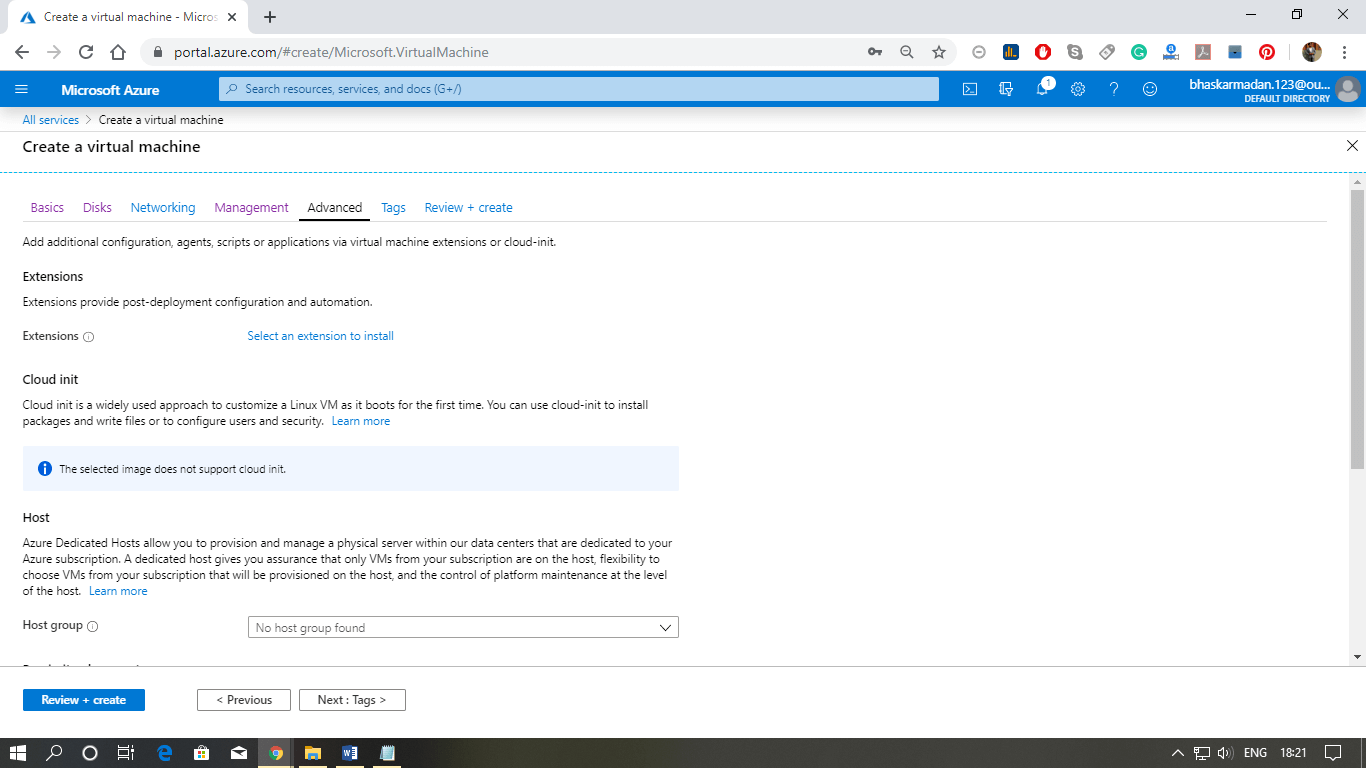
Step 9: In advanced settings, you can embed an extension to the virtual machine.
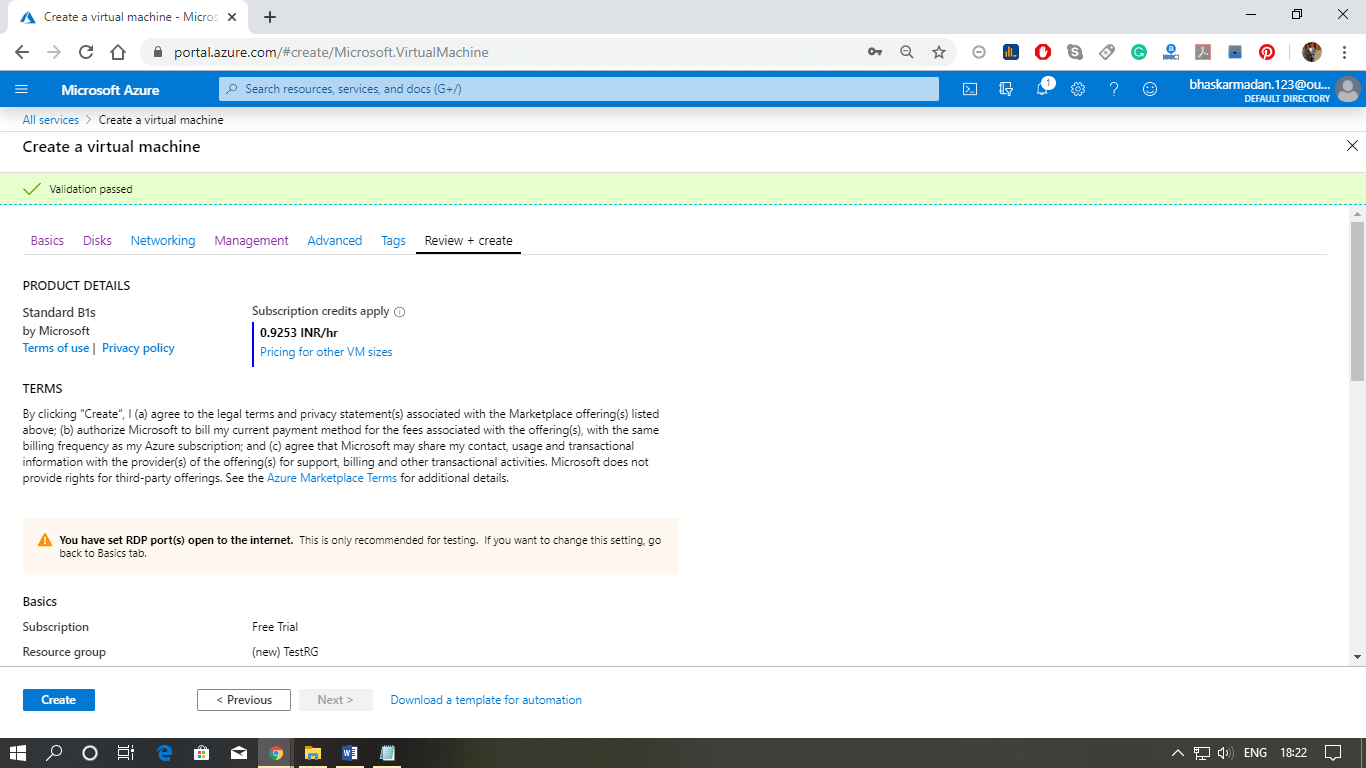
Step 10: Now, on the review and create a window, click on the create button.
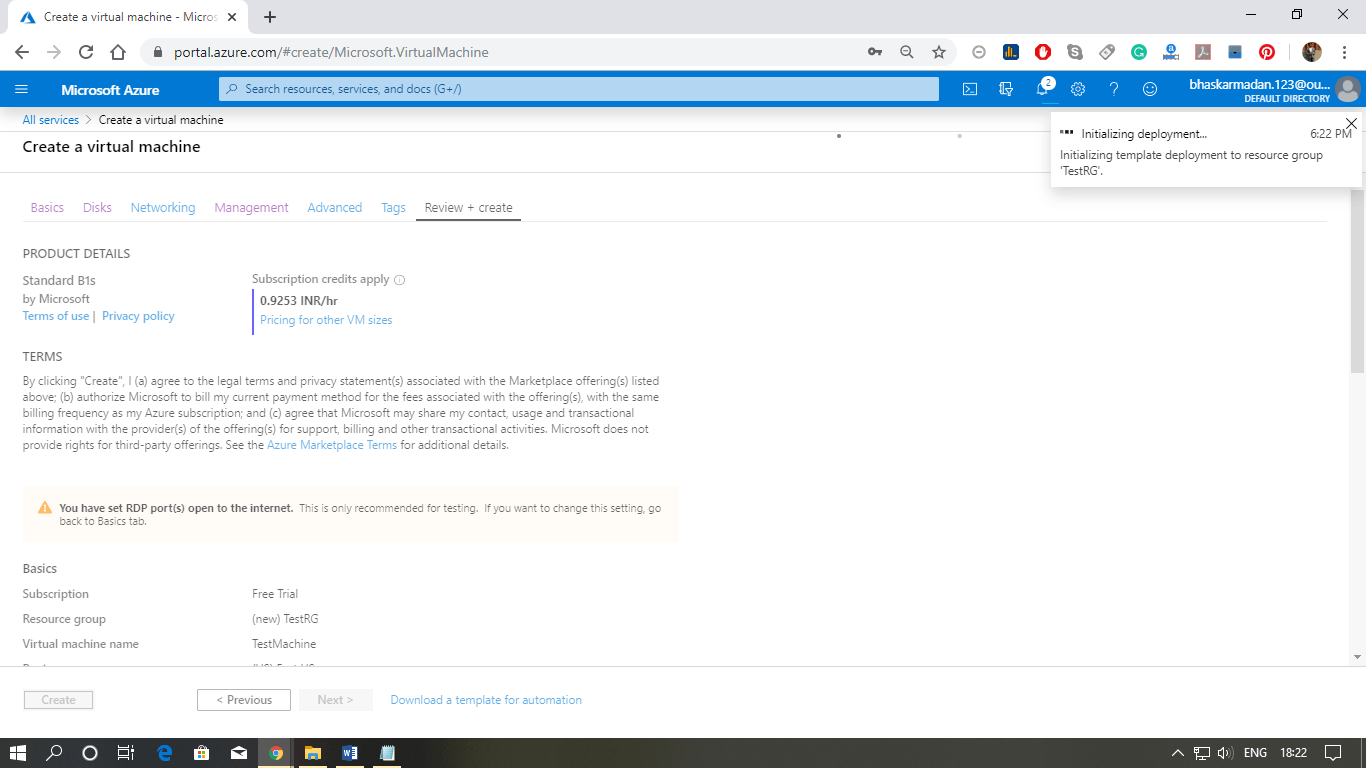
Step 11: When you click on Create, the further process will start. Wait for a few minutes to complete the processing.
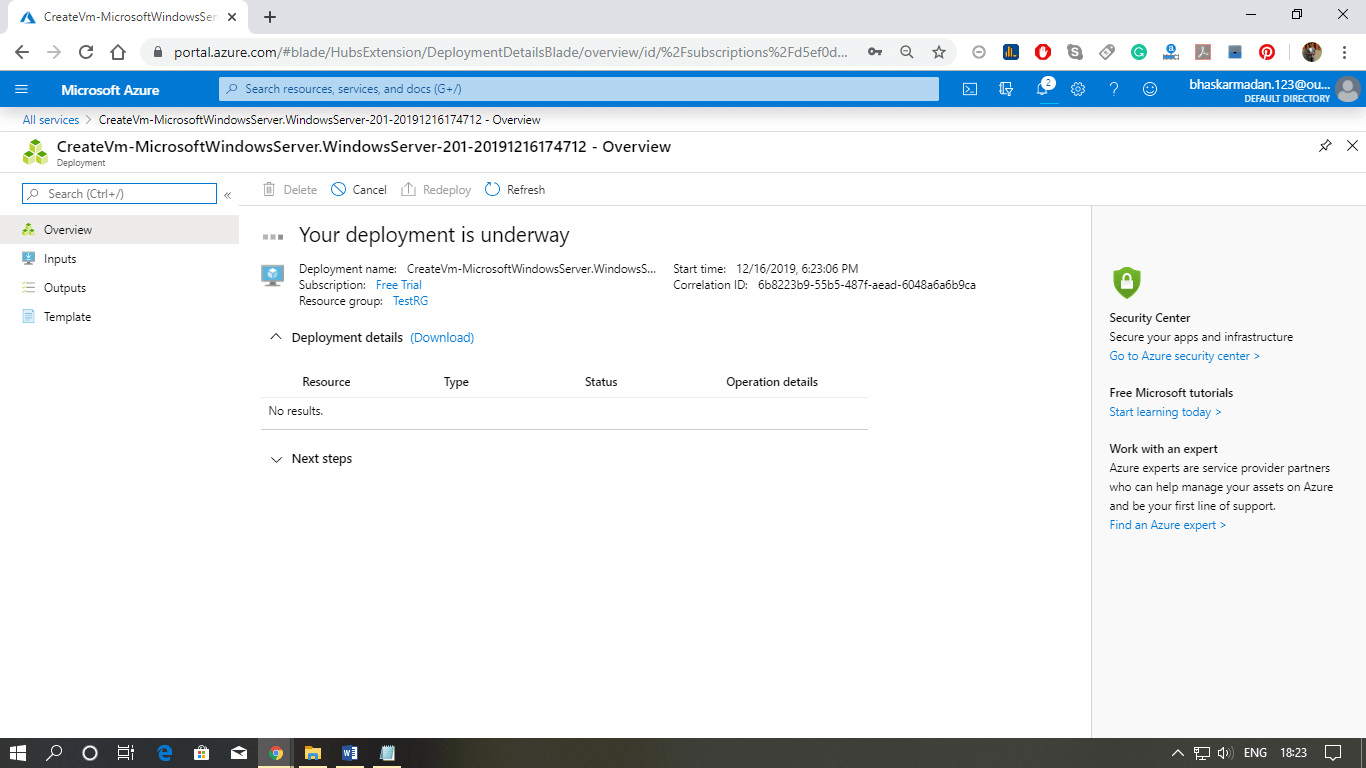
When your Virtual Machine is created, the following window will appear. You can now use your virtual machine.
