Basics of Adobe After Effect
How to create and open projects in After Effect
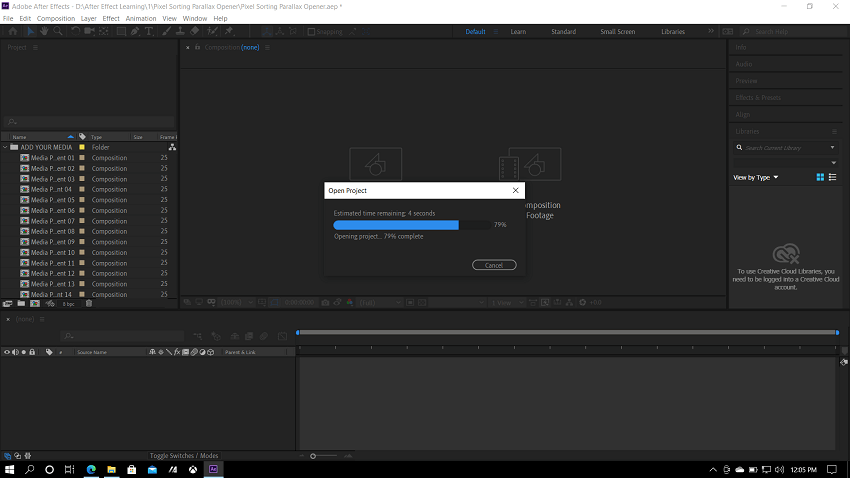
In Adobe After Effect, we can open only one project at a time. If we need to open or create another project file while a project is open, it will prompt us to save the already opened project and close it.
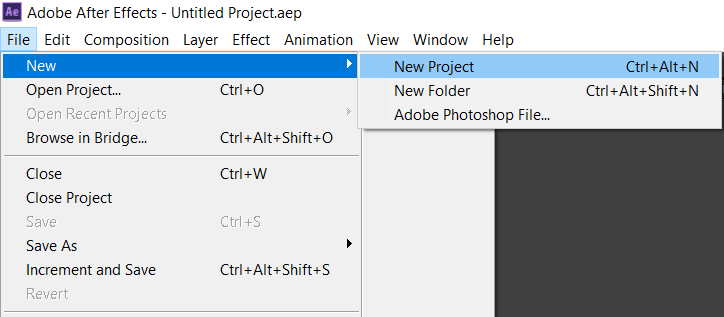
Step 1: Go to the File menu and click on New, then click on the New Project option to create a new project.
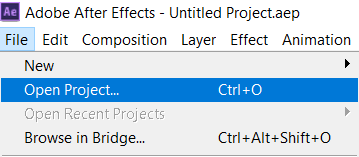
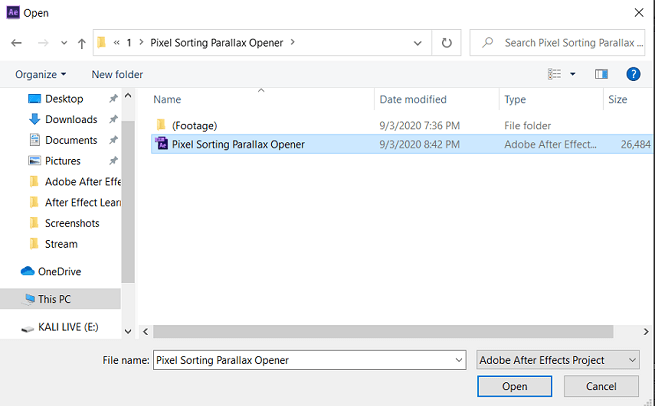
Step 2: Click on the file menu and choose Open project. Then Locate the project on the dialogue box and click OK to open any project.
Template project and example projects
The Template project can be created based on our current project and has the filename extension as “.aet”. After Effect creates a new untitled project based on the template when we open a template project. When we save our project, it will not be going to affect the template project.
We can lock the layers that are needed to be unmodified and leaves layers to be modified unlocked. It will be helpful to prevent accidental or inappropriate modifications.
Open a template project
Step 1: Go to the File menu

Step 2: Click on the Open Project option.

Step 3: Select Adobe After Effects Project Template from the Files of Type menu.
Create a template project
Step 1: Change the file name extension from .aep to .aet to convert a project to a template project.
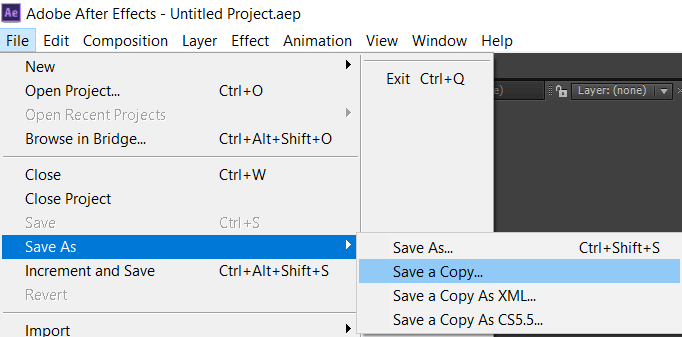
Step 2: Go to the File menu and click on the Save a Copy and then rename the copy with the file name extension .aet to save a copy of the project as a template project.
Setting template for New projects
Using our preferred setting for the project, we can create a template such as color management and folder structure, and we can use that template for every new project we create.
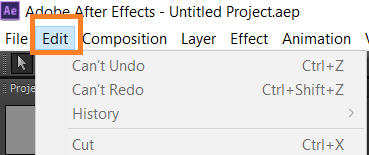
Step 1: Click on the Edit menu
Step 2: Choose preferences and click on the New Project.
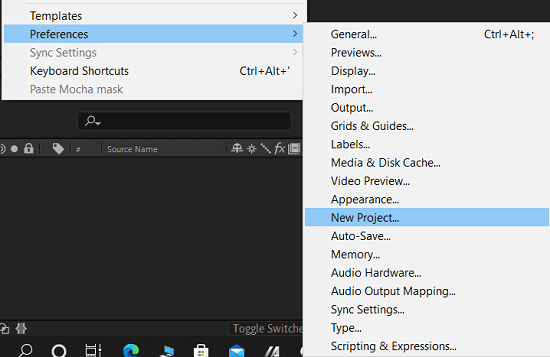
Step 3: Click on the checkbox of the New project loads template.
Step 4: Click on the Choose Project Template and choose a template file.

Team Projects
Team Projects has been designed for CC enterprise and CC teams users to seamlessly collaborate in editing the real-time workflow. All the editors and motion graphics artists can work simultaneously in shared team projects when we use Team Projects within After Effects, Adobe Prelude, and Adobe Premiere Pro without using any additional hardware.
The project’s source files are saved locally, or in a lightweight, shared proxies and updates are securely tracked in the cloud. It also includes in-depth collaboration features such as version control and smart conflict resolution.
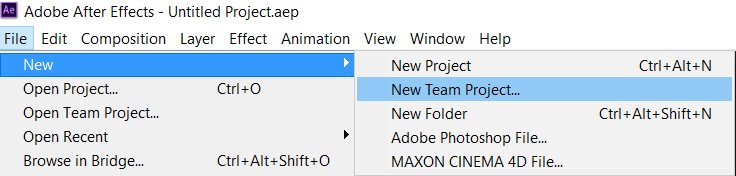
Step 1: Go to File menu → choose New → click on New Team Project to create a team project.
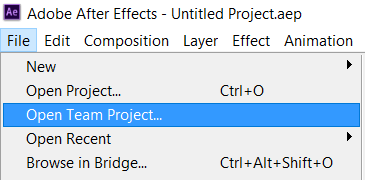
Step 2: Go to File menu → click on Open Team Project to open a team
Back-up and save projects in Adobe After Effect
- To save a project, Go to the File menu → Choose Save.
- Go to the File menu to save a copy of the project → Select Increment And Save, or press Ctrl+Alt+Shift+S. A copy of the project you are working on is saved in the same folder where the original project was saved. The name of the project is the name of the original project, followed by a random number.
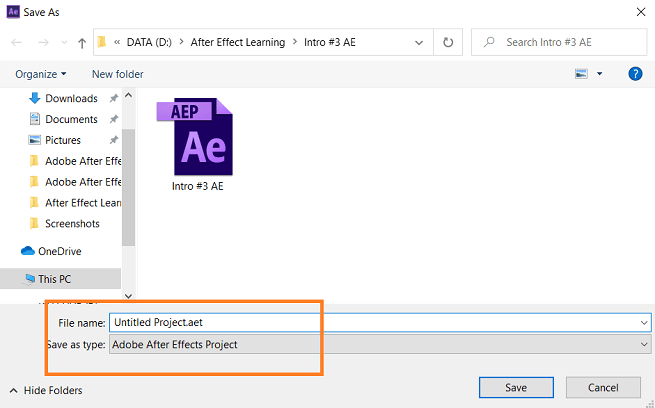
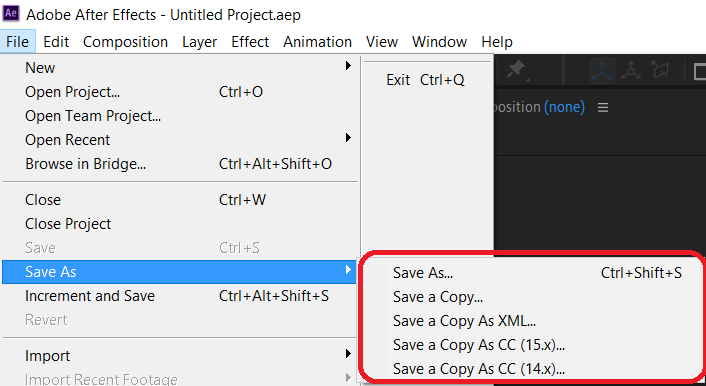
- Go to the File menu to save the project with a different location or a different name → Choose Save As → Click on Save As. The project took the new name and saved it at the new location; the original File remains unchanged.
- Go to the File menu to save a copy of a project to be opened by the previous major version → Choose Save As → Click on Save A Copy As <previous major version number>.

Create a composition
We can change the settings for our composition at any time. However, it’s best to specify frame aspect ratio and frame size during composition creation, with our final output in mind. Because it bases certain calculations on these composition settings, changing them late in your workflow can affect your final output.
Create a composition and manually set composition settings
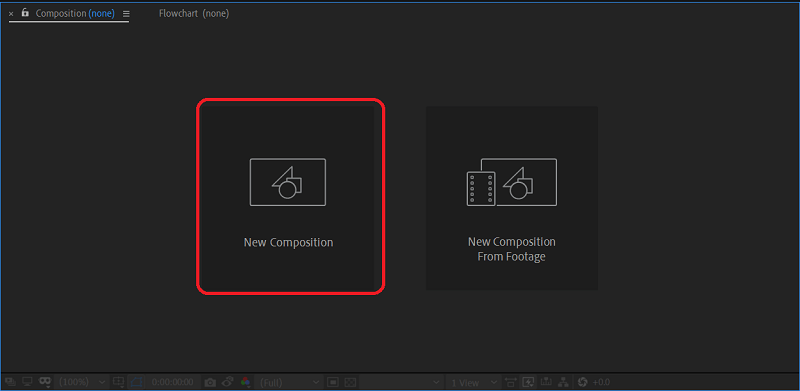
Step 1: Click on Composition as shown in the image below or go to the Composition menu at the menu bar → New Composition, or press Ctrl+N
Step 2: Click on the OK Button after changing your project’s required settings on the Composition Setting dialogue box.

Create new composition from a footage item
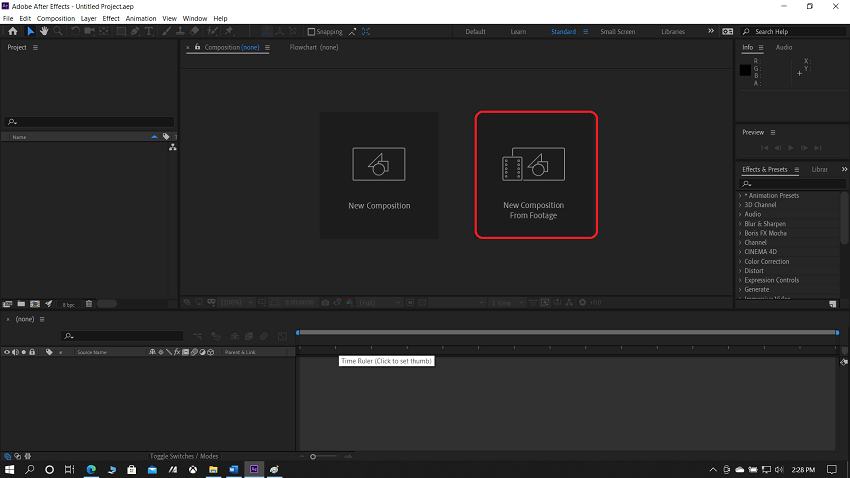
Step 1: Click on the New Composition From Footage as shown in the image below. OR drag the footage item to the Create A New Composition button at the bottom of the Project panel or go to the File menu → New Composition From Footage.
Step 2: Composition settings, including frame size (width and height) and pixel aspect ratio, are automatically set to match the footage item’s characteristics.
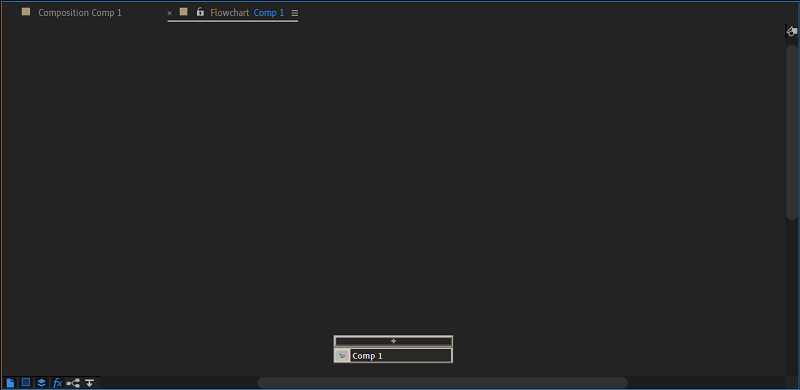
Flowchart Panel
Individual boxes represent each composition, layer, and footage item for each project or composition in the flowchart. Directional arrows will represent the relationships between components.
Mid-gray lines between tiles indicating the Video & Audio switch selected for those items will be deselected in the Timeline panel. The black and the light gray lines indicate that the switch is selected, depending on the Brightness settings in the Appearance preferences.
- Press Ctrl + F11 key or Command + F11 to open the project. Or You can click on the Project Flowchart button that is available on the right edge of the project at the top of the vertical scroll bar.
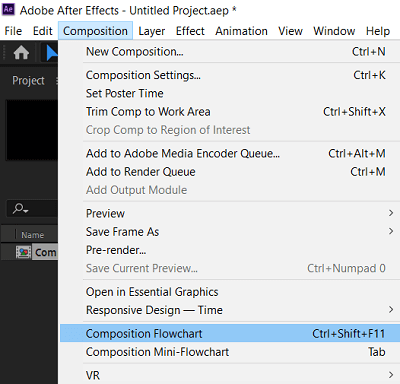
- Click on the Composition → Composition Flowchart to open a composition flowchart.
- Click on the tile in the Flowchart panel to activate that item.
- You can use the Flowchart panel menu and the Button along the panel’s bottom to customize the flowchart’s appearance.
- Select all the elements and press Delete to remove the elements. If the selected element is a composition or footage item, it will be deleted and no longer appears in the Timeline and the Project panels. It is deleted from the composition in which it appears if the selected element is a layer.
- Right-click on the icon to the left of the name in the element tile to access the context menu for a selected element.