Blur Tool in Photoshop
Photoshop blur tool is one of the finest tools available in Photoshop for beautifying pictures. It can be useful for multiple scenarios such as blurring someone’s face or blurring the secret information in your image graphics, and so on.
The blur tool is also very useful for making images look softer and making the main subject stand out from the image. We can create some depth between fields in the image by blurring the objects.
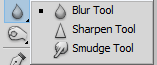
The Blur tool can be found under the toolbox given at the left of the Photoshop workspace. It is located as a teardrop icon and grouped together with a sharpening and smudge tool. They are all grouped together because they are used for focusing and defocusing the objects in an image.
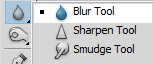
We can select any of the focusing and defocusing tools from the above options. To access these options, click and hold the teardrop icon, and it will open these options. Once we select a tool, that particular tool option will be activated. Select the blur tool from this drop-down menu to use it.
The Blur tool makes the object look fuzzy or out of focus. The cursor of the blur tool looks like a circle; we can make it bigger or smaller according to our requirements. To make the blur cursor smaller or bigger, press the left or right bracket keys. This shortcut key is also useful for increasing the size of the cursor of other tools.
There are few other tricks to blur an image, such as brush tools, quick selection, and layer masks that designers follow to focus an object in an image.
In this section, we will discuss the blur tool and other techniques to make an object blur and focus on standing out as the main object of the image.
How to use Blur Tool in Photoshop
The Blur tool is an effective tool for making our images pop out and beautifying them. Follow the below steps to use the blur tool:
Step1: Open the Image
Open the image that you want to edit. To open the image, press the Ctrl+O keys. It will open your file explorer; select the image you want to open and click Open to open it in your workspace. Our image will be displayed in the workspace as follows:
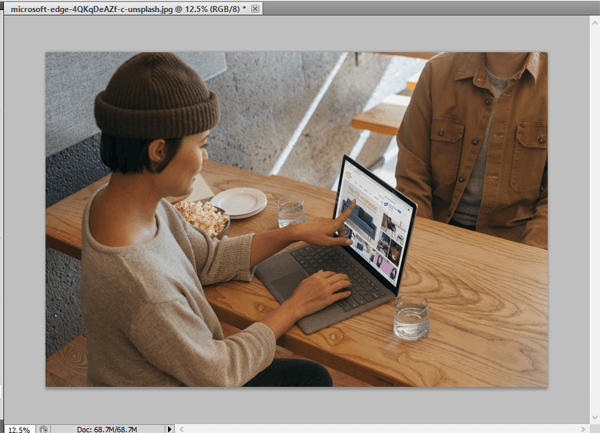
Now, we can perform editing on this image. To blur a specific region, select the blur tool from the toolbox given left to the workspace.
Step2: Select the Blur Tool
The Blur tool can be found under the toolbox given at the left of the Photoshop workspace. It is located as a teardrop icon and grouped together with a sharpening and smudge tool. They are all grouped because they are used for focusing and defocusing the objects in an image.
By holding the eye drop icon, we can open the tool options located in it. Select the blur tool option from this menu. It will activate the blur tool. Now, customize the tool by using the menu bar options.
Step3: Customize the Blur Tool
Before using the Blur tool, make sure to customize it for proper use. To customize the blur tool, select the customization options, such as size, hardness, etc., from the options bar given at the top of the workspace.
To set the blur pointer size, select the below option and define the brush size to paint over the object. To blur the small objects, always choose a smaller brush size and zoom the image while blurring.

To set the strength of the blur, select the strength option from the menu and define the strength of the blur. The higher strength will provide a hard blur, and the lower strength will blur the object lightly.

We can also choose other options such as mode and sample all layers options as per our requirements. The sample of all layers will apply the effect on all the layers available in the workspace.
After customizing the blur tool, we can apply the blur effect to the object.
Step4: Apply Blur on the Object
To apply a blur operation to an image object, start painting the object using a blur brush. Paint it precisely to get the desired result. The blur tool makes a very light effect, so sometimes, you will see that the blur tool is not working. But it will be working, but you will not be able to see the effect because of the large image size. Make sure to reduce the image size according to your requirements if the brush tool does not make any changes to the objects.
The blur tool will show you the live result while applying. So, when you get the desired output, stop painting with the blur brush. Consider the below image:
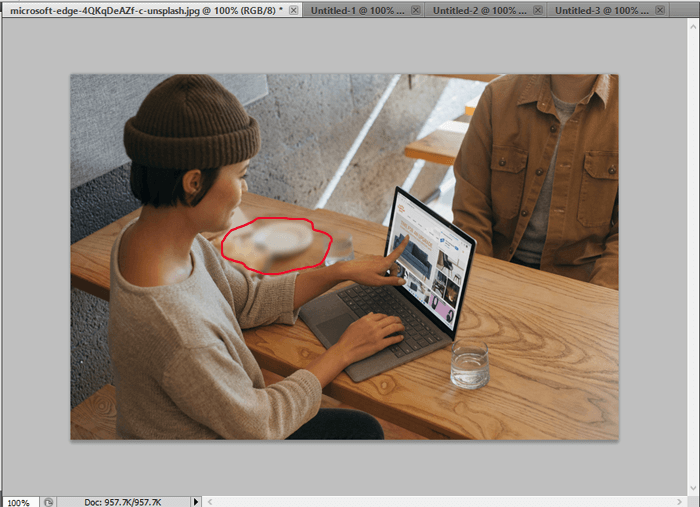
In the above image, we have blurred some objects that we do not want to be displayed. Just like the above image, we can blur the objects in our image using the blur tool in Photoshop.
Blur Filters
Photoshop provides several built-in filters to apply an instant blur effect on an image. They are designed in a way to apply the blur effect using the AI technique for retouching images. We can apply the blur effect to soften, haze, cloud, fuzz, or distort effects on a specific region of the image or the entire image.
These filters work precisely for the image. Backgrounds blurred using these filters are often blurred out to accentuate the main subject or to reduce clutter in the environment. These filters collect the color information, then fuse the colors in a specific region of the image to create a specific effect such as motion.
Blur filters are some of the most used built-in filters in Photoshop. Usually, they are used to reduce the image noise.
To access the blur filters, navigate to Filters-> Blur menu, then select the blur effect that you want to apply to your image. Following blur filters are available in Photoshop:
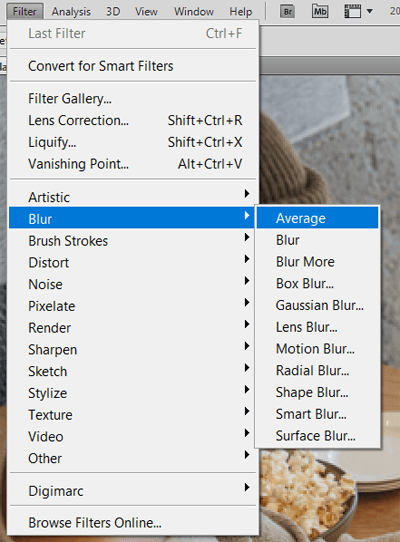
Let’s discuss these blur filters in detail:
Average: The average filter works like its name. It considers all the color pixels of the image, then calculates the average color value of the combined hues and fills the area with the calculated colors. Once applying the average effect, you can also choose other effects such as simple texture, soft gradient, etc., to beautify the image. It is very beneficial to even out the values of areas that carry a substantial amount of sound.
Blur: The blur filter is used to soften the jagged edges of an object. If you want to get the best result from the blur tool, cut out the object using the selection tool or pen tool, then blur it. It will precisely blur it.
Another use of the blur tool is to reduce the noise such as dust particles, scratches, halftone dots, etc., from an image. It will be useful for fixing the scratched or old wrinkled photo.
Blur More: The blur more filter has the same effect as the blur filter, but it has a higher density than the blur effect, and it has four times more powerful effect than the blur effect. If you want more blur than the provided effect, you can use the blur more effect repeatedly.
Box Blur: The box blur tool blurs the objects in a square shape form. It finds the object edges then calculates the average color of the image adjacent pixels to the targeted object. It applies the soft and silky blur effect to the image. The box blur tool uses contrasting colors to create subtle glowing edges between the objects and the image background.
Gaussian Blur: Gaussian blur is also known as Gaussian distribution. It is one of the most popular blur effects in Photoshop. It applies the effects in a bell-shaped curve. Its highest point occurs at the center; the decreased sides, like bell edges, blur the selected region. It provides a scaling point from 0.1 to 1000 to provide a wide range of results.
The edges of the shape will contain the colors from surrounding areas, creating a fuzzy or feathered outline. To remove these fuzzy edges, first blur, then place the surrounding area back to its original position.
Lens Blur: The lens blur is also one of the finest and most used blur tools. It is used to adjust the depth of fields in the images. For example, we can blur a cluttered background or enhance the fuzzy or distorted background. It provides multiple levels (14) of adjustable effects such as six shapes, depth, and map effects. Using the lens blur tool, we will have powerful control over the final result of the blur effect. We can fine-tune many effects according to our needs.
Motion Blur: The motion blur tool is also one of the finest and used blur tools. We could apply the desired blur effect. It is used to create an illusion of motion. It is useful for representing a moving object such as a running car, jumping person, etc. We can set the shutter speed between 1 to 60th of a second and make the object in motion. The blur motion settings also include the angle of motion; thus, we can also define the direction of motion using the specific angle. The motion angle can be specified between 0 to -360 degrees. Further, we can define the distance of the blur effect to display how far the image will be stretched and emulated the movement.
Radial Blur: The radial effects are usually used to create a circular effect. So that the radial blur also does, it creates a circular distortion around the objects. We can target the entire image or a specific region to apply this effect.
The radial blur effect is also very customizable. We can define the degree of blurring, method, quality, and options to place the blur center.
The best use of the radial blur effect is to display the circular objects in motion, such as wheels, rings, etc.
To target the exact object, first, make a circular selection using the elliptical tool and apply this filter. We can customize the selection and make it as our requirement.
Shape Blur: The Shape Blur tool uses the image kernel technique. The image kernel is just like a two-dimensional matrix of image pixels. Each pixel contains a number based on color mode values such as RGB, CMYK, Grayscale, etc. The image kernel builds a new image using these values.
Thus, it assists in blurring the image in a shape structure selected from a shaped board. The shape choices available in the shape board are the same as available shape tools in Photoshop. We can adjust the radius slider left for low blur and right for larger blur.
Smart Blur: The smart blur option allows us to control the blur effect provided by Photoshop. It is also one of the finest blur tools if you know how the blur effect works. This filter works based on dissimilar pixels and supports meticulous accuracy. We can specify a radius of size from 0.1 to 100, blur quality such as low, medium, high, and blur mode. The blur mode includes normal, edge only, and overlay edges, color transitions, and so on.
Surface Blur: The surface blur filter provides control over the image surface; it is a useful filter for blurring the surface or interior of the image rather than blurring its edges. We can conserve the details of the edges and blur the rest of the objects. Primarily, it is used to prevent the edges from being blurred.
The surface blur filter maintains the edges while removing the noise from the image. We can specify the blur radius from 1 to 100.
Summary:
Blurring is one of the finest ways for beautifying the pictures. It can be useful for multiple scenarios such as blurring someone’s face or blurring the secret information in your image graphics, and so on.
We can also make images look softer and make the main subject stand out from the image by applying the blur effect on it. We can create some depth between fields in the image by blurring the objects.
We have discussed several ways to precisely blur the image or a specific area of the image. We have discussed the blur tool and blur filter, which are built-in tools of Photoshop. These methods are enough to blur an image, but these are not the only ways for applying a blur effect. There are several other tools also available such as third-party plugins to blur the image. You can choose any of the available tools as per your requirement and ease of use.