BrowserRouter in React
React Router is a standard library for routing in React. It enables navigation between views from different components in a React application, allows the browser URL to be changed, and keeps the UI in sync with the URL.
To understand how React Router works, let’s create a simple application for React. The application will include the home, about, and contact components. We will be using React Router to navigate between these components.
npx create-react-app
Your development environment is ready. Let’s now install React Router in our application.
React Router: React Router can be installed in your React application via npm. Follow the steps below to set up the Router in your React application:
Step 1: CD in your project directory, i.e., java.
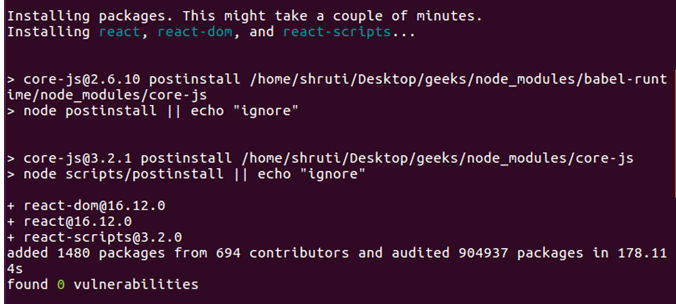
Step 2: Use the following command to install React Router:
npm install – -save react-router-dom

After installing react-router-dom, add its components to your React application.
Adding React Router Components:
The main components of React Router are:
- BrowserRouter: BrowserRouter is a router implementation that uses the HTML5 history API (pushstate, replacestate, and popstate events) to keep your UI in sync with the URL. It is the parent component used to store all other components.
- Route: This is a new component introduced in v6 and an upgrade of the component. The main advantages of Switch Over Routes are:
Instead of traversing in sequence, routes are selected based on the best match.
- Route: A route is a conditionally shown component that provides UI when its path matches the current URL.
- Links: The Links component creates links for different routes and implements navigation around the application. It works as an HTML anchor tag.
To add React Router components to your application, open your project directory in the editor you use and go to the app.js file. Now, add the below code to app.js.
Note: BrowserRouter is aliased as Router.
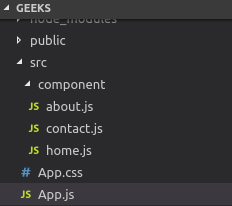
Using React Router: To use React Router, Let’s first create some components in the React application. In your project directory, create a folder named components inside the src folder and now add 3 files named home.js, about.js, and contact.js in the components folder.
Let us add some code to our 3 components:
Home.js:
About.js:
Contact.js:
Now, let’s include the React Router components in the application:
BrowserRouter: Add an aliased BrowserRouter as a router to your app.js file to wrap all other components. BrowserRouter is a parent component and can have only one child.
Links: Let us now create the links of our components. The Link component uses props to describe the location to which the link should navigate.
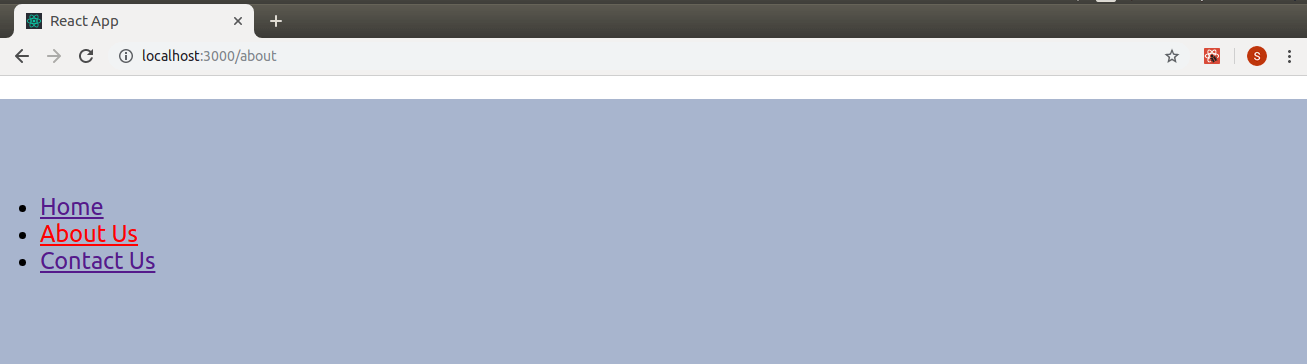
Now, run your application on the local host and click on the link created. You will notice that the URLs change according to the value of the link component.
Route: The route component will help us establish the link between the component’s UI and the URL. To include the route in the application, add the below code to your app.js.
The components are now connected, and clicking any link will render the corresponding component. Let us now try to understand the props associated with the root component.
- Exact: This matches the exact value with the URL. For example, exact path=’/about’ will only render the component if it exactly matches the path, but if we remove it from the syntax, the UI will still be rendered, even if the structure is /about /10.
- Path: Path specifies a pathname that we assign to our component.
- Element refers to the component that will render if the path matches.
Note: By default, routes are inclusive, which means that more than one route component can match a URL path and render simultaneously. If we want to render a single component, we need to use routes here.
Routes: To read a single component, wrap all routes inside the Routes component.
Switch groups across multiple routes, iterate over them and find the first one that matches the path. Thus, the corresponding component of the path is rendered.
Here is our full source code after adding all the components:
Now, you can click on the link and navigate the different components. React Router keeps your application UI in sync with the URL.
Finally, we have successfully implemented navigation in our React application using React Router.
A <router> that uses the HTML5 history API (pushstate, replacestate, and popstate events) to keep your UI in sync with the URL.
basename: string
Base URL for all locations. If your app is served from a sub-directory on your server, you will want to set it to that sub-directory. A properly formatted basename must contain a leading slash, but no trailing slash.
getUserConfirmation: func
A function to use to confirm navigation. Defaults to using window.confirm.
forceRefresh: bool
If true, the Router will use full-page refreshes on-page navigation. You may want to use this to imitate how a traditional server-rendered app would work with full-page refreshes between page navigation.
keyLength: number
The length of location. Key. Defaults to 6.
children: node- child element to render.
Note: On React, you must use a single child element because the render method cannot return more than one element. If you need more than one element, you can try wrapping them in an additional <div> or <React.Fragment>.
<hash router>
A <router> that uses the hash part of the URL (i.e., window.location.hash) to keep your UI in sync with the URL.
Note: the hash does not support history location. Key or location. State. In previous versions, we tried to reduce the behavior, but there were edge cases that we could not resolve. Any code or plugin that requires this behavior will not work.
Since this technology is intended to support only older browsers, we encourage you to configure your server to work with <BrowserHistory> instead.
basename: string
The base URL for all locations. A properly formatted basename should have a leading slash, but no trailing slash.
getUserConfirmation: func
A function to use to confirm navigation. Defaults to using window.confirm.
hashType: string
The encoding used for window.location.hash. Available values are:
- “slash” – creates hashes like #/ and #/sunshine/lollipops
- “noslash” – # and #sunshine/lollipops . as hash creates
- “hashbang” – creates “ajax crawlable“ (deprecated by google) hashes like #!/ and #!/sunshine/lollipops
Defaults to “slash”.
children: node
A single child element to render.
< Link>
Provides declarative, accessible navigation around your application.
to: string
A string representation of a link location is created by combining the location’s pathname, search, and hash properties.
An object that can have any of the following properties:
- pathname: A string representing the path to be linked.
- find: A string representation of the query parameter.
- hash: The hash to put in the URL, e.g., #A-hash.
- state: The state to remain in place.
to: func
A function in which the current location is passed as an argument and which must return the location representation as a string or object.
replace: bool
When true, clicking the Link will replace the current entry instead of adding a new
internal ref: func
As of React Router 5.1, if you are using React 16, you should not need this prop as we forward the ref to the underlying <a>. Use a normal ref instead.
Allows access to the component’s built-in ref.
innerRef: RefObject
As of React Router 5.1, if you are using React 16, you should not need this prop because we forward the ref to the underlying <a>. Use a normal ref instead.
Get the underlying ref of the component using React.createRef.
component: React.Component
If you would like utilize your own navigation component, you can do so by passing it through the component prop.
You can also pass props you’d like to be on the <a> such as a title, id, className, etc.
<NavLink>
A special version of <link> that will add styling attributes to the rendered element if it matches an existing URL.
className: string | func
className can either be a string or a function that returns a string. If the function className is used, the link’s active state is passed as a parameter. This is helpful if you want to exclusively apply a className to an inactive link.
FAQs
</NavLink>
In React Router v6, activeClassName will be removed and you should use the function className to apply the classname to active or inactive NavLink components.
ActiveClassName: String
class to give the element when it is active. The default given class is active. It will be combined with the classname prop.
style: object | func
style can either be a React.CSSProperties object or a function that returns a style object. If the function style is used, the link’s active state is passed as a parameter.
In React Router v6, the active styling will be removed, and you must use the function style to apply inline styles to active or inactive NavLink components.
Active Style: Object
The styles applied to the element when it is active.
exact: bool
When true, the active class/style will only apply if the location is an exact match.
strict: bool
If true, the trailing slash on a location’s pathname will be considered when determining whether the location matches the current URL. See the <route hardening> documentation for more details.
isActive: func
A function to add additional logic to determine if the Link is active. This should be used when you want to do more than verify that the pathname of the Link matches the pathname of the current URL.
location: object
isActive Compares to the current history location (usually the current browser URL).
aria-current: string
The value of the area-current attribute used on the active Link. Available values are:
- “page” – used to indicate a link within a set of pagination links
- “Steps” – used to indicate a link within the step indicator for a step-based process
- “location” – used to indicate an image that is visually highlighted as the current component of the flow chart
- “date” – used to indicate the current date within the calendar
- “time” – used to indicate the current time within a timetable
- “true” – used to indicate whether NavLink is active
- “false” – used to prevent assistive technologies from reacting to the current Link (one use case would be to prevent multiple area-current tags on a page)