Color Management in Adobe Illustrator
In Adobe Illustrator, a color management system used to reconciles the color differences between the different devices. It allows us to accurately view colors and make sound color decisions throughout our workflow, from digital capture to final output.
A color management system is a solution to have system that interprets and translates color accurately between devices. It compares the color space in which a color was created to the color space in which the same color will be output. It also makes the necessary adjustments to represent the color as consistently as possible among number of devices. It translates colors with the help of color profiles.
Adobe color management uses ICC profiles which is a format defined by the International Color Consortium.
Steps for producing consistent color
Step 1: We need to discuss to our production partner (if any) that how the color workflow will be integrated with our workgroups and service provider. We should discuss how the software and hardware will be configured for integration into the color management system.
Step 2: We need to calibrate and profile our monitor. The correct color visualisation is essential if we are making creative decision that involves the color we specify in our document.
Step 3: We can add color profiles to our system for any input and output devices that we plan to use. For example – scanner and printer.
Step 4: Now, we need to setup color management in Adobe applications.
Step 5: When we done creating a document, we can use a soft proof to preview how the color will look when printed or viewed on a specific device.
Step 6: Finally, using the color management when printing and saving files.
Synchronising color setting across Adobe application
A warning message will appear, if the color setting will not be synchronised. It is recommended that we synchronize color settings before we work with new or existing documents.
Step 1: Open Adobe Bridge.
Step 2: Now, go to Edit menu then click on the Creative Suite Color Settings from the dropdown menu.
Step 3: After that select the color settings from the list and then click Apply.
Setting up Color Management in Adobe Illustrator
Step 1: Open Adobe Illustrator.
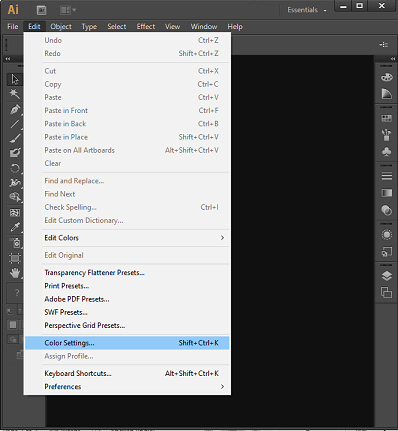
Step 2: Go to the edit menu then click on Color setting from the drop-down list.
Step 3: Now, the color setting dialogue box will appear. Select a color setting and click OK.
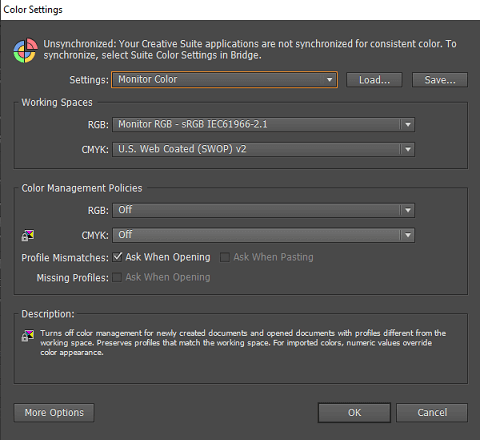
It will determine that what color working space are used by the application and what happens when we open and import files with embedded profiles.
Change the appearance of CMYK black
The pure CMYK black appeared as jet black when we see it on the screen, exported to an RGB file format, or printed to a non-PostScript desktop printer.
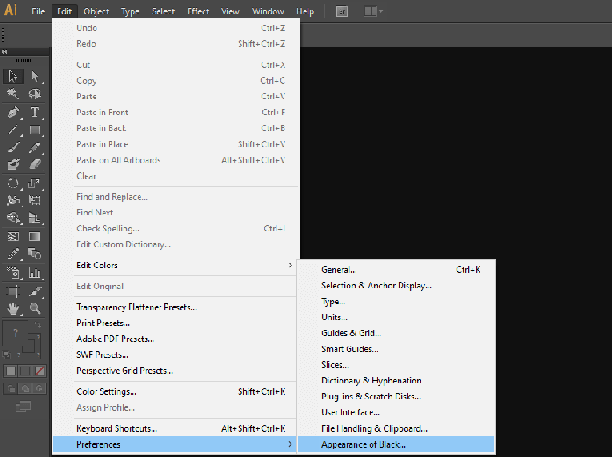
Step 1: Go to edit menu, then click on preferences from the drop-down list.
Step 2: When you hover over preferences another list will appear, then click on Appearance Of Black.
Step 3: Choose an option for On Screen from the Appearance of Black dialogue box:
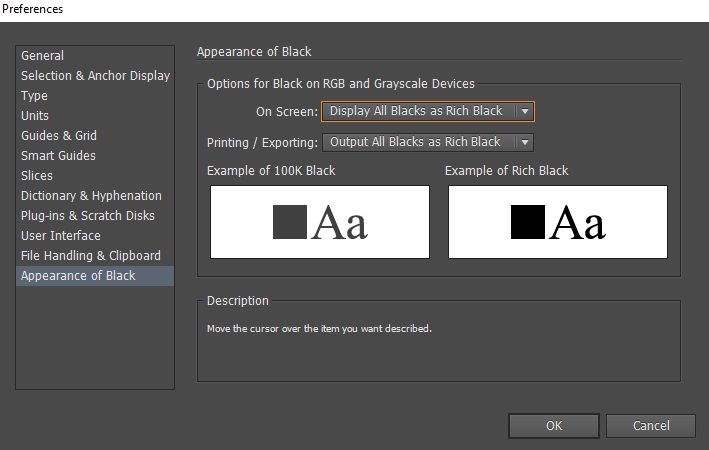
- Display All Blacks Accurately: It will display the pure CMYK black as dark gray. It allows us to differentiate between pure black and rich black.
- Display All Black As Rich Black: It displays the pure CMYK black as Jet black. It makes pure black and rich black appear same on the screen.
Step 4: Now, choose an option for printing/exporting then click OK.
Color Management for imported images
- Use a safe CMYK workflow: The CMYK color numbers are preserved all the way to find the final output by a safe CMYK workflow. It is beneficial in case we want to incrementally adopt color management practice. The application ignores the profile and preserves the raw color numbers when we open or import image with an embedded profile.
- Preparing imported graphic for color management: We need to embed an ICC-compliant profile when we save the file. JPEG, PDF, PSD, AI, INDD, Photoshop EPS, Large Document Format and TIFF are the file formats that are supported by the embedded profiles. In case, we want to reuse a color graphic for multiple final output devices or media. For example- print, video, and the web then we prepare the graphic using RGB or Lab colors whenever possible.
Color proofing in Illustrator
Soft-proofing: We can use the precision of color profiles to soft-proof our document directly on the monitor to see how the color will look alike on a specific output device.
Step 1: Click on the view menu, then click on the Proof setup from the drop-down list.
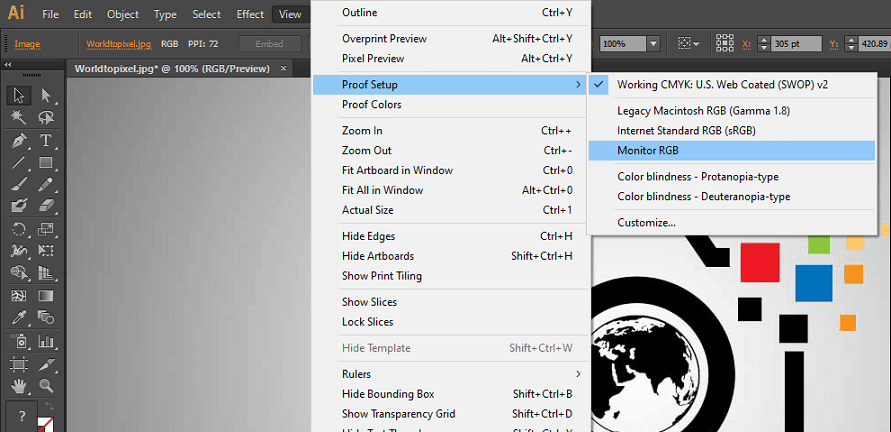
Step 2: Click on the view menu then go to the Proof colors to toggle the soft-proof display on and off.
Save or Load a custom proof setup
Step 1: Go to View menu and click on proof setup from the drop-down list.
Step 2: After that, click on the custom option from the child drop-down menu.
Step 3: Now you have two option:
- Click on save to save a custom proof setup to ensure that the new preset appears in the View → proof setup menu
- Click on load to load a custom proof setup.
Color profiles in Adobe Illustrator
A color management system consists of the following profiles:
Monitor profiles: The monitor profile helps you to maintain color consistency inside your document by deciding the accurate design process.
Input device profiles: It describes the color profiles of your input devices like camera, scanner, etc. You can select the Adobe profile in your input device if you input device supports profile selection option.
Output device profiles: The output device profile describes the color space of the output device such as desktop printers or a printing press. It considered specific printing conditions, such as the type of paper and ink.
Document profiles: It defines the specific RGB or CMYK color space of a document. It assigns or tags a document with a profile that the application provides a definition of actual color appearance in the document. Such as: R=127, G=12, B=107. It is just a set of numbers that are differently displayed on different devices.
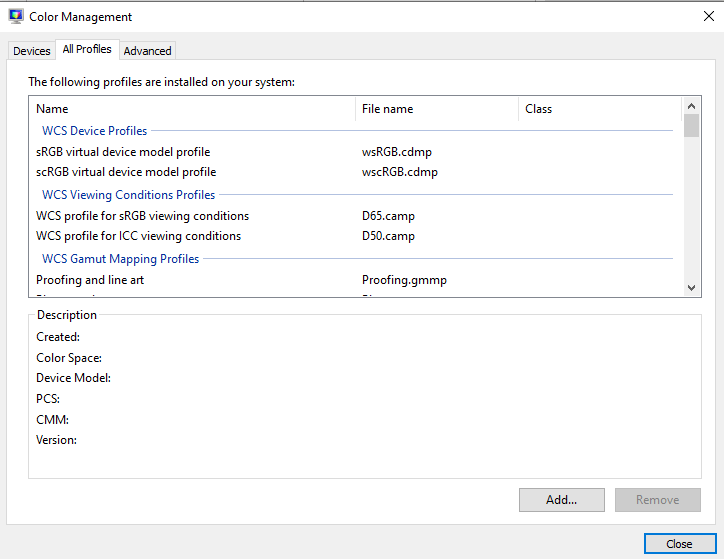
Installing a color profile in illustrator
When device is added to our computer, we can install the color profiles. We can get the related device profile from the from our device manufacturer, we can download it from the web, or we can create custom profiles using professional profiling equipment.
Step 1: Download the profile from the web.
Step 2: Then go to the file explorer, then right-click on a profile and select Install Profile.
Step 3: Or, you can copy the profiles into the WINDOWSsystem32spooldrivers color folder or the WINNTsystem32spooldriverscolor folder.
Step 4: Restart the Adobe Illustrator after installation to apply the changes.
Calibrate and profile monitor in Illustrator
We should calibrate our monitor to adjust according to the specification. The profile utility will allow us to save a color profile once it is calibrated.
Step 1: Turn on your monitor and left it running for at least half hour. It gives the monitor a sufficient time to warm up and produce more consistent output.
Step 2: You need to take care of that your monitor is displaying thousands of colors or more. Ideally your monitor should display 24-bit or higher color.
Step 3: The colorful background pattern should be removed from you monitor and set you monitor to display neutral grays.
Step 4: Now, you need to install and use a monitor calibration utility.
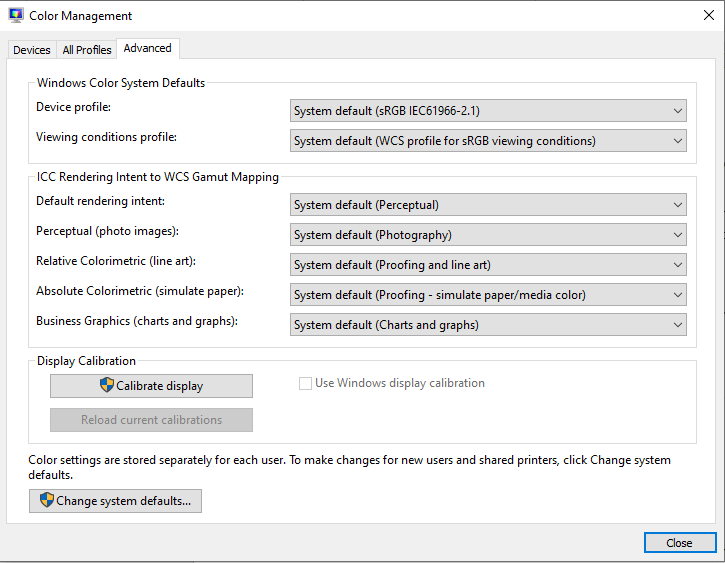
Such profiling software can automatically assign the updated profile as the default monitor profiles.
Embed color profile in Illustrator
We must have to export the document in the format that supports ICC profile to embed a color profile in a document we create in Adobe illustrator.
Step 1: You have to save the created document in any of the following file format: Adobe PDF, PSD, AI, INDD, JPEG, Photoshop EPS, Large Document Format, or TIFF.
Step 2: Now, select the option for embedding ICC profiles. It varies between applications.
Assign or remove a color profile in Adobe Illustrator
Step 1: Click on Edit menu, then a drop-down menu will appear.
Step 2: Now, from the drop-down menu, click on Assign profile.
Step 3: After that, select a profile from the Assign profile dialogue box.
Step 4: For each type of graphic in your document, select a rendering option.
Step 5: Select preview to see the preview of the effect for the new profile assignment in the document. Then click OK.
Color Management policy in Adobe Illustrator
A color management policy in Adobe application determines that how the application handles color data when we open any document or import an image.
To display the color management policy option you need to go to the Edit menu, then Select color setting from the drop down.
RGB, CMYK, and Gray: It specifies a policy in the current working space when we bring color.
- Preserver Embedded Profiles: When we open profile, we have to preserve the embedded color profiles. It is the recommended option that you select for most workflows because it provides consistent color management.
- Convert To Working Space: It will help you to convert the colors of current working space profile when we open files and importing any images.
- Preserve Numbers: It is available in Illustrator and InDesign as well for CMYK. It preserves the color numbers when opening files and importing images, but still it allows us to use color management to view colors accurately in Adobe applications.
- Off: It ignore the embedded color profiles when we open the files and imports the images.
Profile Mismatches: It displays a message when we opening the document tagged with a profile other than the current working space. The policy’s default behaviour can be override using the given option. You can select this option; in case you want to ensure the appropriate color management of pasted colors on a case-by-case basis.
Profile Mismatches: It displays a message whenever the profile mismatches occur as color are imported into a document through dragging-and-dropping or pasting.