Control Groups and Flip Switch
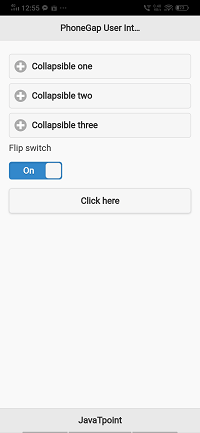
In our previous section, we learned how to use the minimum screen area completely by using the Collapsible Content Block. Now, we will learn about how we can use the Control Groups and Flip Switch in PhoneGap. We will explain both the Control Groups and Flip Switch one by one.
Control Groups
Control Groups are one of the easiest ways of organizing content with the JQuery mobile library. These are the following steps used to create Control Groups in PhoneGap:
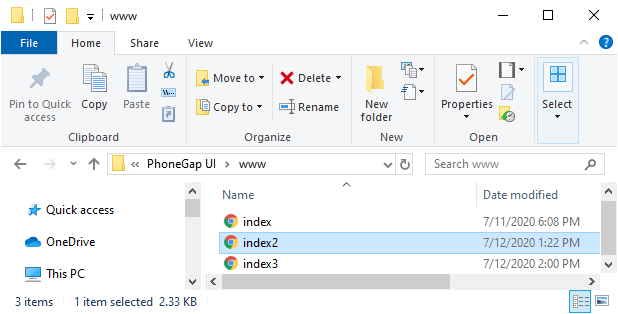
1) Create index3.html file
We will create a new file index3.html with the same code as preset in the index2.html. We will make changes later in the index3.html file, not in index2.html.
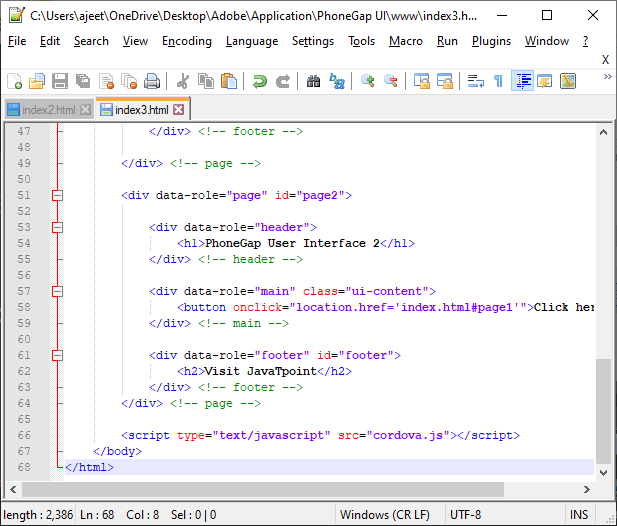
2) Create field set
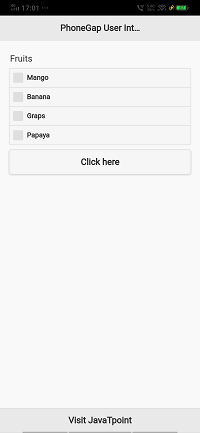
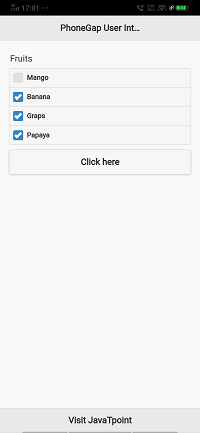
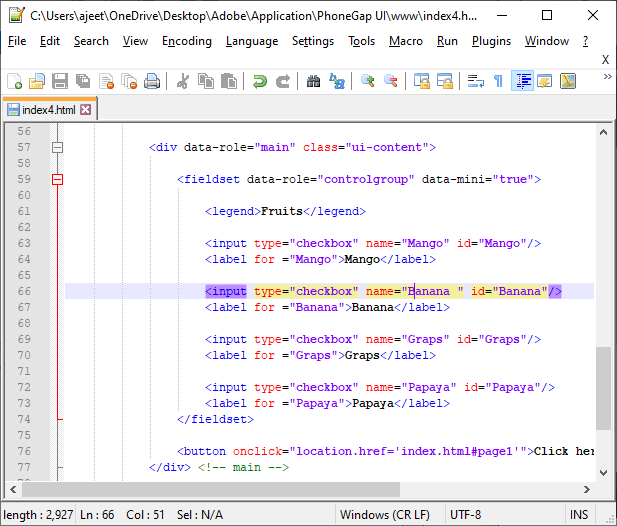
We will create the field set in main div of second page. It is the regular HTML tag. The reason of creating this field set is that it will contain all our control groups.
3) Create Control Group
We will add the legend method inside the <fieldset></fieldset> tag. After that we will add the checkbox with an id using <input></input> tag and a label using <label></label> tag in the following way:
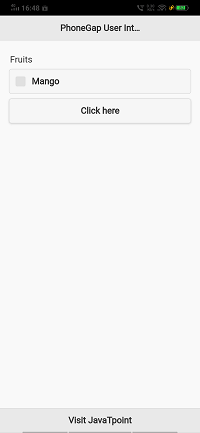
4) Create more checkboxes
Now, we will add more checkboxes to see exactly what the control group does, in the following way:
5) Use data-mini attribute
We can also use JQuery’s data-mini attribute to get a smaller set of checkboxes. We will use it in the following way:
Flip Switch
The flip switch is a two-option select menu. It is a new look for the checkbox. The flip switch is toggled when we click or swipe it. We will create a flip switch by simply adding a data-role=”flipswitch” attribute to the checkbox input.
Theming
The jQuery Mobile CSS framework is used by the Flip switch to style its look and feel. If a Flip switch requires specific styling, we will use the following CSS class names to overrides or as keys for the classes option:
- ui-flip switch
It is an outermost container for the flip switch. - ui-flipswitch-on
It is an on state label of the flip switch. - ui-flipswitch-off
It is an off state label of the flip switch. - ui-flipswitch-input
It is an input checkbox element for the flip switch.
These are the following steps used to create Flip switch in PhoneGap:
1) Create index4.html file
We will create a new file index4.html with the same code as preset in the index3.html. We will make changes later in the index4.html file, not in index3.html.
2) Create a label and flip switch
We will go to the end of the collapsible set of page1 section. We will create a label for the flip switch. We will use an input tag to create flip switch and give type=”checkbox”, an ID, and data-role=”flipswitch”. This data-role attribute changes the look and feel of the checkbox and creates a flip switch. We will arrange all these attributes in the following way: