CorelDRAW: Drawing Shapes
In this chapter, we will understand the following topics:
- Creating Squares and Rectangles
- Creating pie shapes, arcs, circles, and ellipses
- Creating stars and polygons
- Creating spirals
- Creating grids
- Creating predefined shapes
- Creating by applying shape recognition
Creating Squares and Rectangles
CorelDRAW enables us to draw squares and rectangles. We can create a square and rectangle by dragging with a Rectangle tool diagonally or by describing the height and width with a 3-point rectangle tool. It lets us create rectangles on an angle quickly.
Also, we can create a square and rectangle with chamfered, scalloped, and rounded corners. We can individually change every corner or use these modifications to every corner. Besides, we can describe that every corner scale relevant to an object. Also, we can describe the size of the default corner for creating squares and rectangles.
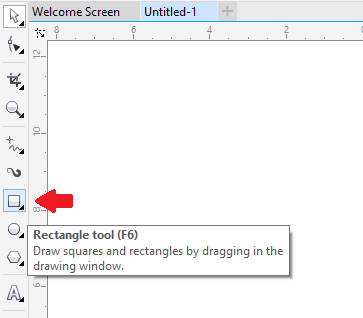
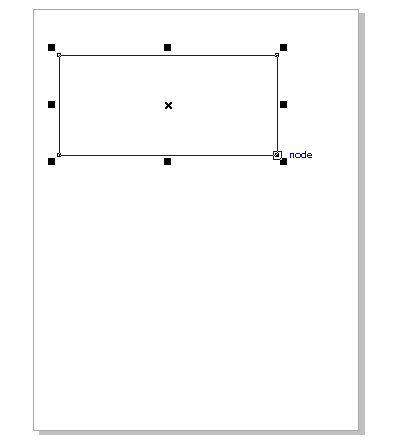
To draw the rectangle
- Within the toolbox, press the Rectangle Drag this tool inside the drawing window and draw the shape we wish.
To draw the square
- Within the toolbox, press the Rectangle Hold down the Ctrl button, and drag this tool inside the drawing window and draw the shape we wish.

Creating pie shapes, arcs, circles, and ellipses
We can create a circle or ellipse by dragging with an ellipse tool diagonally, or we can create an ellipse with the help of a 3-point ellipse tool for specifying its height and width. A 3-point ellipse tool enables us to create the ellipse at the angle quickly, eliminating the requirement to rotate an ellipse.
To draw the circle or ellipse diagonally by dragging
- Within the toolbox, press the Ellipse Release the mouse button when we have an ellipse shape we wish.
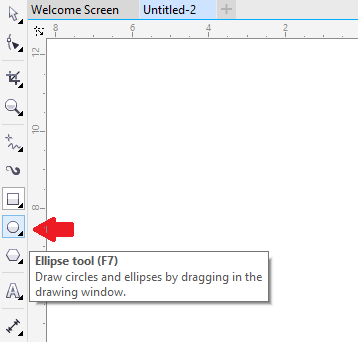
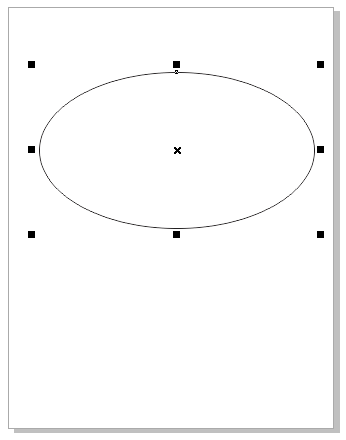
- Within the toolbox, press the Ellipse Hold down the Ctrl button, and release the mouse button when we have a circle shape we wish.

Creating stars and polygons
CorelDRAW enables us to create two essential kinds of stars and polygons: complex and perfect. Complex star generates real outcomes and intersecting sides with the fill used. Perfect star is traditional-looking and can contain a fill used to the whole star shape.
We can change the stars and polygons. For example, we can modify the side’s number on the polygon or point’s number on the star, and sharpen-up the star’s points. Also, we can apply a Shape tool for reshaping complex stars and polygons.
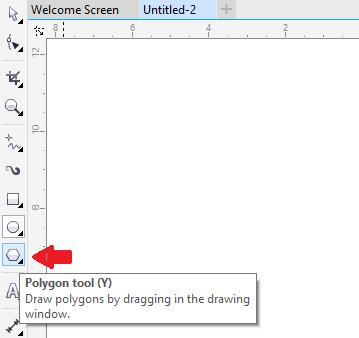
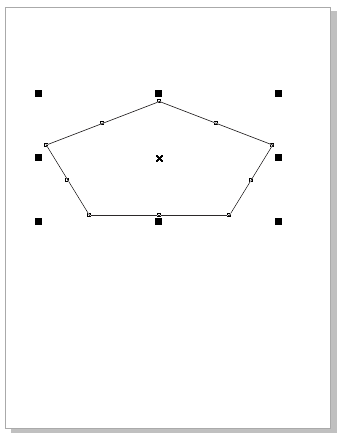
To draw the polygons
- Within the toolbox, press the Polygon tool, drag the mouse button inside the drawing window, and release it when we get the polygon shape we wish.
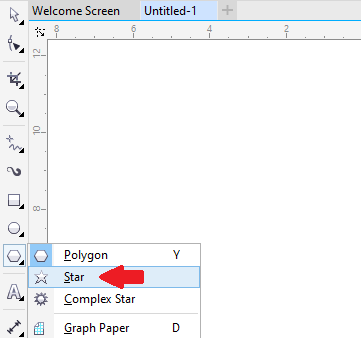
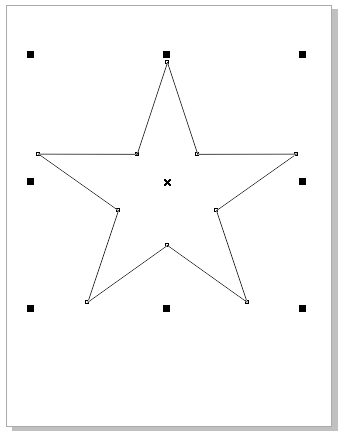
To draw the stars
- Within the toolbox, press the Star tool, drag the mouse button inside the drawing window, and release it when we get the polygon shape we wish.
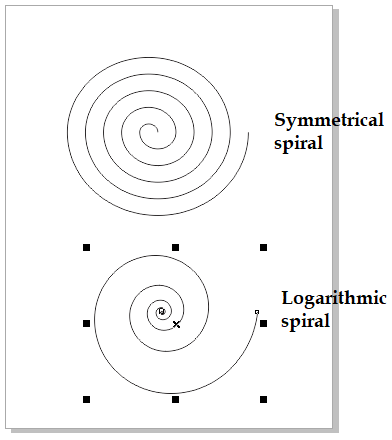
Creating spirals
We can create two essential spiral types: logarithmic and symmetric. The symmetric spiral spreads evenly. Thus, the distance among every revolution will be equal. The logarithmic spiral spreads with increasingly bigger distances among the revolution. We can set-up the rate thru which the logarithmic spiral spreads outward.
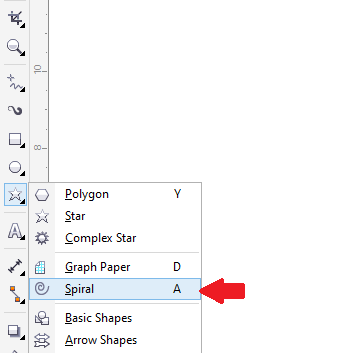
To draw the spirals
1. Within the toolbox, press the Spiral
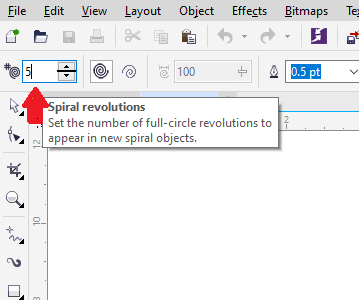
2. Fill the value inside the Spiral revolutions box over the property bar.
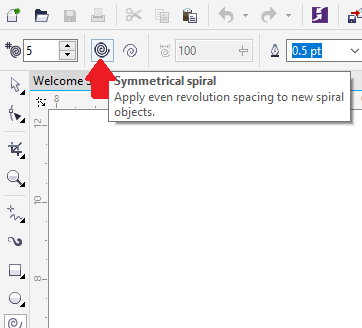
3. Over the property bar, press anyone button:
- Symmetrical spiral
- Logarithmic spiral
4. Drag diagonally inside the drawing window and release the button when we get required size.
Creating grids
We can create the grid and fix the columns and rows number. The grids are the rectangle’s grouped set that we could break apart.
When we wish to create a grid from the center outward point, hold down the Shift button as we drag; if we wish to create the grid along with the square cells, we can hold down the Ctrl button as we drag.
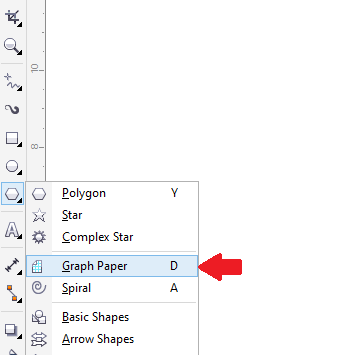
To draw the grids
1. Within the toolbox, press the Graph paper
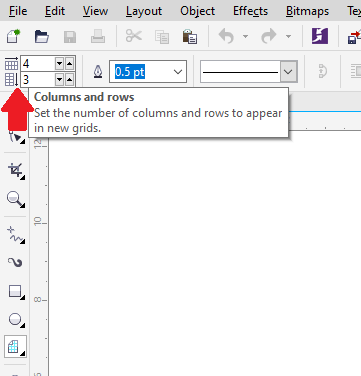
2. Fill the value inside the bottom and top proportions of Columns and rows box over the property bar.
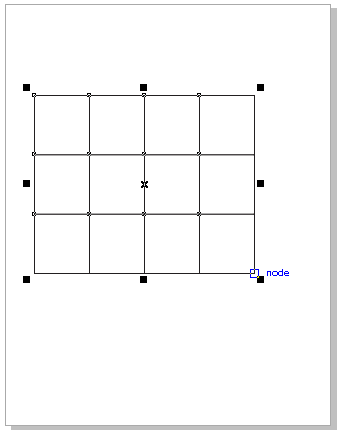
3. Point to the place we wish the grid to display.
4. Draw diagonally for drawing the grid.
Creating predefined shapes
With the collection of perfect shapes, we can create predefined shapes. The certain shapes are some callout, banner, arrow, and basic shapes which include diamond-shaped that are known as glyphs. We can drag the glyph to change the representation of the shape.
We can insert the text to an outside or inside of a shape. We may wish to put the label outside or inside a callout or flowchart symbol.
To draw the predefined shapes
1. Within the toolbox, press anyone:
- Basic shapes
- Flowchart shapes
- Arrows shapes
- Callout shapes
- Banner shapes
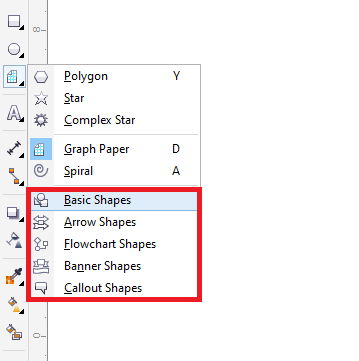
2. Open the Perfect Shapes picker over the property bar, and press on any shape.
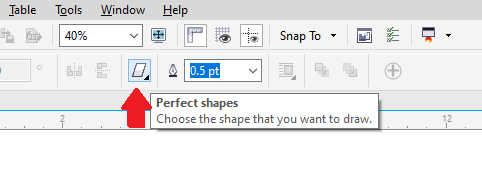
3. Drag inside the drawing window and release the button when we get the perfect size.
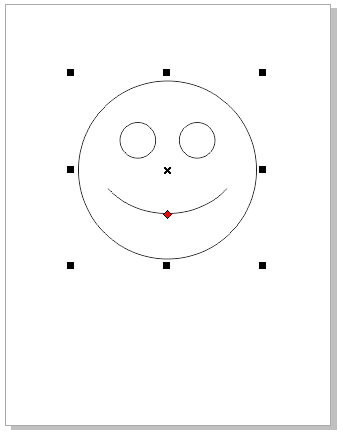
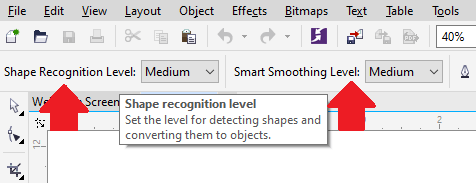
Creating by applying shape recognition
We can apply a tool Smart drawing to create freehand strokes that can be converted and recognized to some basic shapes. Ellipses and rectangles are converted to CorelDRAW objects; parallelograms and trapezoids are converted to some perfect shapes object; arrows, diamonds, squares, triangles, and lines are converted to some curve objects. When the objects are not translated to any shape, it will be smoothed. Curves and objects created with shape recognition can be edited. We can set a level on which CorelDRAW identifies the shapes and translates them to some objects. Also, we describe the smoothing amount used to curves.
We can set time amount to elapse among creating the pen stroke. We can create the corrections as we draw. We can also modify the shape’s line style and thickness that was created with the use of shape recognition.
To draw the lines and shapes by using the shape recognition
1. Within the toolbox, press the Smart drawing
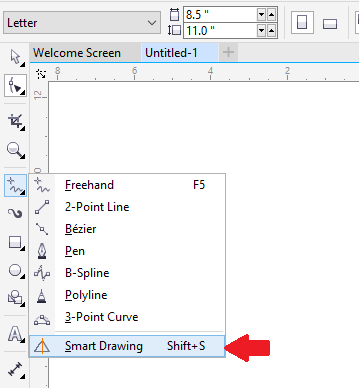
2. Select a level of recognition through the Shape recognition level over the property bar.
3. Select a level of smoothing through the Smart smoothing level over the property bar.
4. Design a line or shape inside the drawing window.