Edit Data into the Database MEAN Stack
In our previous section, we learned about the difference between client-side routing and server-side routing. Everything is working well till now. In this section, we will cover the editing part of our posts. We will learn how to make a post editable using MEAN Stack. We will use the following steps to make a post editable:
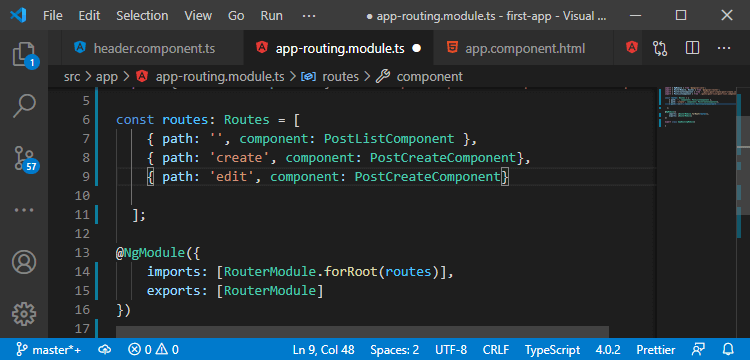
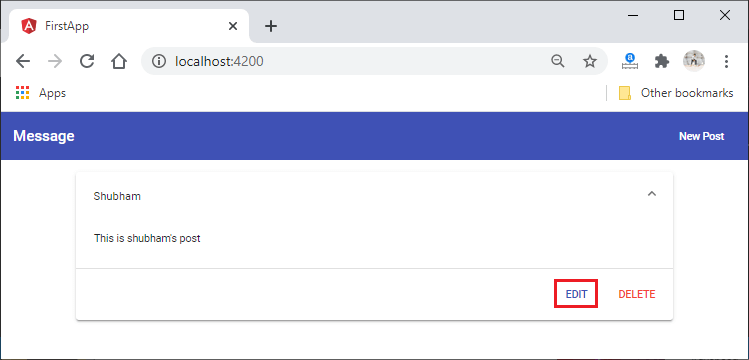
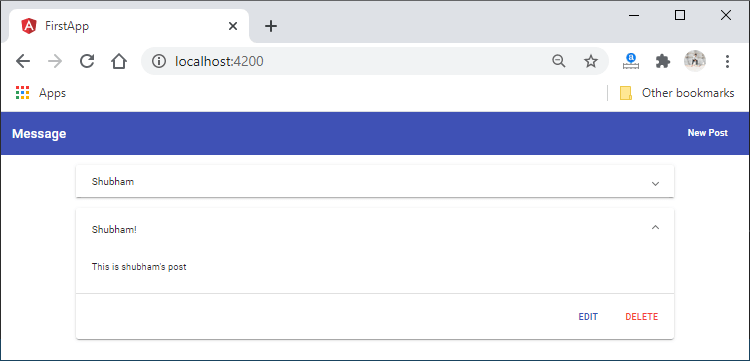
1) We added two buttons with each post, i.e., EDIT and DELETE. The DELETE button is working well, but the EDIT button is not doing anything right-now. We want that when we click to this button, we will go back to the new post page. It should not be the new post page, but its form should be the same as the new post page. So, firstly we need to create a route for that which loads the post-create component. We will access it through edit in the following way:
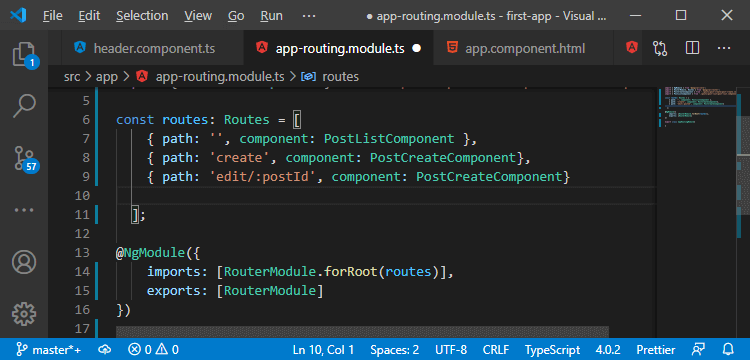
2) We also need to tell it which post we want to edit and that information should be encoded in the URL, so we will add a dynamic segment to that path in the following way:
We will reuse the post-create component form. We have to make sure that when we hit “save post” and therefore when we submit this and call onAddPost(), we need to differentiate between that whether we are adding a new post or editing the existing one.
Now, our post-create component will be loaded for two different paths, and we have to make sure that we handle these different cases. The angular helps us to do this. We can inject something into the loaded component through the router, which helps us identify some route information, like the exact path through which this route was loaded.
This will become important because we will know that when we extract the posts id, then we are in edit mode, and if we can’t extract this, we are in the create mode.
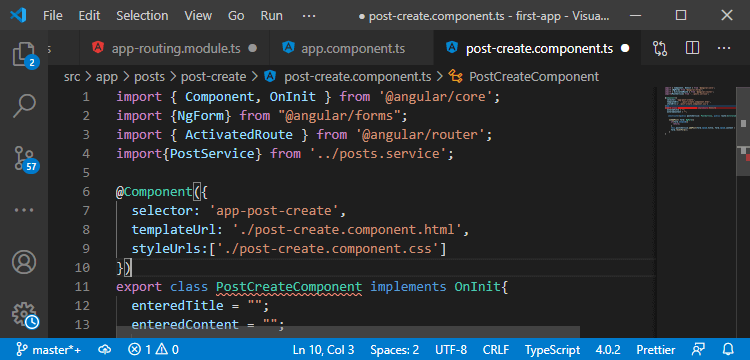
3) We will go back to our post-create component, and in the typescript file, we will inject the ActivatedRoute. We will bind it with public property and import from @angular/router in the following way:
This router package gives us this ActivateRoute object, and this holds some important information about the route we are currently on. We will use that information when the component is created.
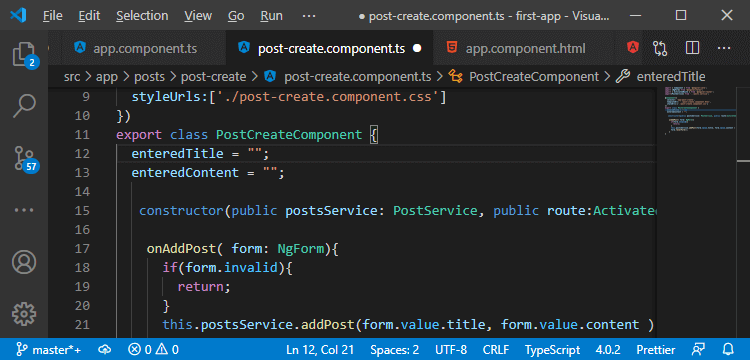
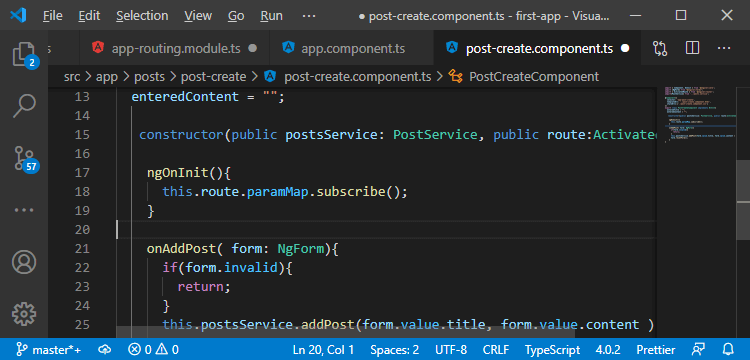
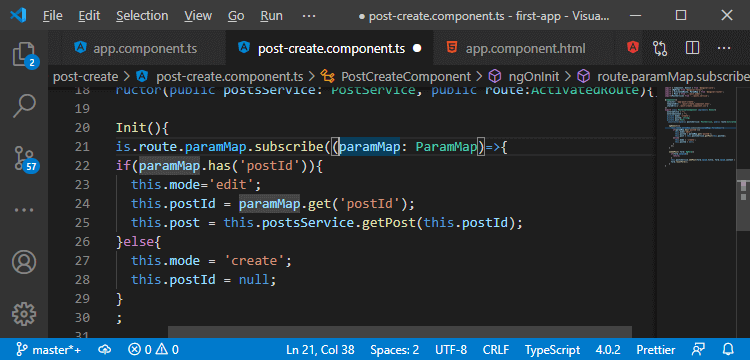
4) It is a good practice to not do this in the constructor. Instead, we will use ngOnInit(). We will implement this in our PostCreateComponent class in the following way:
5) We will add the ngOnInit() method, and in this method, we will find out whether we have a post id parameter or not. We will extract this by accessing the ActivateRoute, and there we have the paramMap object or property. The paramMap is observable to which we can subscribe, and as for all built-in observables, we never need to unsubscribe.
It is observable because the URL parameter could change while we are on the page because we could have some to which we click to essentially load the same angular component but for a different post id. So, the post id in the URL would change only, and the component will remain the same, but the data we display on that component would need to change too. This is the reason we get observable.
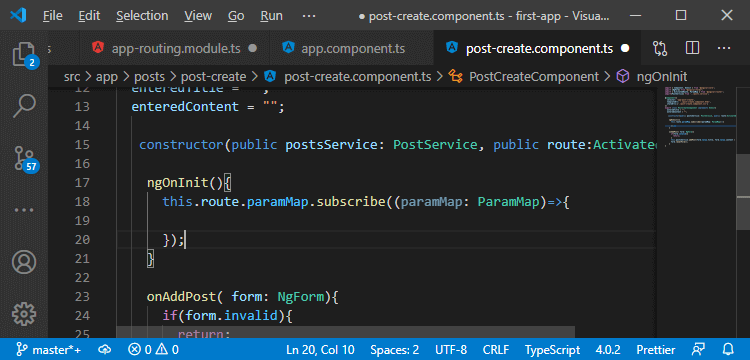
6) We get a paramMap object in our first callback in the subscription, which will be executed whenever the parameter changes. We get this object in the following way:
7) Now, we will look into the paramMap and check for the certain parameters. We will check if it exists in it or not. If this paramMap has a postId then we extract it and use it. If don’t have the postId, then we are in create mode. This will be coded in the following way:
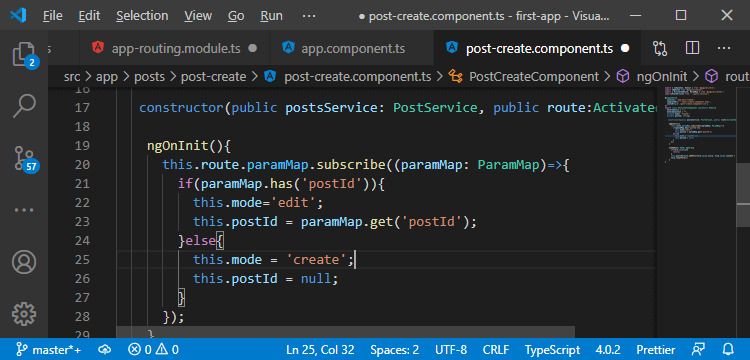
In the above code, we have created two properties, i.e., mode and postId. The mode is by default set to create, and initially, the value of the postId is undefined.
If the paramMap has a postId, the mode value overrides with “edit”. Otherwise, it remains the same. Similarly, if the paramMap has a postId, the postId is extracted and stored in the postId property. Otherwise, the null value feed in the postId property.
8) We probably want to fetch the information about the post we are going to edit. We will get it from our post service, so we will go back to our post.service.ts file. Here, we need to be able to fetch a single post from our list of posts, and for that, we will add a new method getPost(), and in this method, we expect to get an id.
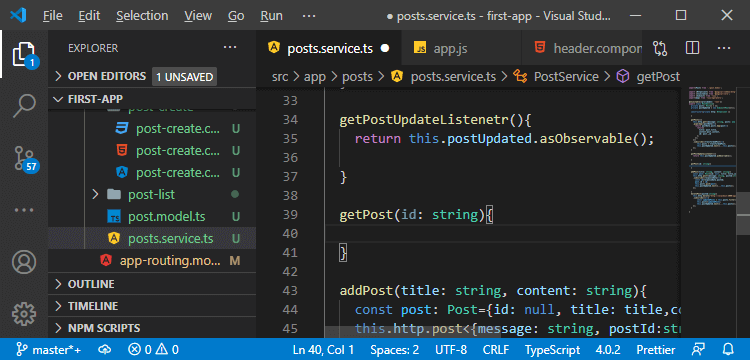
9) In this method, we will simply return a new object because we want to create a clone of the object we are returning. We will fetch the post in the following way:
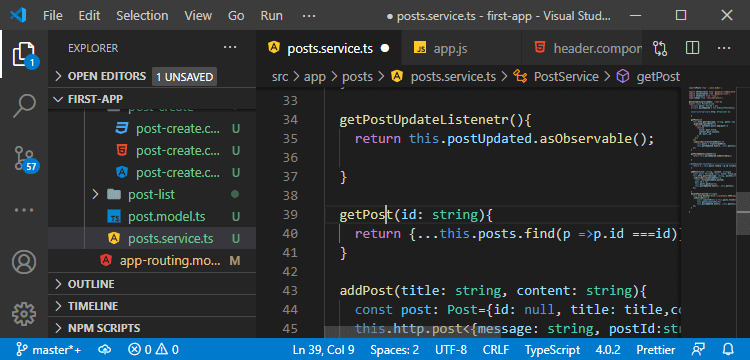
In the above code, we have used the spread operator(…) to pull out all the object’s properties and add them to a new object. We have used this.posts because we want to fetch that object from the posts array. The find() method is used to fetch the object from the post, and in this method, we used a function as a parameter, and that will be executed on every post in the array. If this function returns true, it returns the post object. This function returns true only when the id of the post in the array is equal to the getPost() method’s id parameter.
10) In our post-create component, we already injected our post service, so we just need to load that post and store that too. We will create a new property of type Post, and in the ngOnInit(), we store the single post in the following way:
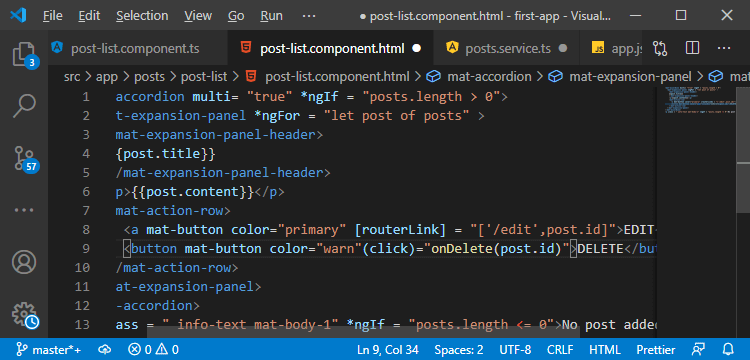
11) Now, the only thing left to do is that we actually fill our form with that post data and then handle the submission. We need to make sure that we can load this page, and for this, we will go back to our post list component. In this, we created a button for editing a post, but now we will make it an anchor tag because it will have a link in the following way:
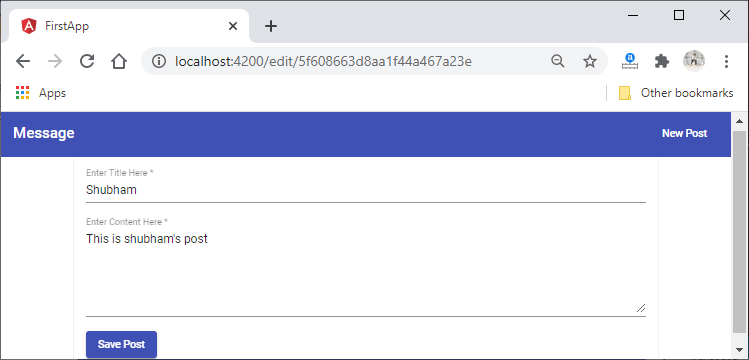
12) Now, we need to pre-populate our form with the values of that post. We will go back to our post-creare.component.html file, and here, we used the template-driven approach. It means we have to do one-way binding on ngModel in input fields. Using ngModel to register this as a control is not enough. We need to give angular the extra information of our default values we want to use, and this can be done by simply wrapping ngModel with square brackets in the following way:
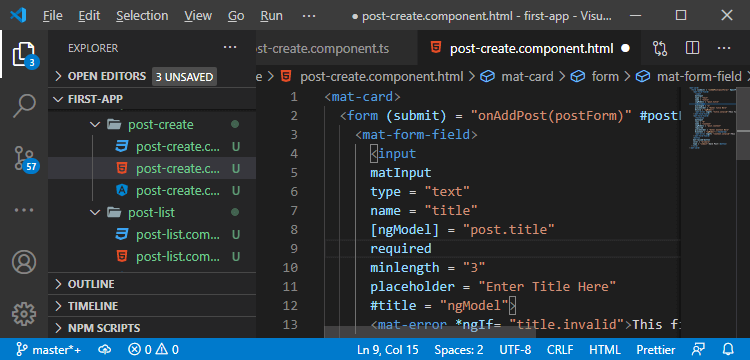
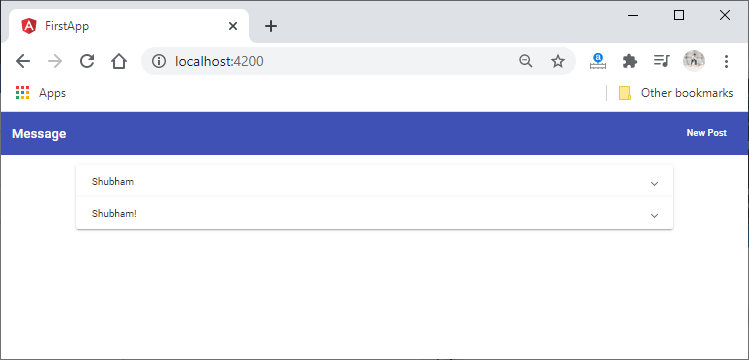
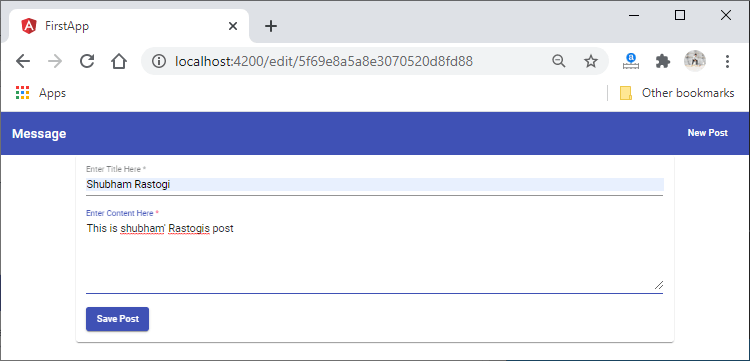
Now, if we save this and go back to our angular app, we will see the following changes in it:
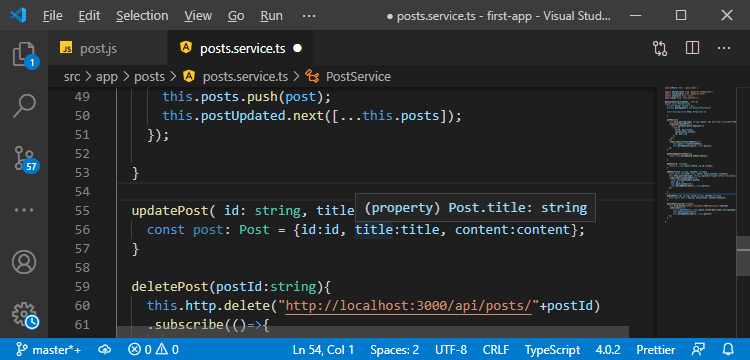
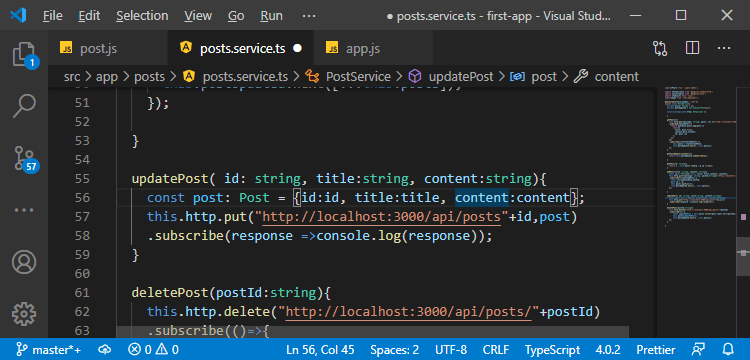
13) Now, we want to make sure that it will be updated when we submit our post, not added. For this, we will go back to our post.service.ts file, and we will add a new method for updating our post. In this method, we expect to get an id and the post data and create a new post with this data in the following way:
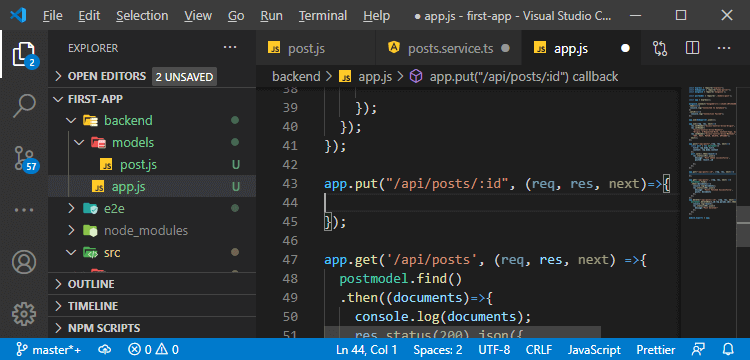
14) We need a back-end route to send this request, so we will go back to our app.js file. For updating the content, we can use a put request to put a new resource and completely replace the old one with it, or we can take a patch request to only update a resource with new values. We will use the put request in the following way:
15) Now, we need to use the mongoose to update a resource, and for that, we will use the Post model and use the updateOne() method. In this method, we pass the id in the URL as an object and the new object we want to store, i.e., a new post. So, first, we will create the post with the same id and then pass it to the method in the following way:
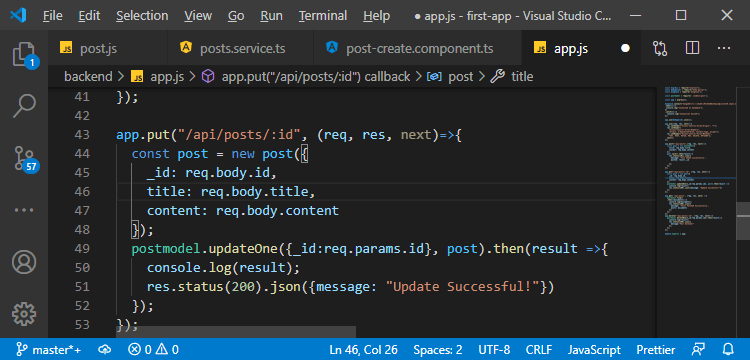
16) We also need to chain the then block to handle the success case. In the callback where we get the result , we will console the result and send the response with the json data in the following way:
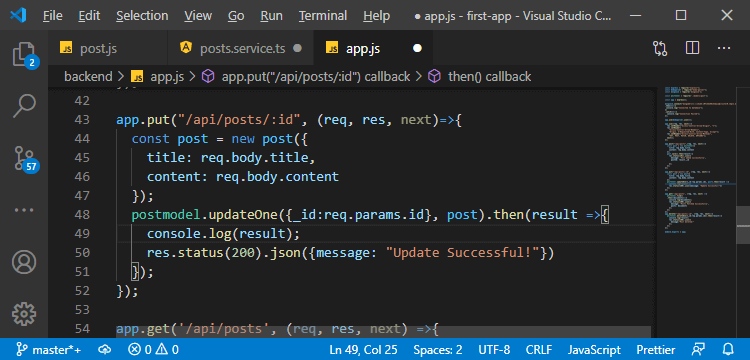
17) Now, we will go back to our service.ts file, and in the updatePost() method, we will use the local http service to send a put request to the URL in the following way:
We also need to subscribe to the put request, and we will get back our response, and for now, we will simply console log that response. It means we will not update the post locally yet.
Note: If you are getting an error, i.e., property title not found at this point, you may ignore it. We will fix it later in the next section.
If we will go back to our app and click on edit and click on the Save Post after making some changes on it, it will be added as a new post not updated.
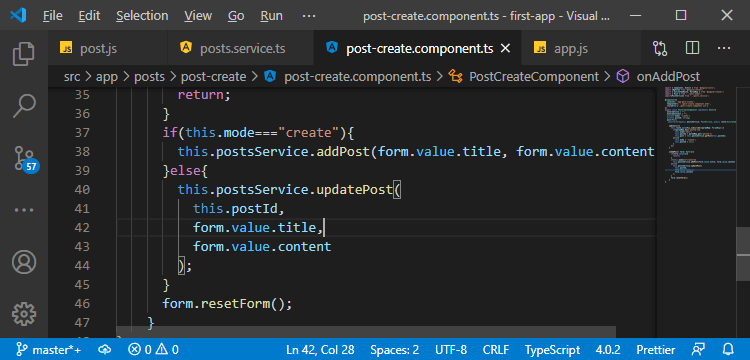
18) This error is raised because we didn’t used the updatePost() method. We still add the post in the post-create.component.ts So, we will reach the onAddPost() method, and in this method, we will check for the mode after the form validation. If the mode is “create”, the post will be added else the post will be updated in the following way:
If we will go back to our app and try to edit a post, we will get the following CORS error.

19) Now, this error will be removed by going to our app.js file. In this file, we allow the put request in the “Access-Control-Allow-Methods”

Now, once again, we will try to edit a post.
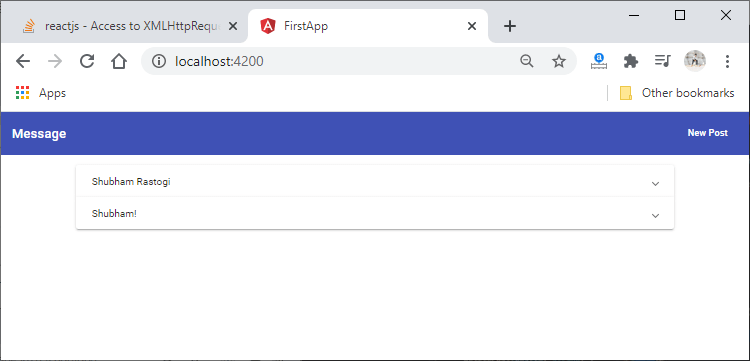
Everything is working fine, but two things are missing here, i.e., we didn’t instantly updated the post in the local array yet. We will do this in the next section, and we will instantly reload the page because the id of the post is visible on the URL.