Environmental Setup
To perform ethical hacking, we have to download the Kali Linux Operating System and we can download Kali Linux OS inside the Virtual box. Here are the basic steps to download the virtual box and Kali Linux.
Step 1: Download Virtual Box
In step1, we download the Virtual box because the virtual box allows us to create a virtual machine inside our current operating system. After this, we will download the Kali Linux. A virtual machine is just like a completely separate working machine. You will lose nothing if you install an operating system inside the virtual machine. The operating system will perform just like the install on a separate laptop.
Now using the following link, you can download the virtual box according to your operating system and install it.
https://www.virtualbox.org/wiki/Downloads
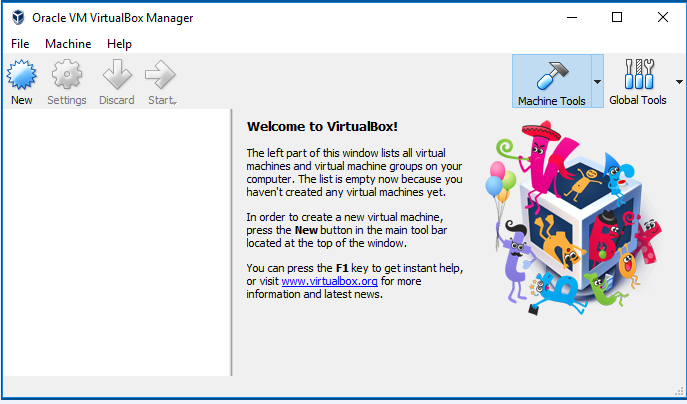
After installation, the virtual box will be shown as follows:
Step 2: Download Kali Linux
Now we will download the Kali Linux. It contained all the programs and application that we need to use pre-installed and preconfigured that means we just need to install this operating system and start hacking.
There are two ways to install Kali. You can install it as a virtual machine inside your current operating system, or you can download it as a main operating system. In this tutorial, I am going to use a virtual machine.
Use the following link to download the Kali Linux operating system.
https://www.offensive-security.com/kali-linux-vm-vmware-virtualbox-image-download/
Now click on Kali Linux VirtualBox Images and download the Kali Linux according to the compatibility of your operating system.
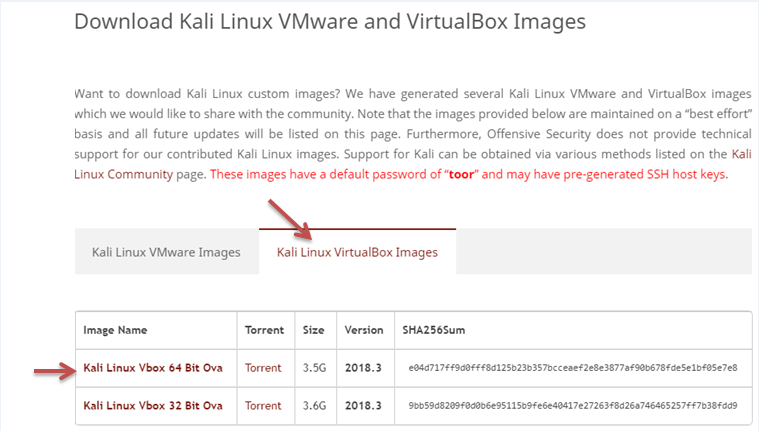
- Download the 64-bit version if your computer is 64 bits otherwise, download the 32-bit version.
- The downloaded file has a .ova extension. If the file doesn’t have .ova extension that means you downloaded the wrong file.
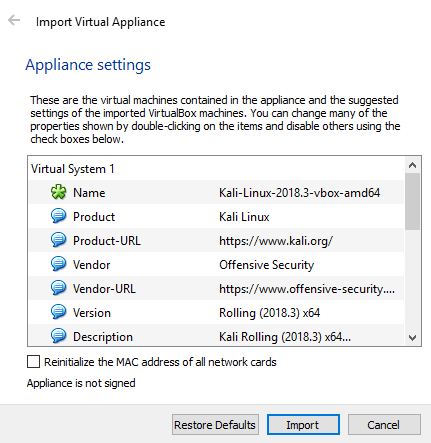
After downloading, you will get a file with .ova extension. Now, to install the Kali Linux, you need to just double click on the file and click on the import button.
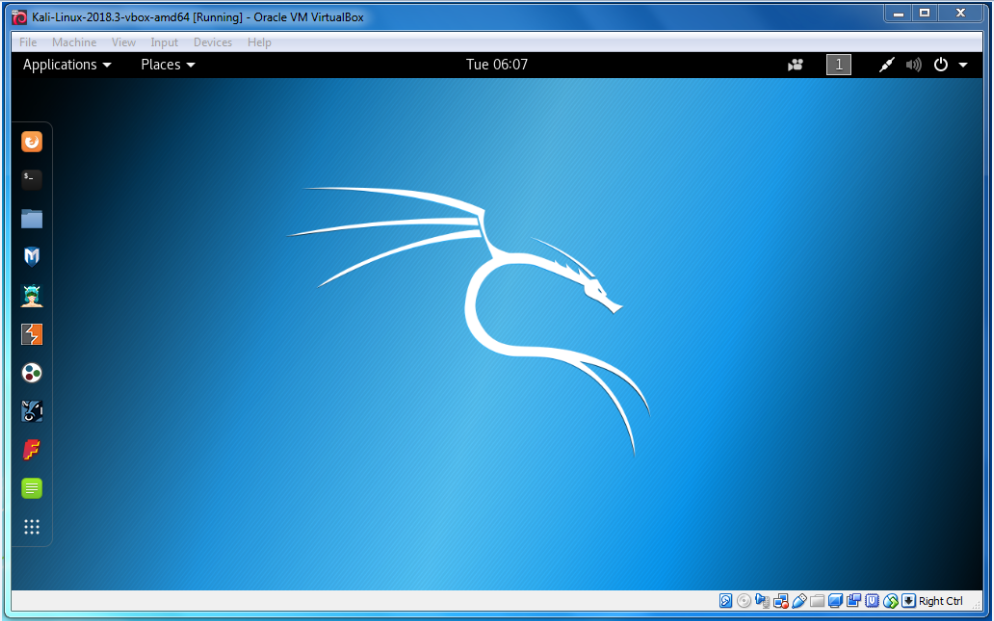
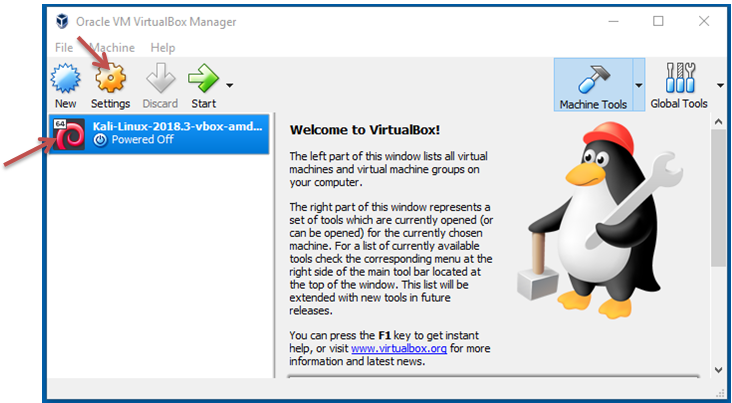
After installation, the Kali Linux is ready to use and will look like as follows:

Step 3: Modify some settings of Kali Linux
Before starting, we will modify some Settings. So just click on Kali Linux on the left side and then click on the Settings.
Now click on System and modify the amount of RAM depending on the amount of RAM on your computer. You can give it as 2GB if you want, but 1GB is enough for Kali.

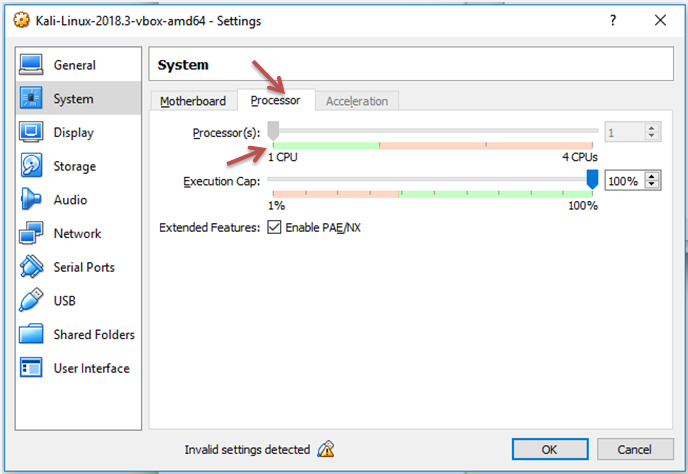
If you click on the Processor, then you can modify the amount of Processor as 2CPU, but 1 CPU is enough for Kali.
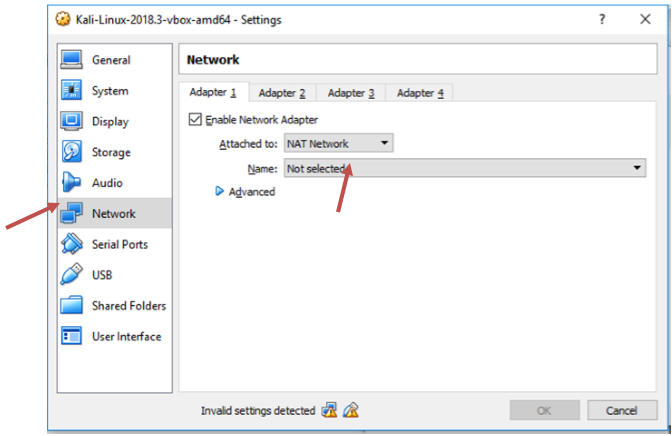
Now click on Network Settings and set “Attached to” as “NAT Network” but sometimes the network is automatically created by the virtual box, and sometimes the virtual box doesn’t create this network automatically. If it is automatically created then click OK. If it is not created then the following screen will be shown:
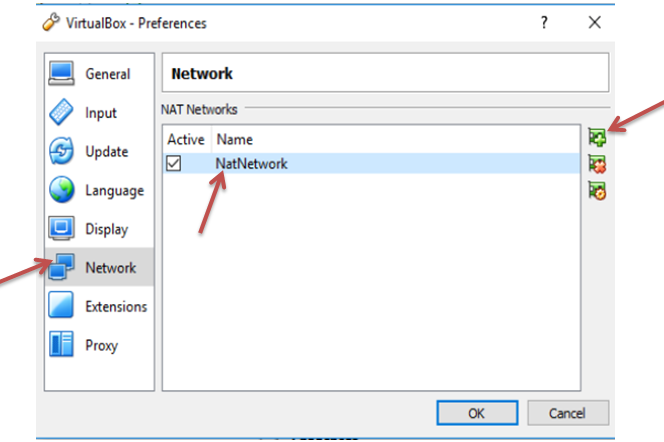
If the virtual box is not automatically created the network, then just go to the VirtualBox → Preferences → Network → + sign. Now you can see that it creates another network.
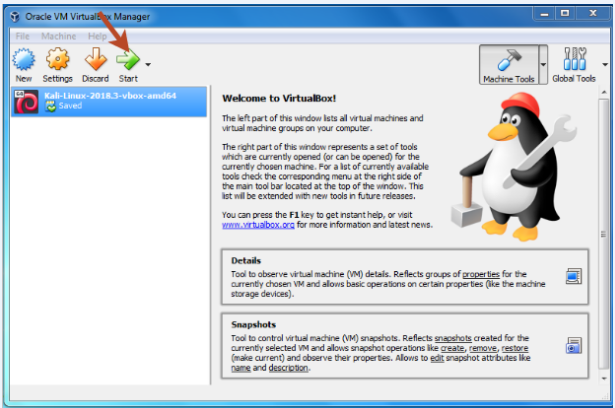
Step 4: Starting of Kali Linux
Now we are starting the Kali Linux by clicking the start button. After clicking two cases will arise:
- Sometimes it will run successfully.
- Sometimes you will get an error like this:
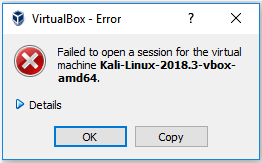
To fix this error, you have to download the Oracle VM VirtualBox Extension Pack of the same version of VirtualBox. To find the version of Virtual Box just click on Help then click on About VirtualBox.

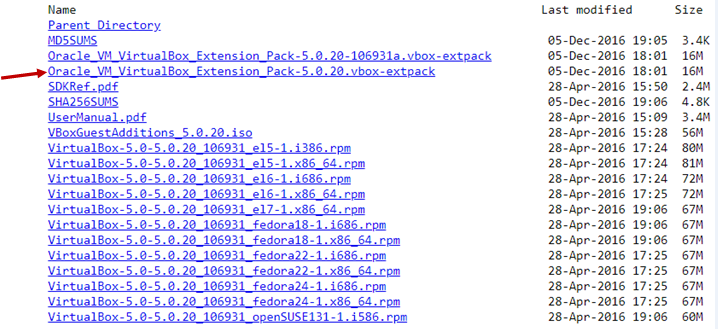
Now download the VirtualBox Extension of 5.2.20 version. Use the following link to download it:
https://download.virtualbox.org/virtualbox/5.0.20/
Now click on Oracle_VM_VirtualBox_Extension_Pack-5.0.20.vbox-extpack and download it.
Install the VirtualBox extension pack. After installing, to check it clicks on File → Preferences → Extensions. Here you can see the Oracle VM VirtualBox Extension Pack. Click OK.
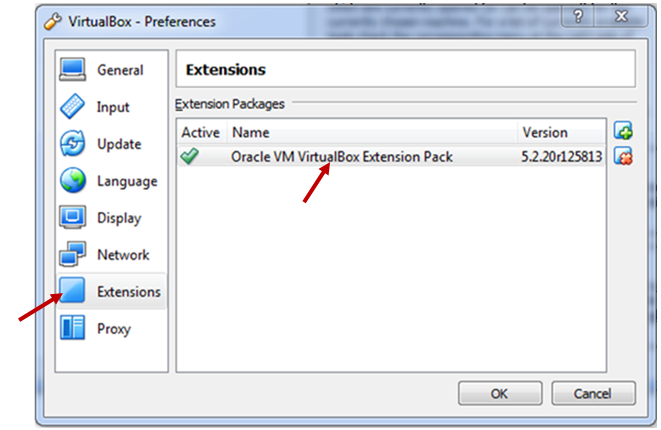
Now the problem is fixed, and we can start the virtual machine by clicking the start button.
After starting, it will ask us for the Username, and the default Username is root then it will ask us for the password and the default password is the reverse of root which is toor. Now you will get a screen like this: