Installing Nexpose
In this section, we are going to discuss about the tool called as Nexpose. This tool is made by Rapid7. Nexpose is made by the same people that made Metasploit and Metasploit Community. Same as Metasploit Community, it has a web GUI, and it allows us to discover vulnerabilities. It is also used to map these vulnerabilities to existing exploits. The difference between Metasploit Community and Nexpose is Metasploit Community only showed us exploits that can be used within Metasploit, and Nexpose shows us exploits that have been published somewhere other than Rapid7 and Metasploit. It shows us more vulnerabilities, and it works on a large scale. It also helps us to create a report at the end of the scan, and we can share this report with the technical people, or with the managers. It also helps us to create schedule scans. Suppose, for example, we are working on a big infrastructure company and we want to do regular scans every week or every month, then this tool is useful to us.
This tool doesn’t come pre-installed with kali, so we have to download it. To download it, we need to use our company name and email address which belongs to company. Use the following link to download it:
https://www.rapid7.com/products/nexpose/download/
Before installing it, we have to stop the PostgreSQL service that is running in Kali Linux. Use the following command to stop the SQL service:

Once we stop the SQL statement, we are going to change the directory to the Downloads using the cd command. If we do ls to list the current files, we will find the Rapid7Setup-Linux64.bin setup file. The first thing we are going to do is change the permissions to an executable so that we can execute this file. In Linux, to change the permission we use the chmod command, and then we will put the permission that we want to set, which is executable +x, and we are going to put the filename, which is Rapid7Setup-Linux64.bin. The command is as follows:

To run any executable in Linux, we are going to type in ./ and enter the filename which is Rapid7Setup-Linux64.bin. The command is as follows:

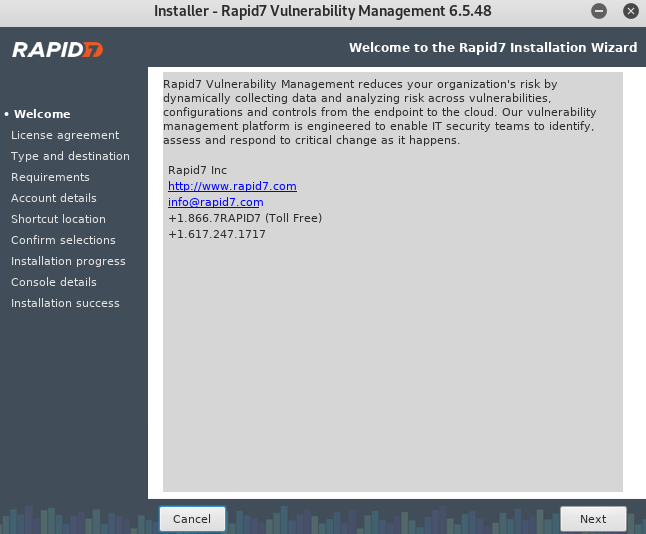
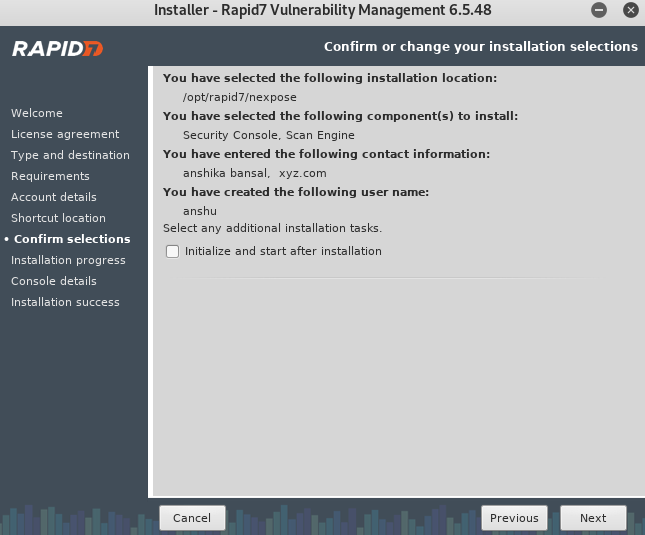
An installer will pop up, as seen in the following screenshot:
The following are the basic steps to install it:
Step 1: We have to click on Next as shown in the above screenshot. Then it will ask us to accept the agreement. Click Accept and then click Next. It will let us proceed through the installation.
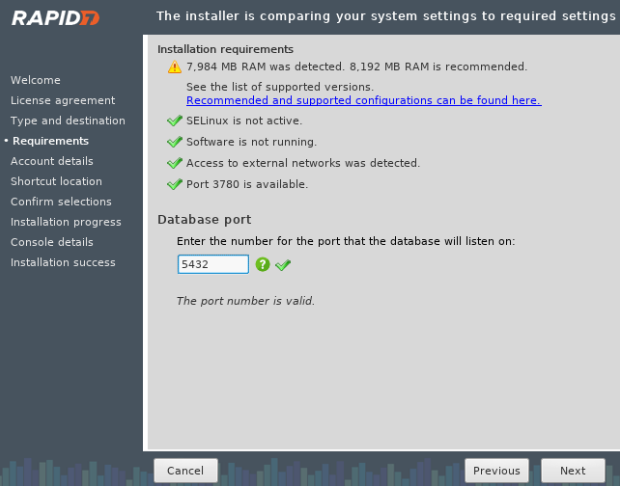
Step 2: Now, it will ask us to put the port for the database that’s going to be used with Nexpose. The port is already set to 5432, so we are not going to change it. We will click on Next:
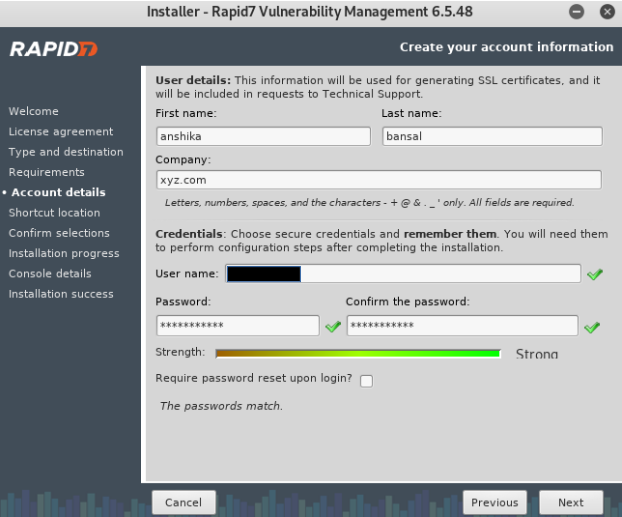
Step 3: Now, we have to put the First name, Last name, Company, and then we have to put the User name and Password. After that click on Next:
Step 4: Make sure we don’t check the box that is shown in the following screenshot. If we check this box during installation, we will have a lot of issues. We will just go to install it and then start it later when we want to use it. We are going to make this box unchecked. And that is it, now it is going to install it for us:
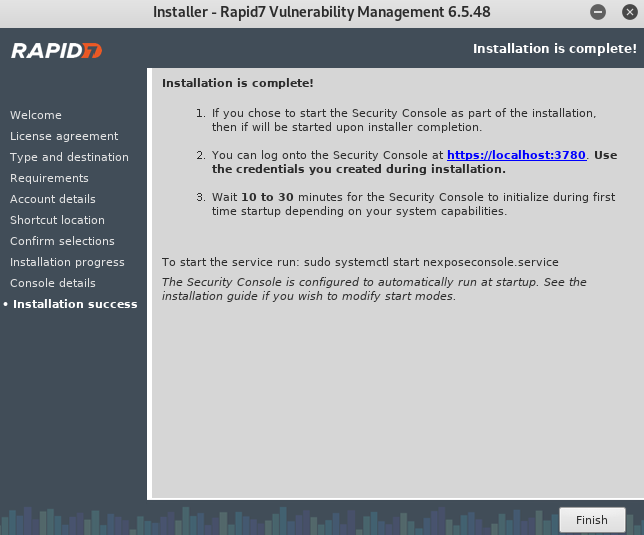
Step 5: Once the installation is successful, we are going to click on Finish: