Excel Insert Row Shortcut
Inserting a row in MS Excel is quite common, and we perform this task more often than others. This task is used to insert data in between the existing rows. Although we can easily insert rows in Excel using the right-click menu or the ribbon options, it is a little time-consuming. Instead, we can do this using the Excel keyboard shortcuts and cut the time to increase the speed of our work process. Therefore, we must know the Excel Insert Row shortcut and increase Excel’s overall productivity.
This article discusses some possible ways to help us understand how we can insert a row quickly using the shortcuts in Excel. Although we are using Excel 2013 throughout this article, the shortcuts discussed here also work on other versions of Excel as well.
‘Insert Row’ Shortcuts in Excel
The following are some of the important ways of using the ‘Insert Row’ shortcut in Excel, i.e.:
- By using the shortcut key ‘Shift + Space’.
- By using the shortcut key ‘Ctrl + and Dialog Box’.
- By using the shortcut keys ‘Alt + I + R’.
Note: Using shortcut keys, Excel will either display the Insert dialog box or insert a row directly above the active selection if a cell/row is selected. In addition to this, shortcuts only help insert a blank row.
Let us now discuss each method in detail:
By using the shortcut key ‘Shift + Space’
This is the most common method of inserting a row in Excel with the shortcut keys. According to this method, we first select the entire row that we want to shift. Next, we press the combination of the Ctrl key and the Plus key. We may need to use the Shift key for some keyboards after the Ctrl key and before the Plus key.
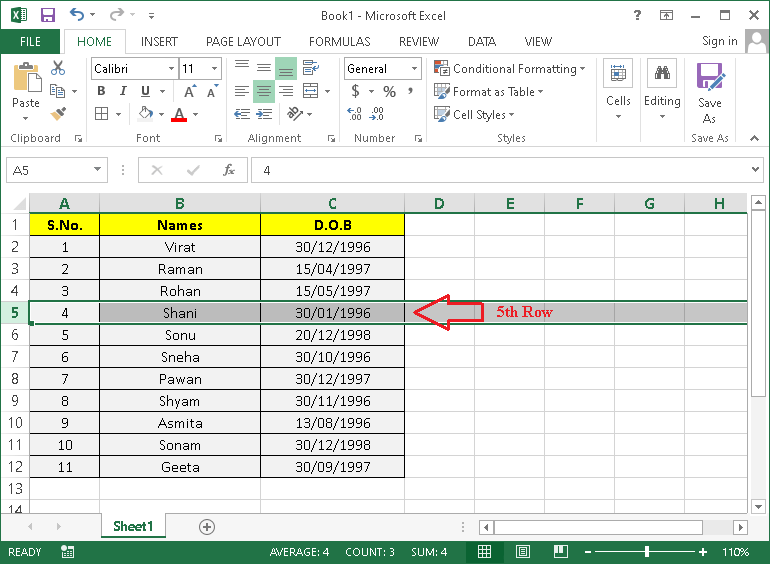
Let us take an example of the following Excel sheet.

Suppose we need to insert a row above serial no. 4, i.e., 5th row. For this, we need to select any specific cell of the 5th row and then press the keys Shift and Space simultaneously (Shift + Space) to select an entire 5th row.
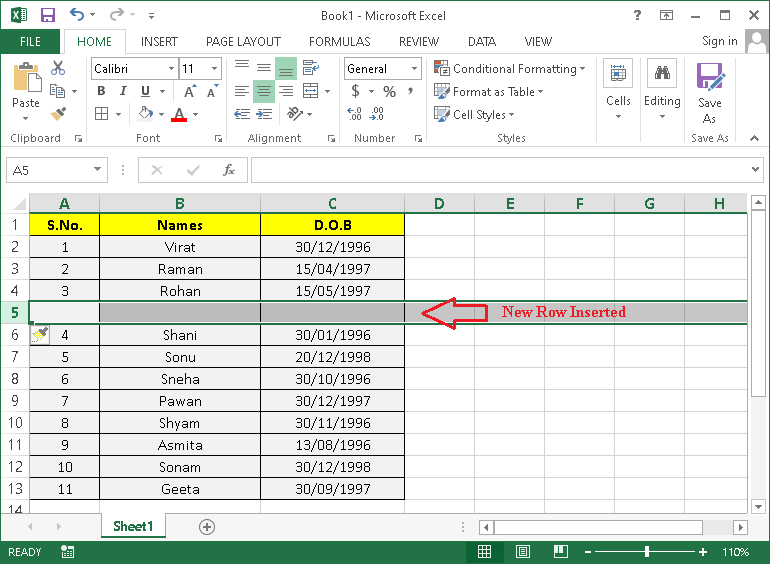
Once the row is selected, we must press the Ctrl key followed by the Plus key (Ctrl + Plus key). This will instantly insert a row above the selection. In our case, the row is inserted above the 5th row, and the current 5th row is shifted to 6th place.
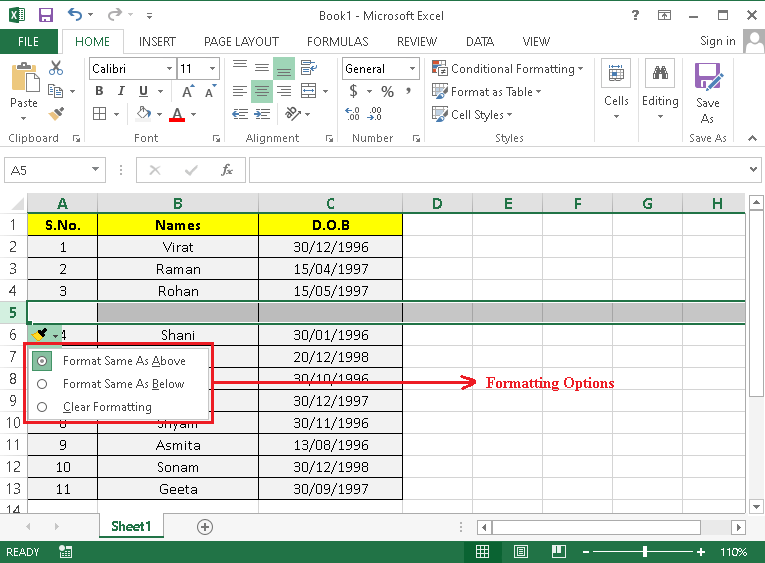
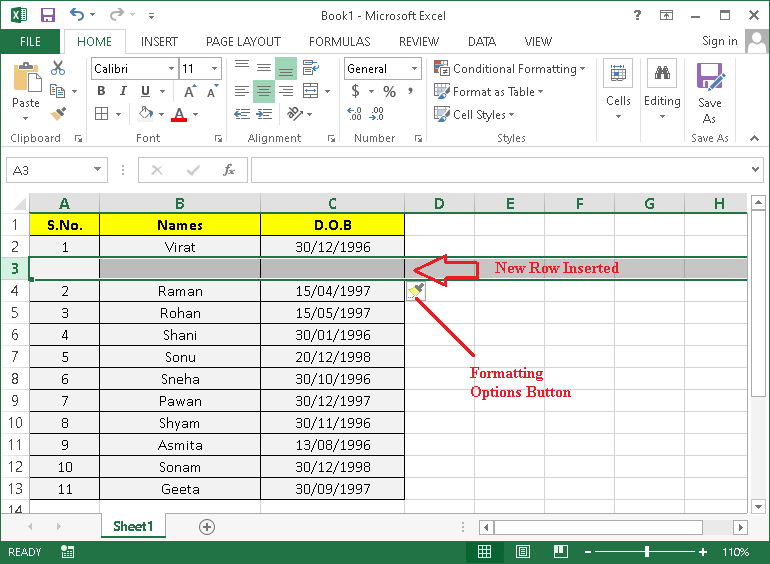
In the above image, we can see a small brush symbol that can be used to adjust the formatting style of the added row. Typically, this has three formatting options: ‘ Format Same As Above’, ‘Format Same As Below’, and ‘Clear Formatting’.
By using the shortcut key ‘Ctrl + and Dialog Box’
This method is different from the previous one because it allows users to select the desired option from the Insert dialog box. More specifically, we need first to use the shortcut key to launch the Insert dialog box and then select the option ‘Entire row’ to insert a row above the selection.
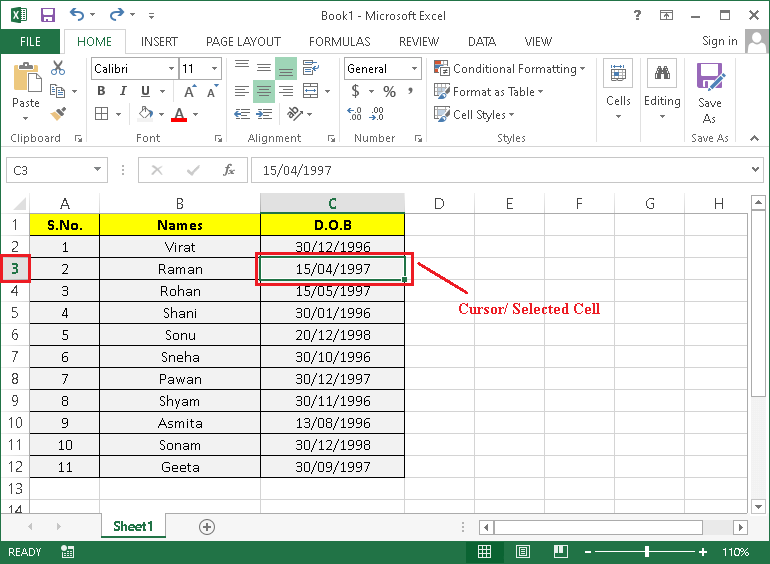
For example, suppose we need to insert a row above serial no. 2 (at 3rd row) in the following sheet.
First, we must place the cursor on any of the cells in the 3rd row and then press the shortcut key ‘Ctrl + [Plus Key]’ on the keyboard.
As soon as we press the shortcut key, Excel will display the ‘Insert dialog box’ with some options. By using the options, we can insert a new row or column accordingly. Alternately, we can shift cells to the right side or downside.
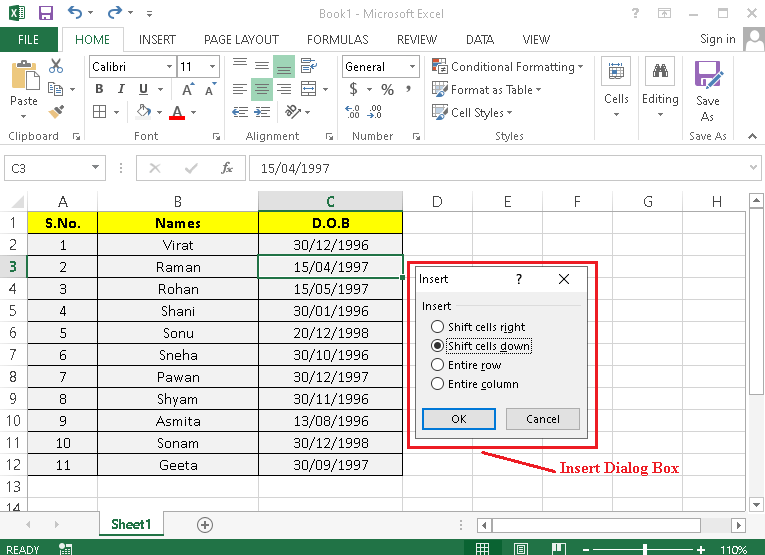
Since we need to insert a new row, we must select the ‘Entire row’ radio button and then click on the ‘OK’ button.

This will immediately insert a new row above serial no. 2 or at 3rd row.
By using the shortcut keys ‘Alt + I + R’
This method includes the use of the Alt key, which typically enables the advanced shortcuts in Excel. Once we press the Alt key while using Excel, it displays specific keyboard buttons in the ribbon. It enables users to choose any specific option from the ribbon by pressing the corresponding key. If we want to use any specific option from within the specified ribbon commands, we need to press keyboard keys in sequence. This way, we can use the shortcut ‘Alt + I + R’ and insert a new row above the selection.
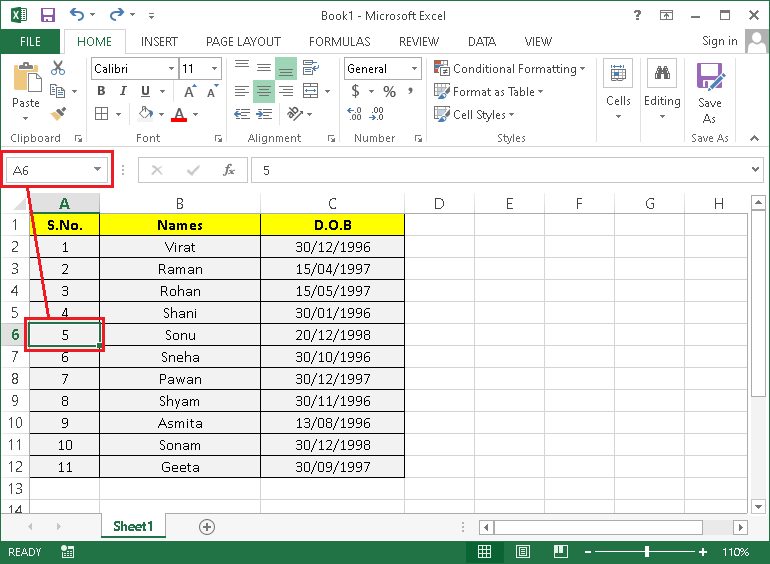
For example, consider the following sheet in which we need to insert a new row above serial 5 or at the 6th row.
First, we must select any cell in the row where we want to insert a new row. Thus, we select cell A6 located in the 6th row.
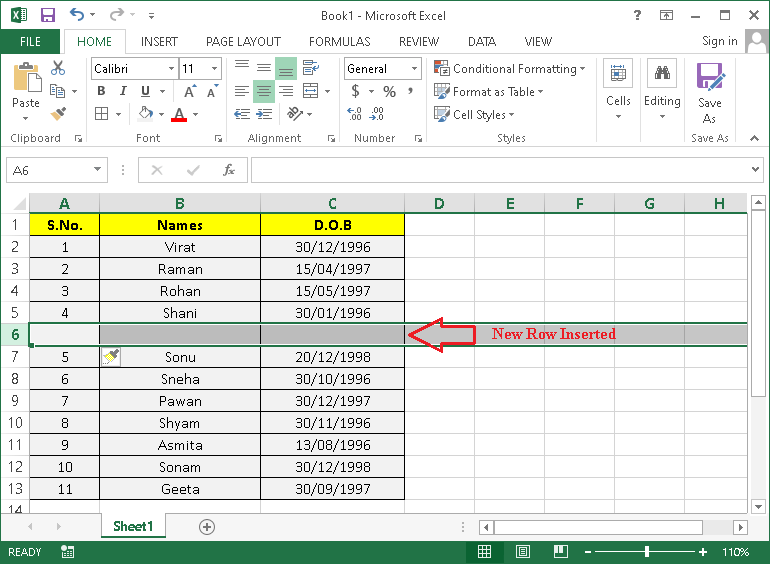
After selecting a row, we need to press the shortcut key ‘Alt + I + R’. The new row will be inserted in no time at the 6th row. Furthermore, the existing 6th row will be shifted to the 7th row.
That is how we can insert a row in Excel by using the keyboard shortcut keys.
How to insert multiple rows in Excel using a shortcut key?
Though we can insert a row using the shortcuts discussed above, adding several rows using the same shortcut key again and again might be irritating. Therefore, if we need to insert multiple rows in one go, we must first select the corresponding number of rows and then use the shortcut key.
Let us understand this with an example:
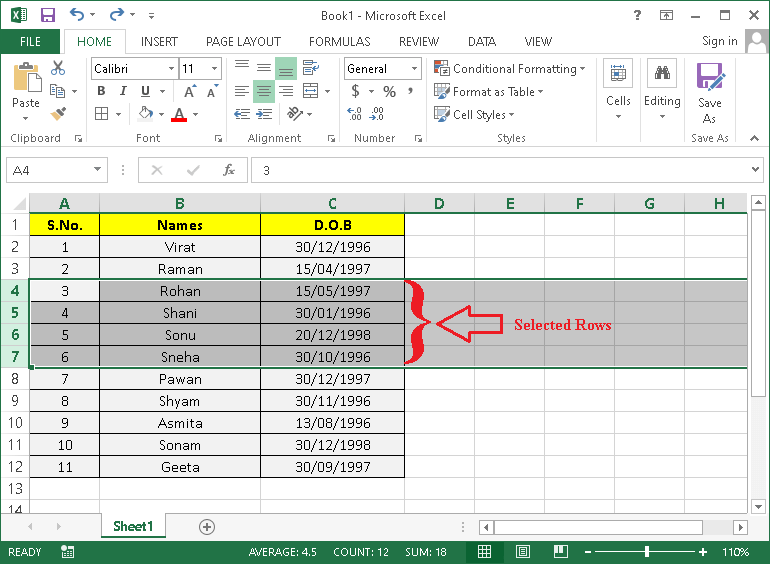
Suppose we want to insert four rows after the 3rd row (S.No. 2) in the following Excel sheet:
First, we must select four consecutive rows here, i.e., 4th, 5th, 6th, and 7th row (Serial 3, 4, 5, and 6).
After selecting the rows, we need to press the shortcut keys. For this, we use the Ctrl key with the Plus (+) key (Ctrl + Plus Key). We may need to use the Shift key for some keyboards after the Ctrl key and before the Plus key. After doing this, Excel will insert four blank rows above the selection by shifting the selected rows to the down.
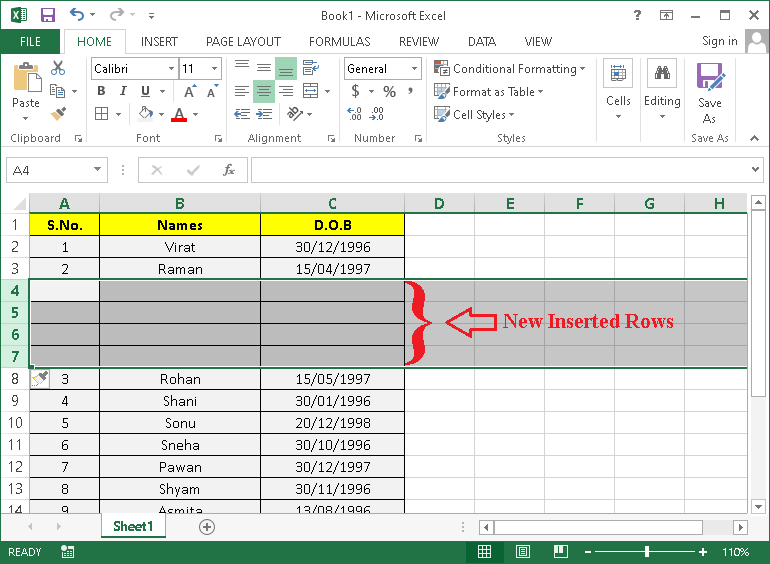
It is important to select the desired number of rows before using the shortcut to prevent unnecessary rows. Moreover, we can immediately press the ‘F4’ function key to insert the same number of rows again that we added just now.