Facebook Login Integration in iOS
Facebook login has become one of the most used features in recent mobile applications. It is easier to have a Facebook login option in the application instead of making the user confused about setting the password and username for the app. In this tutorial, we will discuss the step-by-step process of integrating Facebook login into our iOS application.
The steps used to integrate Facebook login in our iOS app are given below.
1. Setup Facebook app
The first step is to register our application with Facebook. For this purpose, we need to navigate to https://developers.facebook.com/apps/ and click on the “Add a new app” button.
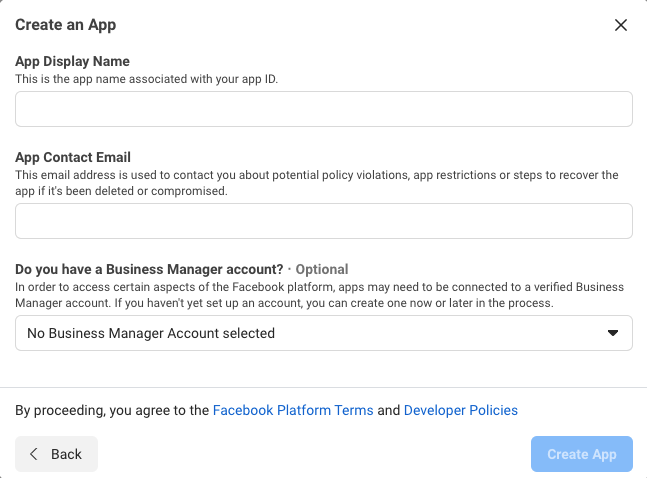
Here, we need to provide the app information like app display name, email and business account.
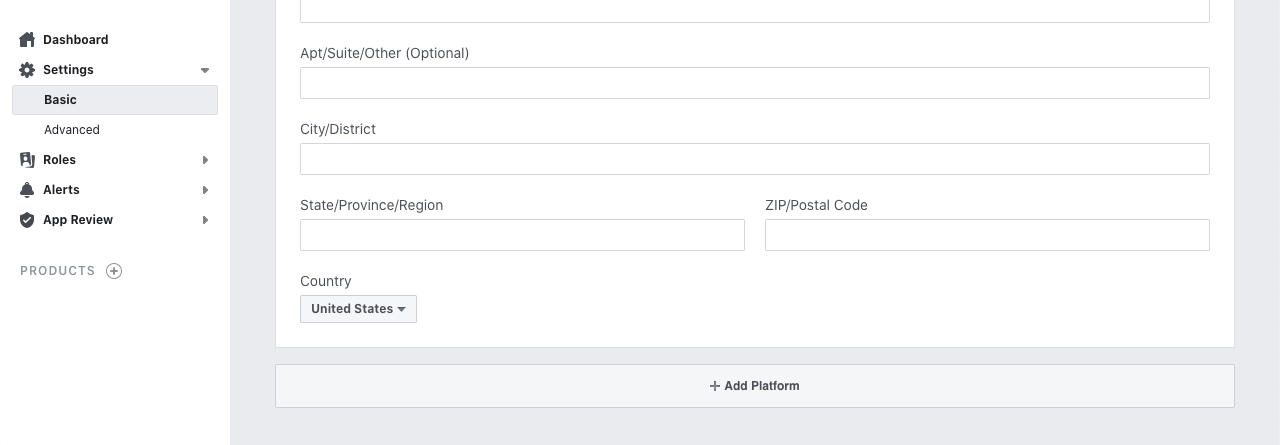
Once we provide all the details, our app will be created. To set up our platform as iOS, we need to navigate to settings -> basic in the left pane of the screen and click Add Platform button and select iOS as the platform.
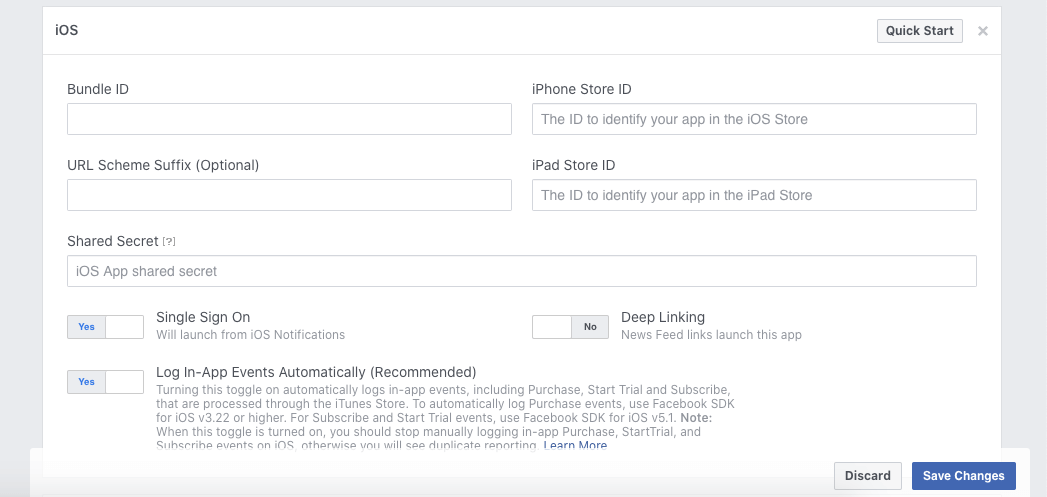
Once we select the iOS platform, a web form will open, which prompts us to provide iOS app bundle id, device store ids, etc. Here, we need to copy the bundle id from the XCode app’s target and paste it into the bundle id field. However, we have to ensure that bundle id is the same as we have provided in the XCode project target.
This is all the setup that is required to be done on Facebook. Now, we will configure the demo application on XCode, which uses a Facebook login.
2. Configure iOS project on XCode
In this step, we will configure our iOS app on XCode to use Facebook SDK using Cocoapods. For this purpose, we need to set up pods in our project. Navigate to the project directory on the terminal and run the following command to initialize the project’s Podfile.
This will create a Podfile in our project directory. We need to open the Podfile and add the following pods to install Facebook SDK in our app.
Now, run the following command to install the pods in the project.
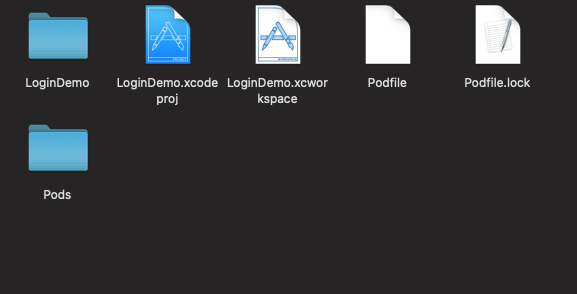
This will generate a .xcworkspace file into our project. We need to close the instance of XCode and open the .xcworkspace file in XCode.
We have successfully installed Facebook SDK in our iOS app. Now, we need to configure XCode. We need to navigate to info.plist in XCode project navigator and open it as a source code as shown below.
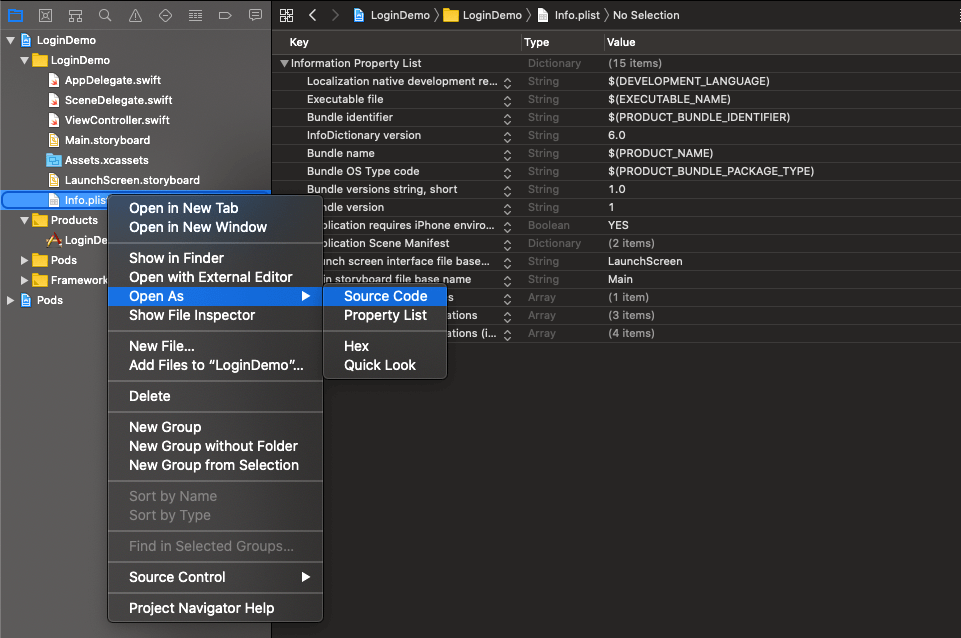
Insert the following XML code in the info.plist source code inside the <dict> </dict> tag.
Make sure to replace the app-id and app-name with the actual application id and display name on the Facebook developer dashboard for CFBundleURLSchemes; We need to provide the app-id with the prefix fb.
3. Facebook Integration in the code
Now, we need to implement the Facebook integration code in our AppDelegate and View Controller. To enable Facebook SDK to process the result obtained, we need to conform our AppDelegate to FBSDKApplicationDelegate. For this purpose, import FBSDKCoreKit in AppDelegate.
Change the application(_ application: UIApplication, didFinishLaunchingWithOptions launchOptions: [UIApplication.LaunchOptionsKey: Any]?) method code to the following.
Also, add the following method to the AppDelegate.
Now, our AppDelegate will contain the following code.
Now, we need to add a Facebook login button to our application. In our application, we will use the standard Facebook login button included in Facebook SDK. However, we can also customize the Facebook login button.
To add the Facebook Login button, import the FBSDKLoginKit in the View Controller.
Now add the following code in the viewDidLoad() method of ViewController.
We also need to observe the changes in the Facebook access token. For this, we can add an observer in our viewDidLoad() method to print the recently changed Access token value.
After all the changes, our ViewController will contain the following code.
Creating Test Users on the Facebook developer dashboard
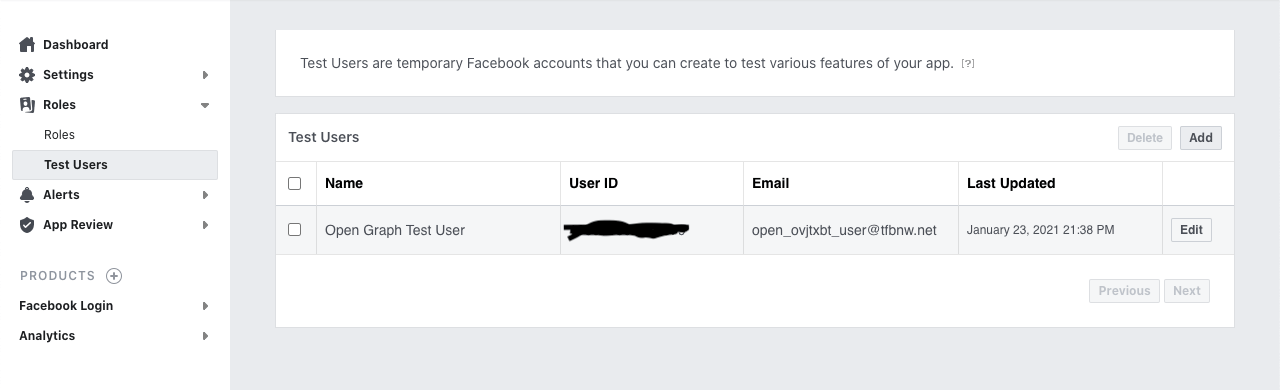
Test users are the temporary users that we can use to test various features of our application. To create the test user, open the developer dashboard on the browser or open the link: https://developers.facebook.com and choose the recently created app for our iOS application. In the left panel, navigate to Roles -> Test Users and click the add button at the top right corner.
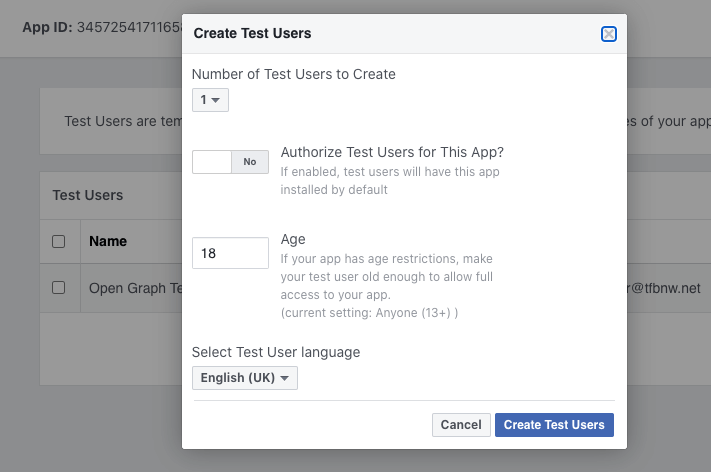
When we click on Add button, the following dialogue box will open to choose the number of test users to be created for the application.
Once we click Create Test Users, we will see a test user created for the app; we can edit the name and credential for the created test user as shown below.
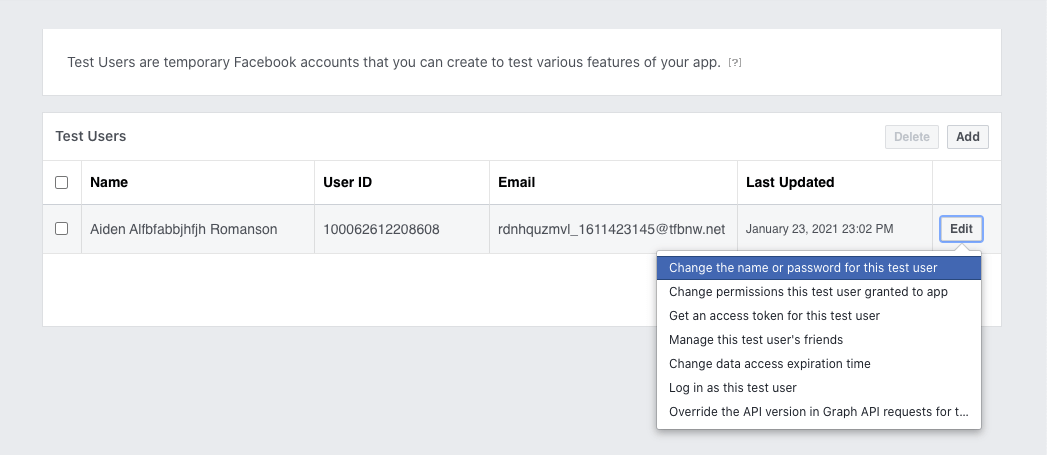
After changing the name and password for the test user, we can now test our Facebook integration with the test account recently created.
Now, build and run the application in the simulator. We will see a blur Facebook login button as shown below.
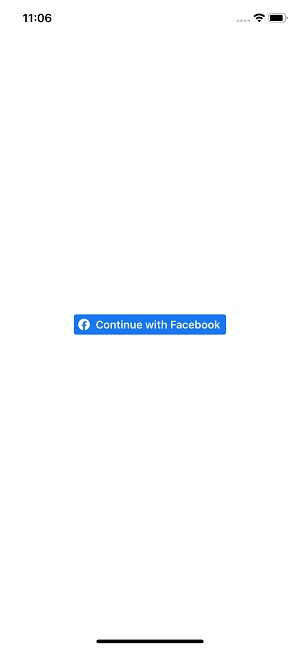
Tap on the button; an alert will be displayed for the user consent, as shown below.
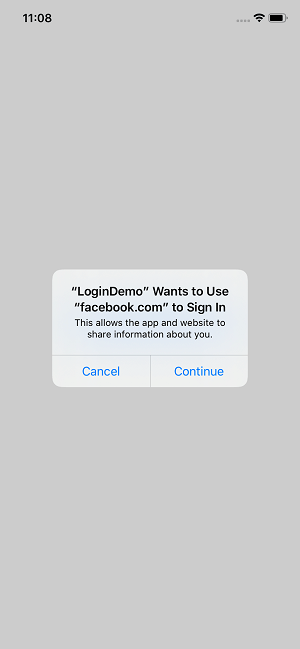
Click Continue. It will open the Facebook login page where we can provide the test user’s credentials to log in to Facebook.
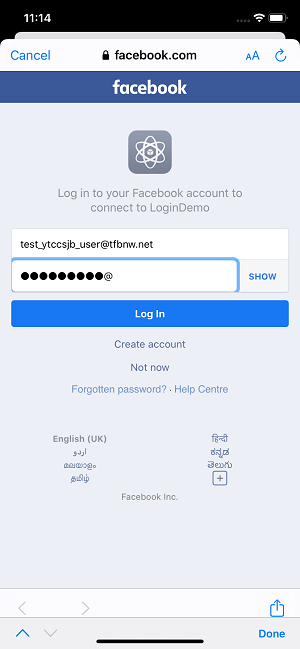
Click login to proceed with login. If we have set up the Facebook integration and test the user correctly, the following confirmation page will appear.
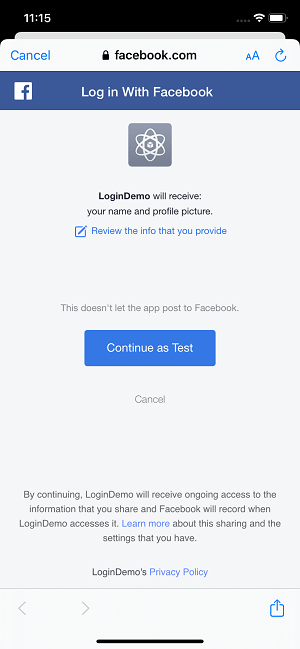
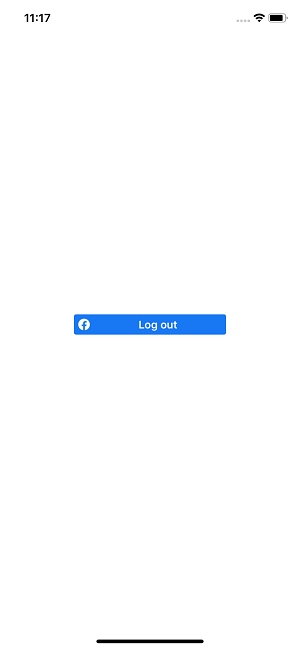
Once we conform to log in as Test, the confirmation page will be dismissed. We must also notice that the title of the login button will change to the logout button now.
We can use the Facebook access token printed in the console to authenticate the application’s server or Firebase. Here, we have successfully integrated Facebook login in our iOS application.