GIMP Animations
GIMP is an open-source raster-based image editor and graphics design tool. We can draw, edit, and create animations using GIMP. We can create different animations in GIF format; We can create simple as well as advanced animations.
Animations are useful for creating web advertisements banners. Nowadays, it is a smart way to attract users. The popularity of animated images is on the rise. We may require to create an animated file for our business or any other purpose.
In this topic, we are going to create animations with the help of layers. The layers act as a composition function in an image. Every layer acts as an animation frame; We can also create an animation using multiple images. See GIMP GIF.
Let’s understand how to create animations using GIMP.
How to Create Animations Using GIMP
To create an animation, create or open an image. To create an image, select the new option from the file menu. It will open a dialog window to define the image properties, such as resolution transparency.
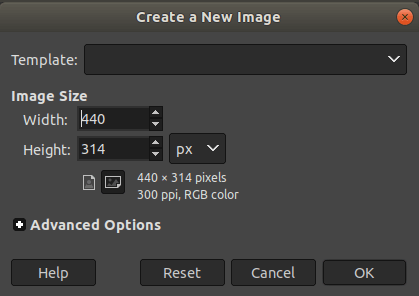
Define the properties and select OK to continue. Now, it will create a blank image.
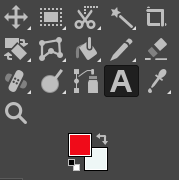
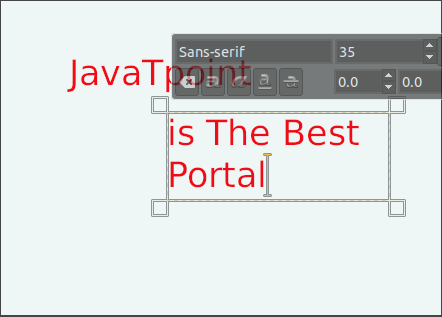
Now, draw the arts, texts and anything that we want to put on our animations. For example, we are adding the text to the image. To add text, select the text tool. For drawing, select the pencil tool. To select the text tool, select it from the Tools menu or click on the below icon:
Now, add the text. To add the text, click anywhere on the image canvas and start writing:
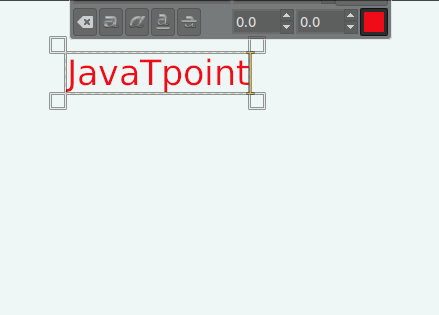
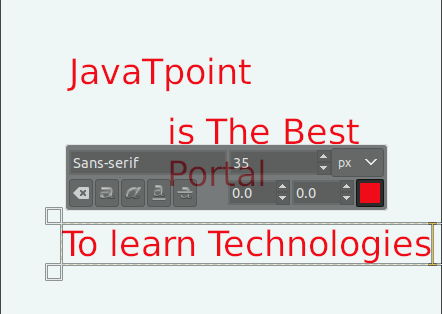
Select another place on the canvas. It will automatically add the text to a different layer.
Now, add another text by clicking it somewhere else on the image canvas:
similarly, we can draw shapes, arts, design, and so on. When we are done with the drawing, navigate to the Filters-> Animation menu and select the Optimize (for GIF) option.
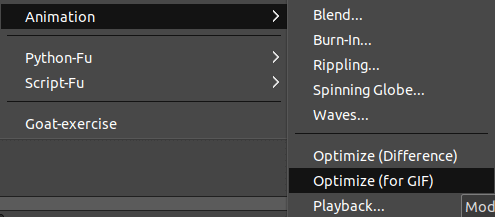
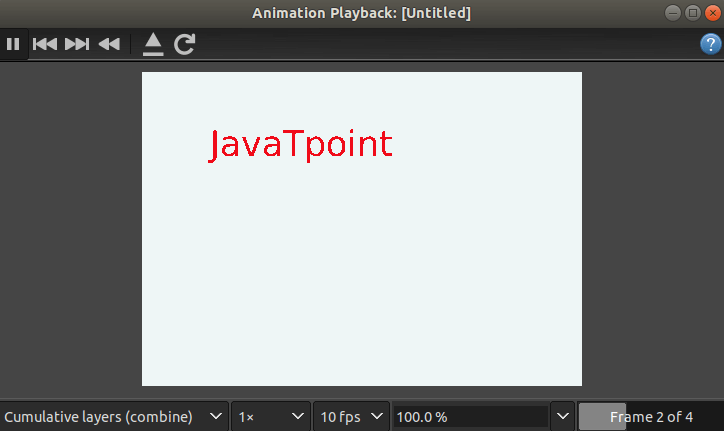
It will automatically optimize all the layers and images for the animation. Now, we are all set to save our animation. We can also see how it will look like. To preview the animation, select the Playback option from the Filters-> Animations menu. It will play our animation in a separate window:
As we are done with our drawing, now we have to save it locally by using the Export As option in the “.gif” format. The save and save as an option will save it in GIMP’s default format (.xcf).
To save it as animation, select the Export As option from the File menu. It will open a dialog window to specify the image name and extension. Provide the image name with .gif extension.
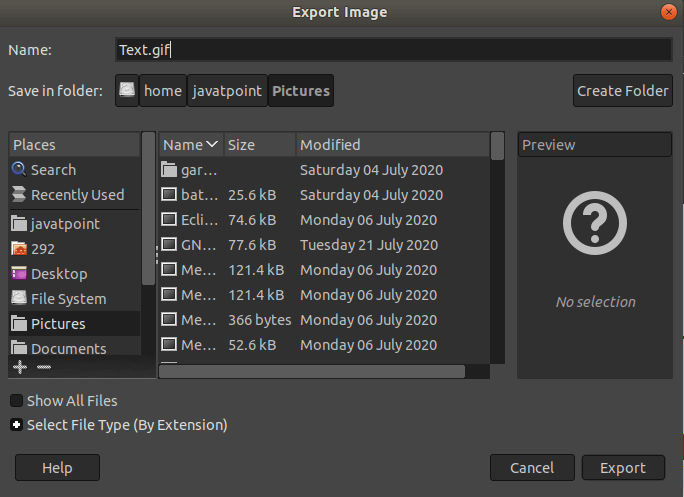
Click Export to continue. It will also open a dialog window to specify the playback time and other properties. Mark the As Animation option and set the delay time to save it as animation.
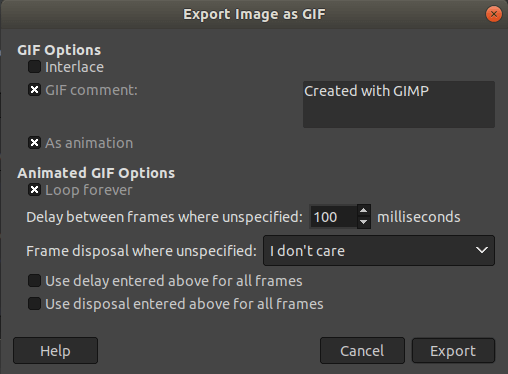
Now our animation is ready; we can share it on the web or any other platform. It will look like as follows:

By clicking on it, it will start playing the animated video.
Similarly, we can draw shapes, arts, etc. to make animation. We can also create animation with a set of pictures. We have made a separate tutorial on creating GIF with a set of pictures, visit GIMP GIF. Hence, we can quickly create advanced and straightforward animations using GIMP. We can also save this file in other image formats such as jpg, tiff, png, etc. But, these file formats do not support the animated play. So, they will only save a snap of the image. The animated image formats are GIF, APNG, WebP, FLIF. The most popular and worldwide animated format of the image GIF is supported by most of the tools.
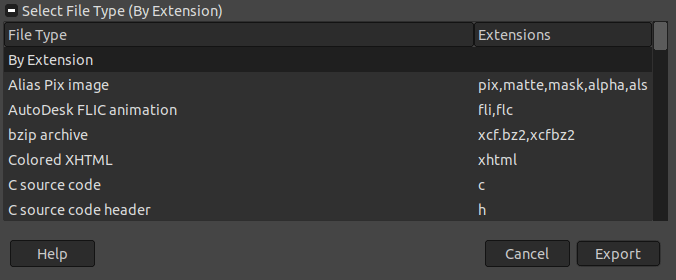
To see all the supported image format in GIMP, expand the Select File Type (By extension) option from the Export As window. It will list all the available image formats.