Gimp Brushes
GIMP is one of the leading photo manipulation programs. It is not just limited to photo editing or painting; it is also useful for visual and graphical tasks. It supports several types of brushes for painting and drawing.
GIMP is used for all kinds of visual work because of its extensibility. Several plugins, scripts, and brushes can be added to GIMP to increase its extensibility. It supports both the Adobe Brush files and GIMP brush files.
It supports different types of the brush to make editing easier and extensive. Let’s see different types of brushes and their usage.
There are many default brushes like airbrush, paintbrush, etc. that are available in GIMP. It can be used by selecting from the Tools-> Paint Tools menu. See GIMP Tools for more details of default brushes and their usage.
How to Add Brushes In GIMP?
We can add brushes to GIMP. To add a brush, we need to download it from the web. After downloading it, we have to add it to GIMP’s brush folder.
Follow the below steps to add a brush in GIMP:
Step1: Find and Download a Brush Pack
The first step is to download a desired brush pack from the web. Let’s add a powder explosion brush pack. Download it from the given link and extract the zip file.
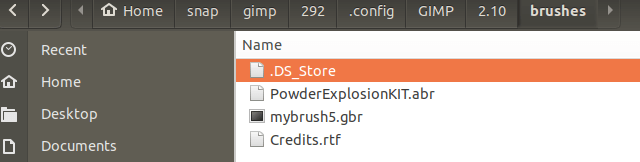
Step2: Locate the GIMP’s Brush Folder
Now, locate the GIMP’s Brush folder for pasting this brush package to the GIMP. In Linux, we can use the whereis gimp command to find its installation directory. In Windows, it can be found in C: drive>Program Files>GIMP.
Paste the Brush package in its brush folder:
Step3: Refresh The GIMP Brushes
As we have added the brush package to its directory, it can now be seen in GIMP’s Brush list.
Open the GIMP and browse the brushes:
to open the brushes dialog, navigate to Windows-> Dockable Dialogs-> Brushes menu. It will open a dialog window with all the available brushes:
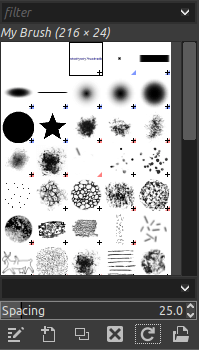
If you can not find the added brush, refresh the list by clicking on the refresh icon at the bottom of this window.
Step4: Use the Brush
Now, select your favorite brush and start using it.
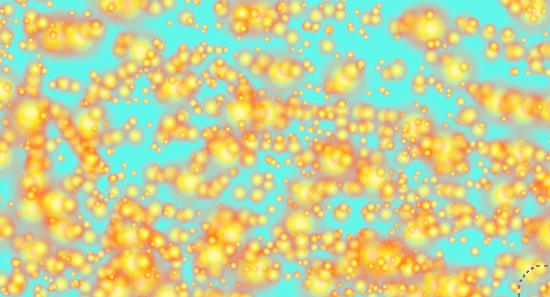
Below is the example of a brush:
Types of Brush In GIMP
The GIMP brushes are divided into the following two categories:
Ordinary brushes
The default GIMP brushes fall into this category. These brushes can be accessed from the Brushes dialog. When we start painting with these brushes, the current foreground color is substituted for black. Every brushes’ pixmap represents the marks that it draws on the image.
We can create these brushes. To create a brush, create a small image using a zoom tool, save it in .gbr extension, and paste it to GIMP’s brush path of GIMP.
Color brushes
The color brushes are represented by the colored images in the brushes dialog. The color brushes draw a picture or color on the image. When we use a colored brush, the default color of the brush applies to the image. The current foreground color does not apply to the image.
To create a color brush, create an image with an RGBA image type with transparent background and save it .xcf format (to keep its properties). Now, save it in the default brush format (.gbr) and paste it to GIMP’s brush path.
To use the created brush, refresh the brushes, or restart the GIMP.
let’s see some useful GIMP brushes
GIMP Paint Studio
GPS (GIMP Paint Studio) is a bruh set of GIMP. By default, it comes with GIMP. It is useful for creating high-quality paint emulation to GIMP. It has good brush design and flexible brush settings.
To download GIMP Paint Studio, Click Here.
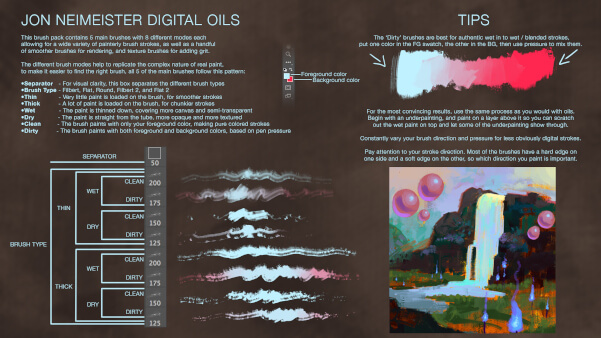
Digital Oil Brushes
The oil brushes are primarily designed for photoshop, but now, it works with GIMP too. This brush pack replicates the feel of a paintbrush. It includes wet/dry, thick/thin, and dirty/clean brushes.
It is useful for digital paintings.
Download the oil brushes pack from Here.
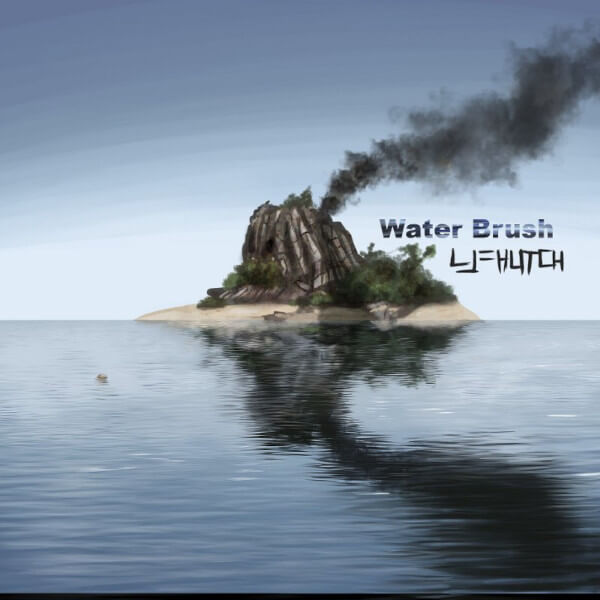
Water Brushes
LJFHuthc’s Water Brush is one of the most used water brush for the GIMP. It provides a realistic water effect and liquid touch to the image; It is a handy and specific brush pack for painting and retouching.
Download it from here.
Artistic Brushes
Sometimes watercolors are tough to match in a digital image. But with the right use of brushes, we can match the realistic effect on the image. This pack is developed from watercolor effects to make it realistic. It is developed by the perfect combination of the dry paintbrush and watercolors; This combination looks perfect and accurate on the image.
To download this brush pack from Here.
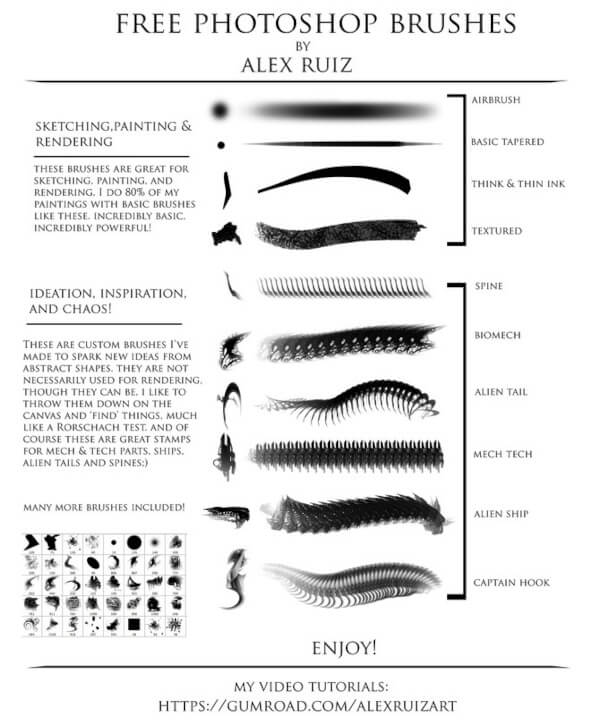
Alex Ruiz Brushes
Artist Alex Ruiz has developed an extensive and useful brush pack for GIMP and Photoshop. Primary, it is designed for photoshop, but it can be used for GIMP too.
This brush pack contains a collection of texture pen/ink/airbrush style makings. It is useful for art sketches and other useful paintings and designs.
Download it from here.
Arrow Brushes
The Arrow is an integral part of any graphical image or diagram. Unfortunately, GIMP does not create an arrow on the image, but we can do it by using the brushes and plugins.
There are many arrow brushes available on the web. We can download it from different external resources.
We have found a useful arrow brush Tango Arrow Brush. It draws an arrow on the image and provides resize, fills color, and other useful tasks. Further, we can redirect it from different angles.
To Download the Tango Arrow Brush, click here.
Apart from all of the above brushes, there are many other useful brushes available on the web. If you require any brush, search and download it. Download it in supported GIMP format and enjoy it.