How to Create and Open Workbooks?
Excel files are known as workbooks. Whenever we start a new project in Excel, we’ll need to create a new workbook. There are different ways to start working with a workbook in Excel 2016. We can choose to create the new workbook, either with a blank workbook or a predesigned template or open an existing workbook.
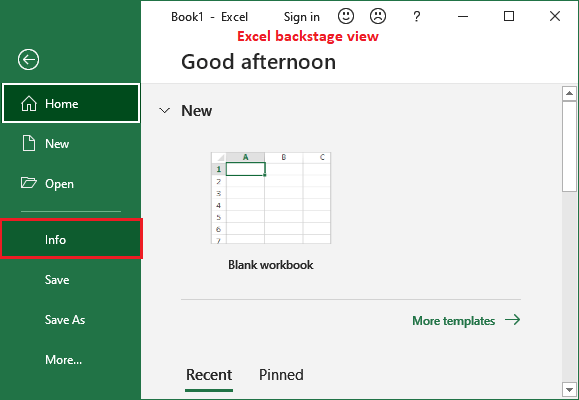
Create a new blank workbook
To create a new blank workbook in MS Excel, follow the given steps –
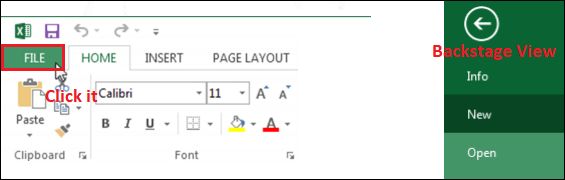
1. Select the File tab from where the Excel Backstage view will appear.
2. Select New, and then click the Blank workbook.
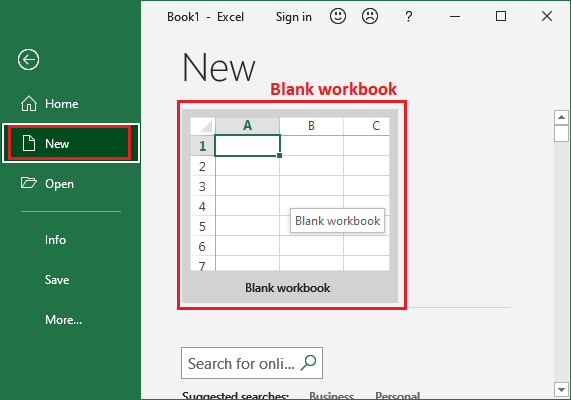
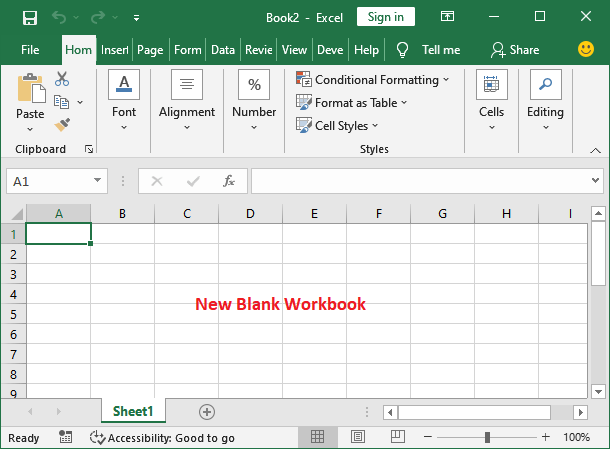
3. A new blank workbook will occur like this.
Open an existing workbook
In addition to creating new workbooks, we’ll often need to open a workbook that was previously stored. An existing workbook may contain data inside it. We can open it directly from the location where it is stored or through MS Excel. Follow the given steps below:
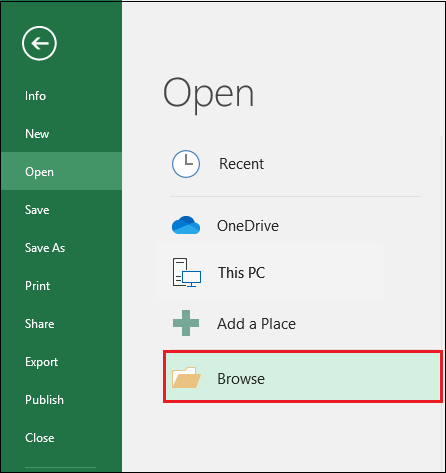
1. Navigate to Backstage view from the File menu, then click Open.
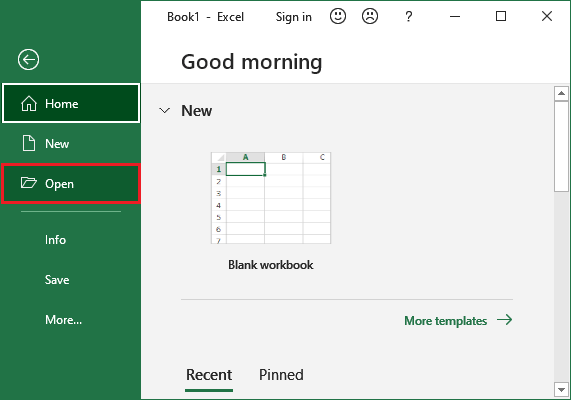
2. Now, MS Excel will allow us to open an existing file either from your local computer, or cloud storage (OneDrive), Recent files.
Open existing files from local storage
To open an existing file from the local computer, click the Browse button here.
3. The Open dialog box will emerge, and you will navigate to the local storage. Locate and select a workbook, then click Open.
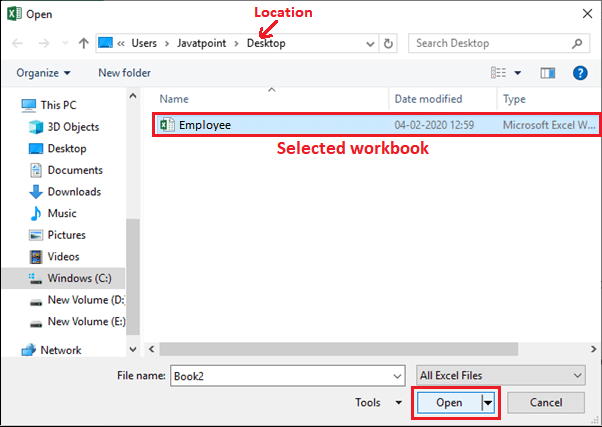
We have opened an existing workbook named Employee from the Desktop.
Open existing files from cloud storage
If your Excel file is stored on cloud storage like OneDrive, you can open it by following these simple steps:
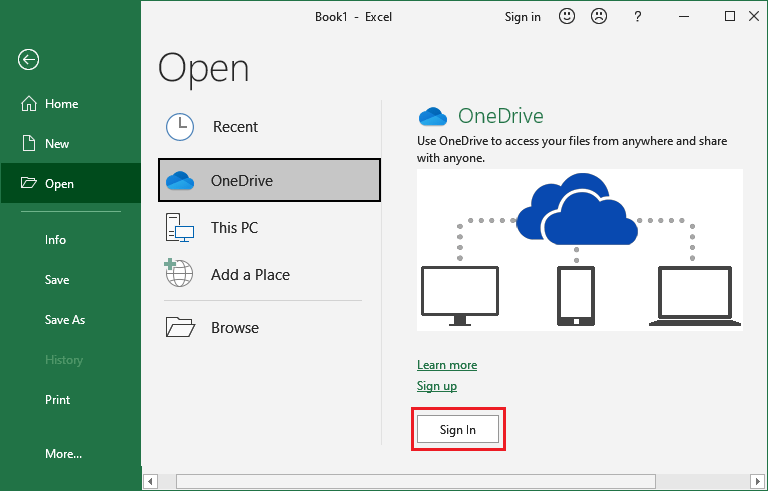
1. From the Excel backstage view, click on the Open and select OneDrive cloud storage.

2. Now, log in to your OneDrive account from here if you have not logged in.
Now, open the existing file stored on your cloud storage.
Note: If we’ve opened the desired workbook recently, we can browse our Recent Workbooks rather than searching for the file.
Open existing file from Recent files
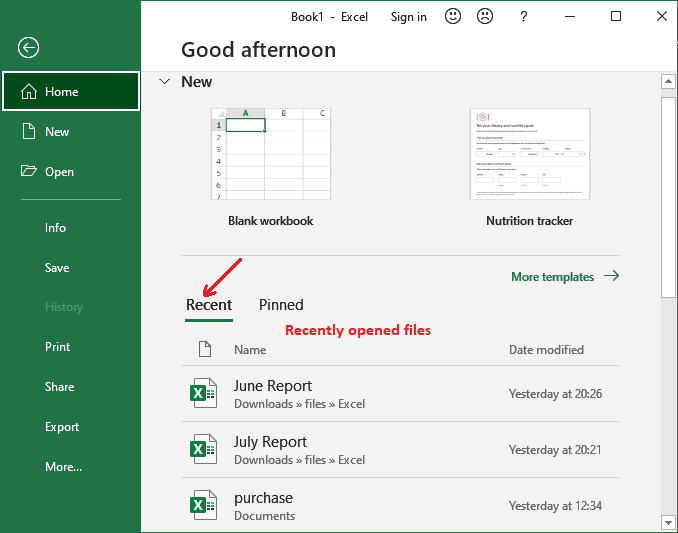
Excel enables a Recent folder on backstage view. It temporarily keeps recently opened files. If it has your desired Excel file, you can open it by following these simple steps:
1. From the Excel backstage view, click on the Open and look for the existing file you want to open under the Recent
Pin a workbook
If we frequently work with the same workbook, you can pin it to the Backstage view for quick access.
1. Navigate to the Backstage view and then click Open. Our recently edited workbooks will occur.
2. Take the mouse over the workbook we wish to pin. A pushpin icon will emerge next to the workbook. Click that pushpin icon.
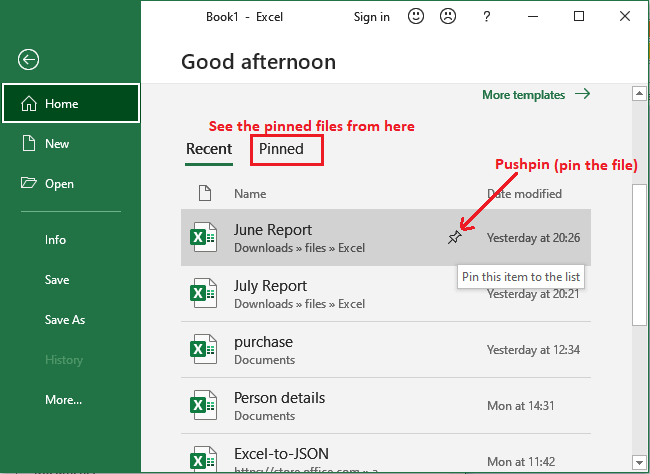
3. The workbook will stay in the Recent Workbook, or you can also find it inside the Pinned tab. To unpin the workbook, simply click the pushpin icon again.
Note: We can also pin folders to the Backstage view for quick access. From the Backstage view, click Open, then locate the folder we wish to pin and click the pushpin icon.
Compatibility mode
We may have existing Excel files created in an older version of Microsoft Excel, such as Excel 2003 or Excel 2000. Sometimes, we need to work with those workbooks to make some changes in them. When we open these kinds of workbooks, they will occur in Compatibility mode.
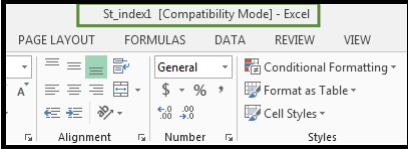
Compatibility mode disables certain features. For example, if we open a workbook created in Excel 2003, we can only use those tabs and commands that were available in Excel 2003.Hence, we can only access commands found in the program that was used to create the workbook.
In order to exit from Compatibility mode, we’ll need to convert the workbook to the current version type. If we are collaborating with others who just created an earlier version of Excel, it’s best to leave the workbook in the Compatibility mode so the format would not change.
To convert a workbook
If you want to access all the features of the current version of Excel, you can change the workbook to that version of the file format. For example, convert an older version workbook to a 2016 file format.
Note that converting the data may cause some changes in the original layout of the workbook.
Follow the steps to make an older file compatible with Excel version 2016:
1. On the Excel Backstage view, click the Info tab on the left panel.
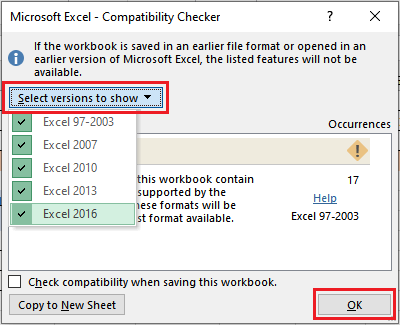
2. Click on the Check for Issue and then Check Compatibility option.
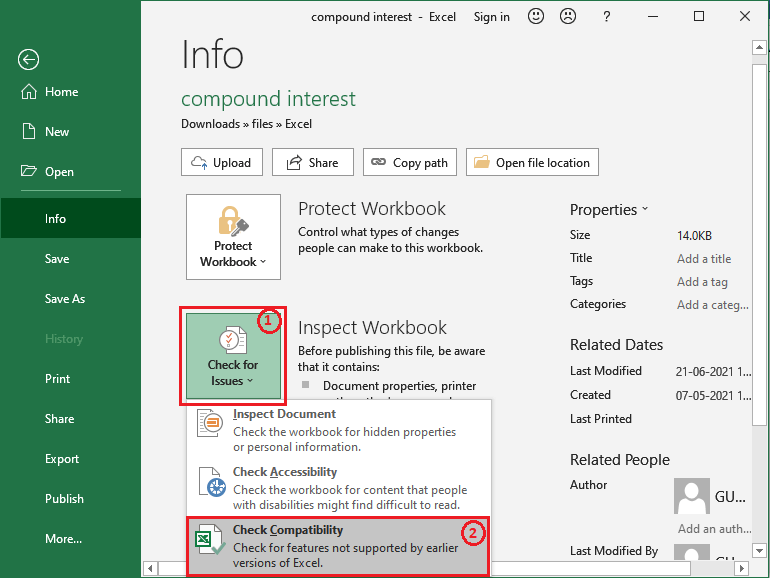
3. If the current file has any compatibility issue, it will display here. Select a preferred Excel version from here and click OK.
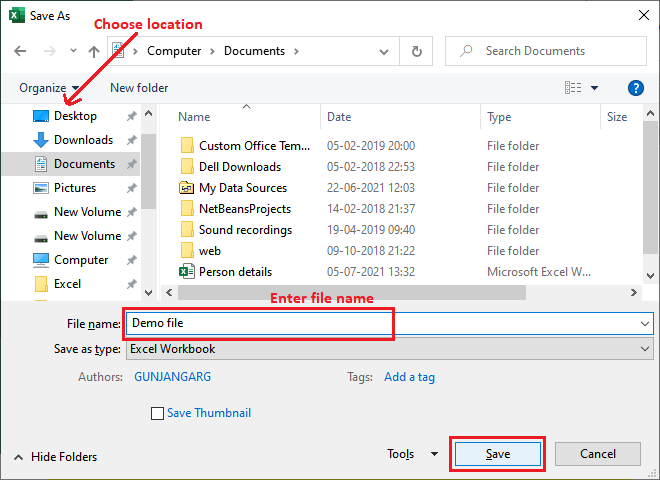
3. The Save As dialog box will emerge. Select the location where we want to save the workbook, enter the file name for presentation, and then click Save.
4. The workbook will be changed to the newest file type.
Saving and Sharing Workbooks
Whenever we create a new workbook in Excel, we’ll need to know how to store it to access and edit it later. As with previous versions of Excel, we can save files locally to our computer. But unlike older versions, Excel 2016 also lets us save a workbook to the cloud using OneDrive.
Additionally, we can also export and share workbooks with others directly from Excel.
Save and Save As
Excel offers two methods to save a file: Save and Save As. These options work in a similar way, with a few crucial differences:
- Save: When we create or edit a workbook, we’ll use the Save command to save our changes. We’ll use this command most of the time.
When we save a file for the first time, only that time we will need to select a file name and location. After that, we can just click the Save command to save it with a similar name and location. You can also use the Ctrl+S shortcut key for it. - Save As: We’ll use this command to create a copy of a workbook while keeping the original. When we use Save As, we will need to provide a different name and/or location for the copied version.
Steps to save a workbook
It’s essential to save our workbook whenever we start a new project or make changes to an existing one. Saving early and often can prevent our work from being lost.
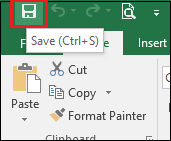
1. Locate and select the Save command on the Quick Access Toolbar.
2. If we’re saving the file for the first time, the Save As pane will occur in the Backstage view. Where choose a location to save your file with a new file name.
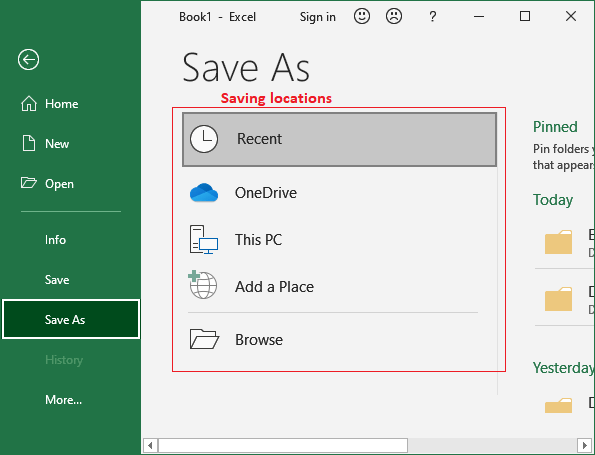
3. To save the workbook to our computer, click Browse button here. Alternatively, we can click OneDrive to save the file to your OneDrive.
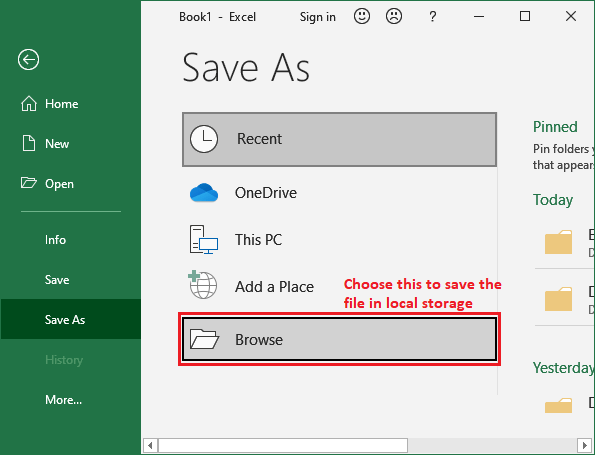
4. The Save As dialog box will emerge. Select the location in local storage where we want to save the workbook. Enter the file name for the workbook, then click Save.
5. The workbook will be saved. We can click the Save command (Ctrl+S) again to save our changes as we modify the workbook.
Using Save As to make a copy
If we want to save a different version of a workbook while keeping the original, we can create a copy. For example, if we have a file name “Sales Data” we could save it as “Sales Data 2” so we’ll be able to edit the new file and still refer back to the original version.
On the currently opened file, select the Save As command in the Backstage view. Then follow the same steps like when storing a file for the first time, we’ll need to select where to save the data and give it a new file name.
AutoRecover
Excel automatically saves our workbooks to a temporary folder while we are working on them. If we forget to save our changes, or if Excel crashes, we can restore the file using the Excel AutoRecover feature.
To use AutoRecover
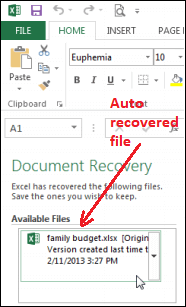
1. Open Excel 2016. If auto-saved versions of the file are found, the Document Recovery pane will emerge.
2. Click to open an available data. The workbook will be recovered.
Note: By default, Excel AutoSaves every 10 minutes. If we are editing a workbook for less than 10 minutes, Excel may not develop an AutoSaved version.
If we don’t see the file we need, we can browse all AutoSaved files from the Backstage view. Just go to File > Info > Manage Workbooks > Recover Unsaved Workbooks. From here, you can set up the required autorecover option.
Exporting Workbooks
By default, Excel workbooks are stored in the .xlsx file type. There may be a time when we want to use another file type, such as a PDF or Excel 97-2003 workbook. It’s easy to export our workbook from Excel in a variety of file types.
To export the workbook as a PDF file
Exporting our workbook as an Adobe Acrobat document, usually called a PDF file, can be especially helpful if sharing the workbook with someone who does not have Excel. A PDF will make it feasible for recipients to see, but not to edit the content of our workbook.
1. Click the File tab to create the Backstage view.
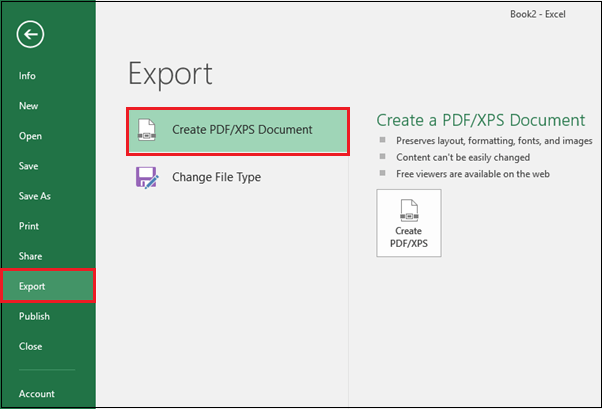
2. Click Export, then select Create PDF/XPS.
3. The Save As dialog box will emerge. Select the location where we wish to export the workbook, enter the file name and then click Publish.
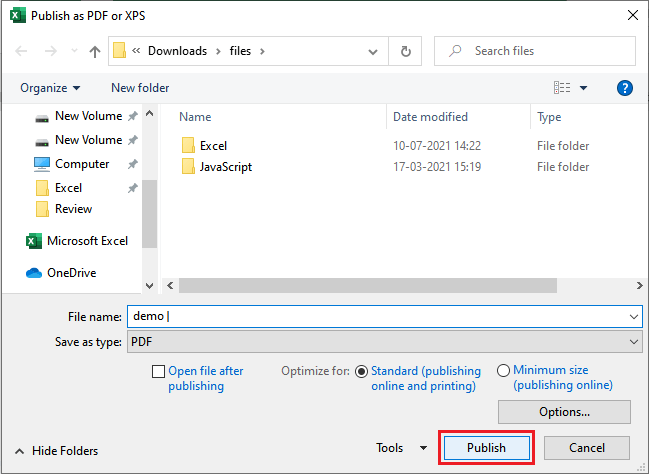
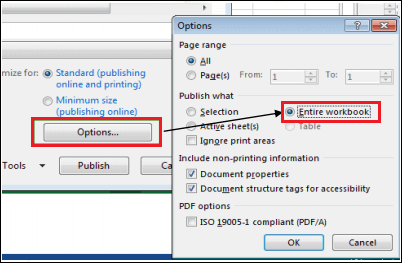
Note: By default, Excel will only export an active worksheet. If we have multiple worksheets and want to store all of them in a similar PDF file, click Option in the Save as dialog box. The Options dialog box will emerge. Select the Entire workbook, then click OK.
To export the workbook in other file types
We may also find it helpful to export our workbook in other file types, such as an Excel 97-2003 Workbook if we need to share with people using an older version of Excel, or a .CSV file if we need a plain-text version of our workbook.
- Click the File tab to create the Backstage view.
- Click Export, then select Change File Type.
- Select the common file type, then click Save As.
- The Save As dialog box will emerge. Select the location where we want to export the workbook, enter a file name, and then click Save.