How to Crop an Image in Photoshop
Cropping an image is an essential task used repeatedly in daily tasks. We may need to crop a photo for resizing an image or remove an unwanted part of the image. Another reason for cropping an image is getting closer to the main subject of the image.
The Photoshop crop tool is used to crop a photo. We can also use the crop tool to straighten a photo. The crop tool is non-destructive means we can select the crop pixels to be optimized the crop boundaries.
In this section, we will discuss how to crop an image using a crop tool and crop an image in a non-destructive way. Further, we will discuss how to straighten an image with the crop tool.
Before understanding how to crop an image in Photoshop, let’s discuss the following consideration points:
- Never crop an image too much because it may comprise the image quality due to loss of resolution. In general, always crop an image less than 50%.
- Before cropping, it is good to check the alignment of the subject. The straightening angle should be between 5 to 10 degrees; as the angle will increase image will lose its pixels. Also, there may be a chance to lose some of the essential elements of the image.
- We should always shoot the image from a bit wider angle so that we can make potential changes in the alignment of the image.
In this section, we will discuss:
- Crop a Photo Using the Crop tool
- Content-Aware Fill on the Crop Tool
- How to Straighten an Image Using the Crop Tool
- How to Cancel the Cropping
- How to Move the Crop Box
- How to Resize the Crop Box
- Conclusion
Let’s understand how to crop an image in Photoshop:
Crop a Photo
The crop tool is used to crop an image. Follow the below steps to crop an image:
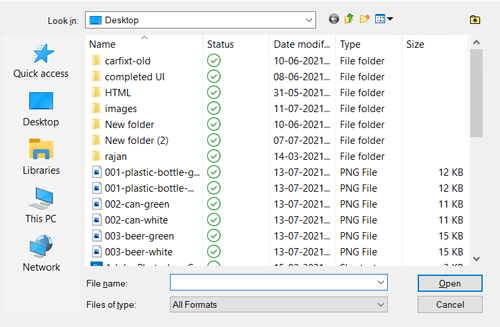
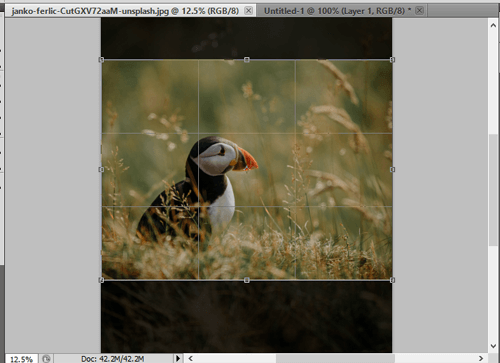
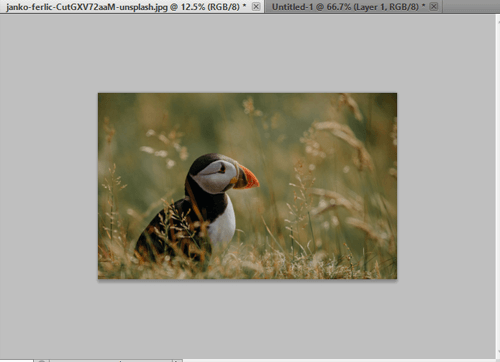
Step1: Open the image
To crop an image, open it with Photoshop or drag it in Photoshop. We can also open an image by navigating to the File-> Open menu or hit the Ctrl+O key combination.
It will open the file explorer, select the file from it and click Open to open it in Photoshop.
Step2: Activate the crop tool
Now, select the crop tool to crop an image. We can activate the crop tool in the following ways:
- By selecting it from the toolbox
- By hitting the C key
We can activate the crop tool by clicking on the below icon in the toolbox:

Also, we can hit the C key to activate it.
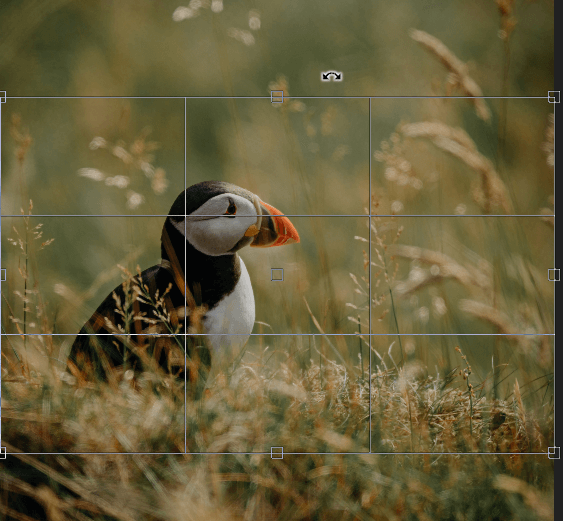
Step3: Drag the area
Now, drag the area to be cropped. We must select the area by considering the image orientation and layout. Also, we should check whether any essential elements are in the crop radius or not.
Step4: Crop Image
We can move the crop window after finalizing the selection. So, once we are done with the selection process, hit the Enter key to crop the selection. Other parts of the image except the selected one will be removed from the image.
After cropping an image, we can see that the image size is reduced, and an unwanted image is removed from our image.
Crop Options:
When we activate the crop tool, the crop options can be found in the top menu bar:

There are different crop options available in the above toolbox. We can also find the common crop option by right-clicking on the crop box. There are following crop options are available:
- Aspect Ratio menu
- Swap Width and Height values
- Overlay Options
Size and proportions
We can select the size or ratio to be cropped. We can cause a preset value or define a value for later use.
Overlay Options
The overlay options allow us to choose a view to display the overlay guides while cropping. The guides include grid, golden ratio, rule of thirds, etc. We can press the O key to cycle through all the options.
Crop Options
We can click on the setting icon given at the top bar for additional crop options.
Use Classic mode
The classic mode allows us to use the crop tool from a previous version (CS5 or earlier).
Auto Center Preview
The auto center preview option allows us to place the preview of the crop box in the center. It will automatically place the crop box in the center of the image canvas.
Show Cropped Area
This option allows us to display the area to be cropped. If we do not select this option, it will display only the final area.
Enable Crop Shield
The crop shield allows us to overlay the cropped areas with a tint. We can specify the opacity & color. We can also select the auto-adjust option, which will automatically be reduced when selecting the crop boundaries.
Delete cropped pixels
It is an essential crop option for non-destructive crops and retains the outside pixel of the crop box. The advantage of non-destructive cropping is that it does not remove any pixel. We can see the areas outside the crop box by clicking on the image.
If you want to delete any pixel outside the crop box, enable this option. These pixels will be deleted permanently and will not be available for future adjustment.
Content-Aware Fill on the Crop Tool
The latest version of Photoshop comes with content-aware technology with a crop tool. The content-aware technology automatically fills the gap while using the crop tool. It is useful for straightening or rotating an image or expanding the image canvas.
To apply the content-aware layout, follow the below steps:
Step1: Select the crop tool from the toolbox or pressing the C key and select the crop area by dragging over the image canvas.
Step2: Now, mark the content-aware option from the option bar.

Now, we can straighten or rotate the image using the handles give at the edges of the crop box. We can also expand the image canvas from its original size.
Once you are satisfied with the result, click Enter key to finalize the operation.
Let’s understand how to straighten images using the Crop tool.
How to Straighten an Image Using the Crop Tool
The straighten tool is used to straighten an image. This tool is a sub-option of the crop tool.
Sometimes, we click the image, and due to the camera angle, our image may be crooked. So, we can fix this using the crop tool.
To straighten an image using the crop tool, open the image and activate the crop tool.
We can find the straighten option at the top menu bar of the crop tool. Click on the straighten option and drag the mouse in the respective direction to straighten the image.
After releasing the mouse, Photoshop will automatically rotate the image in the specified direction.
How to Cancel the Cropping
Sometimes after specifying the crop box region, we don’t want to crop the image. Photoshop allows us to cancel the cropping at any moment. However, if we have pressed the Enter key and finalized the crop process, we can undo changes by pressing the Ctrl+Z or Ctrl+Alt+Z key combination. If the cropping is still in process, then click on the below icon from the crop menu bar:

It will instantly cancel the cropping process and take the image in its original size.
How to Move the Crop Box
If you want to move or reposition the selection, you can easily do this in Photoshop. To move the crop box, click on the crop box and drag it anywhere on the image canvas. Also, we can reposition the image rather than the crop box. To reposition the image, click at any point of the image, holding down the mouse button, and drag it to any place where you want to reposition the image.
Moving the image inside the box is not supported by the earlier versions of Photoshop. In the older version, it will move the crop box instead of the image. But, the latest version of Photoshop allows us to place the image wherever we want in the crop box.
How to Resize the Crop Box
To resize the crop box after specifying the cropping region, select the corner points of the crop box and resize them in any direction as per requirement.
If you want to resize it from all sides, press the Alt key while dragging the slider.
Conclusion
The Photoshop crop tool provides much more flexibility than any other editing software. We can crop an image, cancel crop, resize crop box, set aspect ratio, non-destructive cropping, etc., using it. Also, the crop tool is very straightforward to use.