How to install Java in Ubuntu 16.04 LTS ?
Introduction
Java is a most widely used programming language. It was created by Sun MicroSystem in 1990s. To install it on the Ubuntu operating system, follow the following steps.
1) Check Java Version
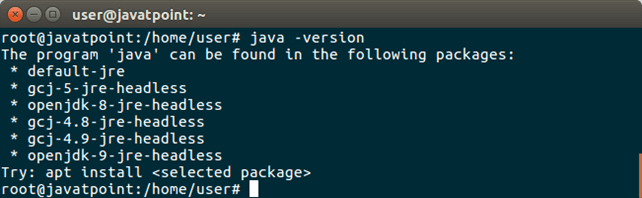
Before installing Java, we will check whether it is already installed or not. Use the following command.
If Java is not present, it will produce the following output.
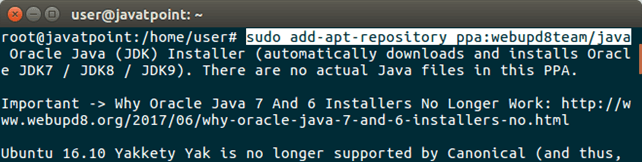
Now, add ppa to the repository by using the following command.
2) Add PPA (Personal Package Archives)
It will produce the following output to the terminal.
After adding package, now, update package index.
3) Update Package Index
After updating, now install oracle installer.
4) Install Oracle JDK 8 Installer
This command will install a installer that further will install Java 8 to the system.
This command will produce the following output to the terminal.
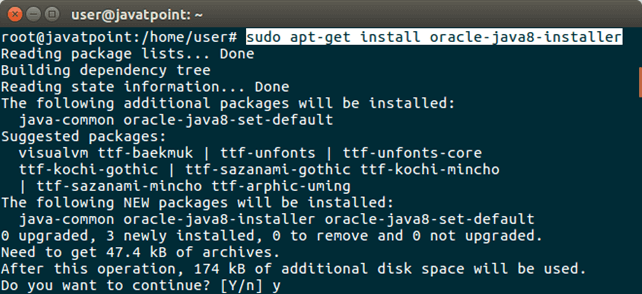
Type ‘y’ and press Enter, it will download and configure Java in our system.
5) Check Java
Now, check once again, Java is present or not. Use the following command.
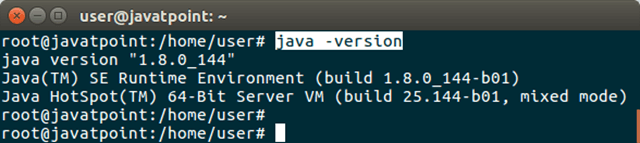
It displays Java version and other Java related informations to the terminal.
It means, Java has installed successfully.
Our system is ready to build and run Java applications.
Extra Info
If we have multiple versions of Java installed, we can see that using the following command.
For Java, we can use this command.
These commands will show Java installed path, priority info etc.
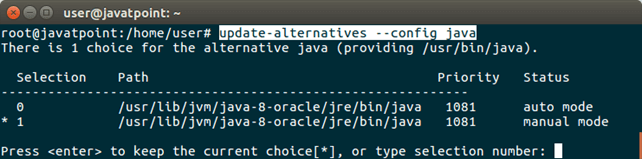
It asks for changing the current choice from the available Java versions installed.
For Java compiler, we should use this command.
This command shows the same information for the Java compiler.