Installing NGINX on Windows
Nginx comes with pre-compiled binaries for windows which make it extremely easy to get started. If it did not come pre-compiled, we would need to have a compiler installed on our computer with a full environment. Fortunately, this is not the case.
To download the latest version of Nginx for Windows, use the following link: https://nginx.org/en/download.html
Once the downloading is done, we can extract it from any of our folders. Here, I am using the c:nginx-1.17.0 directory.
Important locations:
- Confis in -> c:nginx-1.17.0conf
- Default config -> c: nginx-1.17.0confnginx.conf
- Logs will be in -> c: nginx-1.17.0logs
- Default webroot is -> c: nginx-1.17.0html
- Default listen address -> http://localhost
Verify Nginx Windows Installation
To make sure that the Nginx is working properly, or installed successfully, open the command prompt on windows and then type the following, make sure that you update the environment path if you have installed in another folder.
C:nginxnginx.exe

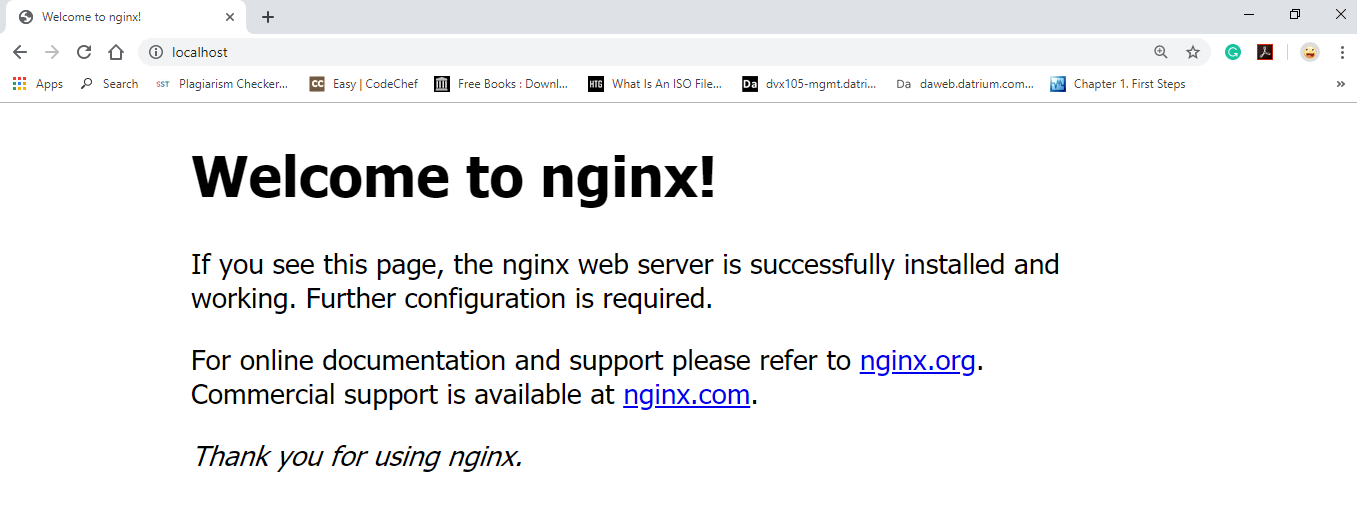
We should be able to go to http://localhost, and we should see the “Welcome to Nginx” default page. If we see that page, then we can be sure that Nginx has been installed properly.
To operate for nginx, use the following command:
| Command | Description |
|---|---|
| nginx -s stop | fast shutdown |
| nginx -s quit | graceful shutdown |
| nginx -s reload | changing configuration, starting new worker processes with a new configuration, graceful shutdown of old worker processes |
| nginx -s reopen | reopening log files |