Installation of Apache Kafka
Apache Kafka is supportable on Windows, macOS, as well as on Linux environment. Each operating system has its own steps/process to install Apache Kafka.
Reaching this stage means all aspirants might be clear with the basic concepts of Apache Kafka. Here, in this section, we will discuss the installation process on Windows, setting the path, and starting the zookeeper and Kafka server.
Installing Apache Kafka on Windows
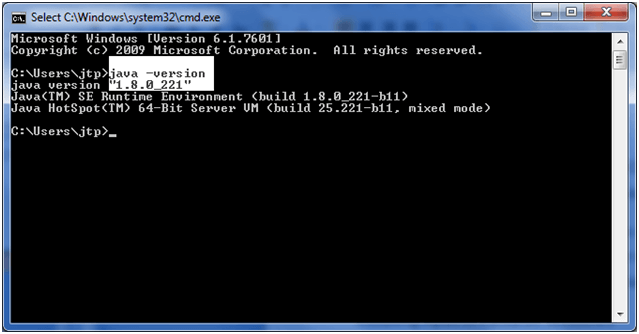
Step 1: To install Apache Kafka, the java8 JDK kit should be installed on the system. If it is already installed, but with other versions, the user needs to reinstall Java. Because the current Kafka version supports java8 only. Use ‘java -version‘ to check the version on the Windows command prompt.
In case to install java8, use the following link: https://www.oracle.com/technetwork/java/javase/downloads/jdk8-downloads-2133151.html
Step2: Now, download Apache Kafka on the system, as shown below: Use the link: https://kafka.apache.org/downloads

Step3: Click on the link and download any binary from Binary downloads, as shown below:
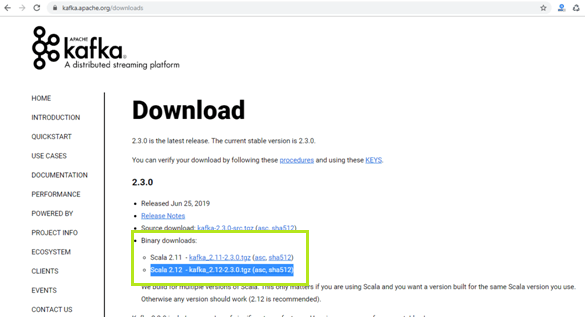
In this tutorial, Scala 2.12 is chosen or can choose accordingly.
Step4: A new window will open. Now, choose the MIrrorMaker for Kafka. Click on the first link and download the respective ‘.tgz‘ file, as shown below:

Save the file.
Step5: Go to the respective downloads location and extract the downloaded file using WinRAR.
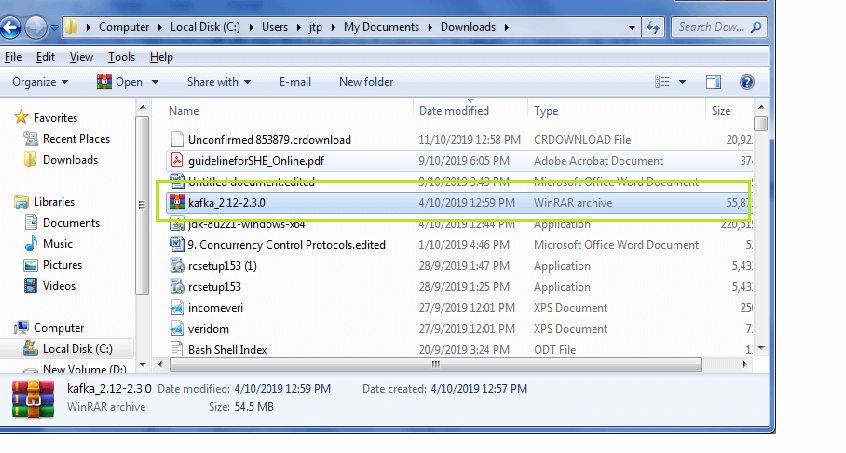
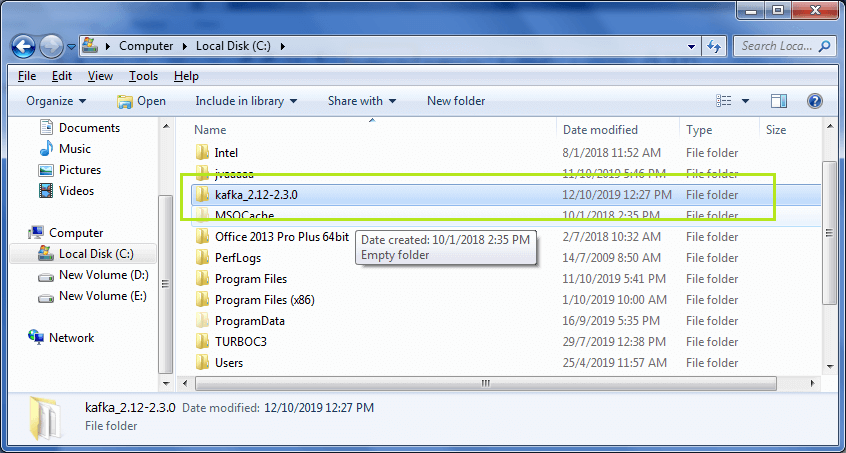
After extracting the file, it will be converted into a folder as:
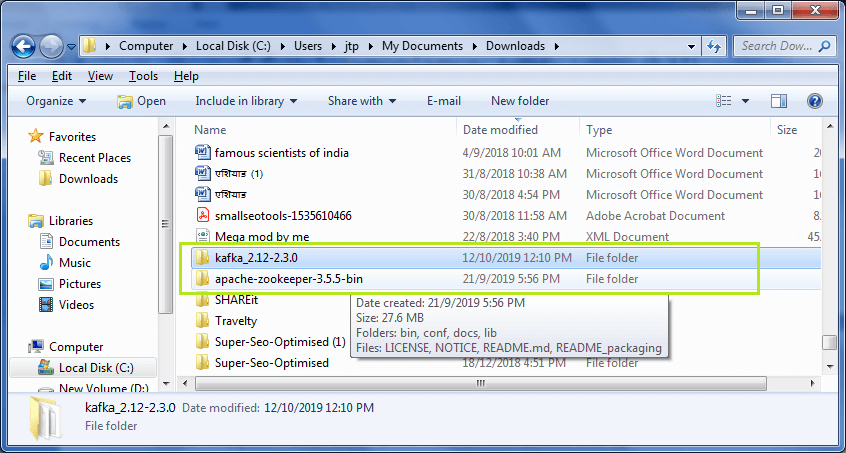
Step6: Copy the Kafka folder to the root directory(local disk C).
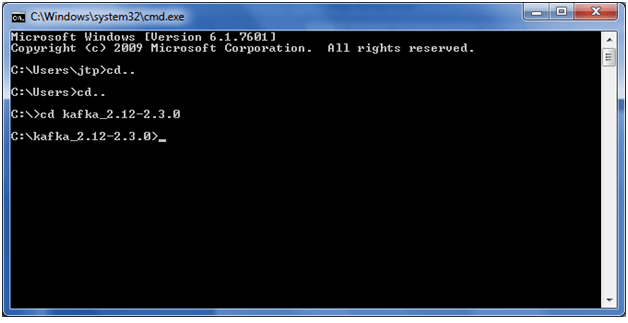
Step7: Open Command Prompt, move to C: drive using ‘cd..‘ command. Now, move to the Kafka directory with the help of the following command:
cd <kafka folder name>. Press enter. After entering, it will look like:
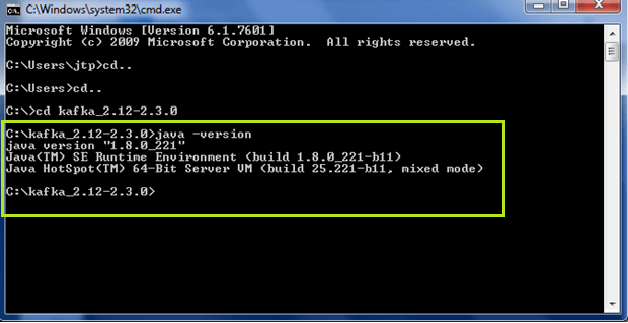
Step8: Check the java version. If correctly installed, the below output would be shown after applying the ‘java -version‘ command. Else, an error will be shown.
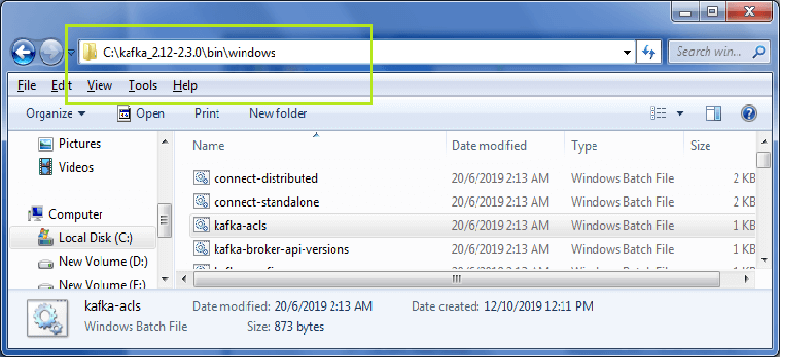
Step9: After successful installation of java8, try some Kafka commands within the kafka folder as: ‘binwindowskafka-topics.bat’. It is shown below:

Use ‘kafka-‘ command to view all the Kafka commands.
Note: If all the above steps are correctly followed, then a Windows Defender Firewall box may show a security alert. Click on Allow Access.
Setting Kafka directory path
Till now, we understood how to use kafka command within the Kafka directory. But, if we wish to use the commands from anywhere, it is required to set the path of Kafka.
Step1: Open Kafka folder>bin>windows and copy its address.
Step2: Go to My Computer, then right-click. A dialog box will open. Click on Properties>Advanced system settings>EnvironmentVariables.
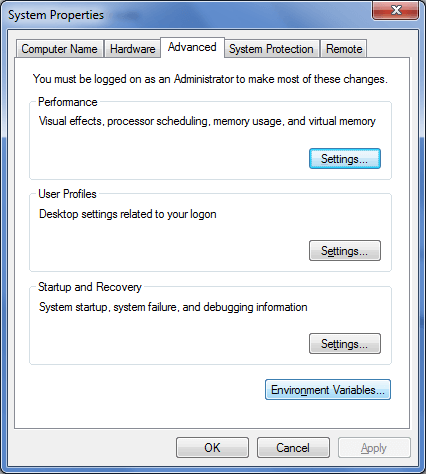
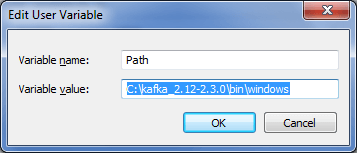
Step3: Edit the path variable by pasting the copied address. Click OK.

Step4: Open Command Prompt once again, apply the command ‘kafka-topics.bat’ from any drive. A sample is shown in the below snapshot:
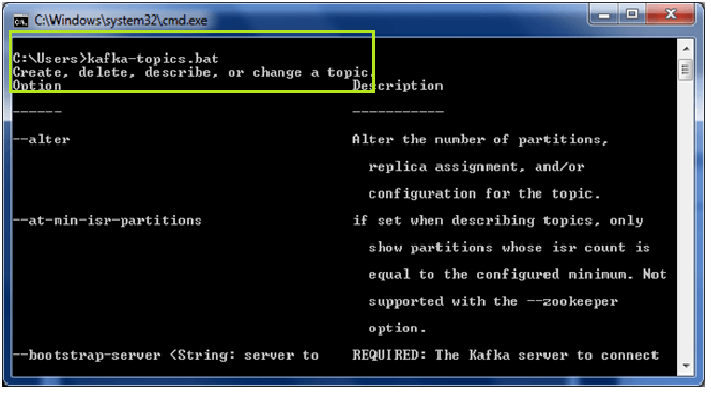
If the path is successfully set, it will display the above output. Now, the kafka commands can be executed from anywhere.
Installing Zookeeper
Apache Kafka is unable to run without installing the zookeeper. Therefore, to work with Kafka, the user need to start the zookeeper on the system.
There are following steps to start the zookeeper:
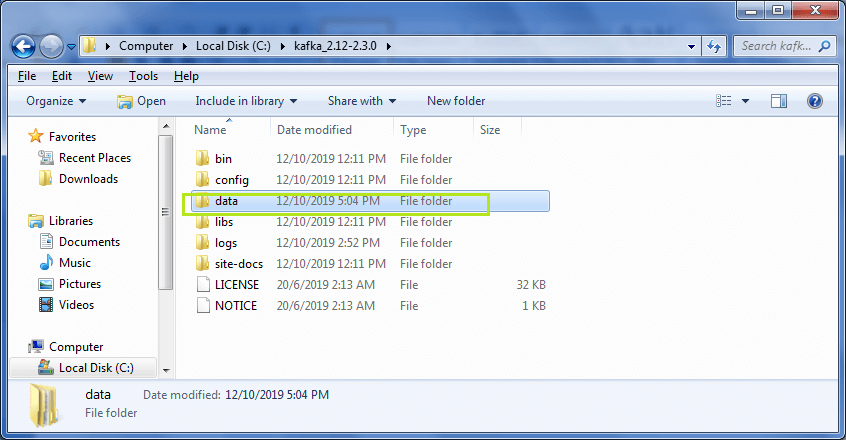
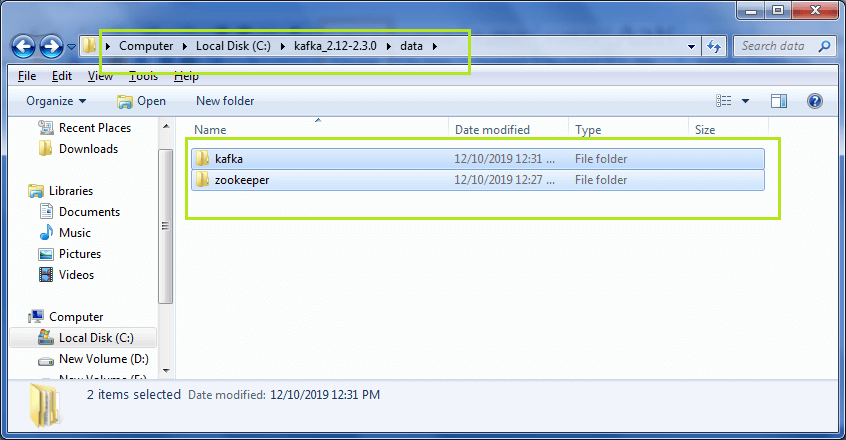
Step1: Go to the Kafka directory and create a new folder as ‘data‘.
Step2: Open the newly created data folder and create two more folders under it. Name the folders as ‘zookeeper‘ and ‘kafka‘.
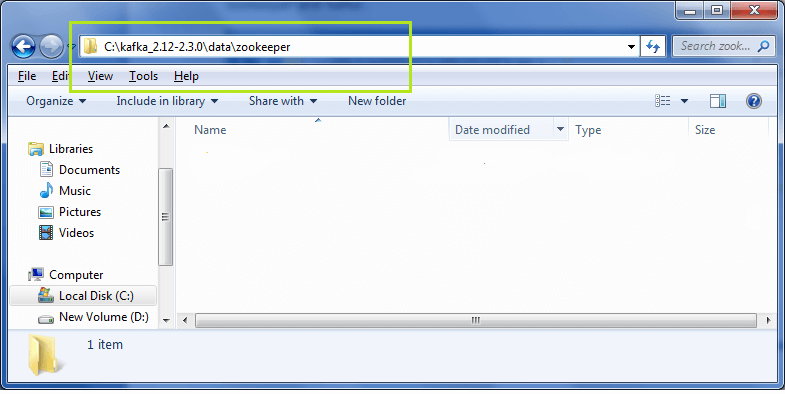
Step3: Now, copy the address of the zookeeper folder. After copying, go back to the Kafka directory.
Step4: Move to the config folder under the Kafka directory.
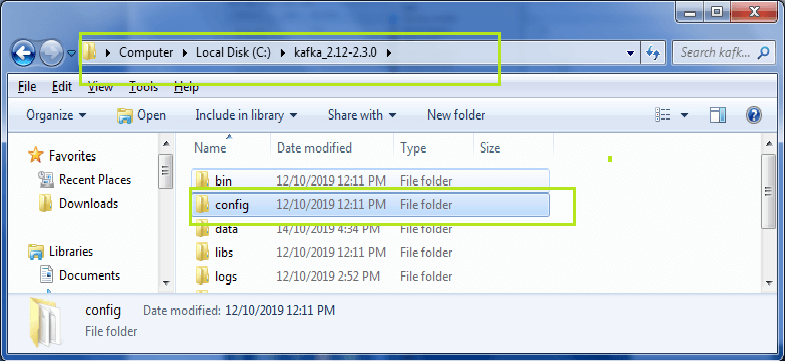
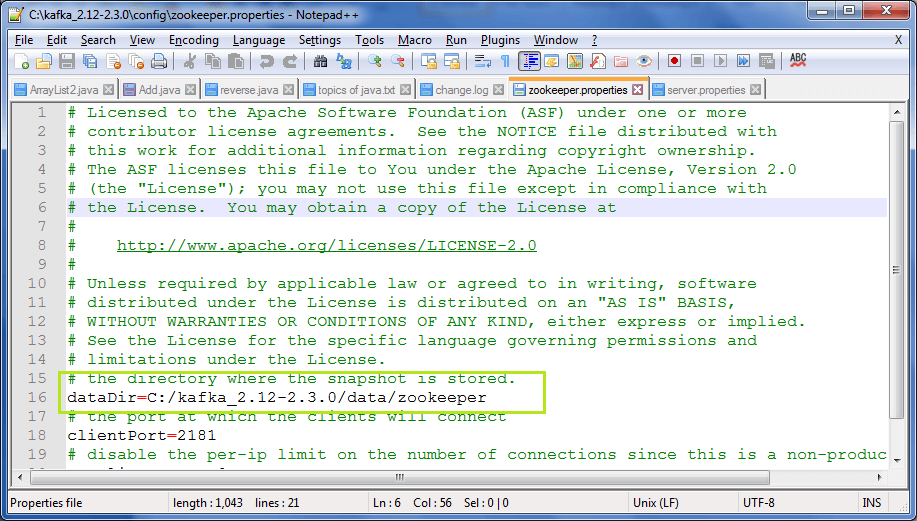
Open the config folder and go to the zookeeper.properties file. Right-click on the file and click on ‘Edit with Notepad++’ as shown below:
Note: Use Notepad++ for best view and easy editing of the file.
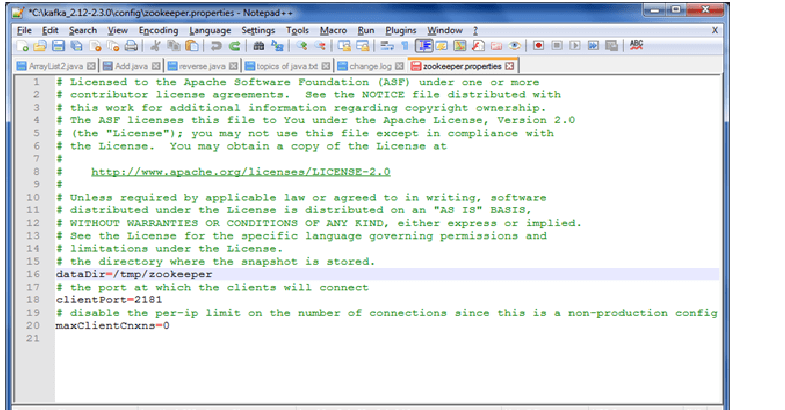
Step5: Edit the value of ‘datadir‘ by pasting the zookeeper folder address. Save it. This address will be used for clients to get connected.
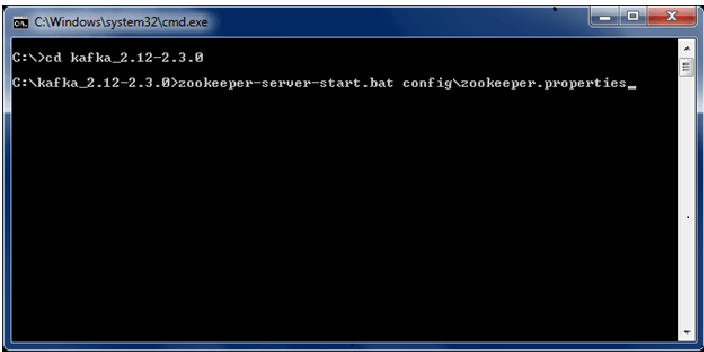
Step6: The Zookeeper server is ready to start. Open the command prompt and go to the Kafka directory. Then, type the command: ‘zookeeper-server-start.bat configzookeeper.properties‘. Press enter.
If the below shown output is displayed, it means the zookeeper server is successfully started. In the output screen, a port number 2181 is shown which tells the successful zookeeper server startup.
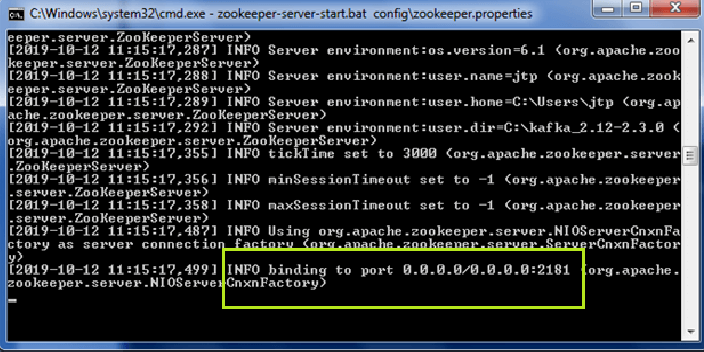
Otherwise, the port no.2181 is bind with some other applications.
Step7: Open data>zookeeper. A new folder, ‘version-2‘ will be created automatically. If not so, something went wrong.

Step8: As the zookeeper server is started, go to the kafka directory>data>kafka. Copy the address of the kafka folder.
Step9: Move back to the Kafka directory>config>server.properties.
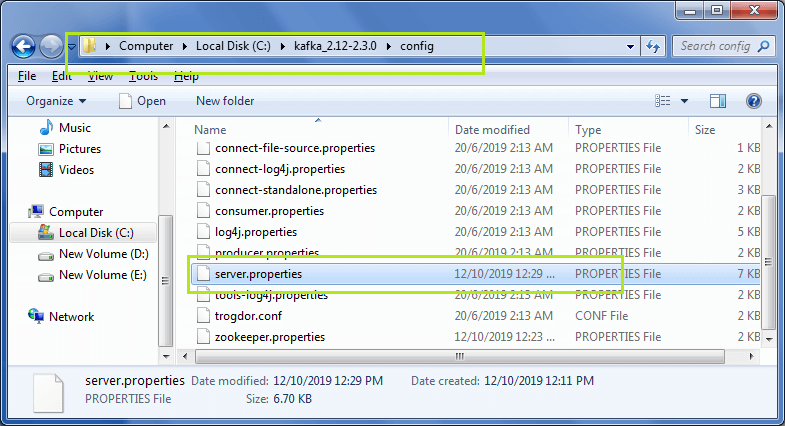
Right-click and click “Edit with Notepad++’. The below shown file will open.

Step10: Again, paste the copied address of the kafka folder as a value of log.dirs.

Step 11: Open the command prompt and move to the Kafka directory. Type the command: ‘kafka-server-start.bat configserver.properties‘. Look at the below snapshot:

The output screen will be displayed, as shown in the below snapshot:
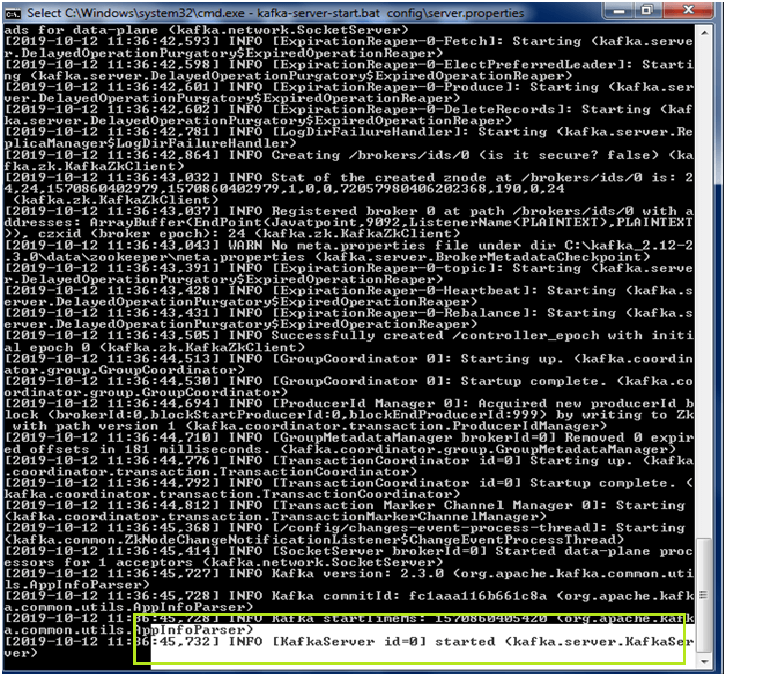
If the highlighted output is displayed, it means the kafka server is successfully started.
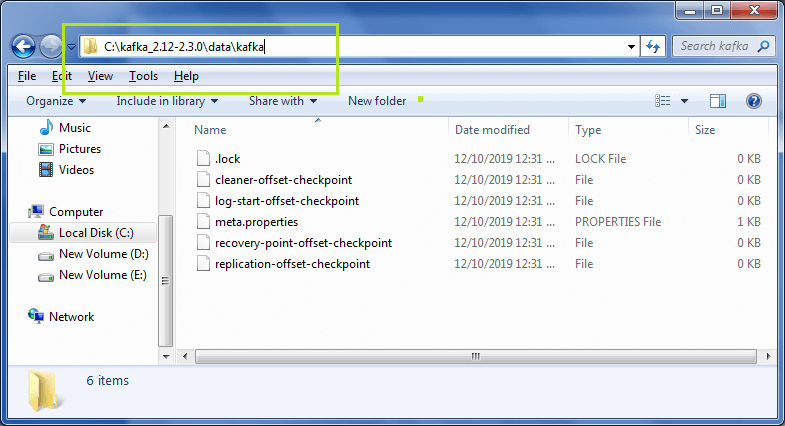
Step12: Open the Kafka directory>data>kafka. Here, the user will find some files, which will be generated on the successful startup of the Kafka server.
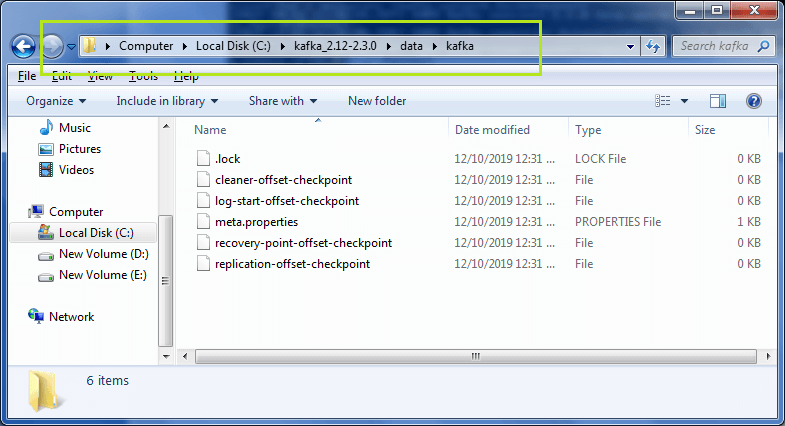
So, in this way, the Kafka server can be installed on the Windows operating system.
Note: It is mandatory to start the zookeeper server first to run the kafka commands.