Installation of Latex
For LaTeX, you need to download MiKTeX and Texmaker. MiKTeX is a Latex distribution, a vast collection of files, and is essential for Latex. Texmaker is called a specialized editor and helps in the Latex workflow. Installing the editor is optional but it makes the Latex easier. The process will take some time. Below are the steps for the download and installation of Latex:
- Search for MiKTeX in any browser.
- As the page opens, click on MiKTeX.org and select the ‘Download’ option given at the top.
- Now, click on the ‘All downloads’ option. You will see the window appear like the image shown below:
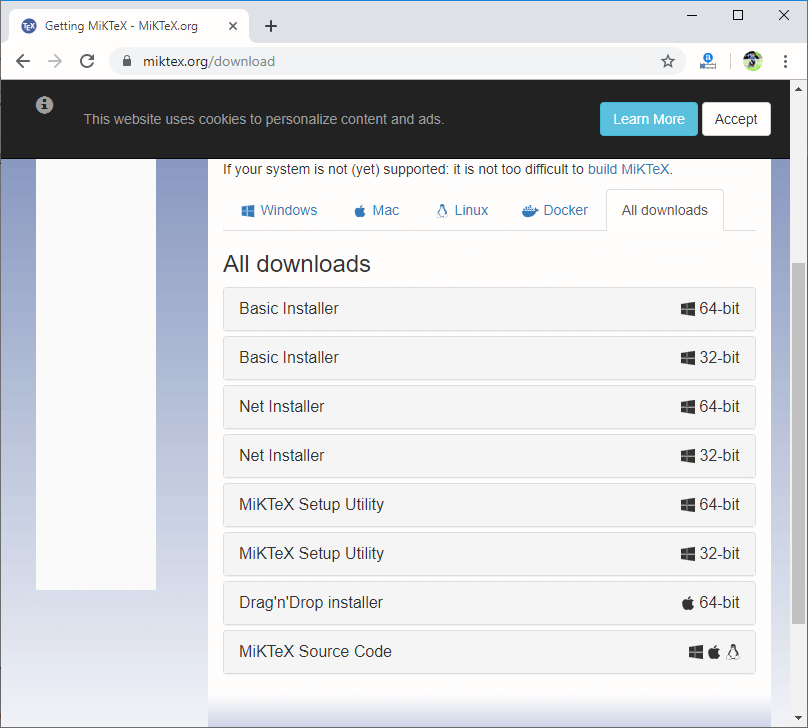
- Select the ‘Net Installer’ and choose the 64 or 32-bit according to your system configuration and click on the download option. The download will start.
- After that, close the browser. The MiKTeX download is a two-step process in this.
- In first step, with the help of Net Installer, we download the files, and in the second step, we install these downloaded files.
- Now, open this file and accept the conditions.
- Select the option ‘Download MiKTeX.’ Click on Next and then select ‘Complete MiKTeX’ and again click next.
- Then select the FTP as a download source. Click on the browse option, and under downloads category, make a new folder by any name and click ‘OK’ and then click on next. You can also select any other folder as per your requirements.
- Click on the ‘Start’ option, and the downloading process will start, which will take a while. Wait for the process to download. The downloading dialogue box will look like the image shown below:
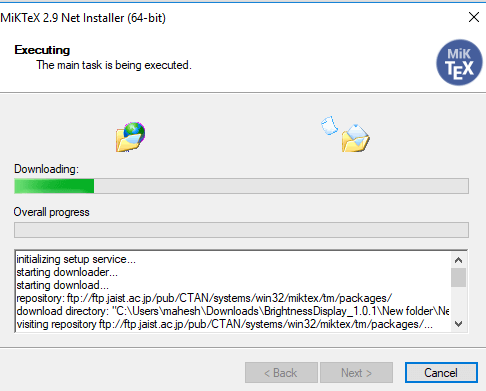
After this, again, go to the MiKTeX and then select ‘Install MiKTeX.’ It will still take some time, and now, the process is complete.
If there is an error, then close the window and restart the downloading process by selecting another server from the list.
- If you select the option ‘Basic Installer’, then after the download, you can start the process. The download will complete within very less time. After the download is completed, open the software.
- Now you have to download the Texmaker. For this, search for it in the browser or any other search engine. Click on it and install the software. It will appear on the desktop after the installation.

MIKTEX Overview
After the process is completed, the MiKTeX will appear as ‘MiKTeX console.’ When you open this file, it will look like the image given below:
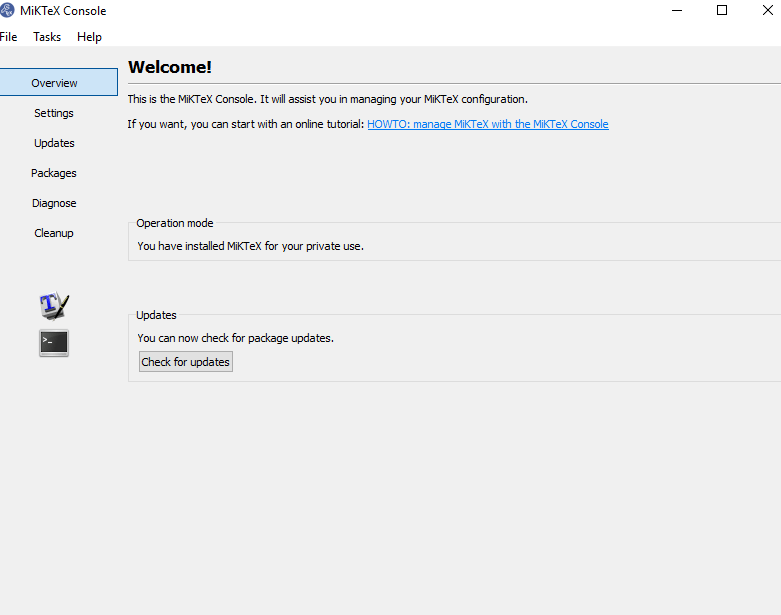
MiKTeX console is our main maintenance interface for all activities related to MiKTeX.
Under the “Updates” section, you can update all the already installed packages.
Under “Packages,” you can manage the individual packages. But make sure to click on ‘Update DB‘ first, before you add or remove any single package. You can also click on the ‘-‘and ‘+’ sign to add or remove any package. The Update DB stands for Update Database. The term ‘package repository‘ is often used in this context as the synonym for Update DB. This ‘Update DB’ synchronizes your local database on your computer, which is outdated to an up-to-date database on the internet. This option is shown below in the image:
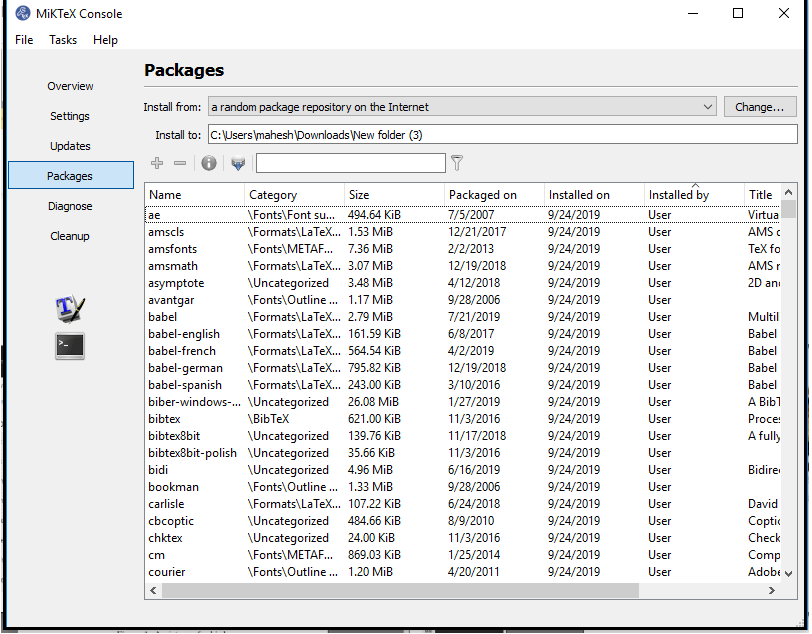
In the above image, the column ‘Packaged on‘ indicates the date when the packet was added to the internet. The column ‘Installed on’ shows the date when the packet was added to your local destination.
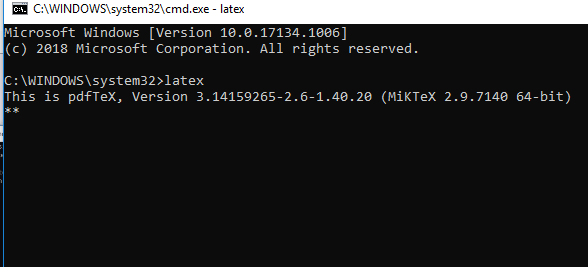
In the above image, click on the cmd window shown on the left. A Command prompt window will appear. This step is used only to verify the installation. Type ‘latex’ and you will see the output as shown below: