Installation Of Xamarin
Installing Xamarin with Visual Studio 2019
Here, we will learn how to install Xamarin on our PC. Microsoft Visual Studio allows us to build native mobile apps for iOS and Android using C# and .Net. Development is done using Xamarin. Xamarin apps are created using Visual Studio.
Steps to install the Xamarin with Visual Studio
Install Visual Studio
Step 1: Make sure our computer is ready for Visual Studio
To download the Visual Studio, we should focus on the system requirement to install the Visual Studio in our system.
Here is the product support minimum system requirement is:
- Visual Studio Enterprise 2019
- Visual Studio Team Foundation Server Office Integration 2019
- Visual Studio Professional 2019
- Visual Studio Community 2019
| Supported Operating System | Visual Studio 2019 install and run on the following operating system(64 bit recommended).
Windows 8.1: Core, Professional, and Enterprise |
| Hardware |
|
| Supported Language | Visual Studio is available in English, Chinese (Simplified), Chinese (Traditional), Czech, French, German, Italian, Japanese, Korean, Polish, Portuguese (Brazil), Russian, Spanish, and Turkish. We can select the language of visual Studio during installation. |
| Additional Requirement | The administrator is required to install the Visual Studio. .Net Framework 4.5 is required to install Visual Studio. Visual Studio requires .NET Framework 4.7.2 which will installed during installation. .NET Core has specific Windows Prerequisite for windows 8.1. Windows 10 Enterprise LTSC edition, Windows 10 Edition is not supported for development. We may use Visual Studio 2017 to build apps that run on windows 10 LTSC and Windows 10S. Internet Explorer 11 or edge is required for internet-related scenarios. Some features might not work unless these or later version is installed. For Emulator Support, Windows 8.1 Pro or Enterprise(x64) editions are required. A processor which supports Client Hyper-V and Second Level Address Translation (SLAT) is also required. Universal Windows app development, including, editing, designing, and debugging, is required. Xamarin.Android requires the 64-bit edition of Windows and the 64-bit java development kit (JDK). Power shell 3.0 or higher is required on Windows 7 to install the mobile development with C++, JavaScript or .Net workloads. |
Step 2: Download Visual Studio
Next, download the Visual Studio bootstrapper file. To do so, click on this link https://visualstudio.microsoft.com/downloads. Choose the edition of the Visual Studio, choose to Save and then select an open folder.

Step 3: Install the Visual Studio Installer
Run the bootstrapper file to install the Visual Studio Installer. This lightweight installer includes everything we need to both install and customize Visual Studio.
1) From the download folder, double-click the bootstrapper that matches or similar to one of the files:
- Vs_Community.exe for Visual Studio Community
- Vs_Professional.exe for Visual Studio Professional
- Vs_Enterprise.exe For Visual Studio Enterprise
If we receive a User Account Control notice, choose YES.
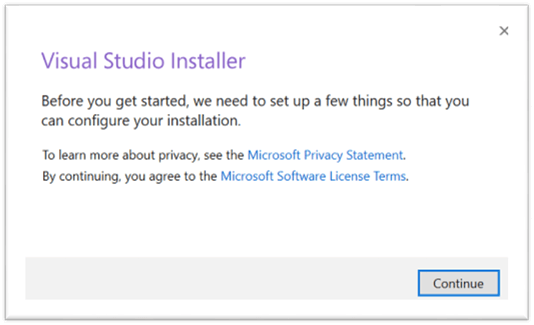
2) Next will show to acknowledge the Microsoft License Term
(https://visualstudio.microsoft.com/license-terms/) and the Microsoft Privacy Statement (https://privacy.microsoft.com/en-GB/privacystatement) Choose Continue.
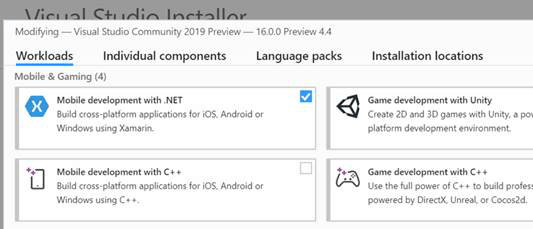
Step 4: Choose workloads
After the installer is installed, we can choose it to customize the installation by selecting the feature set or workloads that we want. Here is how:
1) Select the Mobile Development with .NET workload from the installation screen:
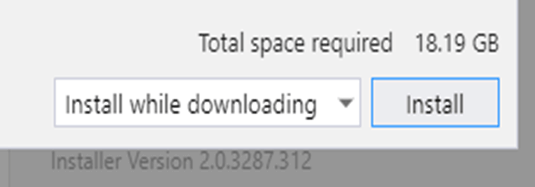
3) When we are ready to begin Visual Studio 2019 installation, click the install button in the right-hand corner.
4) Use the progress bars to monitor the installation:
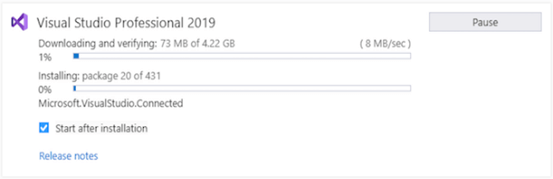
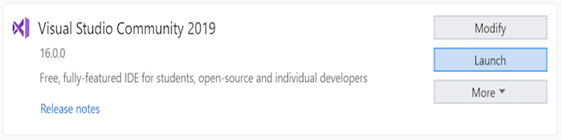
5) When Visual Studio Installation 2019 is completed, click the Launch button to start the Visual Studio: