IntelliJ IDEA Version Control
Version Control is a system which records the every modification in a file or a set of files over time so that we can recall specific version later. It allows us to revert selected files back to a previous state, entire project back to a previous state, compare the changes over time and so on. It could also help us to easily recover our lost file.
IntelliJ IDEA IDE supports many version controls such as Git, CVS, TFS, GitHub, Subversion, Mercurial etc. In this section, we will discuss about the most important version controls i.e. Git.
Git Integration
Git integration can be performed by the following methods:
- Make Id on the GitHub and create New Repository.
- Start IntelliJ IDE. Go to VCS->Enable Version Control Integration. Dialog box will open.
- Select version control system to associate with the project root and select Git in drop down menu.
- Git repository Created message shown us.
Now, we will understand and learn the working of Git tools and its terminology.
1. Clone
- To do this, go to File->New->Project from Version Control->Git. Following Dialog box will open.
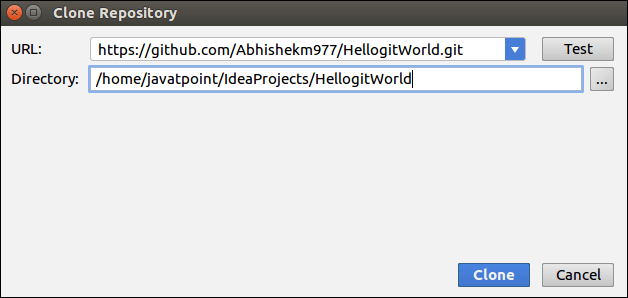
- Enter the Repository URL and Directory name and click clone button.
- After successful running, the repository will get cloned.
2. Add files to repository
Go to VCS->Git->Add Option
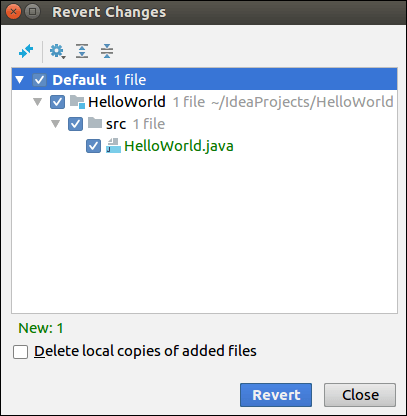
3. Revert Local Changes
It will remove the local changes we have done. To do this:
- Go to VCS->Git->Revert.
- The Dialog box will open. Click Revert button.
4. Commit Changes Locally
Commit action involves locally to record the snapshot of our repository in the project history. To commit changes to a local repository, do the following:
- Select the modified file under Git version control.
- Go to VCS->commit changes or VCS->Git->commit file. The following Dialog Box will open.
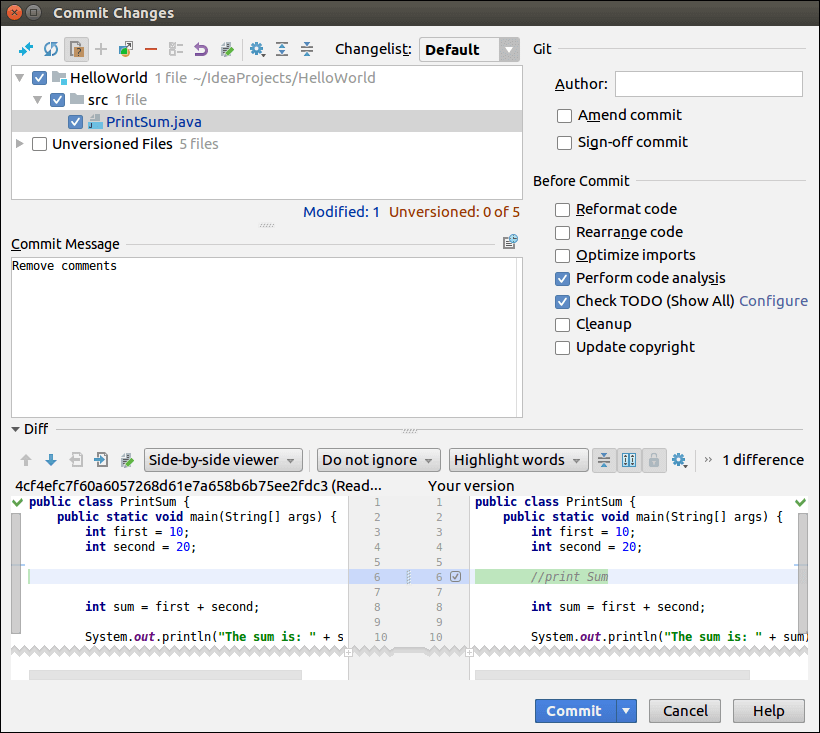
- In the changed file area we can see the file changed since the last commit. Select the check box of the files to be committed.
- Enter the commit message and click commit button.
5. Push Changes to Remote Repository
It will send the local changes to the remote repository so that they can available for others. To do push action, follow the following steps:
- Go to VCS->Git->Push. Dialog Box shown.
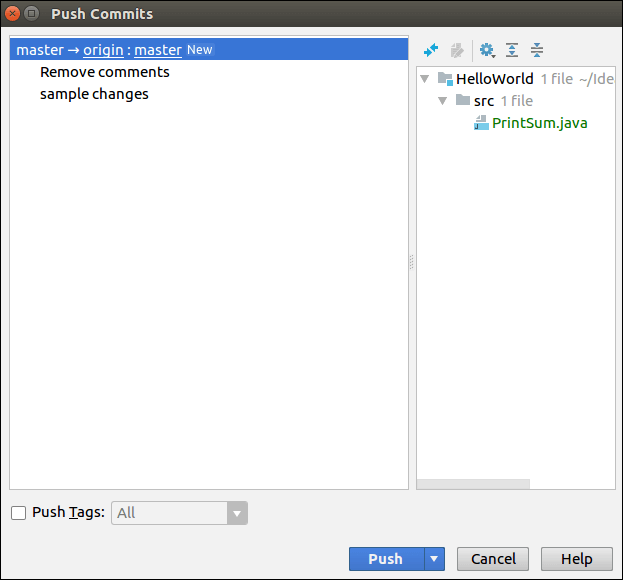
- We can see the commit to be pushed, select the commit and click on Push button.
6. Import Existing Project to Git
To add our existing project in the Git repository do the following:
- Go to VCS->Import into version control->Create Git Repository. Dialog Box open.
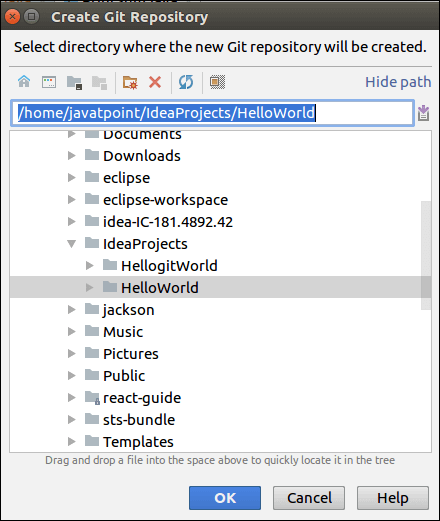
- Select Project. Click Ok button.
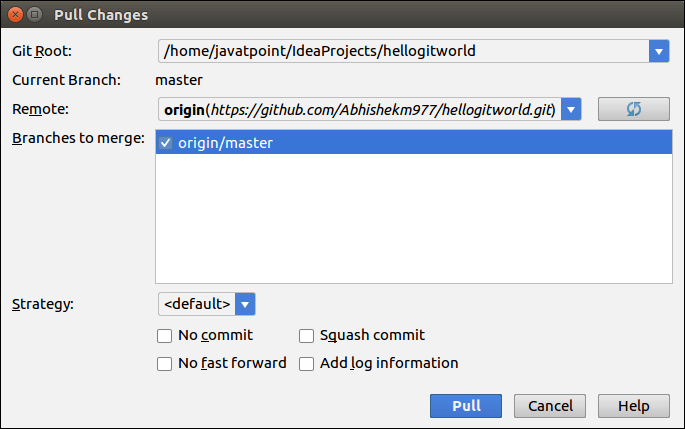
7. Get Updates
To get updates from the repository, do the following –
- Go to VCS->Git->Pull
- Select the required option.
- Click on Pull button.
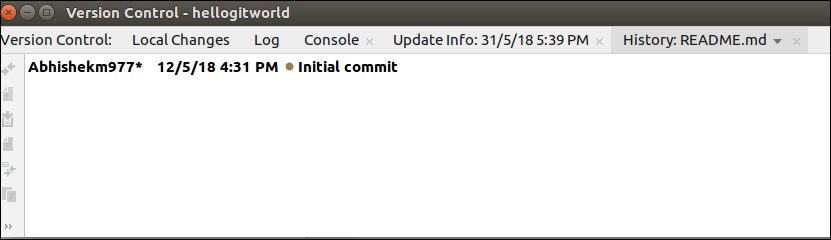
8. Show History or Log
To view History, do the following –
- Go to VCS->Git->Show History Option
- History window screen will appear.