Introduction to XCode IDE
XCode is an integrated development environment developed to work on Mac operating systems. It contains a suite of software development tools developed by apple. XCode facilitates us to develop software for macOS, tvOS, iOS, and watchOS. The latest stable release of XCode is 11.0, which is available on the Mac App Store for all the users of macOS Mojave. In this section of the tutorial, we will go through various contexts of XCode. We will also go through multiple sections of XCode.
Version History
| SN | Release year | Operating system | Features |
|---|---|---|---|
| 1.x series | 2003 | MacOS 10.3 + | It is based on the project builder. XCode 1.5 has an improved debugger and better code compiler. |
| 2.X series | 2005 | MacOS 10.4 + | It included the Quartz Composer, better code sense indexing for Java, and Ant support. The XCode 2.1 could create pre-compiled binary files. |
| 3.X series | 2007 | macOS 10.5+ | The XCode 3.X series includes DTrace debugging tool(instruments), refactoring support, context-sensitive documentation, and Objective C 2.0 with garbage collection. |
| 4.X series | 2011 | macOS 10.6.8+ | XCode version 4 integrated the XCode editing tool and interface builder into one application. Among many changes, it also included the support for iOS iOS 5.1, enhancements to iOS simulator, and suggested the move to LLDB debugger versus the GDB Debugger. |
| 5.X series | 2013 | macOS 10.8+ | It added support for iOS 7 SDK. It also added a version of Clang generating 64-bit ARM code for iOS 7. Apple removed support for building garbage collected Cocoa binaries in XCode 5.1 |
| 6.x series | 2014 | macOS 10.9.4+ | XCode version 6 provided many enhancements, including the support for all new programming language of apple i.e., Swift. XCode 6 also includes the support for playgrounds and live debugging tools. |
| 7.x series | 2015 | macOS 10.10.3+ | XCode version 7 provided support for Swift 2 and metal for OS X. It also added the support for deploying an iOS device without having an apple developer license. |
| 8.x series | 2016 | macOS 10.11.5+ | XCode version 8 provided support for Swift 3. |
| 9.x series | 2017 | macOS 10.12.6+ | It provided support for Swift 4 and metal 2 for OS X. |
| 10.x series | 2018 | macOS 10.13.6+ | Xcode 10 introduced support for the Dark Mode announced for macOS Mojave, the collaboration platforms Bitbucket and GitLab (in addition to GitHub), training machine learning models from playgrounds, and the new features in Swift 4.2 and Metal 2.1, as well as improvements to the editor and the project build system. |
| 11.X series | 2019 | macOS 10.14.4+ | XCode 11 introduced support for the new features in Swift 5.1, as well as the new SwiftUI framework (although the interactive UI tools are only available when running under macOS 10.15). It also supports building iPad applications that run under macOS; includes integrated support for the Swift Package Manager; and contains further improvements to the editor, including a “minimap” that gives an overview of a source code file with quick navigation. |
The latest version of XCode i.e., Version 11, can be installed on macOS Mojave from the Apple Mac App store. However, in this tutorial, we are going to use XCode 10.2.1
A Quick walkover of XCode
Let’s have a quick walkover of XCode 10.2.1 and understand how the development in XCode is going to be done.
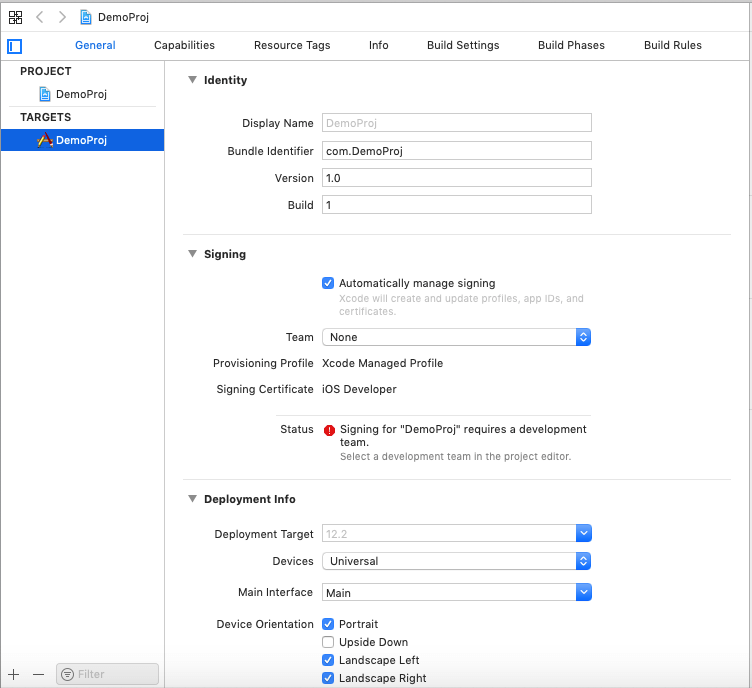
When we create a new XCode Project, the following window is shown which provides the target information of the XCode Project. It shows every information of the project that includes Bundle Identifier, App version, Build Version, Signing Information, Deployment Information, Linked Binaries and framework information, and application launch icons.
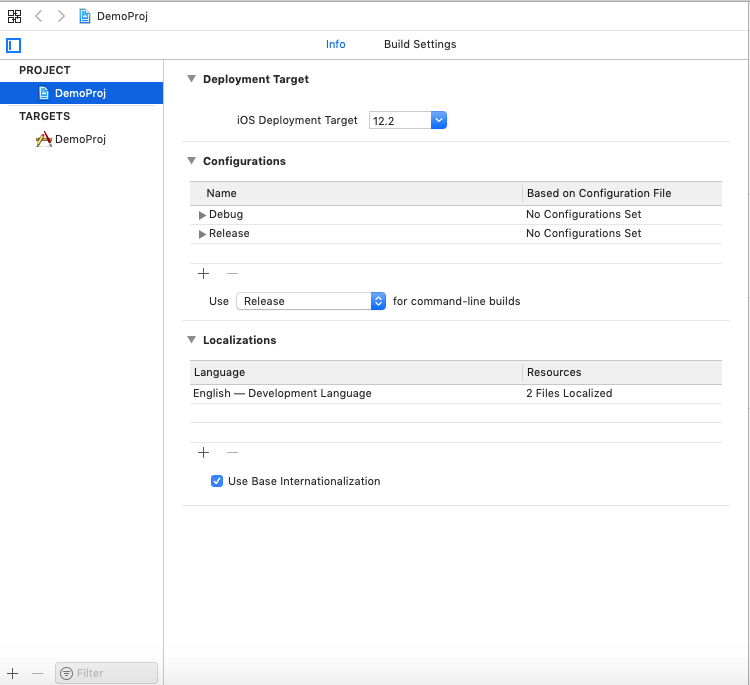
Above the target information, there is a pane of project information which shows all the information about the project given in the following image. It contains information about the iOS version for which the application is created. It also contains release information.
We will discuss the target and project information later in this tutorial in detail.
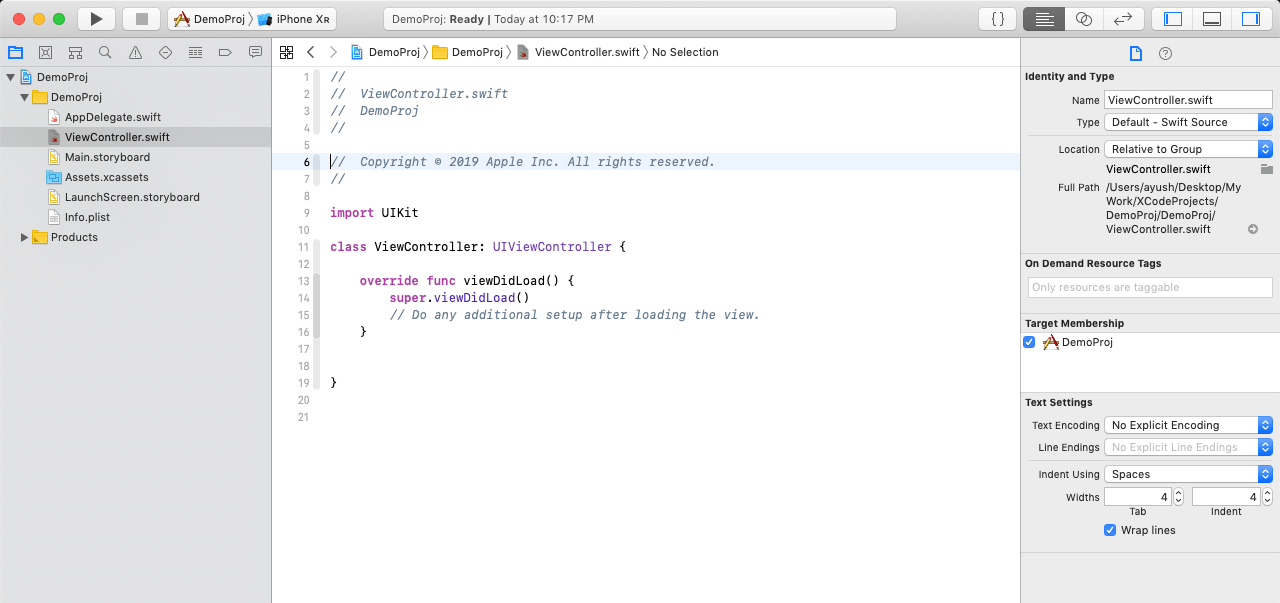
Now let’s look at all the components of an XCode window (below image) in detail.
Standard Editor
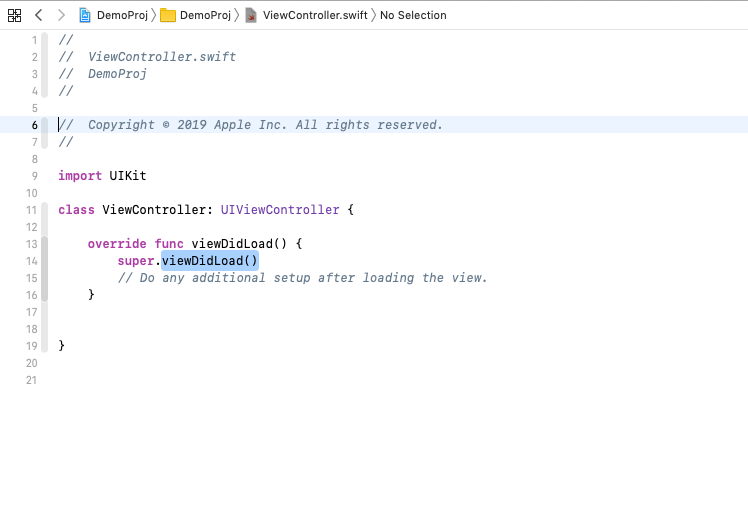
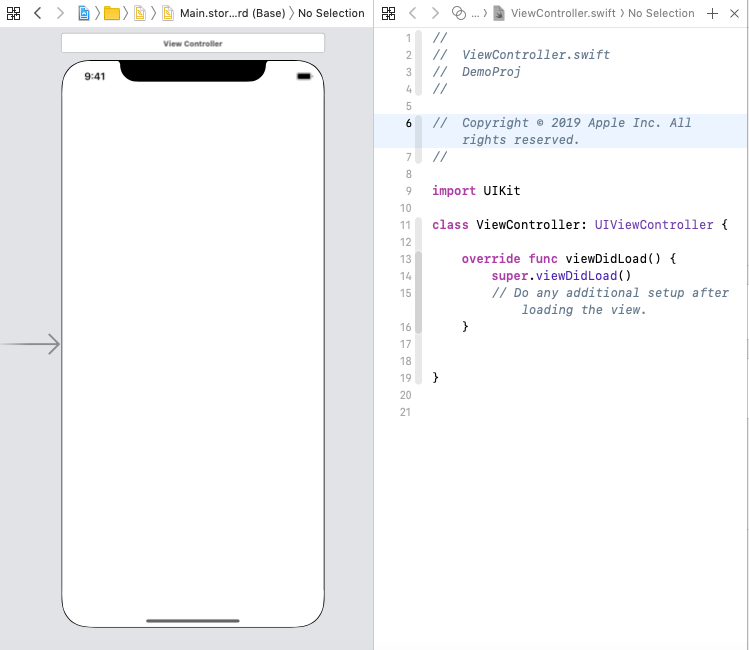
The standard editor is shown in the middle of the window. As the name suggests, it is the standard editor of the project in which the project files are edited. It contains the information about the file commented at the top and the initial View Controller class file with the lifecycle method created. (The lifecycle methods will be discussed later in this tutorial. At the topmost pane of the Standard editor, the hierarchical information about the project file is shown. It can also be used to open other files in the same editor. However, we can also navigate to other project files using the project navigator also.
Assistant Editor
The Assistant Editor is mainly used to create outlets of the storyboard components (Textfield, Label, etc.) in the corresponding View Controller class file. However, the Assistant editor facilitates us to look at two files in the editor simultaneously.
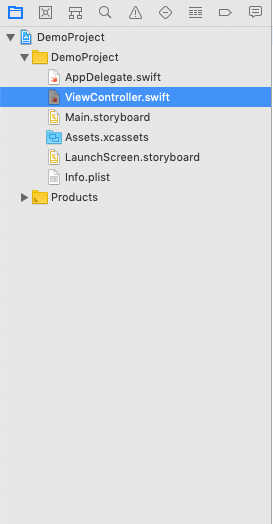
Project Navigator
The project navigator is shown at the left of the window. It shows the file structure of the project. It is used to navigate through the project. Initially, an XCode project contains the files shown in the following image.
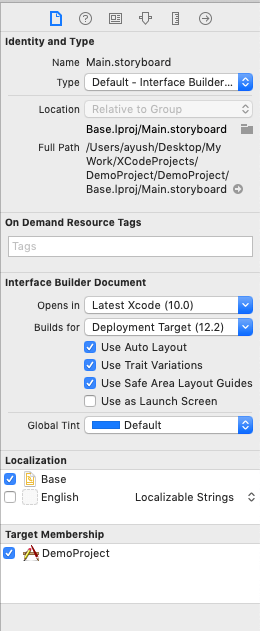
File Inspector
The inspectors are shown in the right of the XCode window, as shown in the below image. The file inspector shows the full information about the corresponding swift file opened in the standard editor. It contains the Name, Type, Location, and the interface builder document-related information.
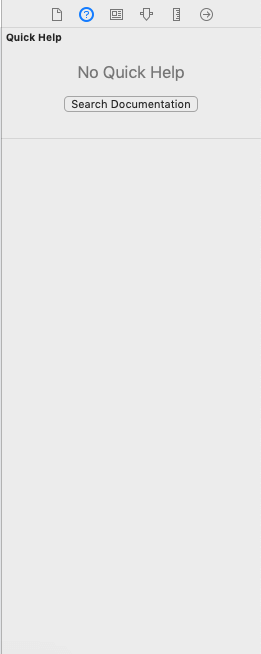
Quick help inspector
It is used to provide help to the user where it can search the documentation about the syntax. It is shown as the below image.
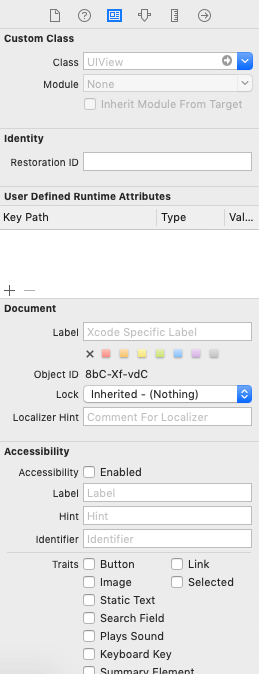
Identity Inspector
Identity Inspector is mainly used when we need to work with the storyboard. It shows information about storyboard components (View Controllers) and their corresponding Swift class files. To program the storyboard components accordingly, we need to assign class files to them. All this information is shown by Identity Inspector, as shown in the below image. It prompts the developer to assign class and module to the corresponding storyboard View Controller. It also prompts the developer to assign the identity name to the View Controller, which is used throughout the project to identify the View Controller. We can also give some Runtime constraint to the UIView shown in the storyboard.
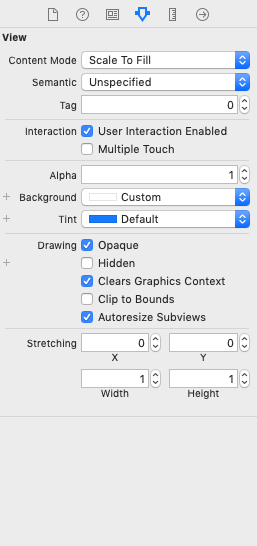
Attribute Inspector
An attribute inspector is used to give some attributes to the corresponding UIView in the storyboard like content mode, tags, interaction, background color, font color, font size, etc. The attributes given to the storyboard views using attribute inspector are static and can be changed programmatically at runtime.
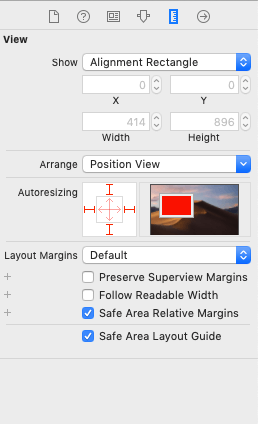
Size Inspector
Size inspector provides information about the size constraints given to the view while designing using a storyboard. We can alter the size constraint given to the view using the Size Inspector.
Connections Inspector
It shows the information about the connections of the corresponding storyboard UIView to the swift class file. It contains all the connections of the storyboard to the swift class files.

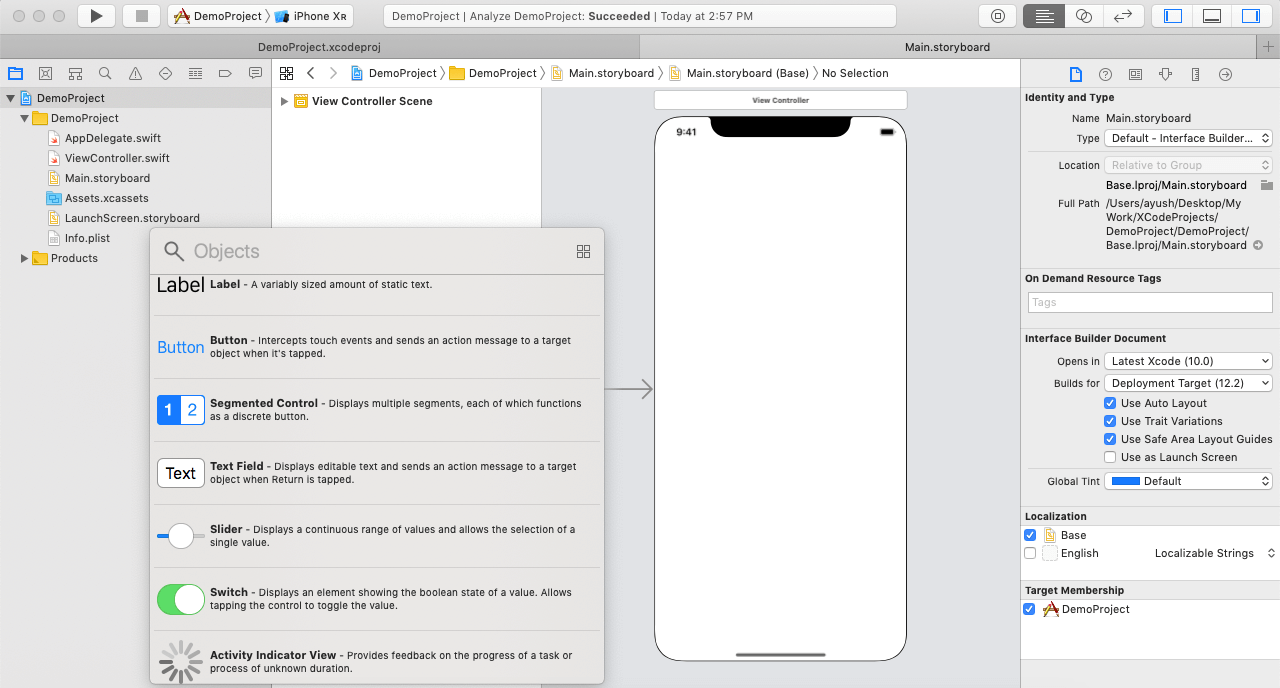
Media Library
collection view, etc. which is primarily used to create an iOS application. Using the media library, we can insert the desired widget to the storyboard using drag & drop functionality. We can open the media library using command + shift + L short key.
At the bottom of the Standard Editor, the debugger console is shown, which is used for debugging the program at runtime. The console is also used to print the values using swift the print(), and debugPrint() functions.