Joomla Installation on Linux
Joomla is one of the popular CMS, which is relatively easy to use and an excellent alternative to WordPress. It is used by millions of programmers to create mobile-ready and user-friendly websites. It contains thousands of great features and designs, and these features make it a good choice for building professional sites.
In this article, we are demonstrating how to install Joomla on your Ubuntu Virtual Private Server (VPS). Go through all steps given below to understand its installation:
Prerequisites
- A non-root user with sudo privileges
- A VPS or dedicated server hosting plan
Step 1: Install Apache
Update the index on the Ubuntu repository by using the command:
Put your password to process further.
Then, put the below command to install Apache:
Step 2: Install MySQL
As we have discussed earlier, Joomla uses a MySQL database to store the data. So, you are required to install MySQL server using the command:
It is suggested to use a strong password for the root user when prompted to enter.
To make sure that your MySQL installation is secure, use the command given below and remove anonymous users and test databases:
Enter ‘Y‘ or ‘N‘ as mentioned below to use the settings which will help you to ensure that your MySQL installation is secured:
- Setup VALIDATE PASSWORD plugin? [Y/N] N
- Change the root password? [Y/N] N
- Remove anonymous users? [Y/N] Y
- Disallow root login remotely? [Y/N] Y
- Remove test database and access to it? [Y/N] Y
- Reload privilege tables now? [Y/N] Y
Now, you are required to create a database so that Joomla can store its data.
Enter the command below and log in on the MySQL Command Line Interface (CLI):
Give access by putting your root password.
After that, create the database, user, and assign the correct privileges using the below commands:
You can replace ‘joomla_db‘ with your preferred value. It is suggested to use a strong password for the user.
Step 3: Install PHP
You are also required to install PHP as Joomla is written in PHP (a server-side general-purpose scripting language). It should be installed as well together with the associated modules tailored for Apache web server using the given commands:
Type ‘Y’ and press ‘Enter’ when prompted to confirm the installation.
Step 4: Install Joomla
You should install the ‘unzip tool’ because the file you are going to download will be in a .zip format. To install ‘unzip tool’, use the below command:
Now, create a ‘tmp’ folder using the below command, where Joomla file will be downloaded:
Next, cd to the ‘/tmp’ directory using the command:
Use the given command to start downloading the latest version of Joomla from the official website:
i.e.,
After running this command, Joomla will be downloaded inside the ‘tmp’ folder with an extension .zip (an archive file).
You need to unzip the downloaded archive file and copy it to the root of your website, probably under a directory name ‘joomla’. You can use any name for the folder.
Use the below command to create a directory:
Unzip the file that you have downloaded using the command:
Step 5: Configuring Joomla and Assign the Right File Permissions
The default Joomla installation comes with a file ‘htaccess.txt‘ which should be copied to create a ‘.htaccess‘ file. To perform this action, you should use the following command:
You must provide the right permissions to the file so that Apache will be able to access those files. Use the following command to set the right permissions:
You are now required to restart the Apache for all PHP settings to take place by using the following command:
Step 6: Finish Joomla Installation via a Browser
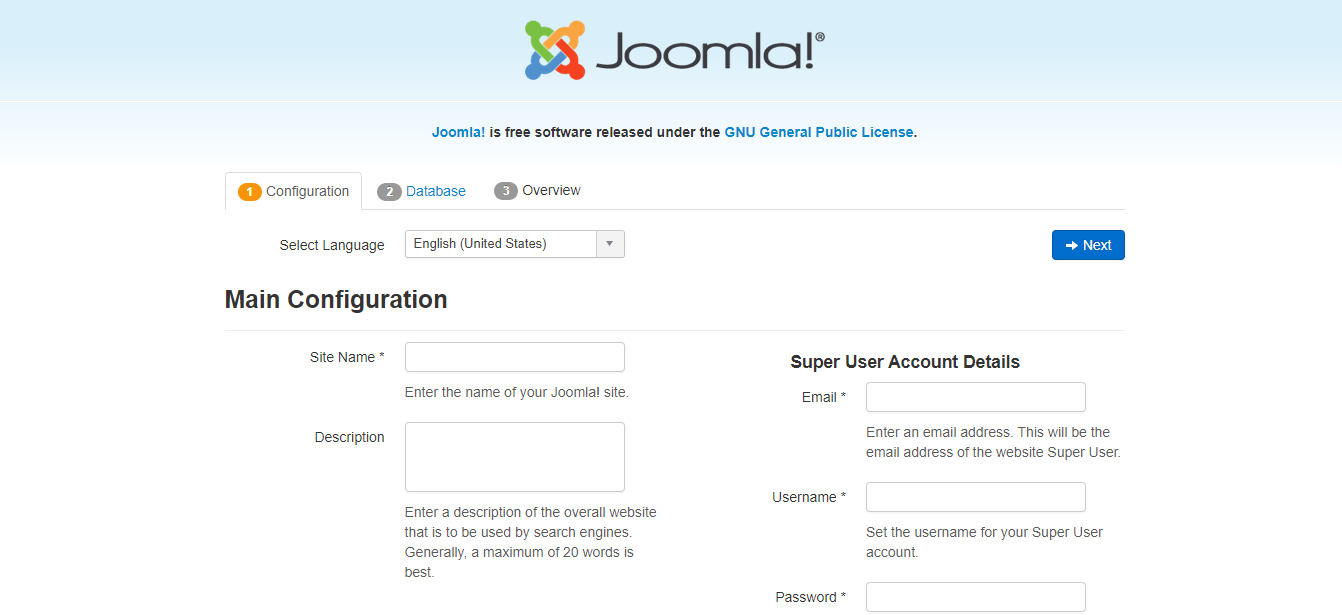
Open a browser and put the URL ‘http://yourdomain.com/joomla‘ in a URL address bar. It is important to note that you have to replace ‘yourdomain.com‘ with your domain name or public IP address of your server. You should get a window like this:

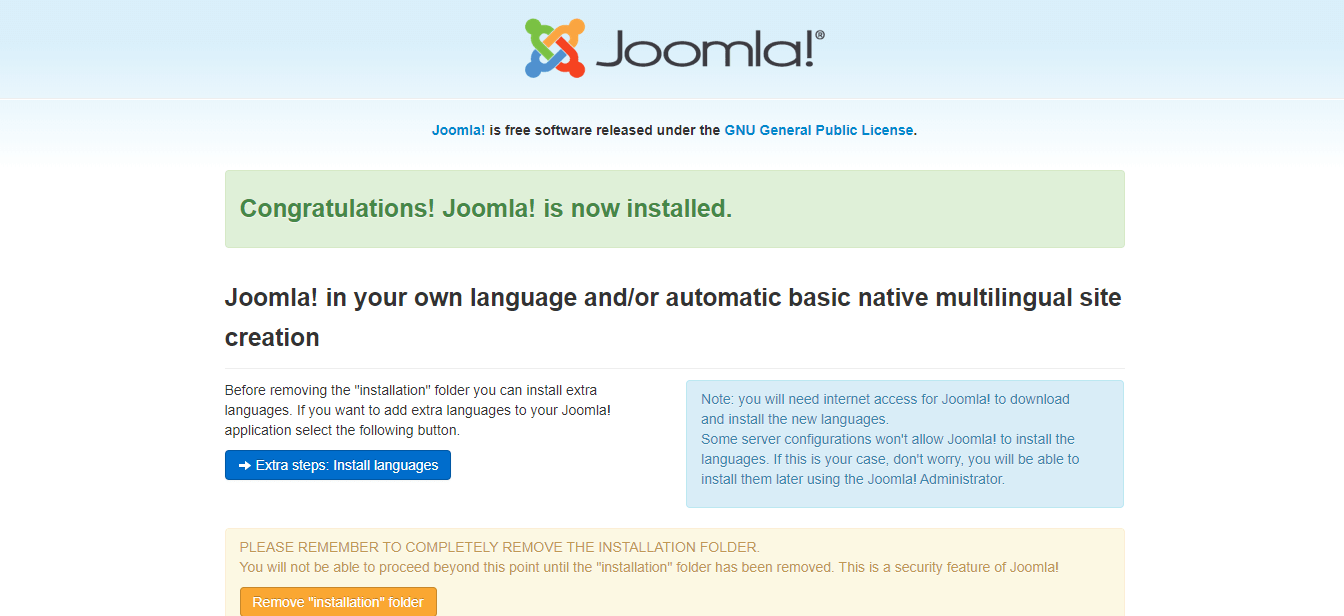
Follow-on screen instructions and fill all the required details, just as shown in the previous article, and finish the installation.

Now, Joomla is successfully installed on your Ubuntu machine.
