Local Storage Object
In our previous section, we covered all the theoretical part of the storage. We had taken a quick view of all the methods of storage, which we will use for it. So, in this section, we will learn about how we can create and use the local storage object in PhoneGap. Below is the step by step procedure to create and use the local storage object.
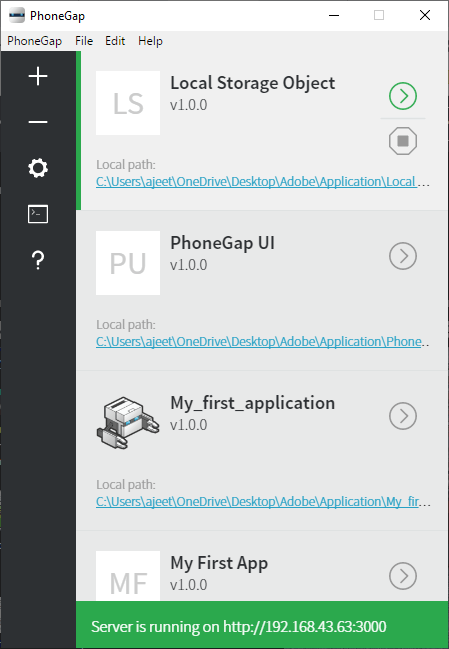
1) Create a new project
Firstly, we will create a new PhoneGap project with a blank template. If you don’t know how to create an app with a blank template, go through the PhoneGap project link.
After creating a PhoneGap project, we will open its index.html file contained in the www folder.
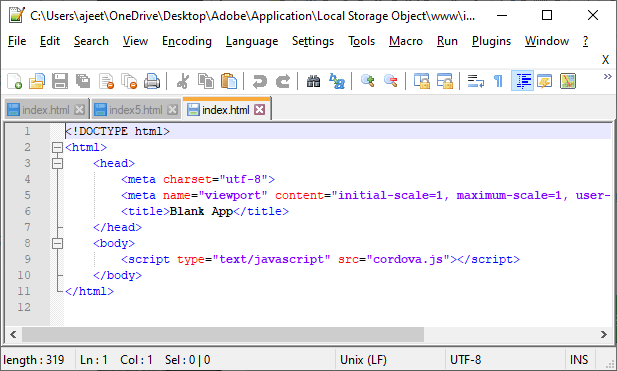
2) Adding JQuery mobile library
After creating the project, we will add the JQuery mobile library, as we have added in our previous examples. We will go to the JQuery, and from there, we will copy the three lines of code, i.e., CDN hosted files. We will paste this code in our index.html file and change the title in the following way:
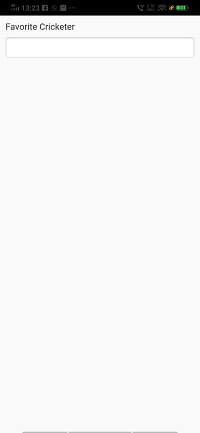
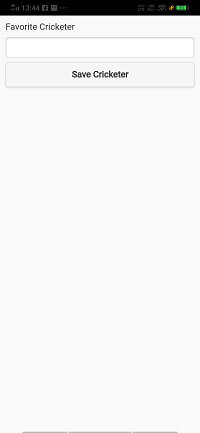
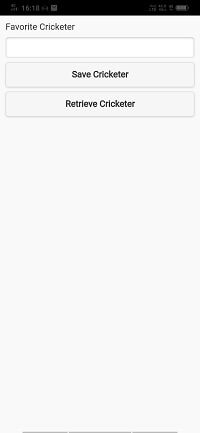
3) Create a form
We will first create a form by creating a label and input field in the body section. After that, we will use this form to store the information. We will write all these things in the following way:

4) Adding style/margin and divide the container
Our app is not looking so cool now. So, we will divide the container using <div></div> tag and set the margins for the container in the following way:
Note: We will do the code for the style and margins in the <style></style> tag in the head section.
5) Add button to save data.
Now, we will add a button in our form to save the data into the browser. So, when we will click on the button, the data will be stored into our browser. We will create a button below the input field using the <buuton></button> tag in the following way:
6) Getting data from the form
Now, we will grab the form data. For this purpose, we will use the <script></script> tags to create a custom script below the <style></style> tag. We will use the window.onload function, which is called when the screen gets loaded. In this function, we will get the button and use an event listener to callback the custom function storeData in the following way:
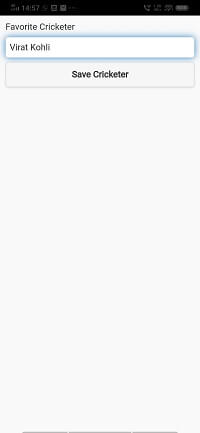
7) Creating storeData custom function
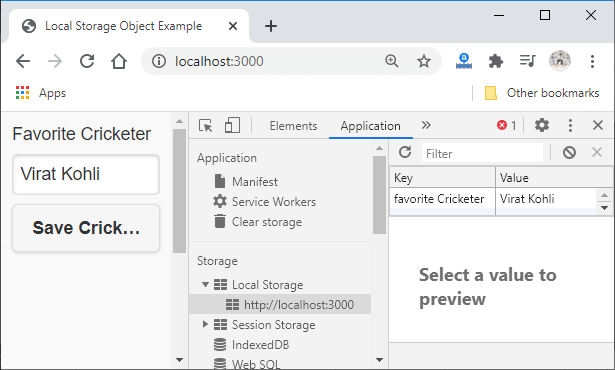
Now, we will create a custom function storeData by passing an argument. We will fetch the cricketer name from the form using the ID. After that, we will set the fetched data into the local storage in the following way:
We can check the local storage data using our browser.
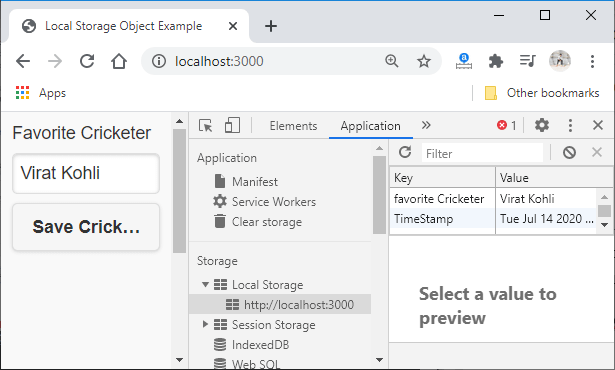
We can also save other data under different key in the following way:
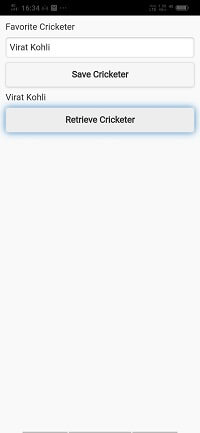
8) Retrieving data
Now, we will create another button to retrieve the data in the same way as we have previously created for getting the data. After that, we will get the button using the ID that will be called using the function, i.e., getData. We will also add a field for the result using <div></div> tag in the following way:
Window.onload function:
Body section:
9) Creating getData function
We will create the getData function in the <script></script> tag that will be called by the retrieve button. We will use the localStorage.getItem() function to get data from the local storage and show the result using the ID. The complete custom script is shown below.