Managing Layers in After Effect
A script can be used to render and export each of the selected layers separately created by Jeff Almasol and uploaded on his redefines website. Using this, we can represent a different version of an effect or various parts of an impact that we want to render as separate passes for flexibility.
Changing and viewing layer information
Step 1: In case of renaming a layer, do one of the following:
- Press Enter after selecting the item in the Timeline panel and enter the new name.
- Right-click on the Timeline panel item → choose rename from the drop-down and enter the new name.

Step 2: Click on the Layer Name column heading in the Timeline panel, If you want to switch between viewing the names of source footage items and the characters of layers on the Timeline panel.

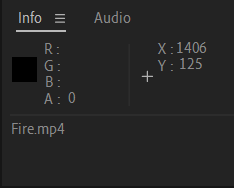
Step 3: Press Ctrl+Alt+E to show the footage file’s name for a particular layer inside the Information panel.
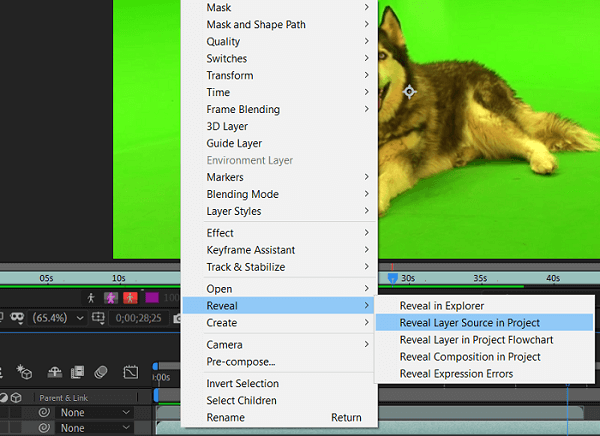
Step 4: Right Click on the Timeline panel layer and select Reveal Layer Source in Project to see which footage item is the source for a layer.
Layer switches and columns in the Timeline panel
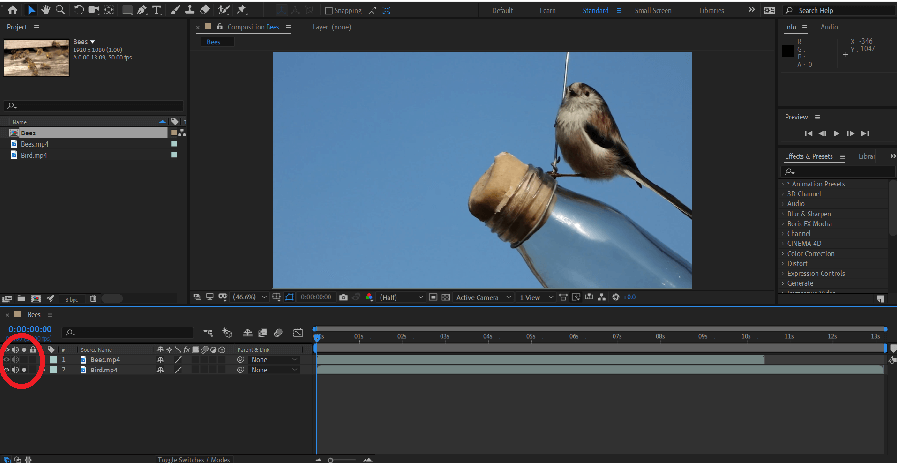
Click on the Layer Switches  to show or hide columns in the Timeline panel. After that, press Shift+F4 to show or hide the Parent column and press F4 to toggle the switches and Modes columns.
Switch in the A/V Feature column
Video: Put the layer visuals on/off  .
.
Audio: Put layer sounds on/off  .
.
Solo: The solo button includes the current Layer in previews and renders and ignores the layers without this switch set  .
.
Lock: It prevents all changes and Locks layer contents  .
.

Switches inside Switch column
Shy:  It can be used to hide the current Layer when the composition switch is selected
  .
.
Collapse Transformations/Continuously Rasterize:  It collapses the transformation if the Layer is a precomposition and continuously rasterizes. When we select this switch for a vector layer causes After Effects to rasterize the Layer for each frame, which improves image quality and increases the time required for previewing and rendering.
Quality:  Toggles between Best and Draft options for layer quality for rendering, including rendering to the screen for previews.
Effect:  Select to render the Layer with impact. The switch does not affect the setting for personal effect on the Layer.
Frame Blend:  Sets frame blending to one of three states: Frame Mix, Pixel Motion, or off.
  If the Enable Frame Blending composition switch is not selected, the frame blending setting of the Layer is irrelevant.
Motion Blur:  Toggles motion blur on or off for the Layer. If the Enable Motion Blur composition switch is not selected, the motion blur setting of the Layer is irrelevant.
Adjustment Layer: Identifies the Layer as an adjustment layer.
3D Layer:  Identifies the Layer as a 3D layer. If the Layer is a 3D layer with 3D sublayers-as is the case for a text layer with per-character 3D properties-the switch uses this icon.
Toggle visibility or influence of a layer or property group
The Video (eyeball) switch for a layer controls whether the visual information for a layer is rendered for previews or final output. If the Layer is an adjustment layer, the Video switch controls whether the Layer’s effects are applied to the composite of the layers below it. If the Layer is a camera or light, the Video switch controls whether the Layer is on or off.
- Detect the Video switch for the Layer to turn off the visibility.
- Select Layer → Switches → Show All Video to select the Video switch for all layers.
- Go to the Layers panel → Choose Switches → Hide Other Video to deselect the Video switch for all layers except the selected Layer
Solo a layer
We can isolate one or more layers for animating and previewing by soloing. It excludes all other layers of the same type from being rendered-both for previews in the Composition panel and final production. Such as, if we solo a video layer, any lights and audio layers are unaffected, so they appear when we preview or render the composition.
- To solo one or more layers, select the layers in the Timeline panel, and click the Solo icon to the layer names left.
- To solo one layer and un solo all other layers, Alt+click the Solo icon to the layer name’s left.
The Video switch  is dimmed for other layers when a layer is soloed, indicating that the different layers are not visible.
Locking or unlocking a layer
The Lock switch prevents layers from being edited accidentally. When a layer is locked, you cannot select it in either the Composition or Timeline panels; if you try to choose or modify a locked layer, the Layer flashes in the Timeline panel.
When a layer is locked, the Lock icon  appears in the A/V Features column, which occurs by default to the left of the layer name in the Timeline panel.
- To lock or unlock a layer, click the Lock switch for the Layer in the Timeline panel.
- To unlock all layers in the active composition, choose Layer > Switches > Unlock All Layers.
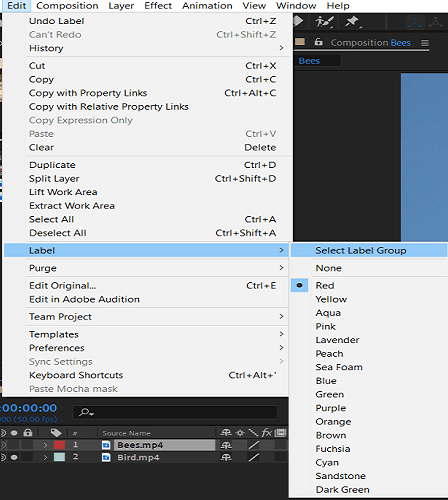
Color labels for layers, compositions, and footage items
- To select all layers with the same label color, like a layer with that label color, choose Edit > Label > Select Label Group.

- To change the color of a label for one Layer, click the title in the Timeline panel and choose a color.
- To change the color of a label for all layers with that label color, select one of the layers belonging to the label group, choose Edit > Label > Select Label Group, and select Edit > Label > [color name].
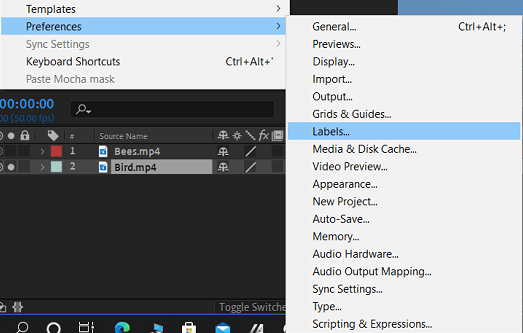
- To change the names and default colors for labels, choose Edit > Preferences > Labels.
- To change the default associations of label colors with source types, choose Edit > Preferences > Labels.
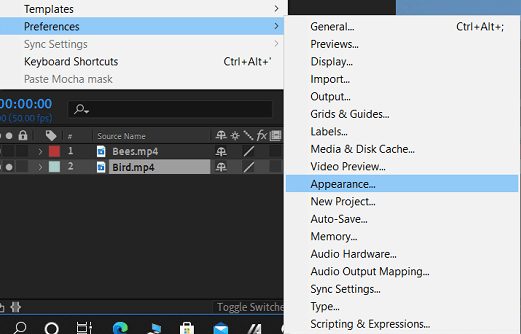
- To disable the use of a layer’s label color for Layer handles and motion paths, choose Edit > Preferences > Appearance.
- To disable the use of a layer, footage item, or composition’s label color in the corresponding panels’ tabs, choose Edit > Preferences > Appearance.