PayPal Setup in Magento 2
In this section, we will discuss how to use Magento 2 to use PayPal as a payment processor for both credit card and PayPal payments. PayPal is a safest way of online payment for customers. With PayPal and Magento 2, you can accept the payment through debit cards, credit cards, and also from PayPal account holders. PayPal is a trusted payment gateway and widely used for its fast checkout.
The following steps are given to set up the PayPal payment methods in Magento 2:
Step 1: Login to the Magento 2 Admin Panel.
Step 2: On the left sidebar of Magento 2, Navigate to SYSTEM >> Configuration.
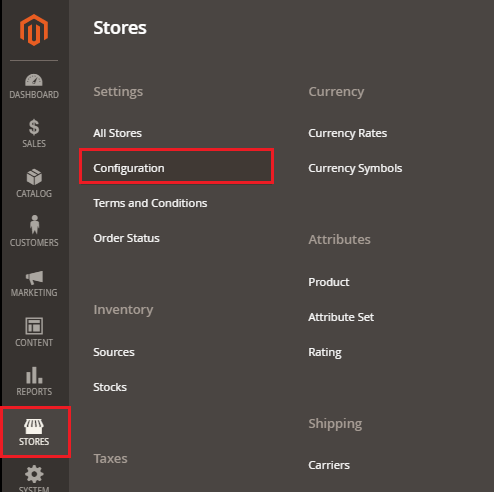
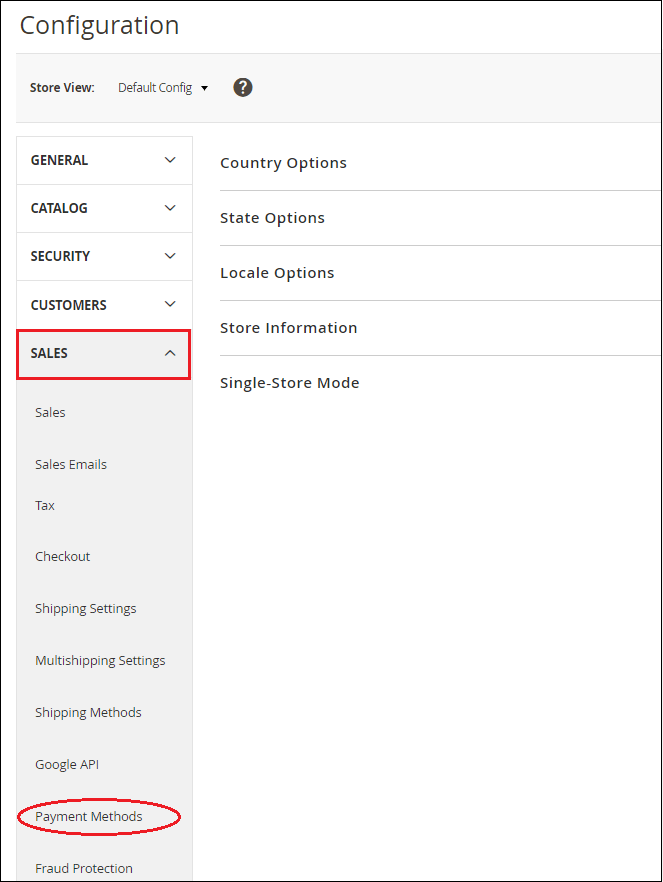
Step 3: Here, you will get the list of options on the left side of the page. Scroll down and go to the Sales tab and click on the Payment Methods option.
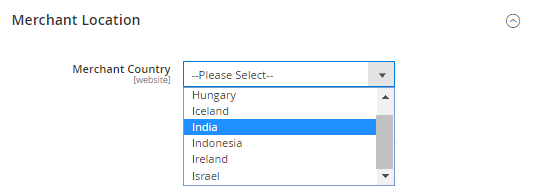
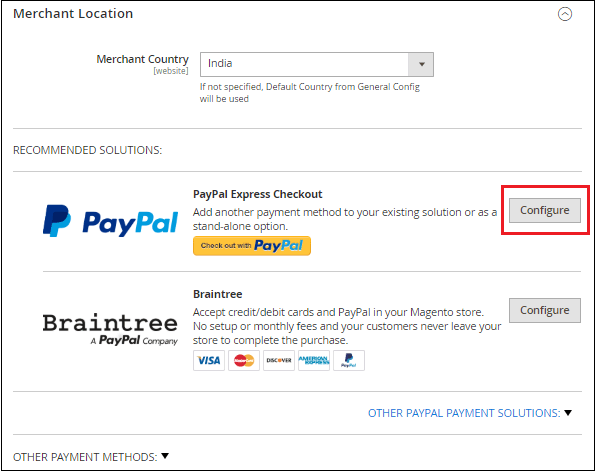
Step 4: Under the Merchant Location section, choose the merchant country from the dropdown list where your business is located or your business is registered from which country.
If you do not select the country here, then by default country from the General Config will be used.
Please note that if there are several websites, stores, or store views in your Magento, then you can choose the Store View from the upper-left corner to apply payment configuration.
Step 5: Magento 2 provides the following payment methods, which add PayPal as an additional payment method to the checkout page. Click on the Configure button corresponding to the PayPal Express Checkout to make PayPal settings.
Step 6: Provide the required details to complete the PayPal setting:

- Email Associated with PayPal Merchant Account – Enter the e-mail, which is associated with the PayPal merchant account for accepting the payments.
- API Authentication Method – Choose API Signature or API Certificate.
- API Signature: Enter the API Username, API Password, and API Signature for API Signature Mode.
The fastest way is to click on Get Credentials from PayPal button to connect with your PayPal account and get these information. - API Certificate: Enter the API Username, API Password, and upload the API Certificate file for API Certificate Mode.
- API Signature: Enter the API Username, API Password, and API Signature for API Signature Mode.
To create a PayPal account and get the API Credential from PayPal Click here.
- Sandbox Mode – Set the Sandbox Mode option to Yes if you use credentials from the sandbox for your testing sandbox account. But if you entered production credential, then select No.
- API Uses Proxy – Select Yes, if your system connects with PayPal through a proxy server, otherwise No. The system will ask you to configure an IP address for Proxy host and Port number for Proxy Port if you set Yes.
- Enable this Solution – To display the PayPal payment method to the customers during checkout on the frontend, set this field to Yes.
- Set Yes to Enable In-Context Checkout Experience field.
- Enable PayPal Credit – In case your store allows PayPal credit for your store, then it to Yes.
Step 7: After completing the above information, we need to set up the Basic and Advanced setting of the PayPal payment method, as given below.
Basic Settings
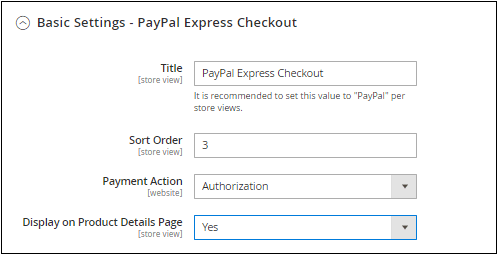
Title – Enter the Title for a payment method (we can leave it default).
Sort Order – Set the order for the PayPal Payment method corresponding to other payment methods in the checkout page. For example – if you set 1 to this field, then this payment method will appear in second place on the checkout page.
Payment Action – The Payment Action field proposes to select either Sale or Authorization or Order, which defines how the Payment will be processed in the PayPal payment system.
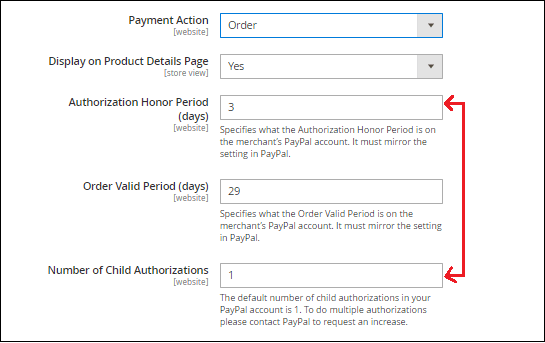
If you choose Order for the Payment Action field, it will display three more fields to complete. You must enter the number of days that primary authorization/order is valid, order valid period, and the maximum number of authorization for a single order.
Note that to make a change in any field’s default data, you need to contact PayPal.
Display on Product Details Page – Set Yes to this field to display the checkout with PayPal button to the product page.
Advanced Settings
Complete the advanced settings by providing the required information in the fields.
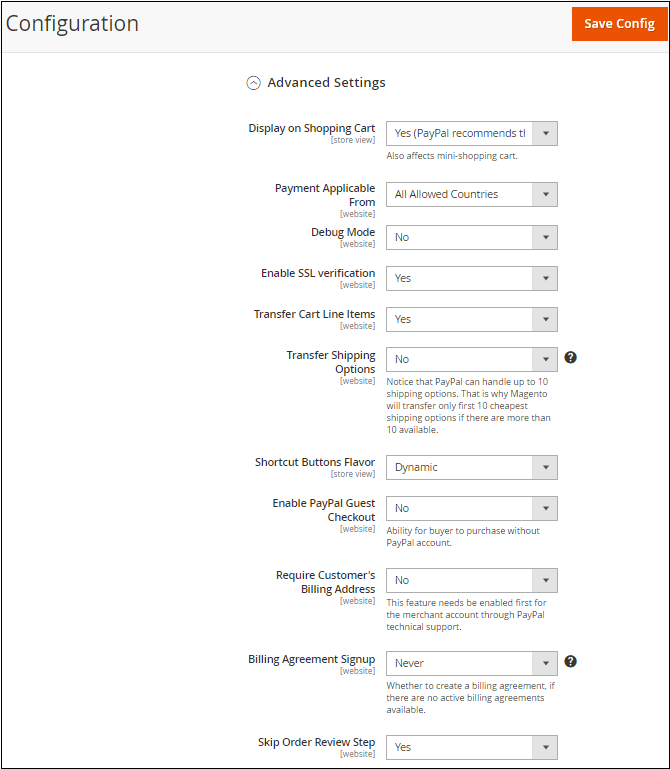
Display on Shopping Cart: Set Yes to this field to display the checkout with PayPal button in the shopping cart.
Payment Applicable From: Select All Allowed Countries to accept PayPal Express Checkout from the customers of all countries. Otherwise, select Specific Countries to accept the PayPal Express Check from the customers of some specific countries which you choose from the list.
Debug Mode: Set the Debug Mode to Yes to write communications with the payment system into the log file.
Enable SSL Verification: Set this field to Yes to enable the host authenticity verification.
Transfer Cart Line Items: Enable this field by setting Yes to display the full summary of the customer’s order by line item from the PayPal site.
Transfer Shipping Options: Set this field to Yes to include up to ten shipping options in summary.
Shortcut Buttons Flavor: The shortcut button flavor field determines the image type that is used for the PayPal acceptance button.
Choose Dynamic to display the image that can be dynamically changed from the PayPal server. Otherwise, choose Static to display a specific image that cannot be dynamically changed from the PayPal server.
Enable PayPal Guest Checkout: This field allows the customers to make purchases with this method without having a PayPal account.
Require Customer’s Billing Address: By setting Yes to this field, the customer must need to provide the billing address for all the purchases. Otherwise, choose No to exclude the requirement or choose For Virtual Quotes Only to require the billing address only for virtual quotes.
Billing Agreement Signup: Select Auto in this field to allow the customers to sign a billing agreement during the Express Checkout flow or use any other method of payment.
Set Ask Customer to allow the customer to decide whether to sign a billing agreement during the PayPal Express Checkout or set Never to disable signing a billing agreement during the Express Checkout.
Skip Order Review Setup: Set Yes to the Skip Order Review Setup field to let the customer complete the transaction from the PayPal site without returning to your Magento 2.
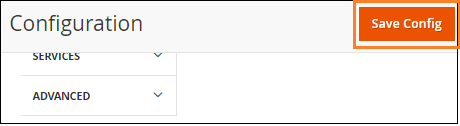
Step 8: Click on the Save Config button to save the changes.
Step 9: Once we configured the PayPal Express Checkout payment method, it will show up on the frontend with the criteria we have set from the backend. Now, customers can choose the PayPal payment method and place orders successfully.
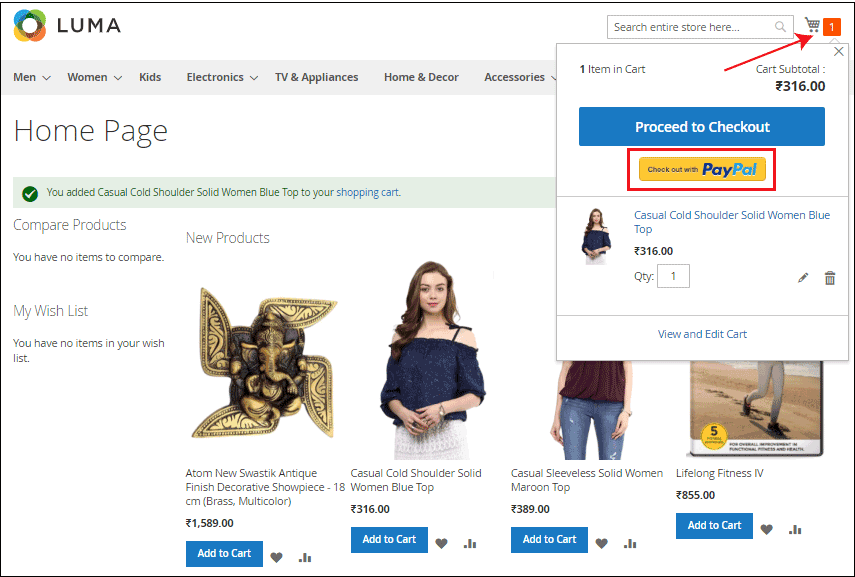
Here, you can see that the PayPal checkout button is added to the checkout page. Now, the PayPal checkout payment method for online payment is ready to use by the customers.
Note: If the payment method is not visible on the checkout page of your Magento 2 website, you need to clear the cache and reload the website.
Create a PayPal Account and get API Credentials
To get the API Username, API Password, and API Signature first, we need to create the account on PayPal.
Step 1: Go to PayPal site www.paypal.com and Sign up. Create an account, which you want to create by providing the required information. It may be either a Personal Account or Business Account.
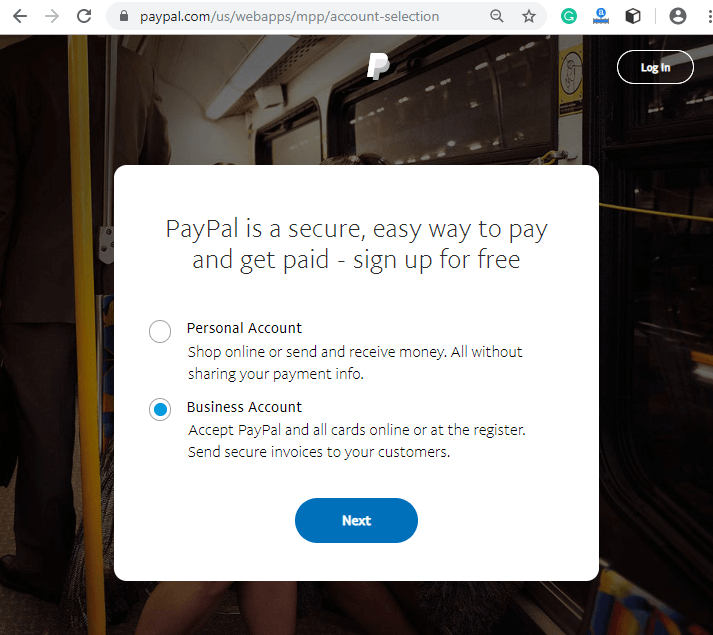
You can get the API Username, API Password, and API Signature from here after creating an account.
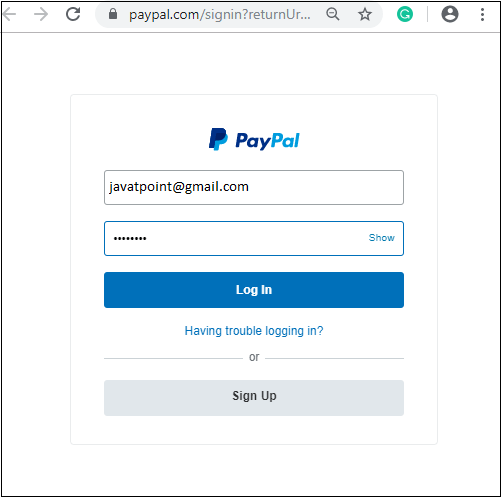
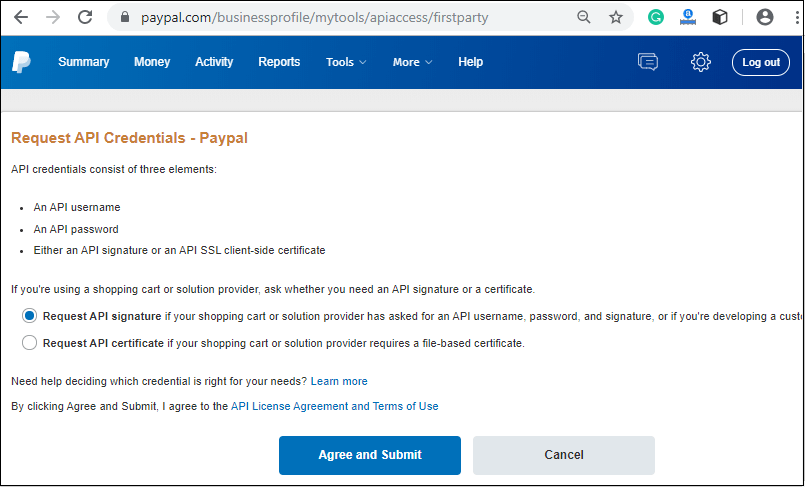
Step 2: Now, login to the PayPal account with your registered id and password to get API Credential using the following link GET CREDENTIAL. It will directly redirect you to the Request API Credential Page.
Step 3: You will be redirected to a new window as given below in the screenshot, where you request for the API Credentials. Choose either API Signature or API Certificate and click on the Agree and Submit button. We choose API Signature here.
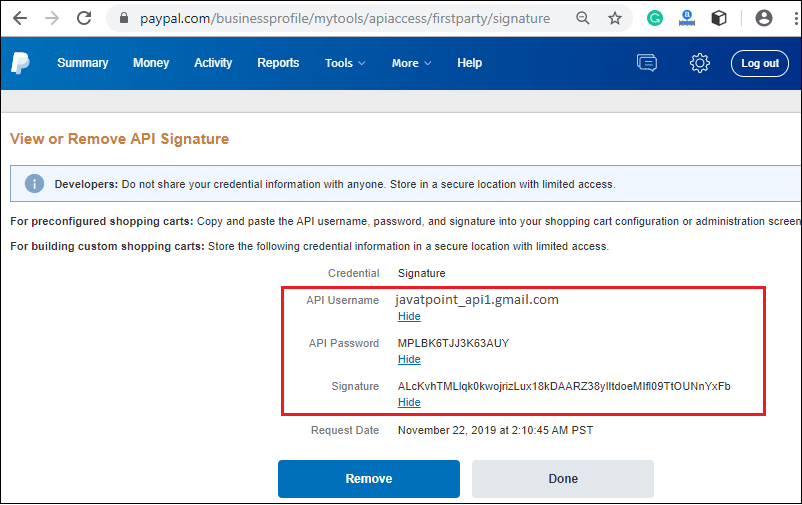
Step 4: It will move to a new screen, where you view and remove API Signature as given in the below screenshot. Click on the Show link corresponding to the API Username, API Password, and Signature.

Step 5: API Username, API Password, and Signature are now visible on the screen to you. Copy and paste them to the PayPal Express Checkout configuration.