Python Openpyxl
In this tutorial, we will learn about the following topics:
- Openpyxl Introduction
- Openpyxl Working Process
- Openpyxl Installation
- Openpyxl Write Data to Cell
- Openpyxl Reading Excel File
- Openpyxl Read Data from Cell
- Openpyxl Read Multiple Cells
- Openpyxl Sheets
- Openpyxl Filter and sort data
- Openpyxl Merging cells
- Openpyxl Append Values
- Openpyxl Iterate by Column
- Openpyxl Iterate by rows
- Openpyxl Adding chart to Excel file
- Openpyxl Adding Image
Python Openpyxl Introduction
Python provides the Openpyxl module, which is used to deal with Excel files without involving third-party Microsoft application software. By using this module, we can have control over excel without open the application. It is used to perform excel tasks such as read data from excel file, or write data to the excel file, draw some charts, accessing excel sheet, renaming sheet, modification (adding and deleting) in excel sheet, formatting, styling in the sheet, and any other task. Openpyxl is very efficient to perform these tasks for you.
Data scientists often use the Openpyxl to perform different operations such as data copying to data mining as well as data analysis.
Openpyxl Working Process
The Openpyxl library is used to write or read the data in the excel file and many other tasks. An excel file that we use for operation is called Workbook that contains a minimum of one Sheet and a maximum of tens of sheets.
- Sheets consist of Rows (horizontal series) starting from 1 and Columns (vertical series) starting from A.
- Row and column together make a grid and form a cell that may store some data. Data can be of any type, such as numeric, string.
- Openpyxl provides flexibility to read data from the individual cell or write data to it.
Installation of Openpyxl
In the above section, we have discussed the openpyxl briefly and its working process. In order to use Openpyxl, one should have Python 3.7 and openpyxl 2.6.2 installed in the system. Let’s start working with openpyxl by installing openpyxl using the following command:
The xlsx is the extension of the XML spreadsheet file. The xlsx file supports macros. Let’s understand the basic operation related to the excel file. Consider the following code:
Output:
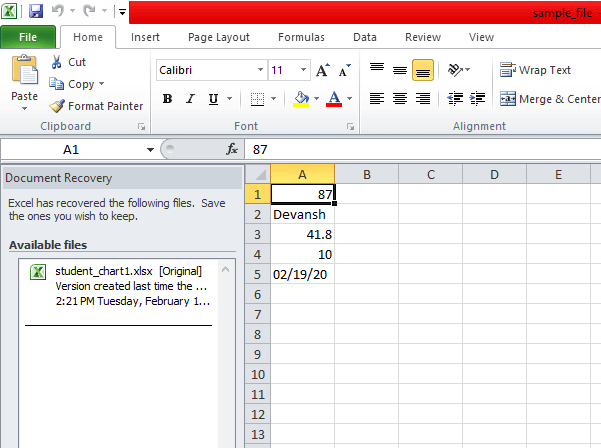
In the above code, we have written data into the five cells A1, A2, A3, A4, and A5. These cells consist of different types of values. We have imported Workbook class from the openpyxl module. A workbook class is a container that contains all parts of the document.
Here we have defined a new workbook. At least one sheet is always made with a workbook.
We get the location of the active sheet.
We have saved all data to the sample_file.xlsx file using the save() method.
Openpyxl Write Data to Cell
We can add data to the excel file using the following Python code. First, we will import the load_workbook function from the openpyxl module, then create the object of the file and pass filepath as an argument. Consider the following code:
Output:
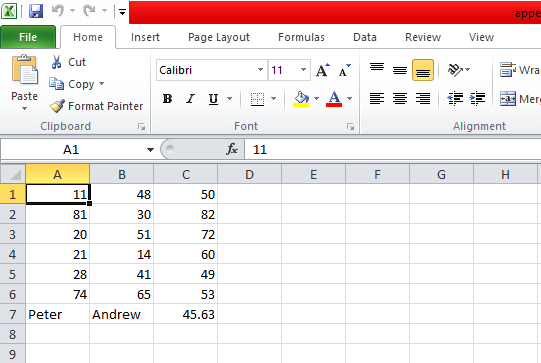
Openpyxl Append values
Openpyxl provides an append() method, which is used to append the group of values. We can append any type of value. These values are appended at the bottom of the current working sheet. Consider the following code:
Output:
Openpyxl Read Data from cell
We can read the data that we have previously written in the cell. There are two methods to read a cell, firstly we can access it by cell name, and secondly, we can access it by the cell() function. For example, we are reading the data from the sample_file.xlrs file.
Output:
The first cell value: 87 The second cell value: Devansh The third cell value: 41.8
Openpyxl Read multiple cells
We can read the values from the multiple cells. In the following example, we have marks.xlsx named excel file and we will read each cell of file using the range operator. Let’s have a look at the following program:
Output:
Student_name Marks Tony Stark 47 Loki 59 Oddin 73 Nick Fury 62 Samaul 75 Peter Parkar 80
Openpyxl Iterate by rows
The openpyxl provides the iter_row() function, which is used to read data corresponding to rows. Consider the following example:
Output:
90 46 48 44 81 30 32 16 23 95 87 27 65 12 89 53 42 81 40 44 34 51 76 42
Openpyxl Iterate by Column
The openpyxl provides iter_col() method which return cells from the worksheet as columns. Consider the following example:
Output:
90 81 23 65 42 34 46 30 95 12 81 51 48 32 87 89 40 76
Openpyxl Sheets
As we know that each workbook can have multiple sheets. First, we need to create more than one sheet in a single workbook then we can access those excel sheets using Python. In the following example, we have created a workbook with three sheets:
Output:
['Sheet', 'Sunday', 'Monday', 'Tuesday', 'Wednesday'] <class 'openpyxl.worksheet.worksheet.Worksheet'> Monday
It will look like the following image.

Openpyxl filter and sort data
The auto_filter attribute is used to set filtering and sorting conditions. Consider the following code:
Output:
A3:B11 40 26 93 45 23 54 80 43 21 12 63 29 34 15 80 68 20 41
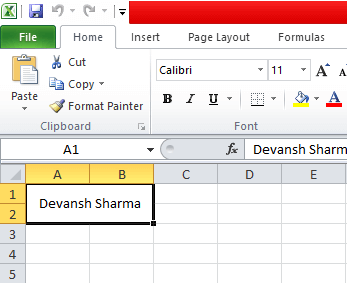
Openpyxl Merging cell
We can merge the cell using the merge_cells() method. When we merge the cells, the top-left one is removed from the worksheet. The openpyxl also provides the unmerged_cells() method to unmerge the cell. Consider the following code:
Output:
The freezing panes are simply mean to freeze an area of worksheet as visible while scrolling to other parts of the worksheet. It is useful feature where we can display the top row or leftmost column on the screen. We can do this by passing the cell name to the freeze_panes variable. To unfreeze all panes, set freeze_panes to ‘None‘. Consider the following code:
Output:
Run the above code and scroll the worksheet.
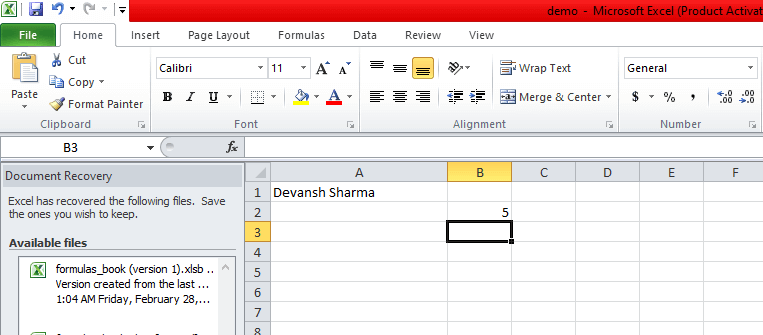
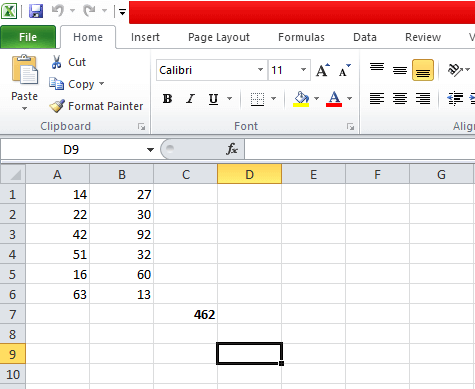
Openpyxl formulas
We can write formula into the cell. These formulas are used to perform operations in excel file. After writing in the cell execute it from the workbook. Consider the following example:
Output:
Openpyxl Cell Inverter
The openpyxl cell inverter is used to invert the row and column of the cell in the spreadsheet. For example, the value at 3 rows will be inverted into 5 columns and row at row 5 will invert to column 3 (vice versa). You can see in the following images:
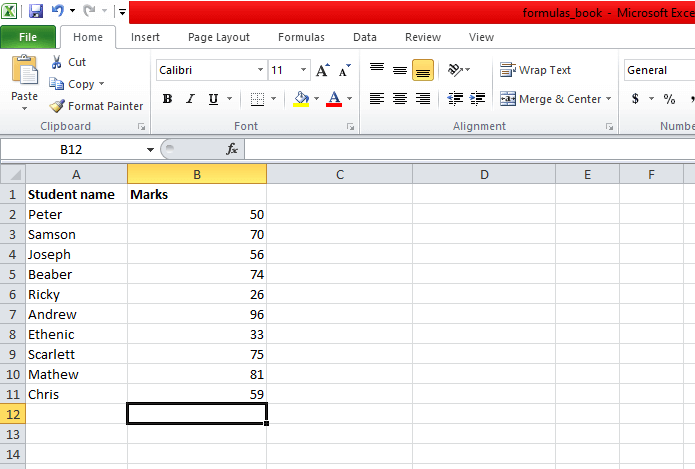
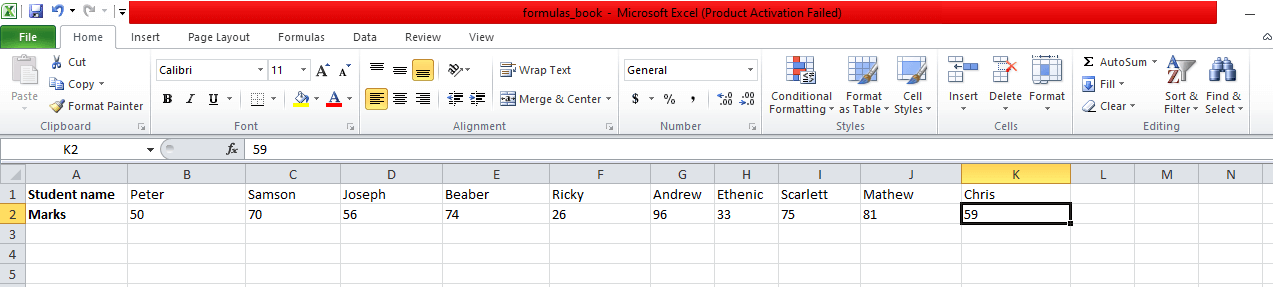
This program is written with the help of nested for loop. First the data structure writes in the sheetData[x][y] for the cell at column x and row y then the newly created spreadsheet in the spreadData[y][x] for the cell at column y and row x.
Adding Chart to Excel File
Charts are effective way to represent the data. Using the charts, it visualizes the data which can be easily untestable. There are various types of chart: pie chart, line chart, bar chart, and so on. We can draw a chart on a spreadsheet using an openpyxl module.
For building any chart on the spreadsheet, we need to define the chart type like BarChart, LineChart, and so on. We also import reference which represents data that is used for the chart. It is important to define what data we want to represent on the chart. Let’s understand by the following example:
Output:
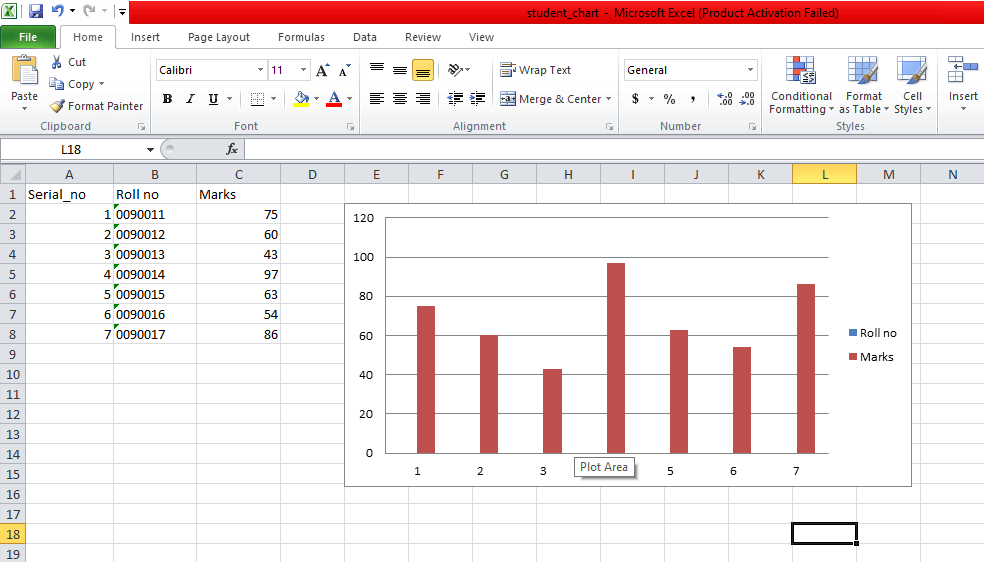
In the above code, we have created the sample data and drawn the bar chart corresponding to sample data.
Now we will create the line chart. Consider the following code:
Output:
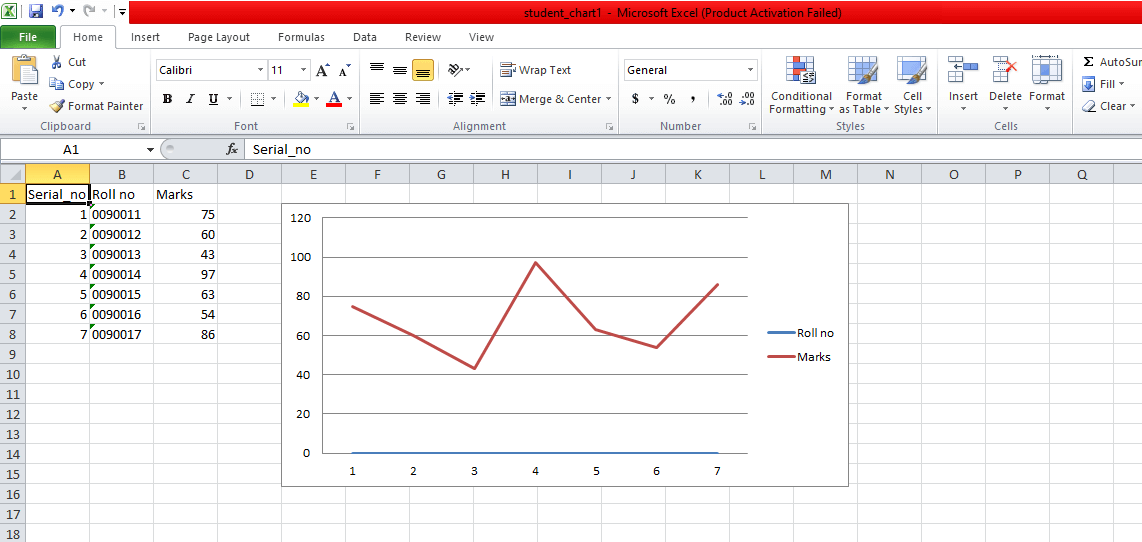
In the above code, we are used from_rows = True as a parameter, it denotes chart plot row by row instead of the column by column.
Adding Image
Images are not generally used in a spreadsheet but sometimes we can use as per our requirement. We can use an image for the branding purposes or to make the spreadsheet more personal and attractive. For loading an image to spreadsheet, we need to install an additional module called pillow by the following command.
In the following program, we are importing the image into the excel file.
In this tutorial, we have covered all basic and advance concept of openpyxl.