Python Turtle Programming
Turtle is a Python library which used to create graphics, pictures, and games. It was developed by Wally Feurzeig, Seymour Parpet and Cynthina Slolomon in 1967. It was a part of the original Logo programming language.
The Logo programming language was popular among the kids because it enables us to draw attractive graphs to the screen in the simple way. It is like a little object on the screen, which can move according to the desired position. Similarly, turtle library comes with the interactive feature that gives the flexibility to work with Python.
In this tutorial, we will learn the basic concepts of the turtle library, how to set the turtle up on a computer, programming with the Python turtle library, few important turtle commands, and develop a short but attractive design using the Python turtle library.
Introduction
Turtle is a pre-installed library in Python that is similar to the virtual canvas that we can draw pictures and attractive shapes. It provides the onscreen pen that we can use for drawing.
The turtle Library is primarily designed to introduce children to the world of programming. With the help of Turtle’s library, new programmers can get an idea of how we can do programming with Python in a fun and interactive way.
It is beneficial to the children and for the experienced programmer because it allows designing unique shapes, attractive pictures, and various games. We can also design the mini games and animation. In the upcoming section, we will learn to various functionality of turtle library.
Getting started with turtle
Before working with the turtle library, we must ensure the two most essential things to do programming.
- Python Environment – We must be familiar with the working Python environment. We can use applications such as IDLE or Jupiter Notebook. We can also use the Python interactive shell.
- Python Version – We must have Python 3 in our system; if not, then download it from Python’s official website.
The turtle is built in library so we don’t need to install separately. We just need to import the library into our Python environment.
The Python turtle library consists of all important methods and functions that we will need to create our designs and images. Import the turtle library using the following command.
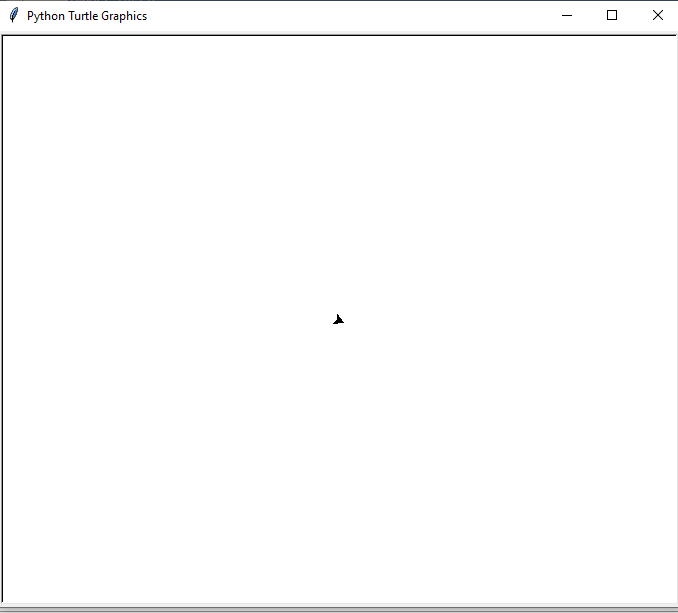
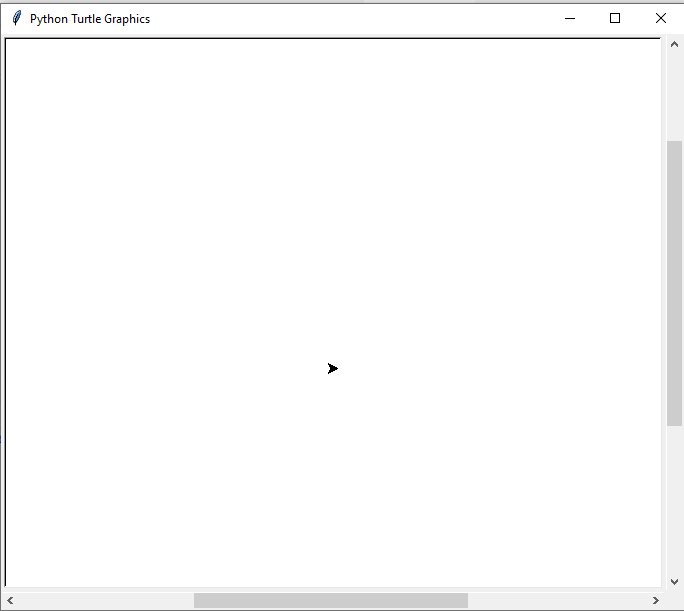
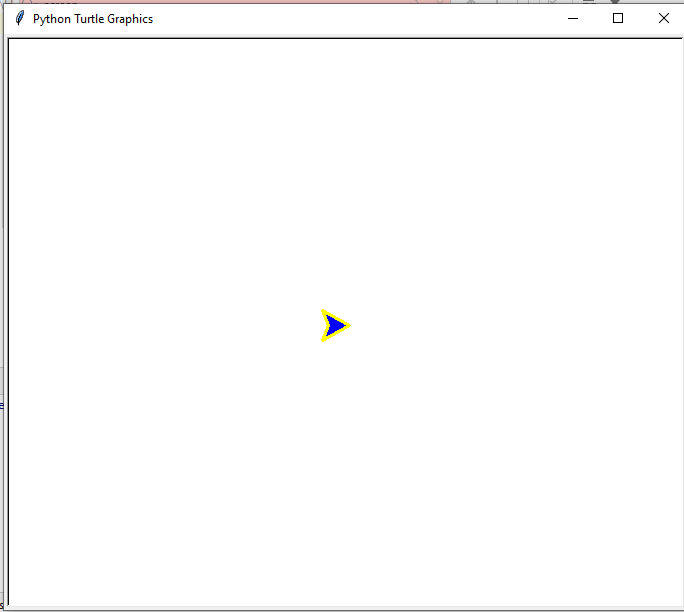
Now, we can access all methods and functions. First, we need to create a dedicated window where we carry out each drawing command. We can do it by initializing a variable for it.
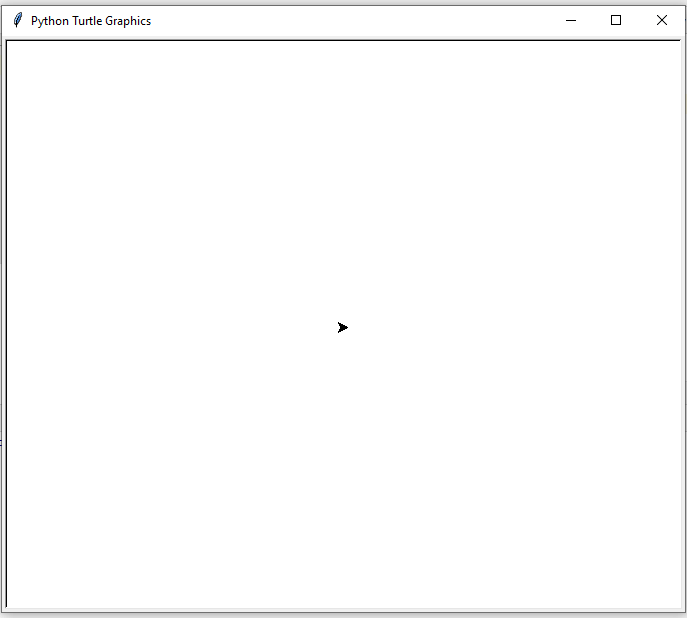
It will look like an above image and the little triangle in the middle of the screen is a turtle. If the screen is not appearing in your computer system, use the below code.
Example –
Output:
The screen same as the canvas and turtle acts like a pen. You can move the turtle to design the desired shape. The turtle has certain changeable features such as color, speed, and size. It can be moved to a specific direction, and move in that direction unless we tell it otherwise.
In the next section, we will learn to program with the Python turtle library.
Programming with turtle
First, we need to learn to move the turtle all direction as we want. We can customize the pen like turtle and its environment. Let’s learn the couple of commands to perform a few specific tasks.
Turtle can be moved in four directions.
- Forward
- Backward
- Left
- Right
Turtle motion
The turtle can move forward and backward in direction that it’s facing. Let’s see the following functions.
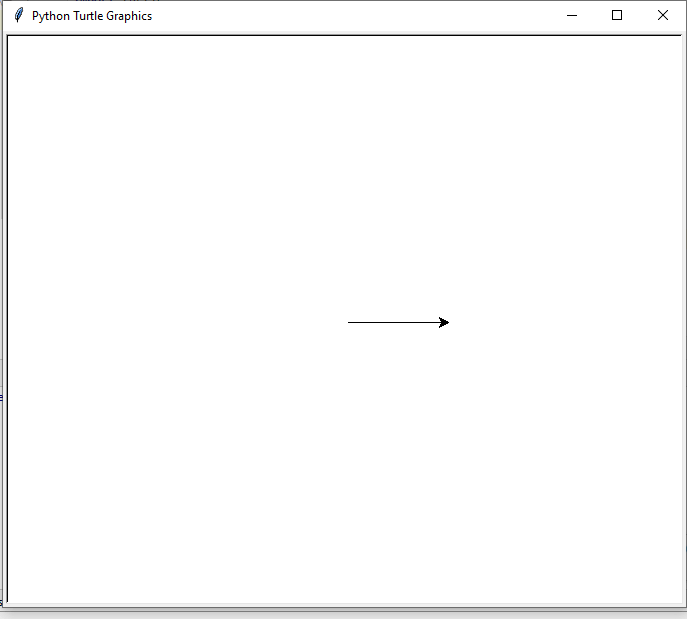
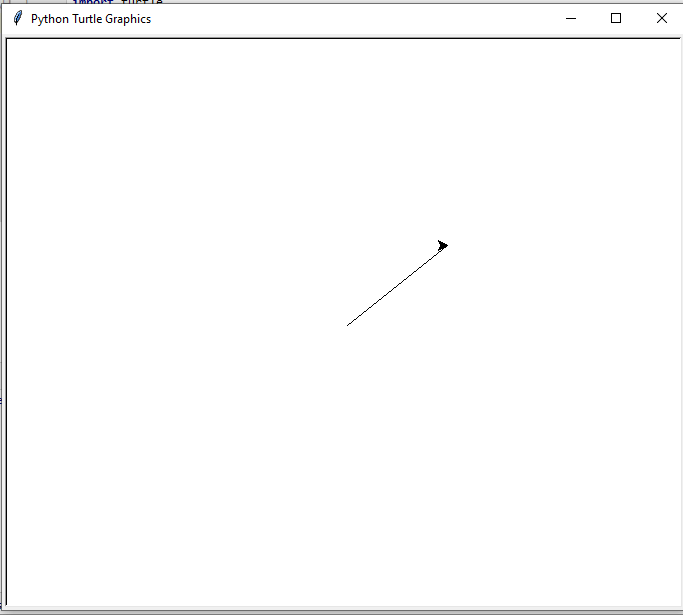
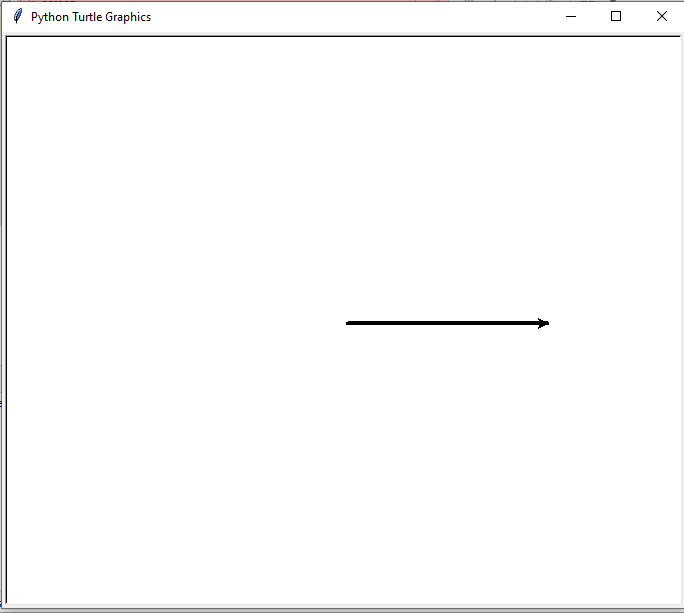
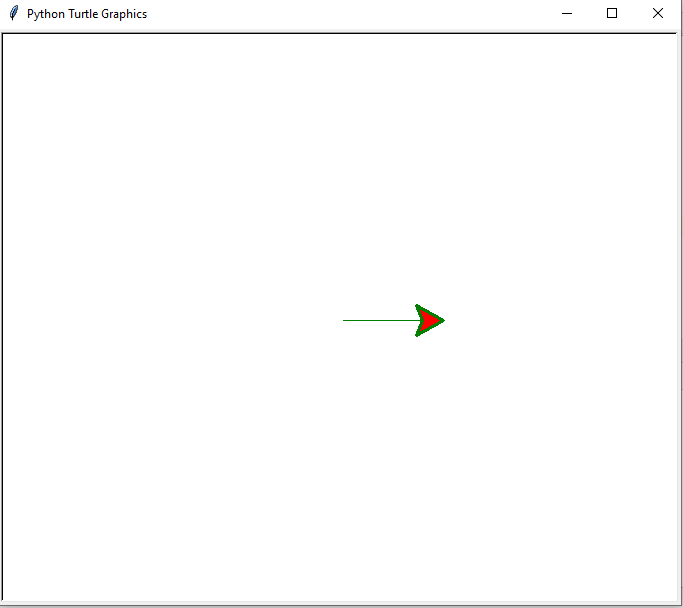
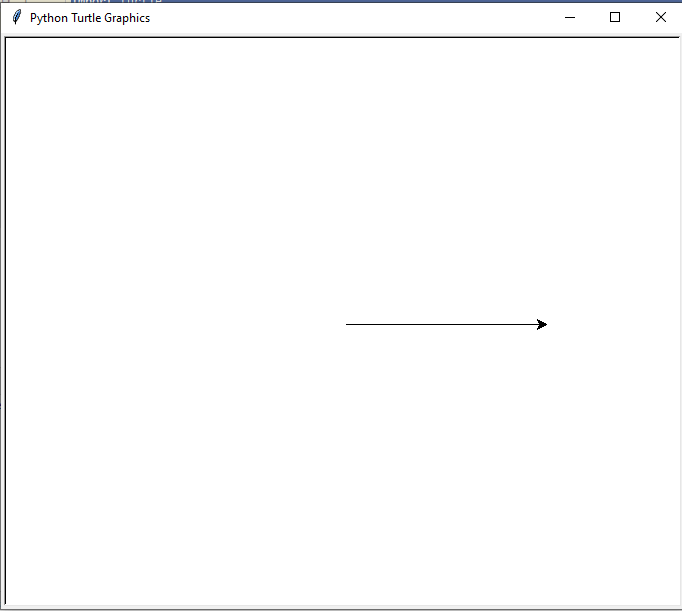
- forward(distance) or turtle.fd(distance) – It moves the turtle in the forward direction by a certain distance. It takes one parameter distance, which can be an integer or float.
Example – 3:
Output:
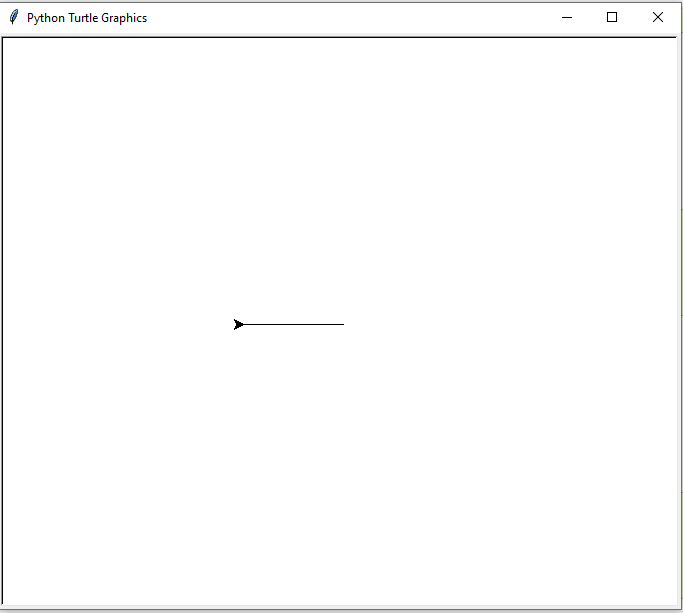
- back(distance) or turtle.bk or turtle.backward(distance) – This method moves the turtle in the opposite direction the turtle is headed. It doesn’t change the turtle heading.
Example – 2:
Output:
- right(angle) or turtle.rt(angle) – This method moves the turtle right by angle units.
Example – 3:
Output:
- left(angle) or turtle.lt(angle) – This method turn the turtle left by angle units. Let’s understand the following example.
Example –
Output:
The screen is initially divided into four quadrants. The turtle is positioned at the beginning of the program is (0,0) known as the Home.
- goto(x, y=None) or turtle.setpos(x, y=None) turtle.setposition(x, y=None) – This method is used to move the turtle in the other area on the screen. It takes the two coordinates – x and y. Consider the following example.
Example –
Output:
Drawing a Shape
We discussed the movement of the turtle. Now, we learn to move on to making actual shape. First, we draw the polygon since they all consist of straight lines connected at the certain angles. Let’s understand the following example.
Example –
It will look like the following image.
Output:
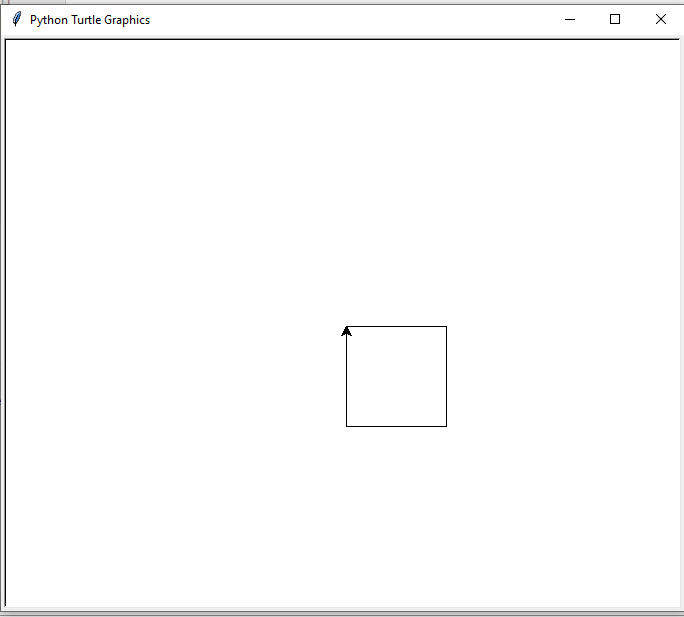
We can draw any shape using the turtle, such as a rectangle, triangle, square, and many more. But, we need to take care of coordinate while drawing the rectangle because all four sides are not equal. Once we draw the rectangle, we can even try creating other polygons by increasing number of side.
Drawing Preset Figures
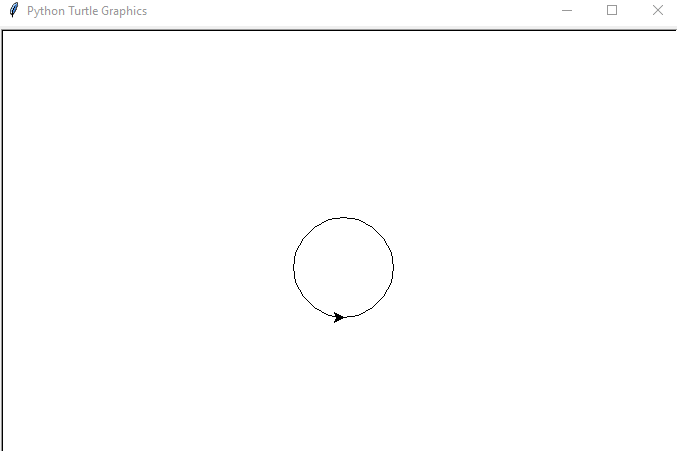
Suppose you want to draw a circle. If you attempt to draw it in the same way as you drew the square, it would be extremely tedious, and you’d have to spend a lot of time just for that one shape. Thankfully, the Python turtle library provides a solution for this. You can use a single command to draw a circle.
- circle( radius, extent = None, steps = an integer ) – It is used to draw the circle to the screen. It takes three arguments.
- radius – It can be a number.
- extent – It can be a number or None.
- steps – It can be an integer.
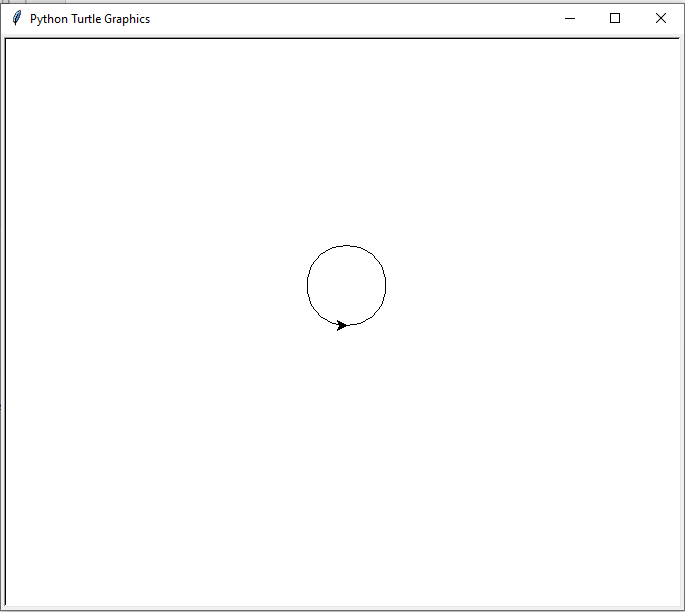
The circle is drawn with the given radius. The extent determines which part of circle is drawn and if the extent is not provided or none, then draw the entire circle. Let’s understand the following example.
Example –
Output:
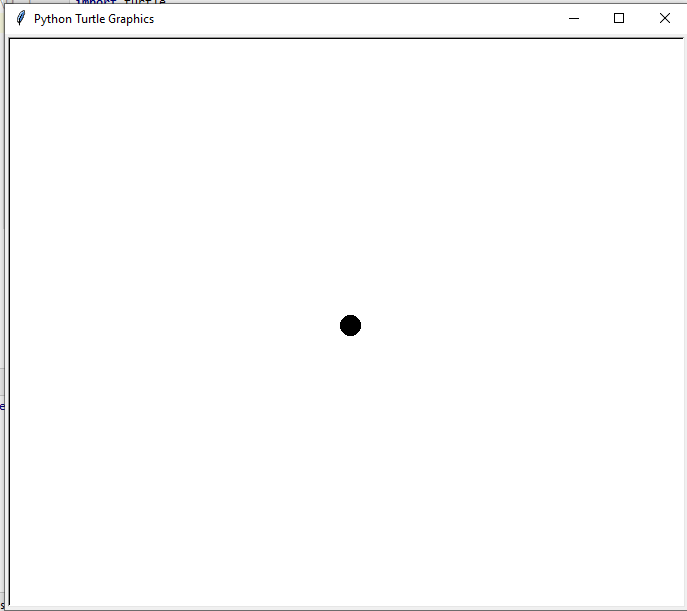
We can also draw a dot, which is also known as a filled-in circle. Follow the given method to draw a filled-in circle.
Example –
Output:
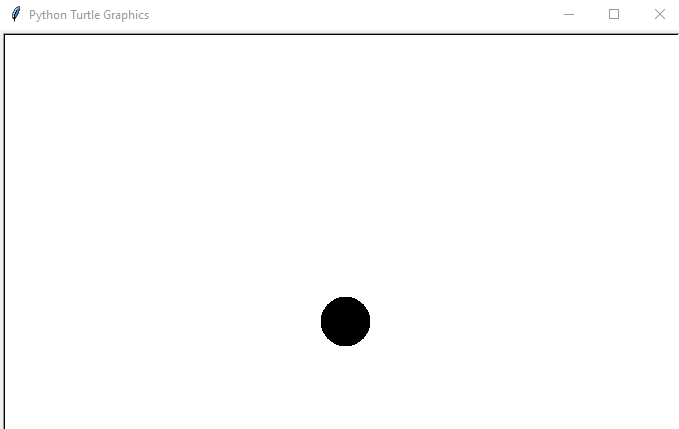
The number we have passed in the dot() function is diameter of the dot. We can increase and decrease the size of the dot by changing its diameter.
So far, we have learned movement of turtle and design the various shapes. In the next few sections, we will learn the customization of turtle and its environment.
Changing the Screen Color
By default, the turtle screen is opened with the white background. However, we can modify the background color of the screen using the following function.
Example –
Output:
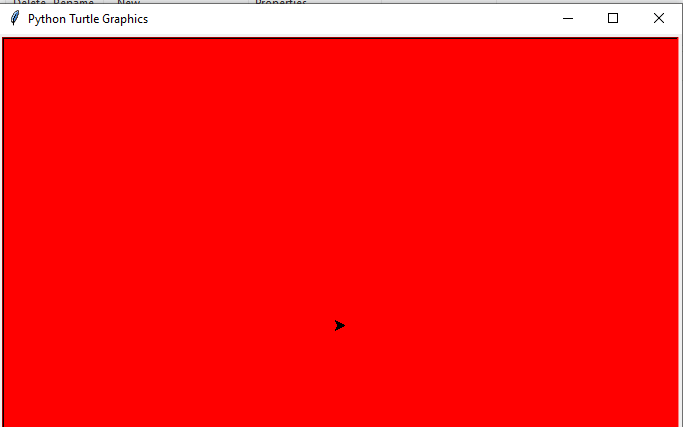
We have passed a red color. We can also replace it with any color or we can use the hex code to use variety of code for our screen.
Adding Image to the background
Same as the screen background color, we can add the background image using the following function.
- bgpic (picname=None) – It sets the background image or return name of current background image. It takes one argument picname which can be a string, name of a gif-file or “nopic” or “none”. If the picname is “nopic”, delete the background image. Let’s see the following example.
Example –
Changing the Image Size
We can change the image size using the screensize() function. The syntax is given below.
Syntax –
Parameter – It takes three parameters.
- canvwidth – It can be a positive number, new canvas width in pixel.
- canvheight – It can be a positive number, new height of the canvas in pixel.
- bg – It is colorstring or color-tuple. New background color.
Let’s understand the following example.
Example –
Output:
Changing the Screen Title
Sometimes, we want to change the title of the screen. By default, it shows the Python tutorial graphics. We can make it personal such as “My First Turtle Program” or “Drawing Shape with Python”. We can change the title of the screen using the following function.
Let’s see the example.
Example –
Output:

You can change the screen title according to preference.
Changing the Pen Size
We can increase or decrease the turtle’s size according the requirement. Sometimes, we need thickness in the pen. We can do this using the following example.
Example –
Output:
As we can see in the above image, the pen is four times the original size. We can use it draw lines of various sizes.
Pen Color Control
By default, when we open a new screen, the turtle comes up with the black color and draws with black ink. We can change it according the two things.
- We can change the color of the turtle, which is a fill color.
- We can change the pen’s color, which basically a change of the outline or the ink color.
We can also change both the pen color and turtle color if we want. We suggest increasing the size of the turtle that changes in the color can be clearly visible. Let’s understand the following code.
Example –
Output:
Type the following function to change the color of both.
Example – 2:
Output:
Explanation:
In the above code, the first color is a pen color and second is a fill color.
Turtle fill in the Image
Colors make an image or shapes very attractive. We can fill shapes with various colors. Let’s understand the following example to add color to the drawings. Let’s understand the following example.
Example –
Output:
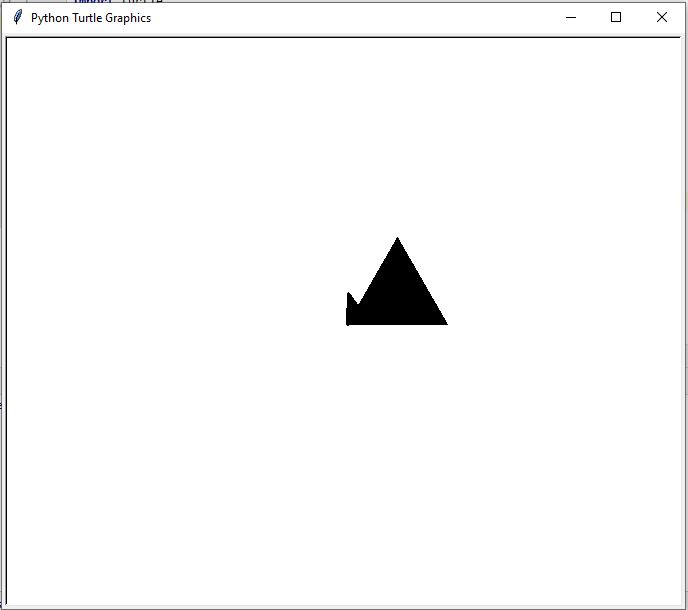
Explanation:
When the program executes, it draw first the triangle and then filled it with the solid black color as the above output. We have used the begin_fill() method which indicates that we will draw a closed shape to be filled. Then, we use the .end_fill(), which indicates that we have done with the creating shape. Now, it can be filled with color.
Changing the Turtle Shape
By default, the turtle shape is triangular. However, we can change the turtle’s shape and this module provides many shapes for the turtle. Let’s understand the following example.
Example –
Output:
We can change the turtle shape according to the requirement. These shapes can be a square, triangle, classic, turtle, arrow and circle. The classic is the original shape of the turtle.
Changing the Pen Speed
The speed of the turtle can be changed. Generally, it moves at a moderate sped over the screen but we can increase and decrease its speed. Below is the method to modify the turtle speed.
Example –
Output:
The turtle speed can vary integer values in the range 0…10. No argument is passed in the speed() function, it returns the current speed. Speed strings are mapped to speed values as follows.
| 0 | Fastest |
| 10 | Fast |
| 6 | Normal |
| 3 | Slow |
| 1 | Slowest |
Note – If speed is assigned to zero means no animation will take place.
Customization in One line
Suppose we want multiple changes within the turtle; we can do it by using just one line. Below are a few characteristics of the turtle.
- The pen color should be red.
- The fill color should be orange.
- The pen size should be 10.
- The pen speed should 7
- The background color should be blue.
Let’s see the following example.
Example –
Output:
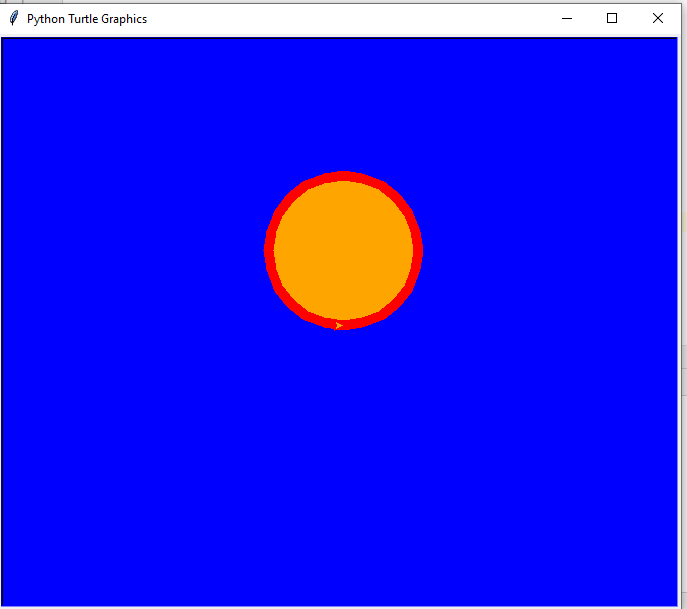
We used just one line and changed the turtle’s characteristics. To learn about this command, you can learn from the library official documentation.
Change the Pen Direction
By default, the turtle points to the right on the screen. Sometimes, we require moving the turtle to the other side of the screen itself. To accomplish this, we can use the penup() method. The pendown() function uses to start drawing again. Consider the following example.
Example –
Output:
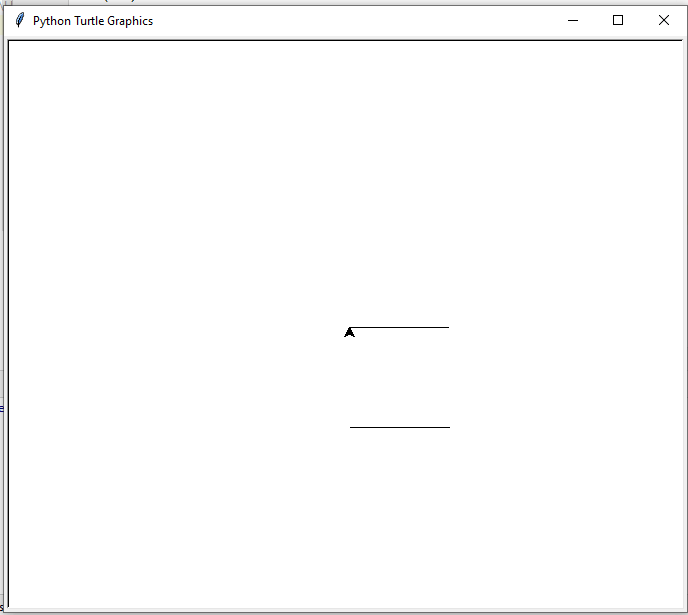
As we can see in the above output, we have obtained two parallel lines instead of a square.
Clearing Screen
We have covered most of designing concepts of the turtle. Sometimes, we need a clear screen to draw more designs. We can do it using the following function.
The above method will clear the screen so that we can draw more designs. This function only removes the existing designs or shapes not make any changes in variable. The turtle will remain in the same position.
Resetting the Environment
We can also reset the current working using the reset function. It restores the turle’s setting and clears the screen. We just need to use the following function.
All tasks will be removed and the turtle back to its home position. The default settings of turtle, such as color, size, and shape and other features will be restored.
We have learned the basic fundamental of the turtle programming. Now, we will discuss a few essential and advanced concepts of the turtle library.
Leaving a Stamp
We can leave the stamp of turtle on the screen. The stamp is nothing but an imprint of the turtle. Let’s understand the following example.
Example –
Output:
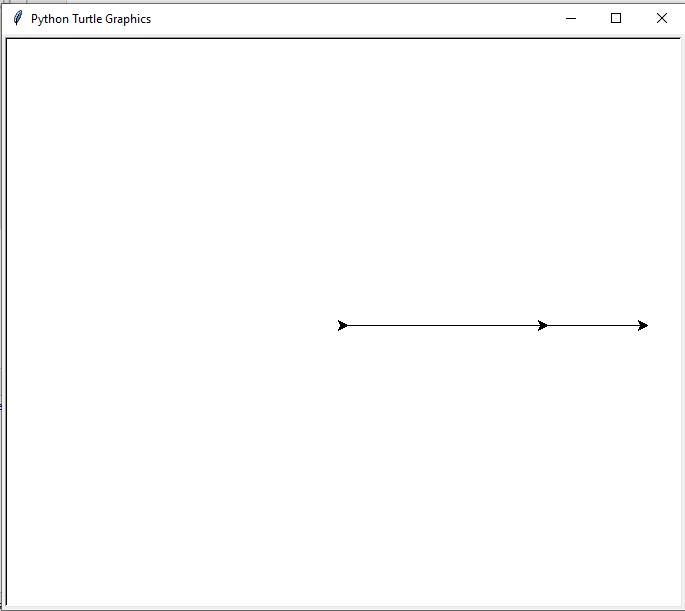
If we print the stamp() method, it will display a number which is nothing but a turtle’s location or stamp ID. We can also remove a particular stamp by using the following command.
Cloning of a turtle
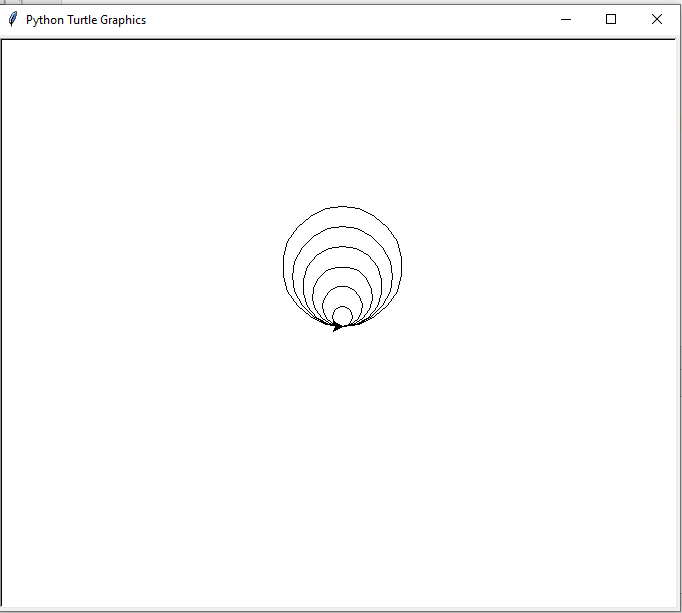
Sometimes, we look for the multiple turtle to design a unique shape. It provides the facility to clone the current working turtle into the environment and we can move both turtle on the screen. Let’s understand the following example.
Example –
Output:
Explanation:
In the above code, we cloned the turtle to the c variable and called the circle function. First, it draws the blue circle and then draw the outer circles based on the for loop conditions.
In the next section, we will discuss how we can use Python conditional and loop statements to create design using the turtle.
Turtle Programming Using Loops and Conditional Statements
We have learned the basic and advanced concepts of the turtle library so far. The next step is to explore those concepts with Python’s loops and conditional statements. It will give us a practical approach when it comes to an understanding of these concepts. Before moving further, we should remember the following concepts.
- Loops – These are used to repeat a set of code until a particular condition is matched.
- Conditional Statements – These are used to perform a task based on specific conditions.
- Indentation – It is used to define a block of code and it is essential when we are using loops and conditional statements. Indentation is nothing but a set of whitespaces. The statements that are on the same level are considered as the same block statements.
Let’s understand the following examples.
for loops
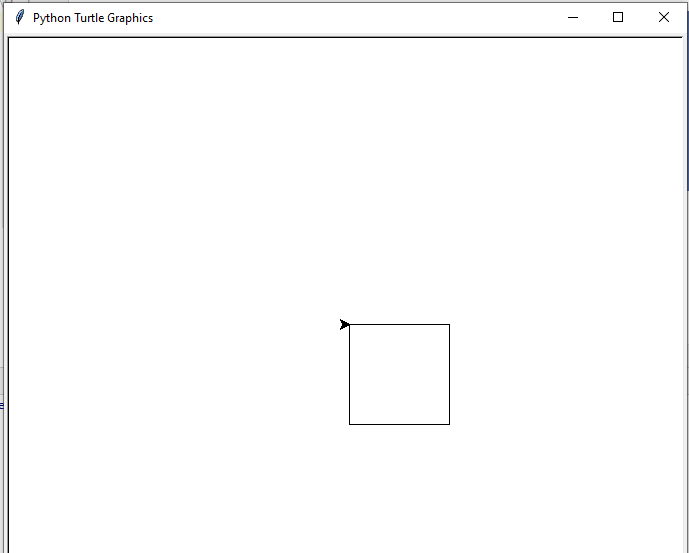
In the previous example, we wrote multiple repeated lines in our code. Here, we will implement create a square program using for loop. For example –
Example:
We can make it shorter using a for loop. Run the below code.
Example
Output:
Explanation
In the above code, for loop repeated the code until it reached at counter 4. The i is like a counter that starts from zero and keep increasing by one. Let’s understand the above loop execution step by step.
- In the first iteration, i = 0, the turtle moves forward by 100 units and then turns 90 degrees to the right.
- In the second iteration, i = 1, the turtle moves forward by 100 units and then turns 90 degrees to the right.
- In the third iteration, i = 2, the turtle moves forward by 100 units and then turns 90 degrees to the right.
- In the third iteration, i = 3, the turtle moves forward by 100 units and then turns 90 degrees to the right.
After completing the iteration, the turtle will jump out of the loop.
while loops
It is used to run a block of code until a condition is satisfied. The code will be terminated when it finds a false condition. Let’s understand the following example.
Example –
Output:
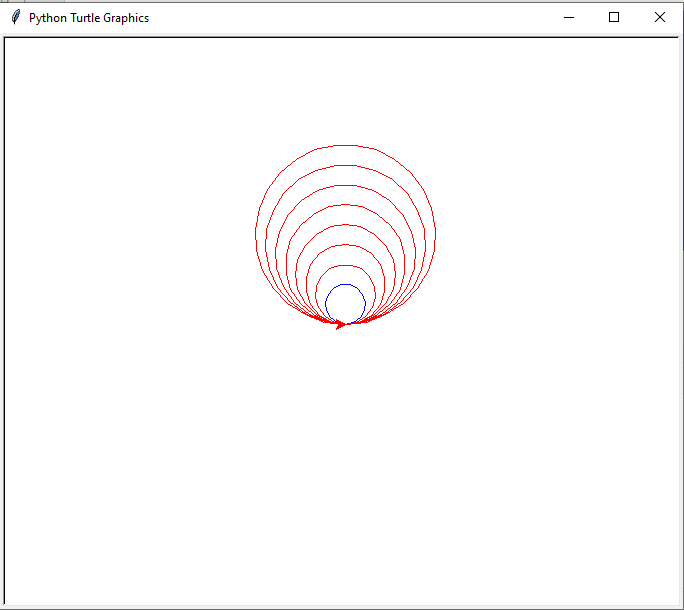
As we can see in the output, we draw multiple circles using the while loop. Every time the loop executes the new circle will be larger than the previous one. The n is used as a counter where we specified the value of n increase in the each iteration. Let’s understand the iteration of the loop.
- In the first iteration, the initial value of n is 10; it means the turtle draw the circle with the radius of 10 units.
- In the second iteration, the value of n is increased by 10 + 10 = 20; the turtle draws the circle with the radius of 20 units.
- In the second iteration, the value of n is increased by 20 + 10 = 30; the turtle draws the circle with the radius of 30 units.
- In the second iteration, the value of n is increased by 30 + 10 = 40; the turtle draws the circle with the radius of 30 units.
Conditional Statement
The conditional statement is used to check whether a given condition is true. If it is true, execute the corresponding lines of code. Let’s understand the following example.
Example
Output:
Explanation
In the above program, we define the two outcomes based on user input. If the entered number is less of equal than the 50 means draw the circle otherwise else part. We gave the 40 as input so that if block got executed and drew the circle.
Now let’s move to see a few cool designs using the turtle library.
Attractive Designs using Python Turtle Library
We have learned basic and advance concepts of Python turtle library. We explain every possible feature of this library. By using its function, we can design games, unique shapes and many more things. Here, we mention a few designs using the turtle library.
Design -1 Circle Spiro graph
Code
Output:
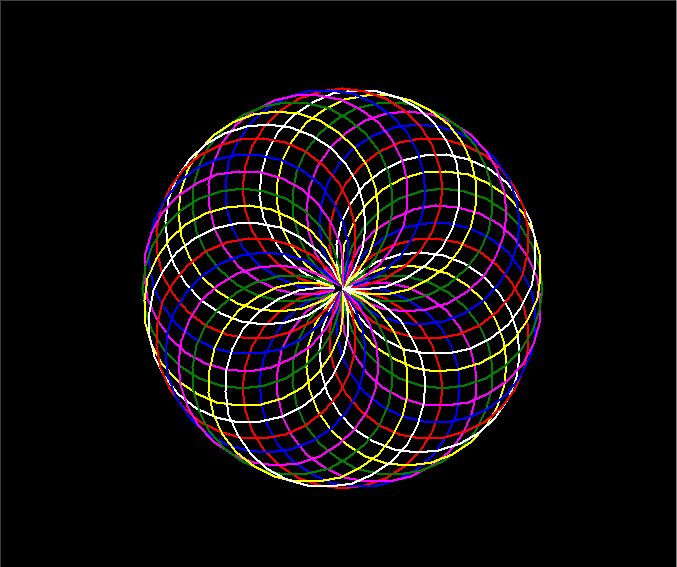
The turtle will move for the infinite time because we have used the infinite while loop. Copy the above code and see the magic.
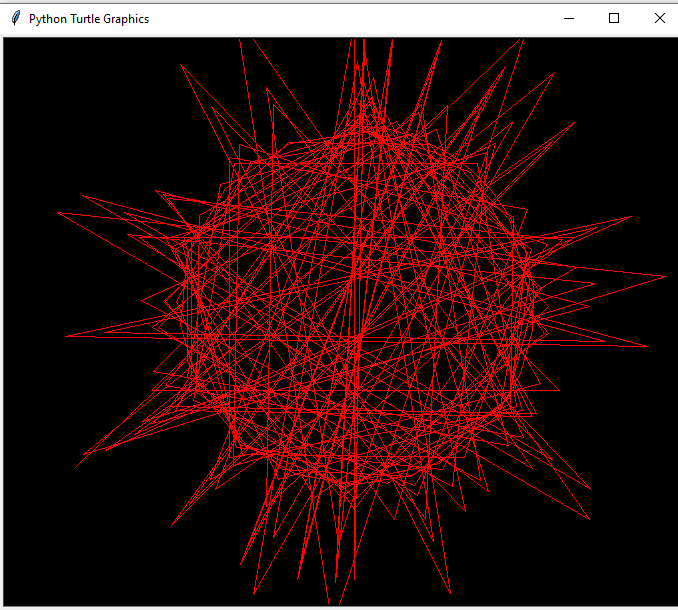
Design – 2: Python Vibrate Circle
Code
Output:
Code
Output:
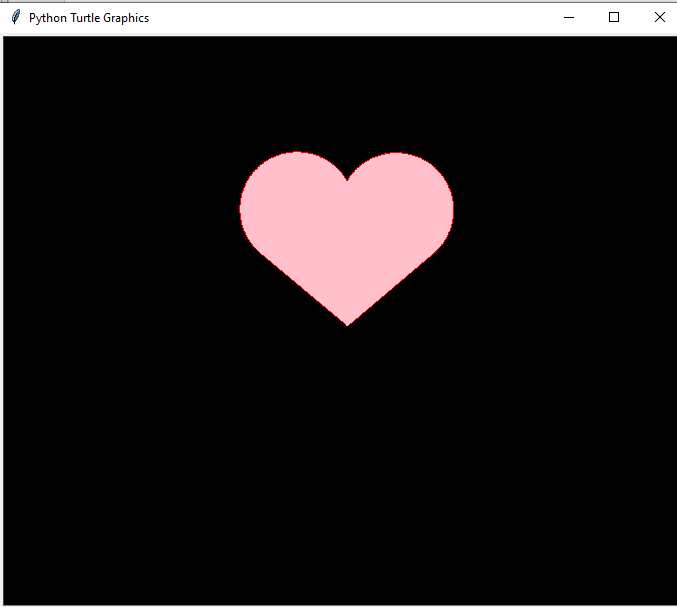
In the above code, we define the curve function to create curve to screen. When it takes the complete heart shape, the color will fill automatically. Copy the above code and run, you can also modify it by adding more designs.