Python | wxPython Module
We all would have wondered what makes an application different and attractive in the very first place? If any of us is thinking about the application’s User Interface, yes, we are right. The User Interface of the application makes a huge difference in the number of people who are coming to visit the application. An interactive User Interface allows the developers to build more attractive and relatable applications that even stand out better in the market. Also, an application with interactive UI makes its user stay more on the application than an application with a standard UI.
Now, a question will surely come to our mind: what makes the UI of any application more interactive and more attractive to its users. So, there are few important points that make the interface more attractive and likeable for users. Following are such few points that make the UI of an application more attractive and appealing to its users:
- First of all, the UI of the application should be more dynamic and have high-resolution graphics in it.
- The UI of the application should match the theme of the application.
- The UI of the application should also provide an ease of use feature for its users.
We have to keep all the points mentioned above in our minds and implement them while creating a user interface for an application.
In one of the points we have mentioned above, we talked about graphics in the user interface, which makes the interface of an application more attractive. Such UIs that are built with graphics is called a GUI (Graphical User Interface). GUI is a very popular topic nowadays as it has become an essential part of almost every application we see around us. GUI provides graphical icons and audio indicators as well, which makes the application more attractive and appealing to users. In this tutorial, we will learn about a Python module, i.e., wxPython Module, which provides us with the functionalities to create GUI for an application. We will only cover the introduction part of the wxPython module and will create GUI by using this module inside a Python program.
Python wxPython Module
Introduction: wxPython Module
wxPython module, as the name suggests, is a module of Python that help us in creating highly functional and very interactive GUIs for applications. wxPython module is an open-source module which means it is freely available for everyone, and anyone can look and contribute to the source code by modifying it. When we use the wxPython module in Python, it is implemented as a set of extension modules. This set of extension modules wraps the GUI components of the wxWidgets library, which is written in C++.
The wxWidgets library in the wxPython module works like a cross-platform GUI toolkit in Python that allows us to use its functions to create highly functional and interactive GUIs. Pheonix with the Pheonix version is actually a next-generation upgraded version of the wxPython module for Python. This next-generation version of the wxPython module mainly focuses on the extensibility, speed and maintainability of the application.
Installation: wxPython module
The wxPython module doesn’t come in-built inside Python, and therefore we have to install it first before we start working with it. To install the wxPython module in our system, we will use the pip installer from the command prompt. We will use the following pip command in the command prompt terminal of the device to install the wxPython module in the system:
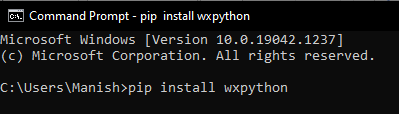
When we press the enter key after writing the command, the pip installer will start the installation process of the wxPython module, and after a while, it will be successfully installed in our system.

We can see wxPython is successfully installed on our device, and now we can start working with it and build GUIs using its functions.
Working: wxPython module
In this section, we will create some basic GUIs with the help of functions of the wxPython module by importing this module into the program. To import the wxPython module in a Python program, we have to use the following line of code:
Here, wx will call the wxPython module from our system, and that’s how we will be able to use its functions in the program. Now, we will see some different examples where we will create some basic GUIs like GUI with a button, GUI with radio buttons etc.
Look at the following example programs to understand the working of the wxPython module:
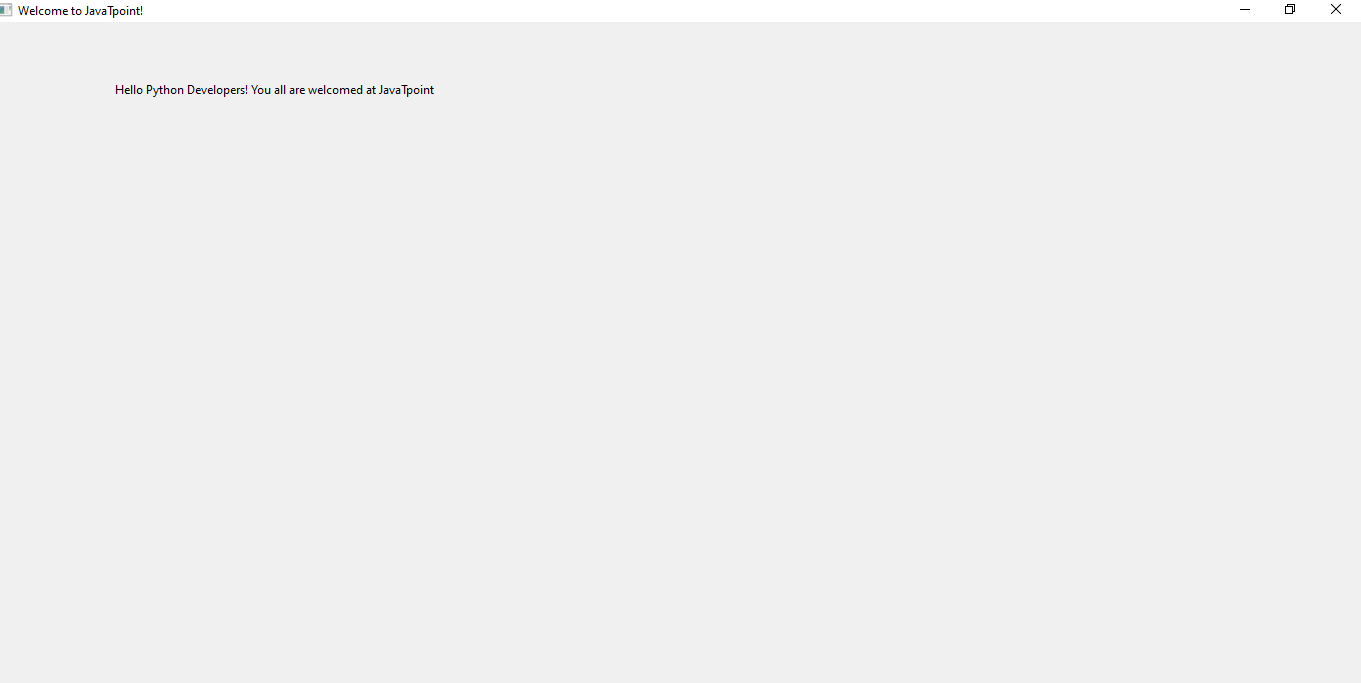
Example 1: Creating a simple GUI having the title “Welcome to Tutor Aspire”, using wxPython module:
Output:
Explanation:
We have firstly imported the wxPython module into the program to use its functions. Then, we used the App() function to create an Object for the GUI application. After that, we have created a frame object of GUI and panel for frame object using the Frame() and Panel() function, respectively. Inside the frame object we created, we set the title of the GUI application object as “Welcome to Tutor Aspire.” After that, we added a static text using StaticText() function inside the frame of the GUI application that should be displayed while opening the GUI application window in the output. Inside the StaticText() function, we used the pos() function as a parameter of it set the position of static text in the GUI display. Then, we used the show() function with the frame object we created to show it. Finally, we started the MainLoop() function with the GUI application object to display this GUI application when we execute the program.
We can see the GUI application window in the output when the program is executed, and it has the static text and title object in it.
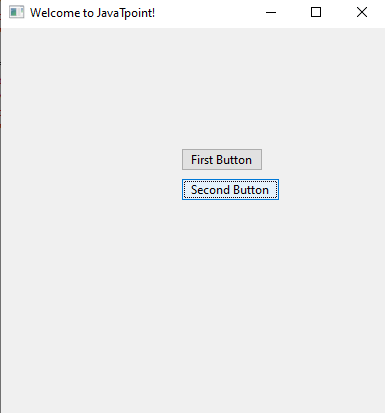
Example 2: Creating a button in the GUI application using the wxPython module in a program:
Output:
Explanation:
After creating the frame object of the GUI application and panel for the frame object, we have created two buttons inside the GUI application we built, using the Button() function provided by the wxPython module. We used the panel object inside the Button() object as a parameter. We have also used the pos() function here in the Button() to set the position of the button inside the frame of the GUI application. After that, we displayed the GUI application in the output, and we can see the buttons we created in the GUI application window.
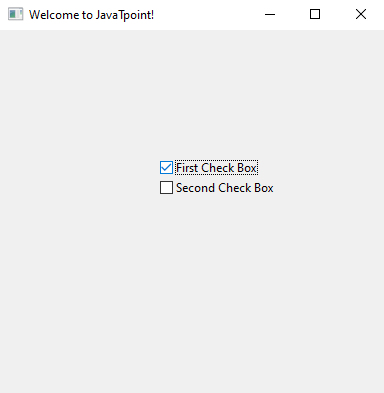
Example 3: Creating two check boxes in the GUI application using the wxPython module in a program:
Output:
Explanation:
After creating the frame object of the GUI application and panel for the frame object, we created two checkboxes inside the frame object. We used the CheckBox() function to create these two CheckBoxes and gave them the name “First Check Box” and “Second Check Box.” We used the position function parameter in the CheckBox() function to set the positions of checkboxes in the frame of the GUI application. After that, we displayed the GUI application in the output, and we can see the checkboxes we created in the GUI application window.
Example 4: Creating radio buttons in the GUI application using the wxPython module in a program:
Output:
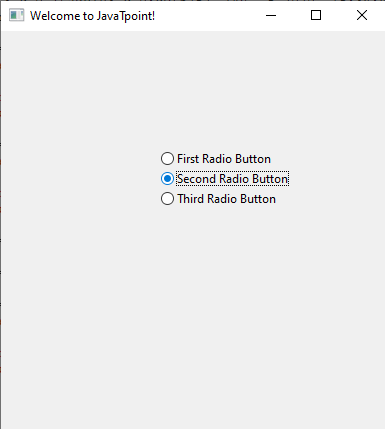
Explanation:
After creating the frame object of the GUI application and panel for the frame object, we created multiple radio buttons inside the frame of the GUI application. We used RadioButton() function to create these Radio buttons and gave them name as “First Radio Button”, “Second Radio Button”, and “Third Radio Button.” We used the position function parameter in the RadioButton() function to set the positions of radio buttons in the frame object of the GUI application. After that, we displayed the GUI application in the output, and we can see the radio buttons we created in the GUI application window.