React Native Positioning Element with Flex
In the previous article Layout and Flexbox, we discuss about the Flexbox and its properties. In this tutorial, we will set the position of elements with Flex.
Example 1
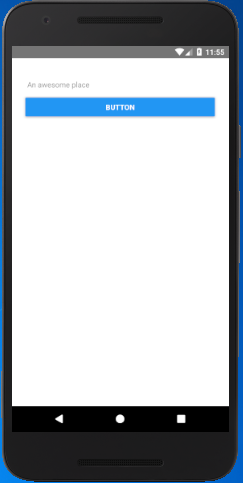
Create a View component and place two elements TextInput and Button. The View component with flex property (1) occupy full space of device. The elements TextInput and Button are set in default flex axis (as column).
Output:

Example 2
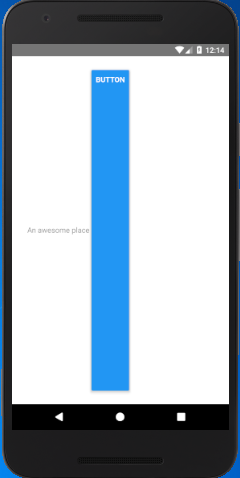
In this example, we will place the Button right to TextInput element. Add a child View component inside parent View with flex: 1 and flexDirtection : “row”. Setting flex: 1 for inner View occupies whole space from top to bottom and left to right. The flexDirtection: “row” set the elements in row-wise inside the inner View component.
Output:

The flex: 1 for inner View occupy full space which does not look good as the TextInput and Button occupy all space from top to bottom.
Example 3
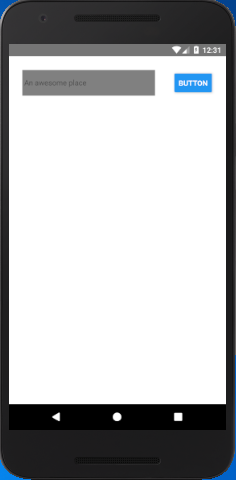
In this example, we remove flex property of inner View and add width: 100%. Removing flex form inner View set the default dimension of elements. Setting width :”100%” for inner View occupy full width and default height of elements.
Output:

