RichFaces Application
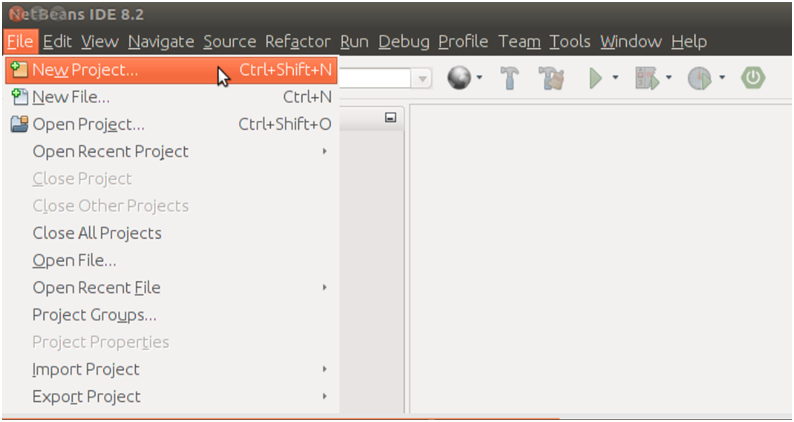
1) After adding JARs, create a JavaServer Faces project and integrate this library to the project.
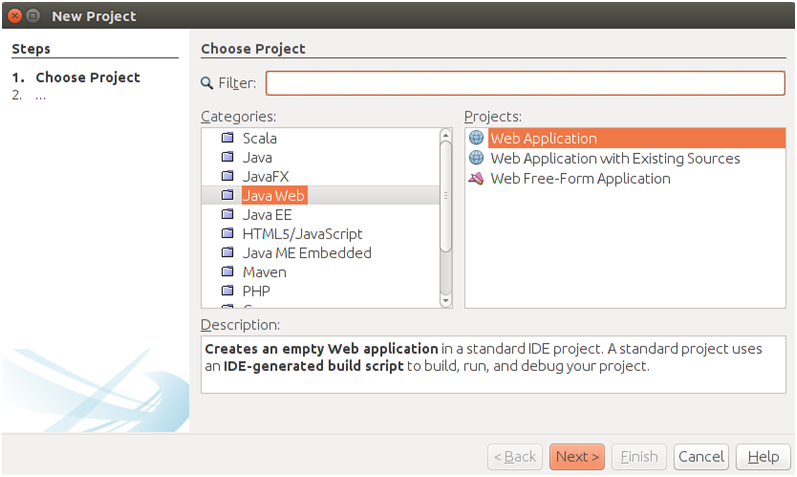
Selecting project type as Web Application.
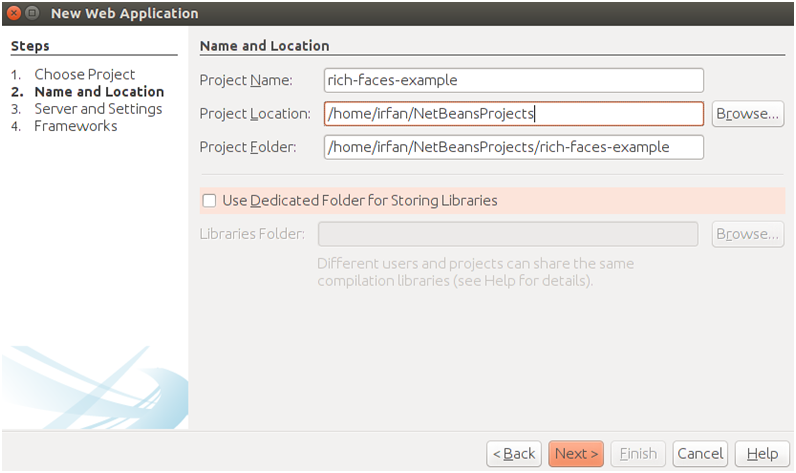
Providing project name.
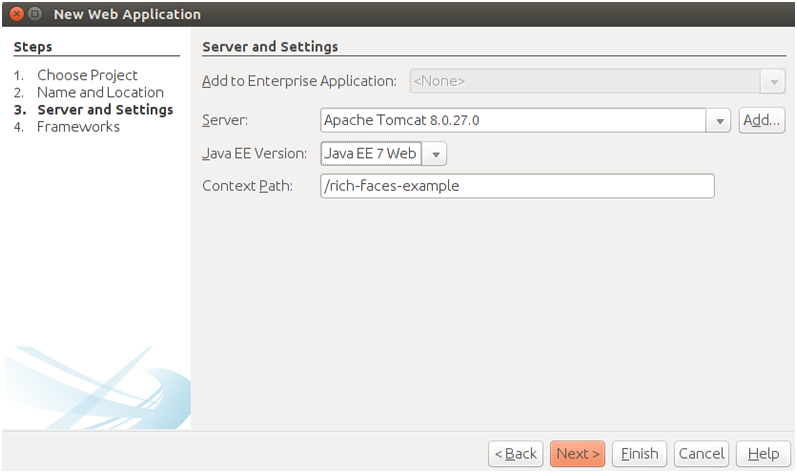
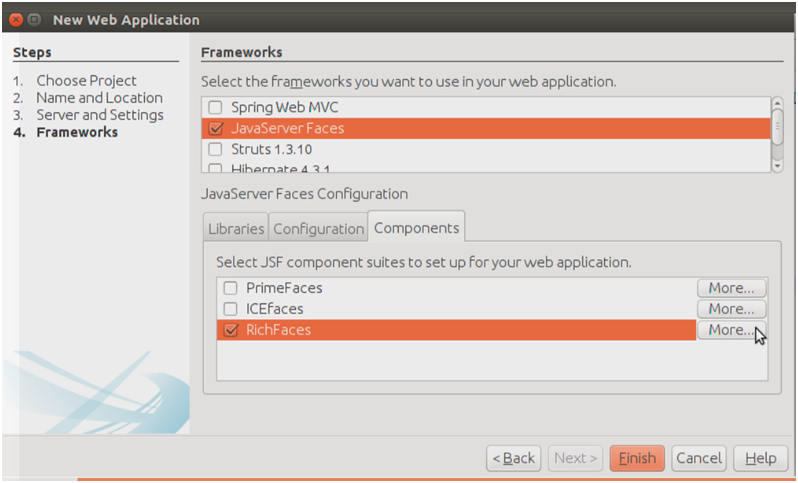
Selecting Framework as JavaServer Faces.
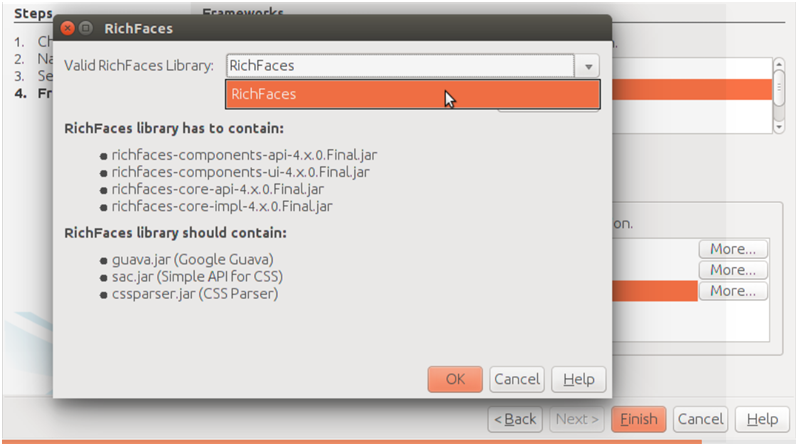
2) Now select library that we have created earlier in the example.
After finishing, Our project structure should look like the following.
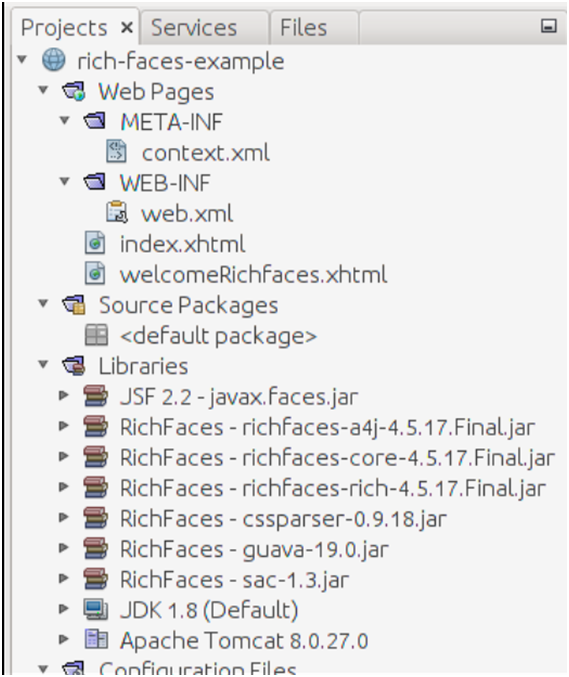
Well, it is all about configration. There is nothing we actually need to do to configure RichFaces. If we look inside the web.xml file in the generated project, we will see no mention of a RichFaces filter. Starting with RichFaces 4, we don’t need to register a filter in the web.xml ?le. If RichFaces JARs are present in the project, RichFaces will be used.
This project contains two default xhtml files. First is index.xhtml and second is welcomeRichfaces.xhtml. These two files have the following code.
// index.xhtml
// welcomeRichfaces.xhtml
3) Run the project
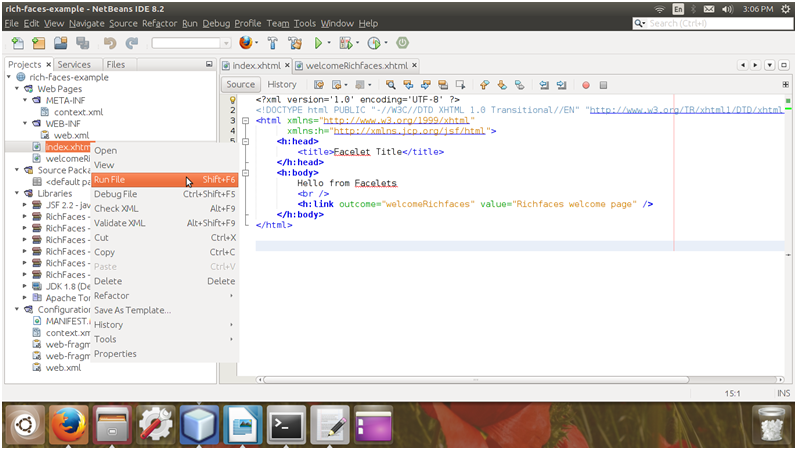
After running the index.xhtml file. It produces the following output:
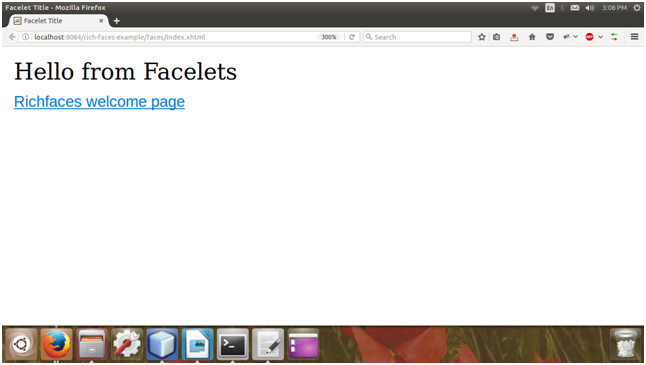
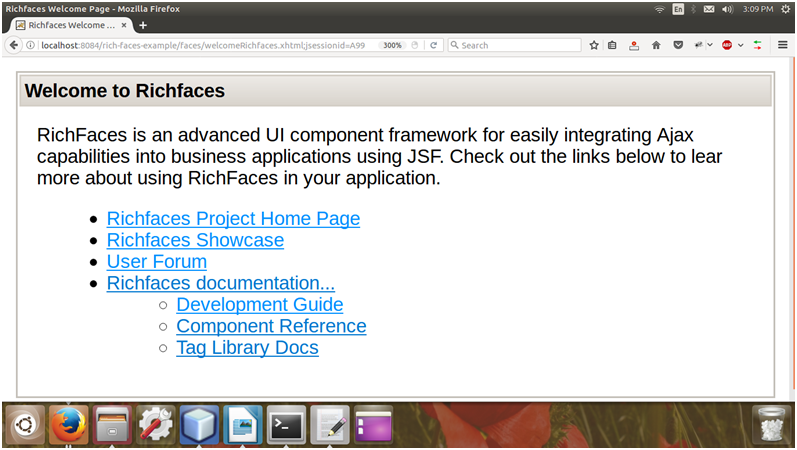
After clicking on the link, it redirects to the welcomeRichfaces page.