RxJS Installation or Environment Setup
There are different ways to install RxJS but before installing RxJS, we need the following setup to work efficiently with RxJS.
You have to install-
- js
- Npm
- RxJS package installation
Installing Node.js and npm
If you are already familiar with Node.js then you must have installed Node.js on your computer system. You should check whether you have installed Node.js on your system or not. In the case if you have not installed Node.js then it is very easy to install RxJS using npm.
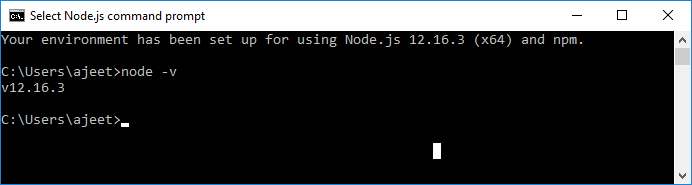
First, let’s verify if Node.js and npm are installed on your system. Open your Node.js command prompt and execute the following command.
Run the following command to check Node’s version:
Run the following command to check npm version:
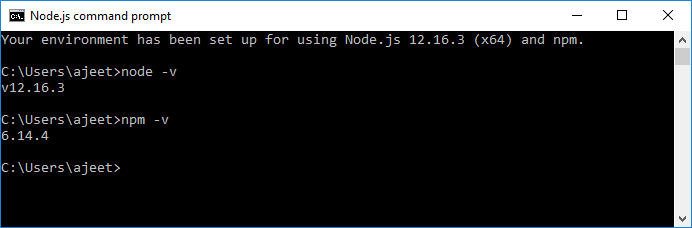
After running the above commands, you can see that we have got a result. It means the Node.js and npm are installed on our system and the version is 12.16.3 and 6.14.4 respectively. So, we can proceed further.
If your command prompt does not print anything, it means Node.js and npm are not installed on your system
How to install Node.js?
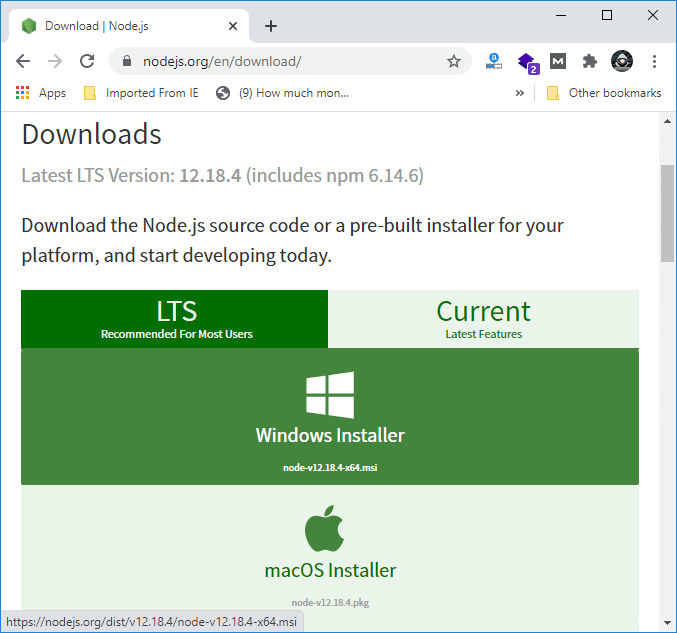
Installing Node.js is not a big task. To install Node.js, first go to the download page of the official website of the Node.js https://nodejs.org/en/download/ and then install the package according to your operating system.
You will see that the download page of Node.js would look like this:
Install the required package according to your operating system. After installing the Node.js, npm will also be installed along with it. Now, check if npm is installed or not by typing npm -v command in the terminal and you will see the version of the npm.
You can read in details: How to install Node.js? https://tutoraspire.com/install-nodejs
Install RxJS Package
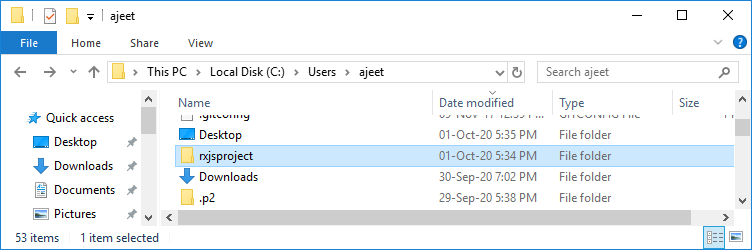
Before going to start RxJS installation, we have to first create a folder named “rxjsproject” where we will practice all RxJS examples.
After creating the folder rxjsproject, we have to run the command npm init, to setup the project.
Execute the command given below:
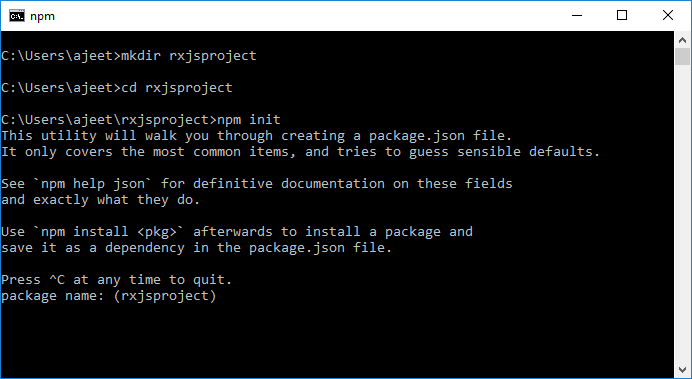
When you run the npm init command, it will ask few questions during execution. You have to just press enter and proceed.
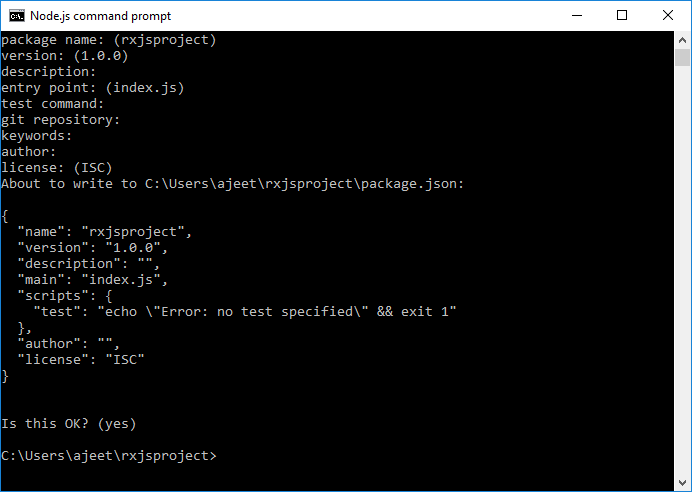
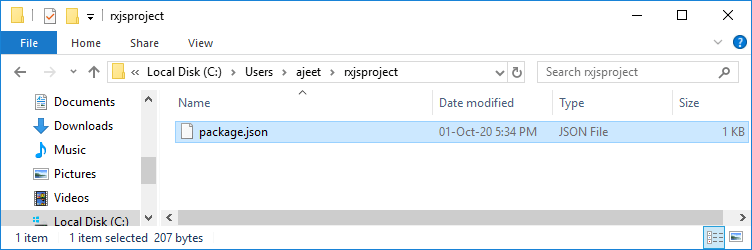
When the execution of the npm init is completed, it will create a file package.json inside rxjsproject/ as following:
The File package.json contains the following code:
Install RxJS
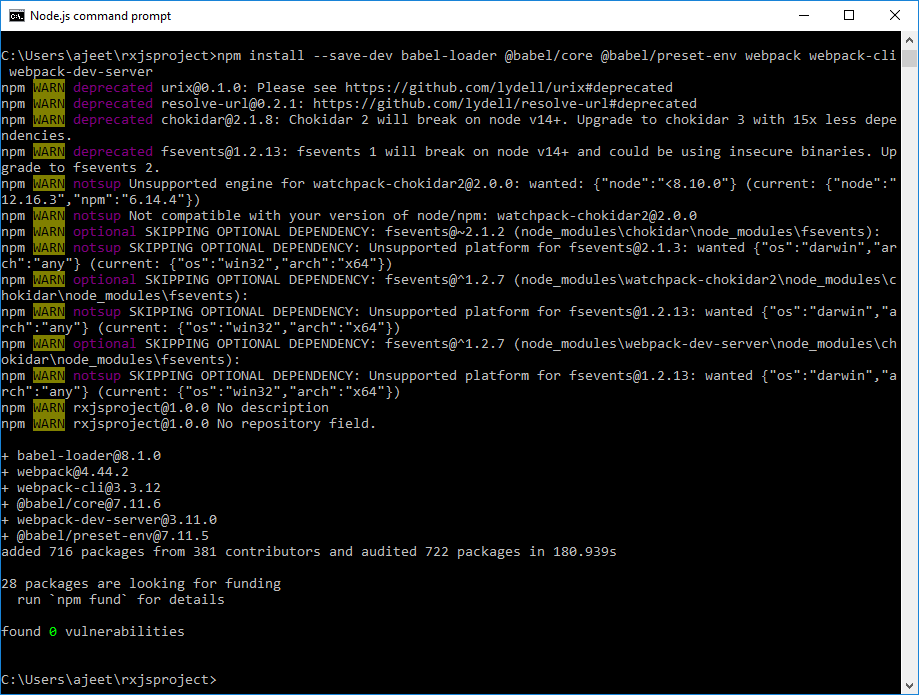
Now, all the prerequisites are done and it’s time to install RxJS. Use the following command to install RxJS:
After running the installation code, you will see that the npm has created a lockfile as package-lock.json. You should commit this file.
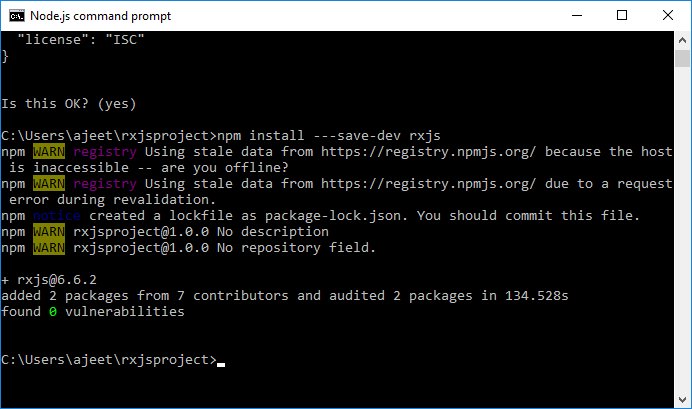
In the above image, you can see that the installation of RxJS is completed.
Now, let us see how to use RxJS.
First, create a folder src/ inside the rxjsproject/. See the following image:

Now, you will see that the folder structure would look like this:
Now, create a file testrx.js inside the src/ folder and write the following code:
If you execute the above code in command prompt using the command- node testrx.js, it will display an error for import. The error occurs because Node.js does not know what to do with import.
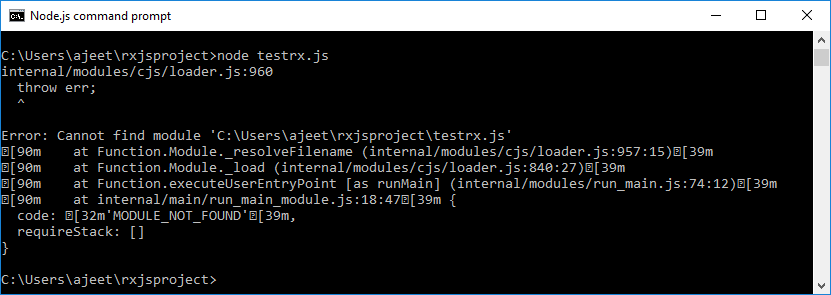
To resolve this issue, we have to make it possible that it can import with Node.js.
Install ES6 Modules Package
For this purpose, we have to install ES6 modules package using npm. Use the following command to install ES6 module package.
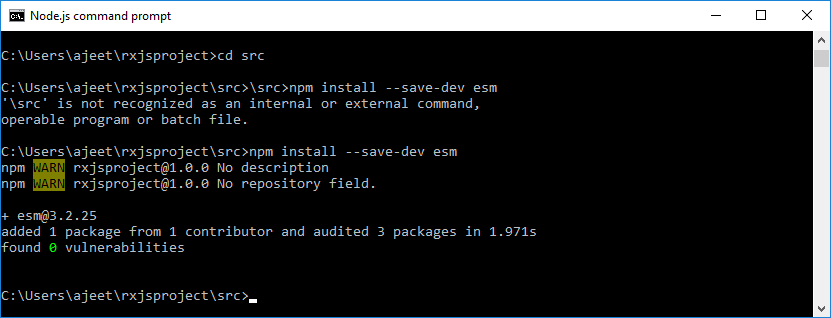
Now, the package has been installed and you can execute the testrx.js file by using the following command:
Output:
Output is: 1 Output is: 4 Output is: 9 Output is: 16 Output is: 25
See the following image:
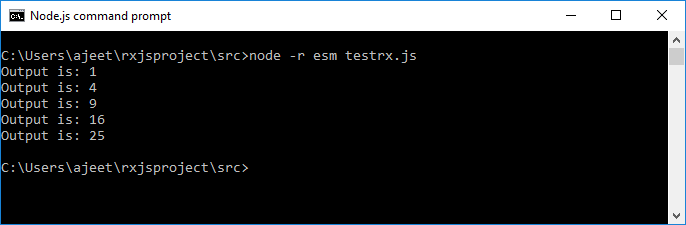
In the above image, you can see the output on the console. You can see that RxJS is installed and ready to use but the above method will help us to test RxJS in the command line only. If you want to test RxJS in the browser, you have to install some additional packages.
Test RxJS in Browser
We have to install the following packages inside rxjsproj/ folder to test RxJS in browser.
Run the following npm command:
Here, we have installed webpack-server to start the server and execute our Html file. The command “publish” in package.json is used to start as well as pack all the js files using webpack server.
To use webpack, we have to run npm run publish command. You can see that the publish command is added in package.json as following:
Update the package.json file with the following code:
Package.json:
To work with webpack, create a file called webpack.config.js that has the following code:
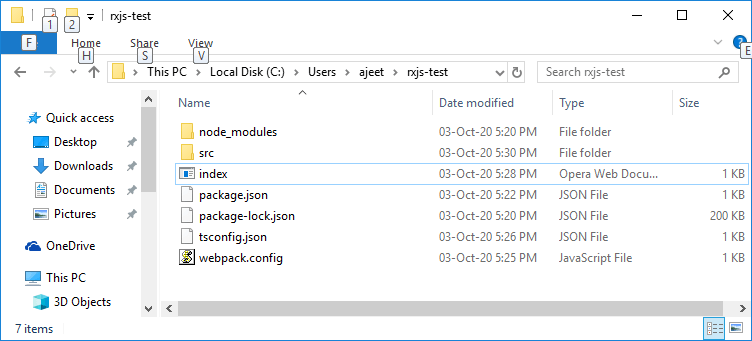
Now, create an index.html file within the root project. This file will contain what you want to show on your browser.
Index.html:
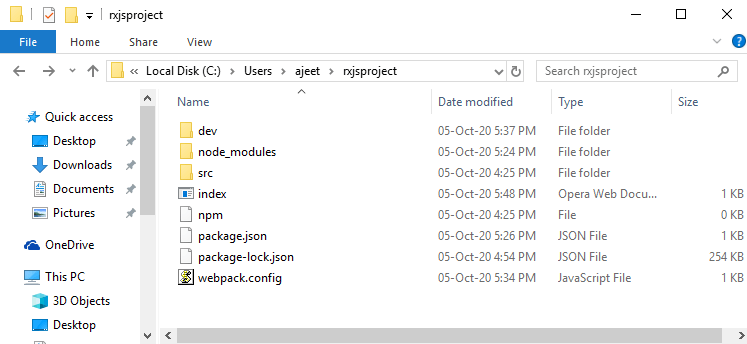
The final folder structure would look like following:
Run the Project
Now, execute the run command npm run publish. It will create a folder named dev with main_bundle.js file in it. The server will be started and you can test your index.html in the browser.
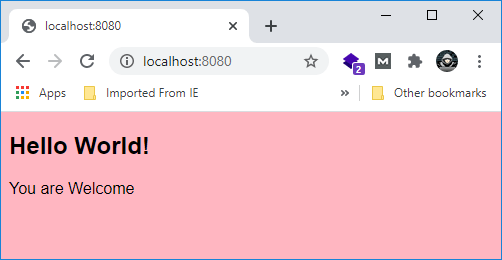
Open the browser and goto the local host url: http://localhost:8080/ and you will see the output: