Securing network from attacks
In order to prevent our network from preceding cracking methods explained in the pre-connection attacks and gaining access section, we’ll need to access the settings page for our router. Each router has a wep page where we can modify the settings of our router, and it’s usually at the IP of the router. First, we’re going to get the IP of my computer and to do this we are going to run ifconfig wlan0 command. As seen in the following screenshot, the highlighted part is the IP of the computer:
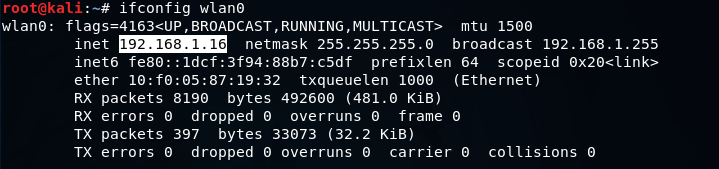
Now open the browser and navigate to 192.168.1.1. For this example, the IP of the computer is 16. Usually, the IP of the router is the first IP of the subnet. At the moment, it’s 192.168.1.0, and we are just going to add the number 1 because that’s the first IP in the subnet, and that will take us to the router settings page. At the setting page, it will ask to enter the username and password. To enter username and password, we can login to the router settings.
Sometimes the attacker might be doing deauthentication attack against us. To prevent it, what we can do is connect to the router using an Ethernet cable and modify our security settings and change the encryption, change the password, do all the things that are recommended in order to increase the security. So, the attacker will not be able to attack the network and get the key.
Now, the setting of each router is different. They depend on the model of the router. But usually, the way we change the setting is the same. Most of the cases, the router is always at the first IP of the subnet, we just need to get our IP using the ifconfig command, like we did at the start of this topic. We got the 192.168.1.16 IP, and then we changed the last 16 to 1 to the first IP, and that is IP of our router.
Now, we’re going to the WIRELESS NETWORK SETTINGS. As we can see, there are lot of settings that we can change for our network:
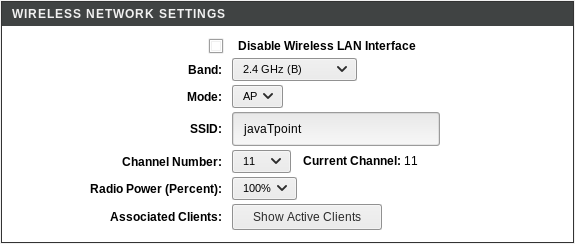
In the above screenshot, we can see that the wireless setting is Enabled, we can change the name of the network under SSID, we can also change the Channel Number and Band.
After going to the WPS option, we can see that WPS is Disabled. We are not using WEP that’s why the attacker can’t use any of the attacks to crack WEP encryption:
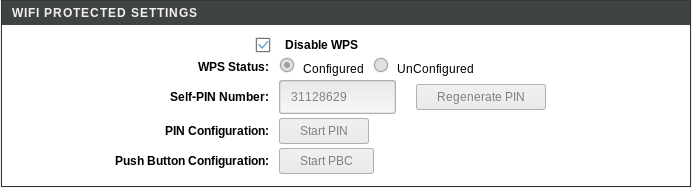
We have disabled WPS, and use WPA, which is much more secure, so the attacker can’t use reaver to determine the WPS PIN and then reverse-engineer the password. The hacker can only get the password by obtaining the handshake first and then using a wordlist to find the password. The password of the network is very random, even though it doesn’t actually use numbers or digits, just letters, so there are very small chances of someone being able to guess it.
After going to the Access Control, we can see that we can add Mode, such as an Allow List or a Deny list.
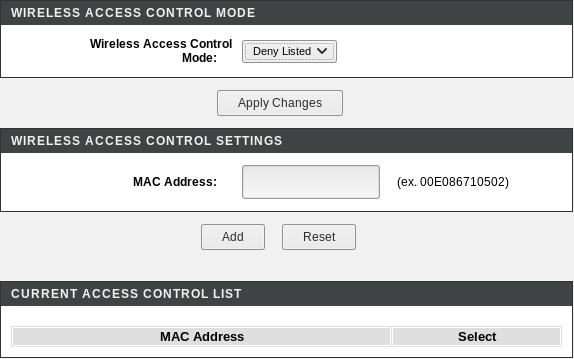
Here, we can specify the MAC address of the network that we want to allow to connect to our network. We can also specify the MAC address of the network that we want to deny form our network. For example, if we are in a company, and we have specified number of computers and we only want to allow a number of computers to connect to the network, then you can obtain the MAC address of the system that you want to allow and add them onto an Allow list or Whitelist. Even if a person has the actual key, and they don’t exist in the Allow List, they will not be able to access the network. We can also add a certain computer or certain person onto a Deny List if we think that it is suspicious, we need to just add their MAC address onto the Deny List, and they will not be able to connect to our network.