Storing Data into the Database
In our previous section, we successfully connected our express app to the database. In this section, we will learn how to store data into the database. We will use the mongoose model not to just log into it but to save data to the database.
We will use the following steps to store data into the database:
1) In the app.js file, we will use the save() method for saving the post created in the post() method. This save() method is provided by the mongoose package for every model created with it. We will use the save() method in the following way:
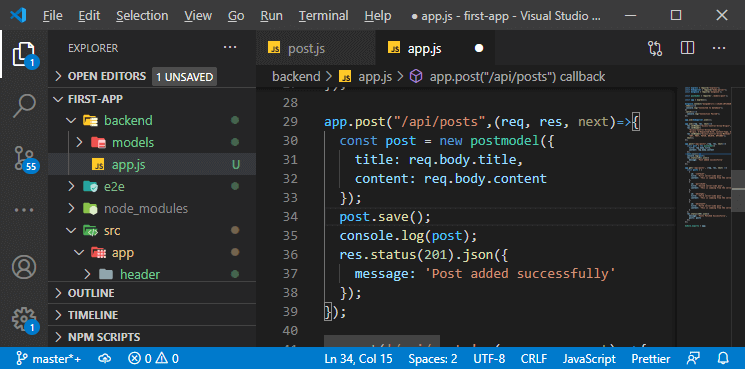
After using the save() method, mongoose will create the right query for our database to insert a new entry with that data. It will also automatically generate an ID into the database.
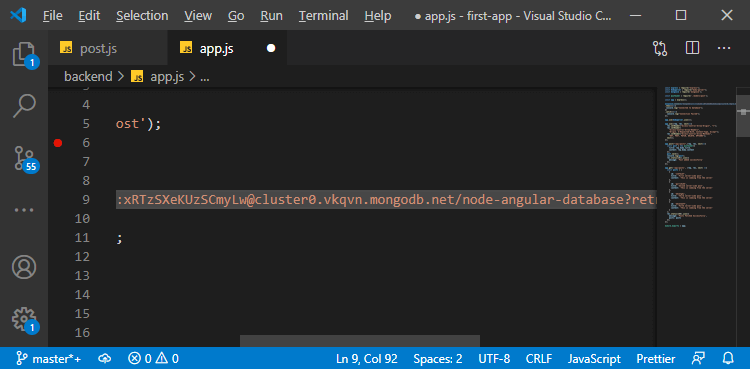
2) Now, we will override the database name in the connection string because we are using a default database name. We will override it with the name node-angular-database in the following way:
3) Now, we will create a new post entry or document. We know that documents are stored in a collection. The collection name will be the plural form of our model name. So, posts will be the collection that will be created for us automatically in the automatically created database. In this collection, mongoose will automatically save our post as a new document.
In the free tier, we can’t look into our database. So, in order to look into our database, we can connect to the database from another source, i.e., Mongo Shell. We will use the following steps to connect it from the mongo shell:
1) We will go back to our cluster and click on the connect button again. This time, we will click on the Connect with the mongo shell
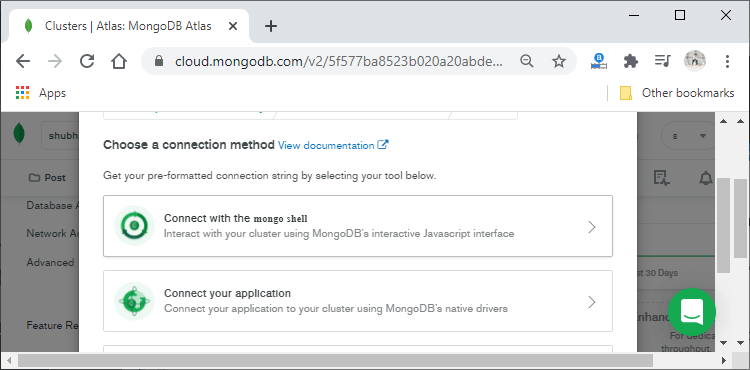
When we click on this option, will see the following screen on the browser:
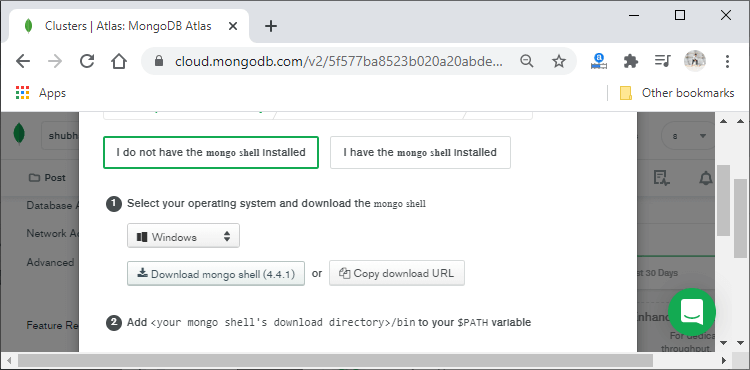
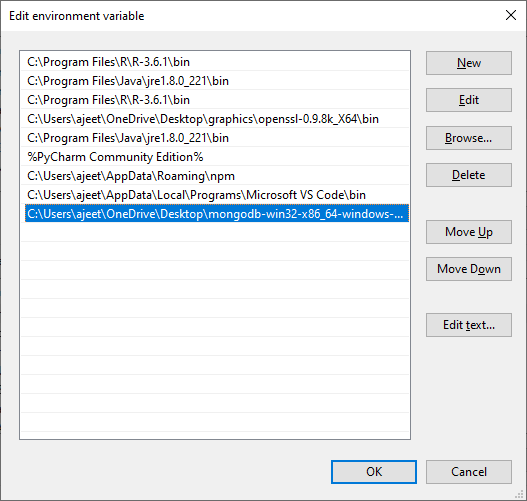
2) We will download the mongo shell from here. After downloading it, we will unzip it. Then, we will drag and drop that into a folder anywhere on our machine. One more thing is important to do,i.e., we will add <our mongo shell’s download directory>/bin to our $PATH
3) Now, we will run the command provided by the mongo shell into our command prompt. We will run the following command in our command prompt:
Note: You may have different commands because the database name and user name can vary.
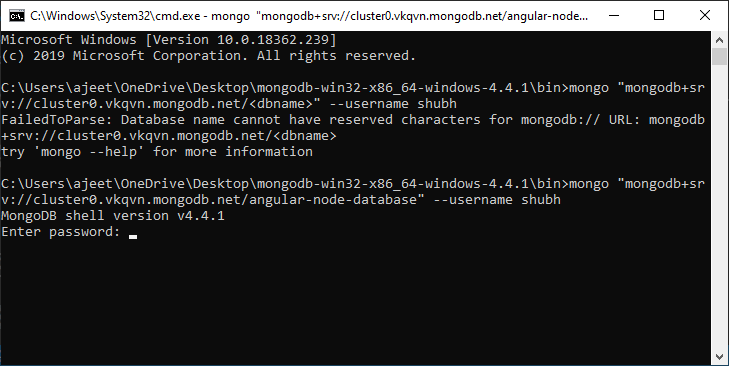
4) After running the command, we need to enter the password. This password will be the same as the password which we used in the connection string. Our password is xRTzSXeKUzSCmyLw, but you may have a different one.
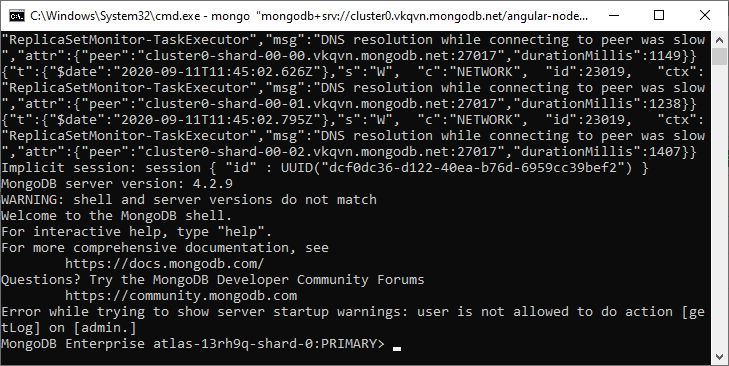
5) Now, we are successfully connected to our database. We can interact with our database from here. Now, we switch to our database, i.e., node-angular-database, in our case. We will run the following command to switch to the database:
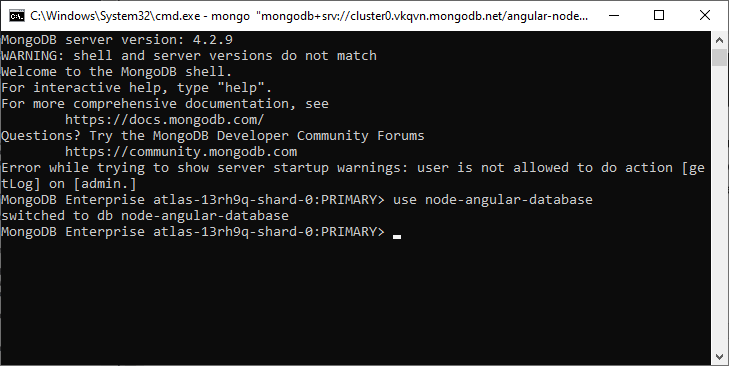
We should see that it switched to the database node-angular-database.
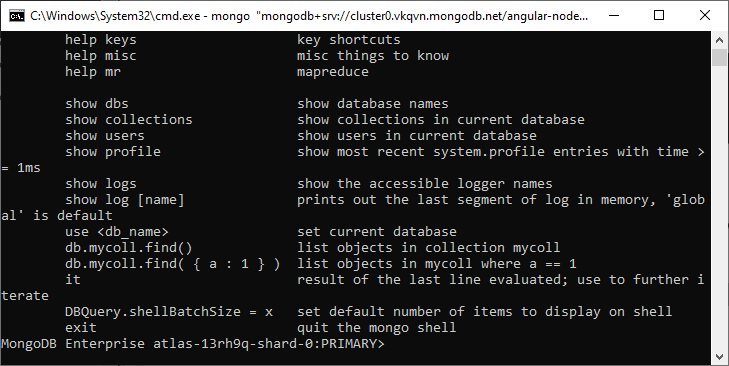
6) We will run the help command to see an overview of the commands we can execute.
7) We will run the show collections command to see all collections that were created in that database.
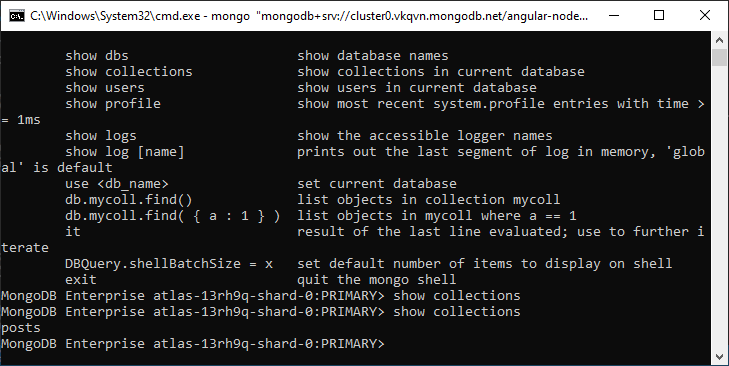
We saw the posts collection in the command prompt.
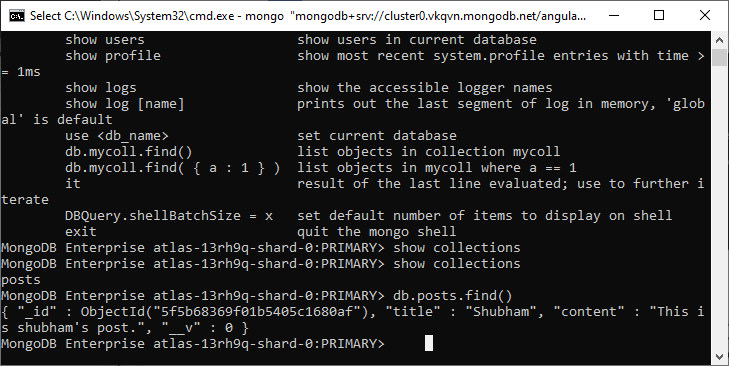
10) We can also take a look into that collection by running the posts.find() command. This will list all the entries in this collection and should see one document here which has an automatically generated id like as:
In the next section, we will learn how to fetch this data from the database.