SVN Installation on Windows
To collaborate on the project which is using SVN, we have to install the SVN client. The subversion is an Apache product.
So, to complete the installation of SVN, we have to install the SVN server and SVN client. Let’s see how to install the SVN server for the windows.
Installation of VisualSVN Server on windows
The visual server has completed almost 3M downloads. It is the most favorable way for setting up and maintaining the Apache Subversion server on the Windows platform.
VisualSVN Server is easy to install because it is distributed under a single package installer. It contains all the required components for the latest version. It is easy to run the setup and configure the SVN server on our machine; it is just a few step processes.
VisualSVN Server is free and open-source for commercial use under the Community license. This type of license does not need any registration. It allows an unlimited number of repositories and up to 15 users.
Let?s see how to install the VisualSVN Server.
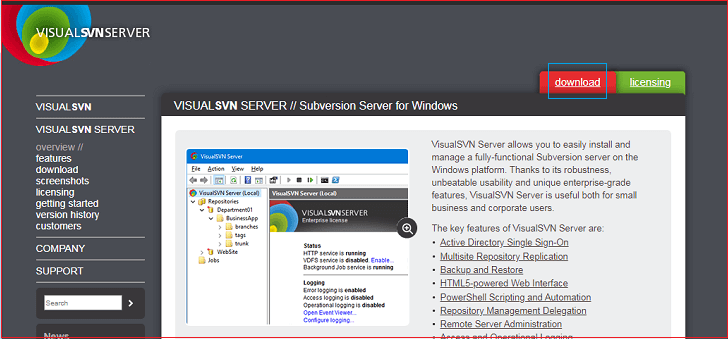
To install the VisualSVN server, download the installer package. To download the VisualSVN server, visit the official VisualSVN Server. Consider the below image:
Click on the download option on the upper right corner of the official page. Under this option, we will find the windows configuration option for 32bit and 64 bit. Consider the below image:
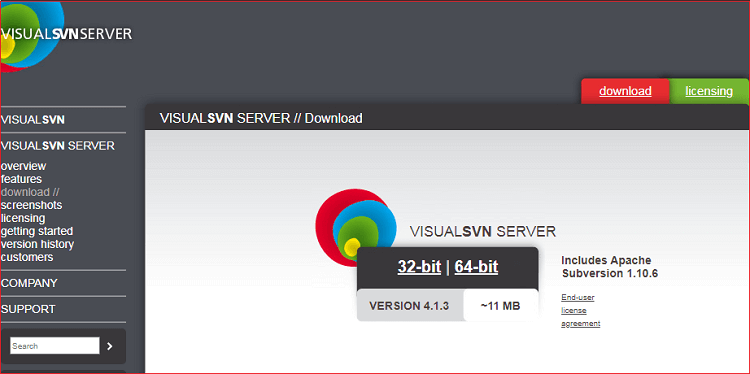
Click on our required platform. It will start downloading the installer file.
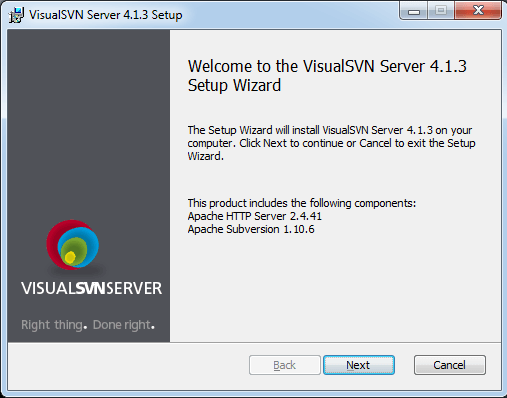
Run the installer file. It will prompt the installing option. Click Next to continue.
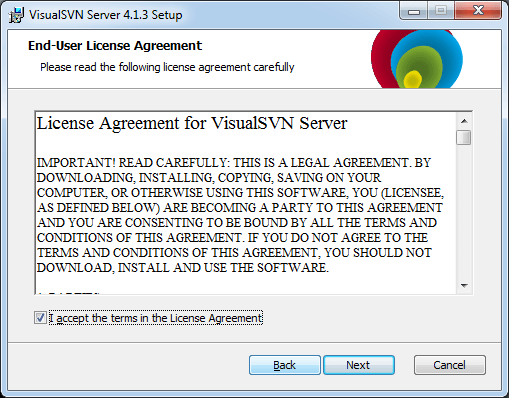
Now, it will ask us for the End-User LICENSE Agreement. Accept the terms and conditions by ticking on the given box and click next to continue.
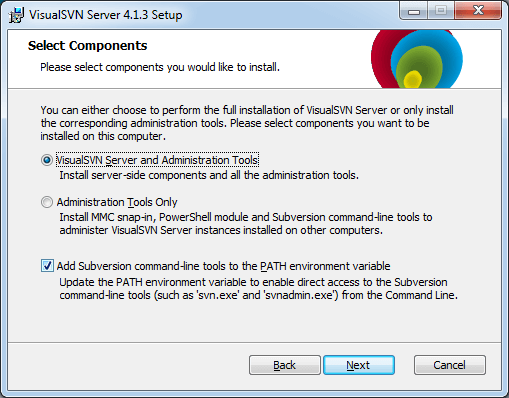
As the next step, it will ask us to select the components we would like to install. Select the Visual SVN Server and Administration tools and then click on Next to continue. Consider the below image:
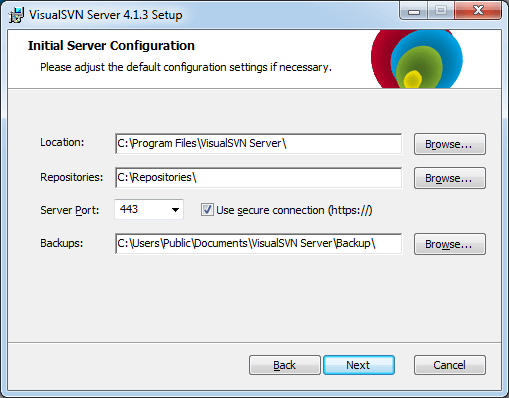
Now, we are about to complete the installation process. In this step, we have to select the locations for the system files and repositories. Browse our favorite locations and click on Next to continue the installation.
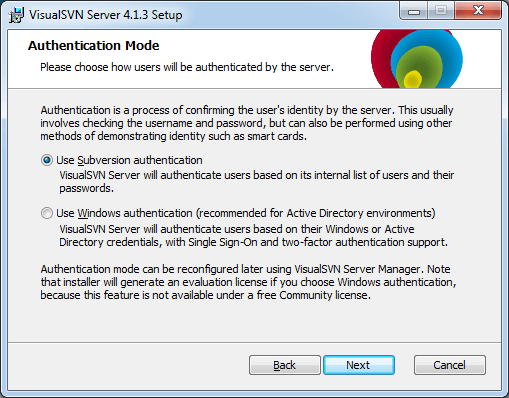
The next step is the Authentication Mode. Select the Use Subversion authentication and click on the Next to continue.
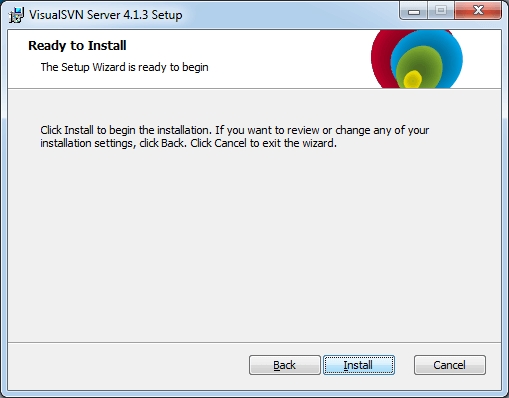
Here we have completed all the required steps for installing the VisualSVN. Click on the install option to install it on our machine. Consider the below image:
Here we have successfully installed the SVN server. Now, we will install the SVN client for communicating with the SVN server. We will install the tortoise SVN for client-side communication.