TestNG Installation and Configuration in Eclipse
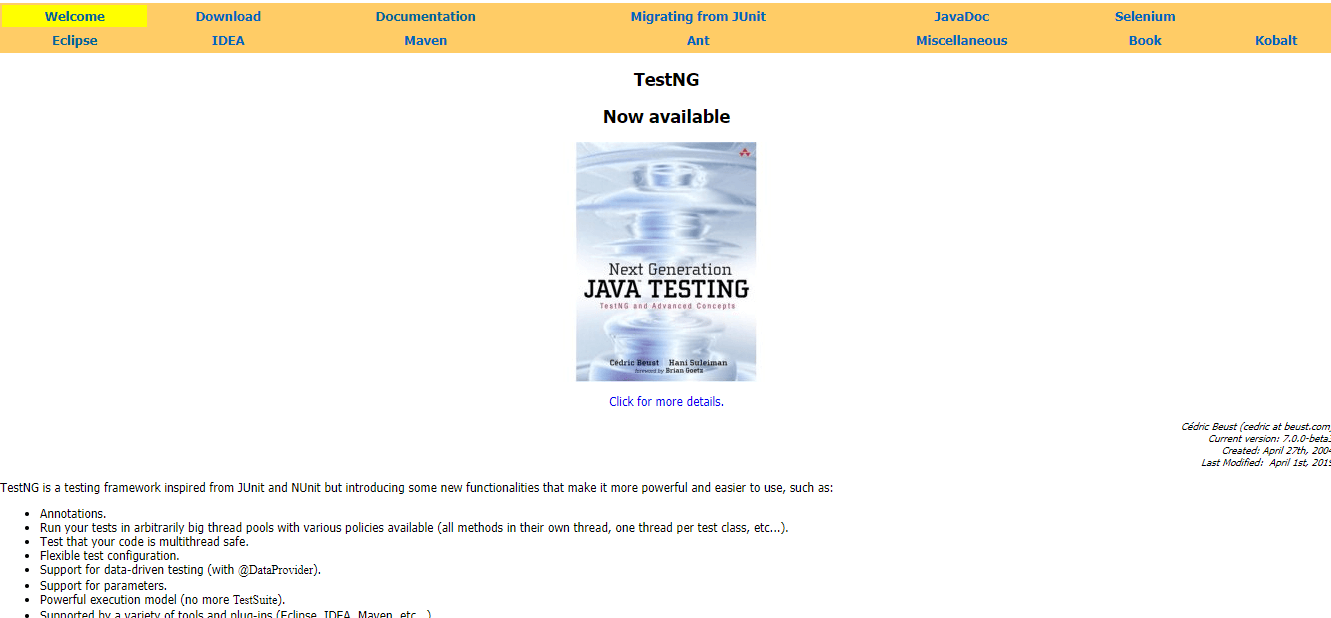
Step 1: Go to the official website of the TestNG. Click on the link given below: https://testng.org/doc/
On clicking the above link, the screen appears as shown below:
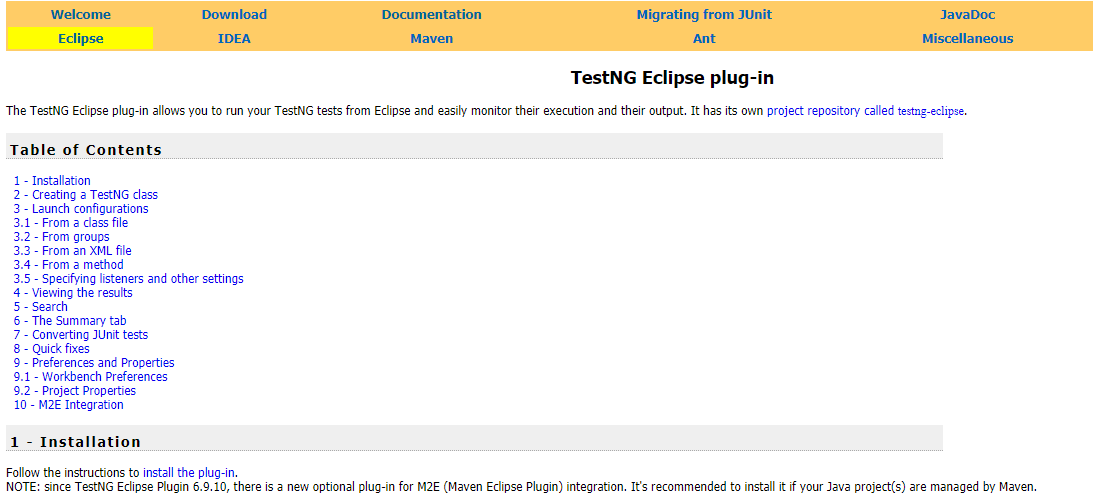
Step 2: Click on the Eclipse appearing on the menu bar. After clicking on the Eclipse, the screen appears as shown below:
Step 3: Click on the Installation appearing on the top of the Table of Contents, and then click on the “install the plug-in“. On clicking on the link “install the plug in“, the screen appears as shown below:
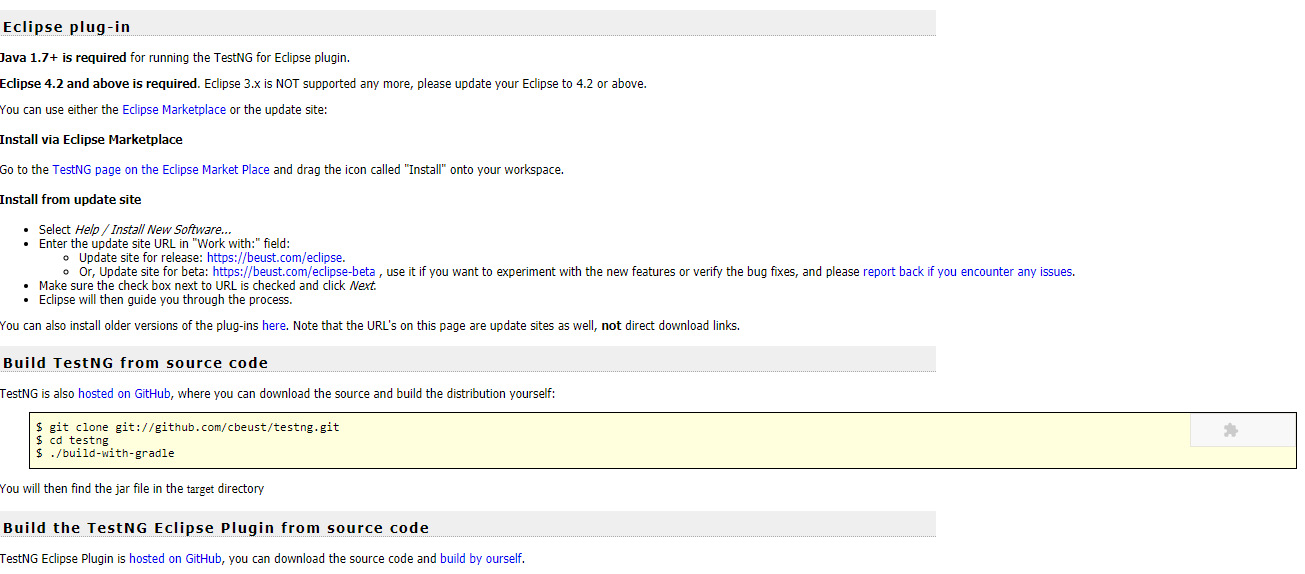
In the above screen, the URL is given https://beust.com/eclipse under the category “Install from update site“. To install the TestNG plug-in in Eclipse, we need to add this given URL in Eclipse.
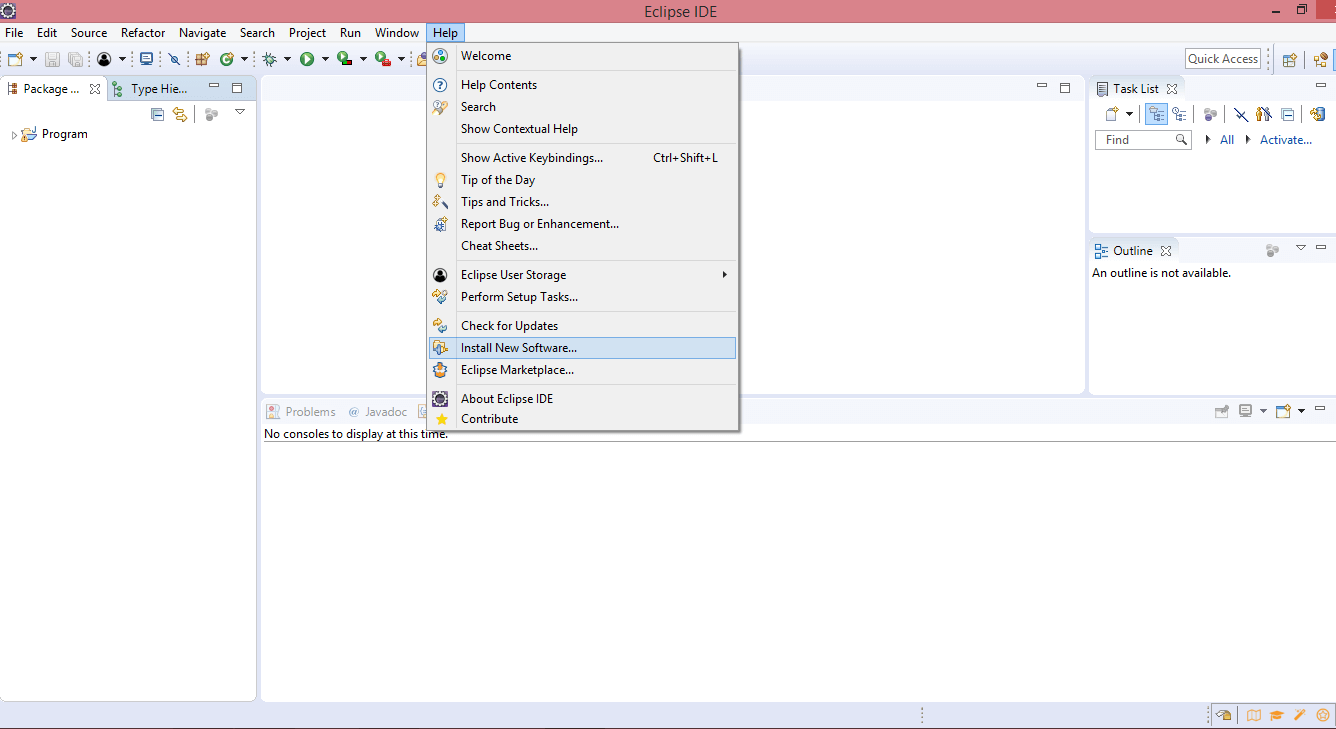
Step 4: Open the Eclipse. Click on the Help appearing on the menu bar and then click on the Install New Software.
Step 5: Copy the URL https://beust.com/eclipse. Once you paste the URL, then press the Enter. However, in your case, you will see Pending for few seconds, thereafter you will see that TestNG plug-in has been loaded.
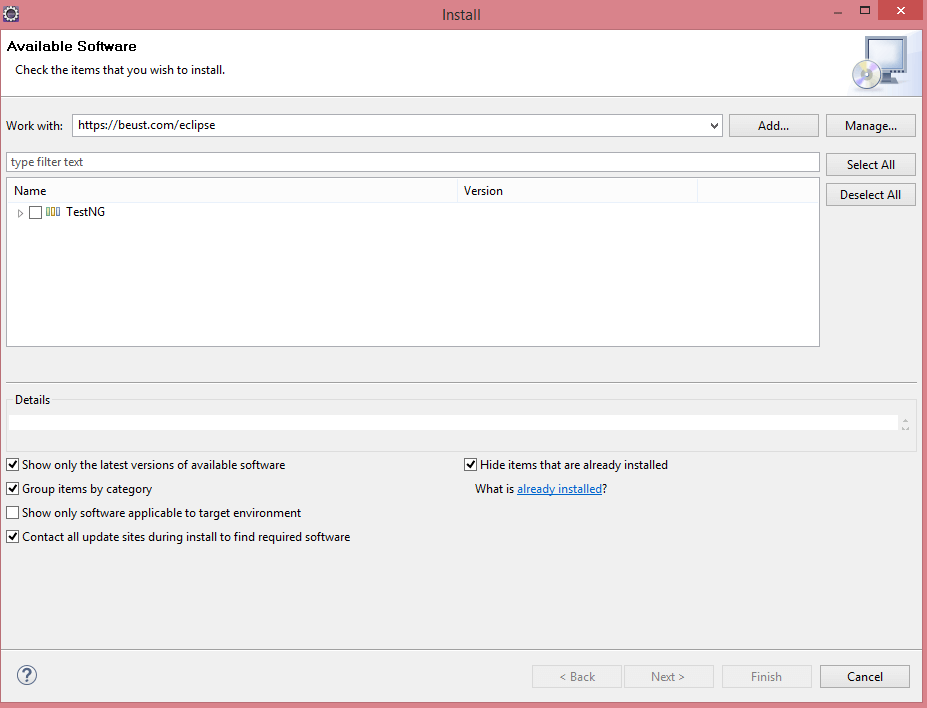
Step 6: Click on the TestNG checkbox.
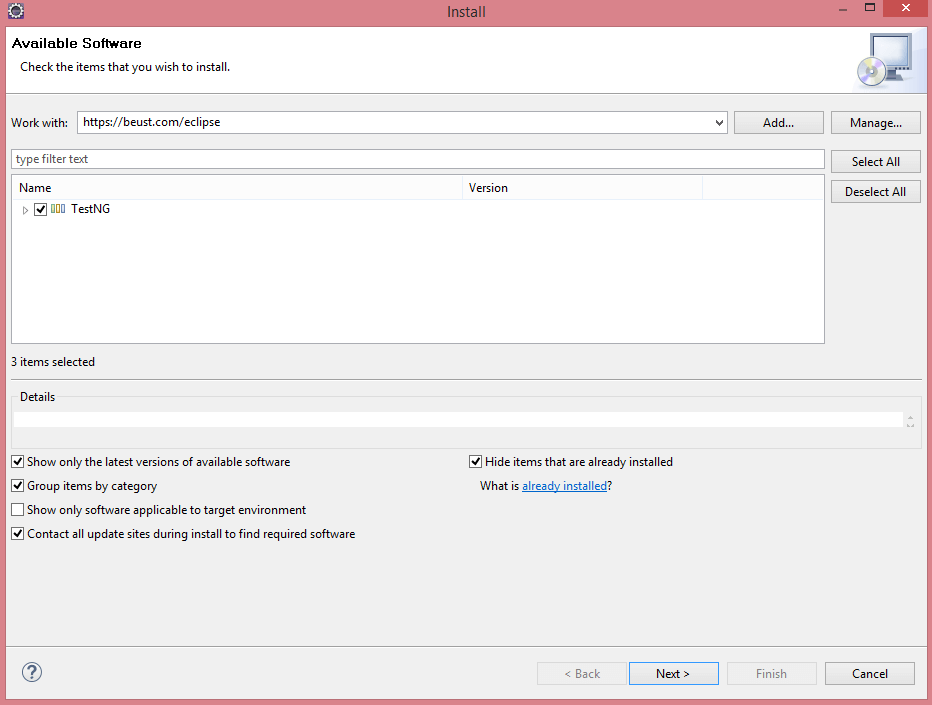
Step 7: In the below screen, three dependencies of TestNG are shown. Now click on the Next.
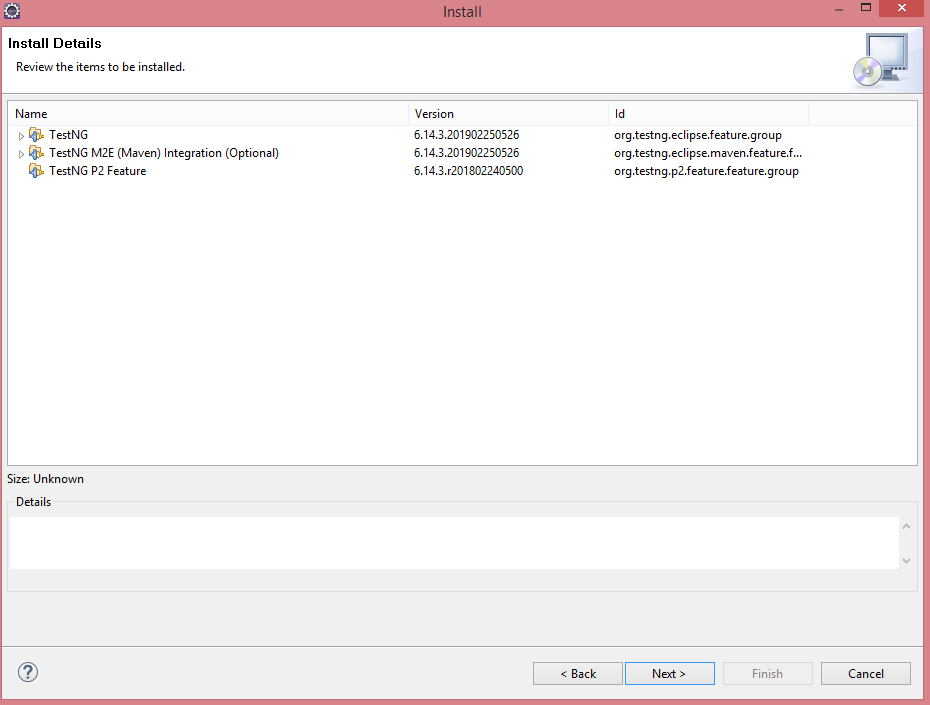
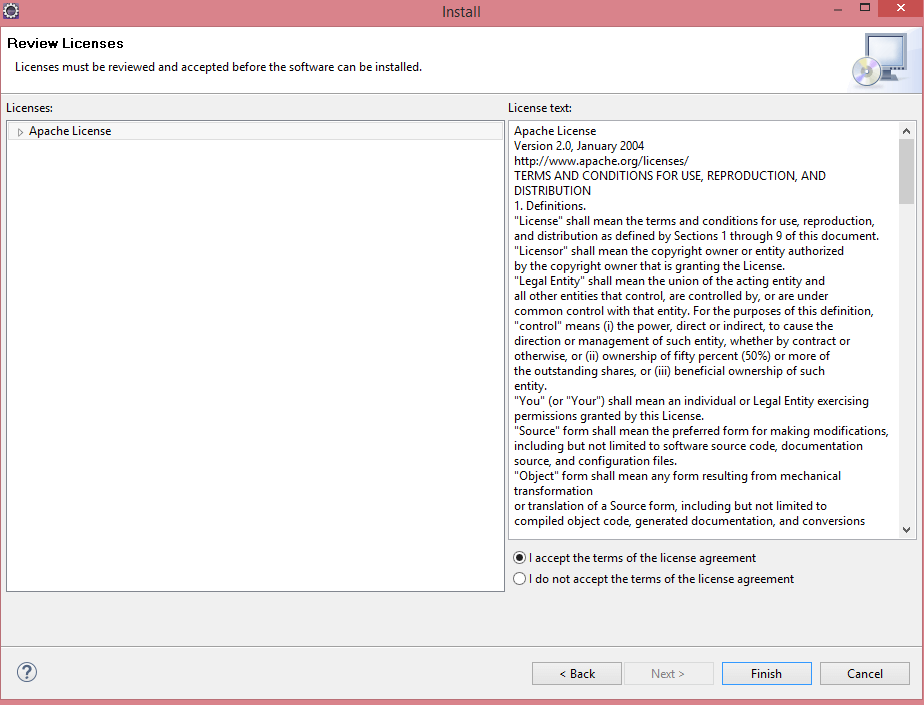
Step 8: Accept the license and then click on the Finish.
Note: There are two ways of adding TestNG in your Eclipse. You can add TestNG either by installing the TestNG plug-in or adding the TestNG jar file in the Build Path. TestNG plug-in is more preferrable than testng.jar file as in case of a plug-in, you do not have to put in every project. However, in case of a testng.jar file, you need to add the jar file in a build path of every project.
Download the TestNG jar file
You can download the TestNG jar file from the link given below:
https://mvnrepository.com/artifact/org.testng/testng/6.7