Ubuntu Change Username
Linux operating system is able of managing multiple users at once. So, we should use check and balance on every user of the system and their corresponding information so that integrity is managed. Every piece of information is stored in a way for reducing redundancy in data. Every information is stored inside the “/etc/passwd” directory whenever we add any user.
We should have a user inside the system for changing the username in Linux. In this article, we will see how we can change the username in Linux. We will make a user and then change it if a user is not already available.
Prerequisites
We require to have the Linux operating system running on VM configured on our system. It needs information such as username and password when we install Ubuntu. We will be able to use every application and have all privileges to access them after giving this information.
Change Username (Current)
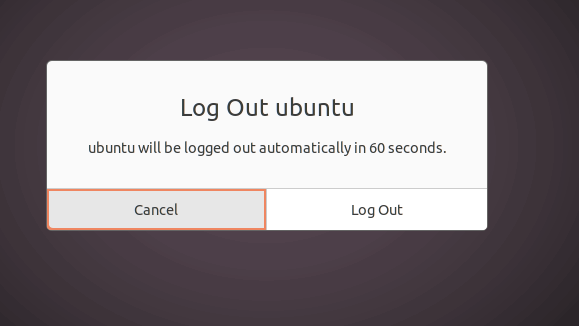
Step 1: User Description: We will use the following commands to know about the current directory and user to modify the current username in Linux. The “whoami” command is used for displaying the username, the “pwd” command is used for displaying commands used for outwriting the execution, and the “gnome-session-quit” command is used to log out from the current account within the system.


After running the above commands, the system will show a message for logging out or it will quit through the system automatically.
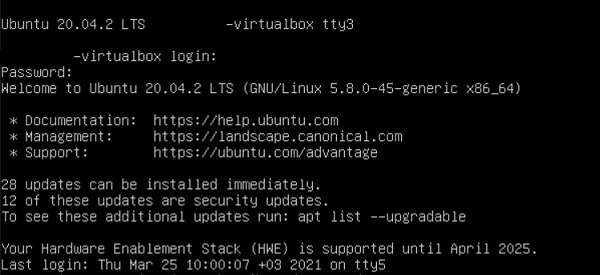
Step 2: Type in the command shell: If the login page is shown, enter Ctrl+alt+f1 then the command prompt will occur. The system will prompt a password and username for login.
Step 3: Set root password: Change the password for a root user. After giving login information, we will implement the following command for setting a password for a root user.
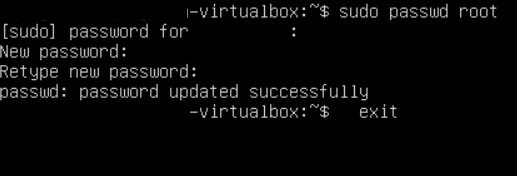
After executing the above command, we will enter the current password. Then, we can enter the new password we want. We will notice that password is successfully updated after retyping.
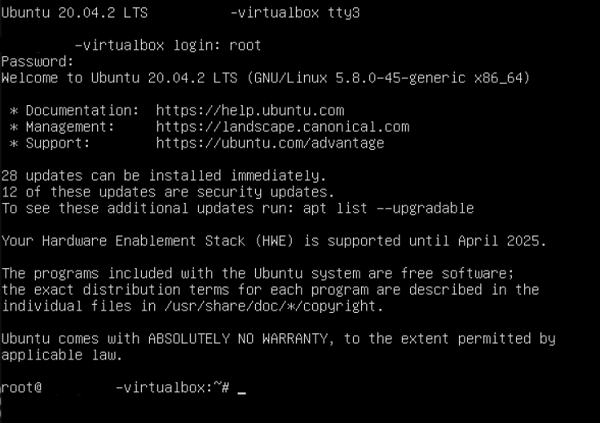
Step 4: Login as the root: The user will now login into the system as a root user after using the password we will notice that the name is modified from this to that.
Step 5: Modify Username from this to that: We will modify the root name with a desired one. The name of the home directory will be changed once the name is loaded.
After login into “that”, we need to go to the command line window and type the three commands that we used earlier in this article to inspect the description of the user modifications. We can see the username is successfully changed by applying these commands.
Add any New User and Change the Username
In Linux, one must have any user in accordance with changing the username. We will see how we can create a new user and change in the terminal window of Ubuntu if no user has existed. This creation and change need the below steps:
Step 1: Add a user: We will add a new user by using the below command. “NewUser” is the name we wish to provide to a new user. Then, the command will be as follows:
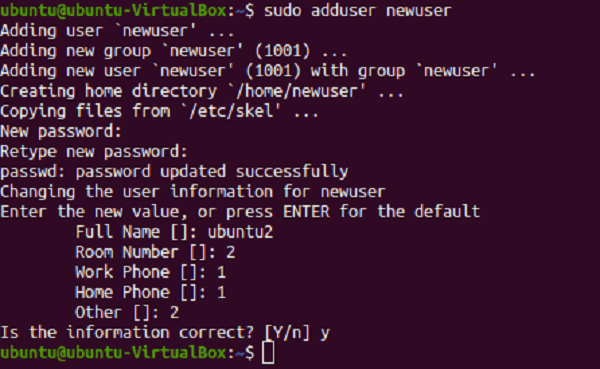
We will be promoted to type a new password after giving the username. After we type our password, a message will appear to show a successful update. Password confirmation will permit us to further knowledge and verification of the user description, i.e., Full name, etc.
The user does not need to type every information and we can skip it by clicking on the “enter” button. The system will confirm the provided details by clicking on the “y” button to continue.
Step 2: Identification: We need to log out through the system for ensuring the presence of the user on the Ubuntu homepage after finishing the description process.
Step 3: Modification: We will change the name of the root of the directory using the following command in the terminal window:
Now, we will wish to see every user made in Ubuntu after changing the user. We will apply the “ls” command for this purpose:
We will now see the user names. Then, we will log out through the system. We will see that the name of the root has been modified from this to that after logging in.