Use Elasticsearch from scratch in Laravel 5
In this section, we are going to learn the use of elasticsearch from scratch. We will use laravel for this. Suppose we are using Laravel to make an e-commerce website. In this case, our website requires the search engine option. Here the best search engine for our website will be elasticsearch. Using the elasticsearch, we are getting the full-text search engine, which is distributed and multitenant capable. This search engine will contain the JSON documents and HTTP web interface. In the given example, we will provide a full example from scratch. In order to use elasticsearch from scratch, we have to follow some steps, which is described as follows:
Step 1:
In this step, we are going to Install Elasticsearch. In order to install it, we will use our local machine. We can easily install it into our system by using the following link:
If our operating system is ubuntu, we can’t download it from the above link. We have to use the following link to download it:
How to confige Elasticsearch in our local system
Step 2:
In this step, we are going to Install Package. In our below example, we are going to use Elasticsearch API. That’s why we need to Install the Elastiquent package or Elastiquent. For this, we will use our composer.json file, and add the following line into that file. Using the following, we will update the composer like this:
When we finished the installation of elastiquent package or elastiquent, we will use our config/app.php file. In this file, we will add the path of provider and alias. For this, we will use that file and put the following code into that file like this:
config/app.php:
Now it is required for Elasticsearch to generate the configuration file. For this, we will open our command prompt or terminal and run the following command like this:
Step 3:
In the third step, we are going to Create Item table and Model. We will use the command of Laravel 5 PHP artisan so that we can create migration for the item table. For this, we will fire the command, which is described as follows:
When we complete running the above command, we are going to see a file in the database/migrations path. Now we will create an items table by using the migration file and adding the following code into that file like this:
When we successfully create the “items” table, we are going to create an Item model. For this, we will use the app/Item.php path. We will add the following code into that file like this:
app/Item.php:
Step 4:
In this step, we are going to Create Route and Controller. We will use our route file and add some routes into it. For this, we will copy the following route and then add that route into our file like this:
app/Http/routes.php:
Now we need to create a new controller. For this, we will use app/Http/Controllers/ItemSearchController.php path and set the controller as ItermSearchController. Using this controller, we are able to manage all elasticsearch search like this:
app/Http/Controllers/ItemSearchController.php:
Step 5:
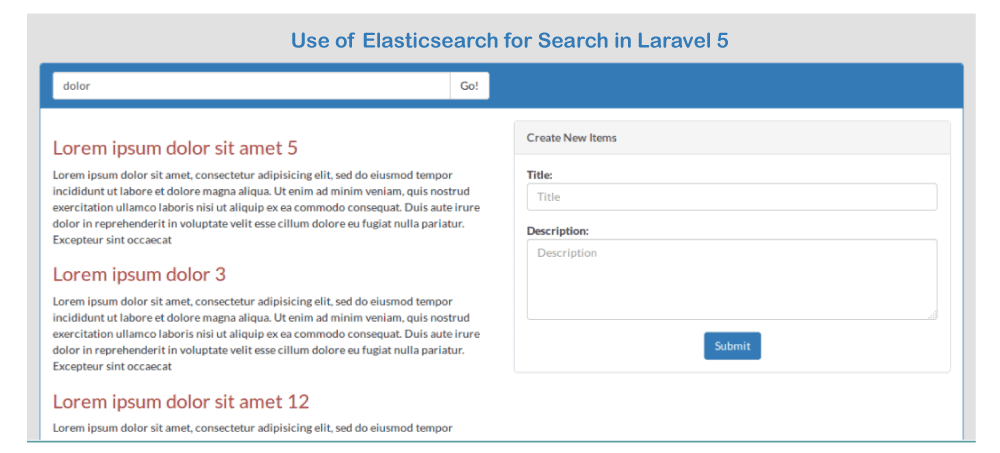
In this step, we are going to Create View. For this, we will create a file named ItemSearch.blade.php. Using this fie, we are able to manage search function listing. Now we will add the following code into that file:
ItemSearch.blade.php:
Now our above code is ready to run. When we run this, the following output will be generated: