How to Download and Install Visual Studio
In this topic, we will learn about the introduction of Visual Studio, version, and how to download and install Visual Studio for VB.NET.
Visual Studio is the Integrated Development Environment (IDE) provided by Microsoft in which developers can write and execute their program to develop various types of applications such as Windows, Web-based, console-based, Windows forms, and mobile application easily. It has a rich collection of tools that are used to write and modify the programs and also help to detect and correct the errors in your programs. It is not a language-specific IDE, it means Visual Studio is not only for VB.NET language, but you can use this to write code in C#, visual basic, C++, Python, JavaScript and many more languages supported by Visual Studio. It supports 36 different languages that are used to develop an application. It has a built-in compiler to run the application, and it is also available for Windows and Mac OS.
Versions of Visual Studio
- Visual Studio launched First version 5.0 in 1997 and gave it name Visual Studio 97.
- Visual Studio version number 6.0 was launched in 1998 which pronounce as Visual Studio 6.0
- Visual Studio.NET was released in 2002 with version number 7.0.
- Visual Studio.NET was released in 2003 with version number 7.1.
- Visual Studio 2005 was released in 2005 with version number 8.0.
- Visual Studio 2008 was released in 2007 with version number 9.0.
- Visual Studio 2010 was released in 2010 with version number 10.0.
- Visual Studio 2012 was released in 2012 with version number 11.0.
- Visual Studio 2013 was released in 2013 with version number 12.0.
- Visual Studio 2015 was released in 2015 with version number 14.0.
- Visual Studio 2017 was released in 2017 with version number 15.0.
- Visual Studio 2019 was released in 2019 with version number 16.0.
How to Download and Install Visual Studio for VB.NET?
Now we will follow the procedure to download Visual Studio IDE, so we can simply develop program in VB.NET.
Step 1. For downloading the Visual Studio IDE, go through the link given below:
https://www.visualstudio.com/downloads
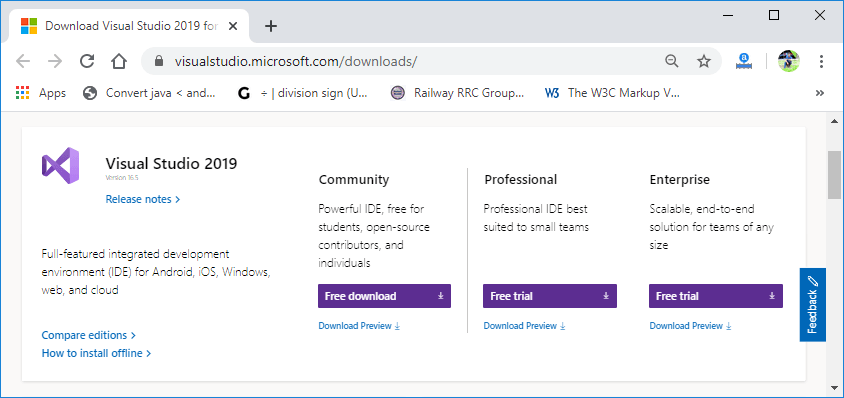
Select one to download IDE
- Visual Studio 2019 Community Edition
- Visual Studio 2019 Professional Edition (90 Day Free Trial)
- And Visual Studio 2019 Enterprise Edition (90 Day Free Trial)
In this tutorial, we will use Visual Studio 2019 Professional Edition
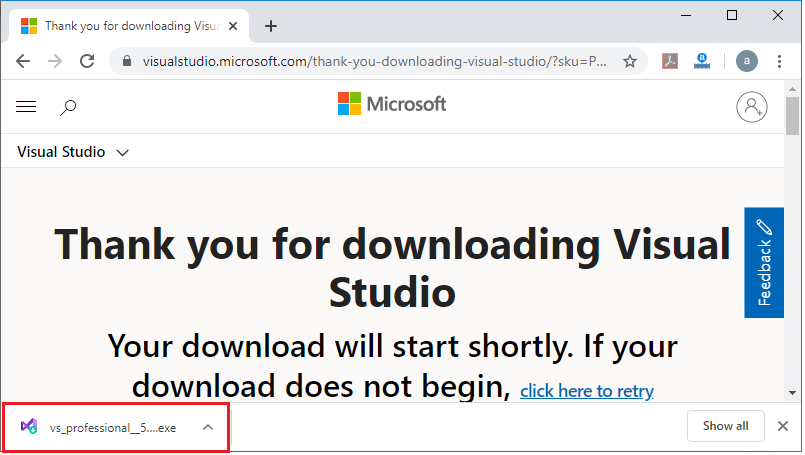
Step 2. As clicked on download link, it starts downloading an .exe file, as shown in the image below.
Step 3. Click on the .exe file and then, it shows a pop-up window.
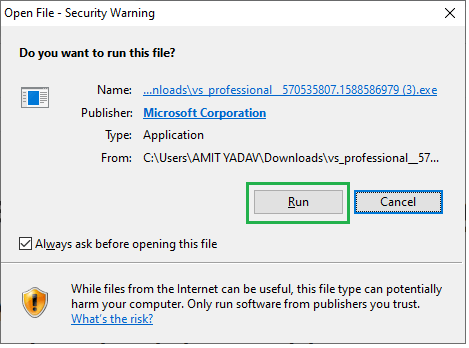
Step 4. Click on the Run button, and then it shows the below image.
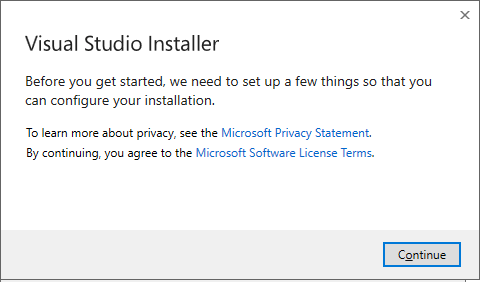
Step 5. Click on the Continue Button
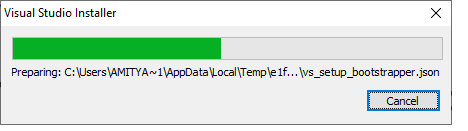
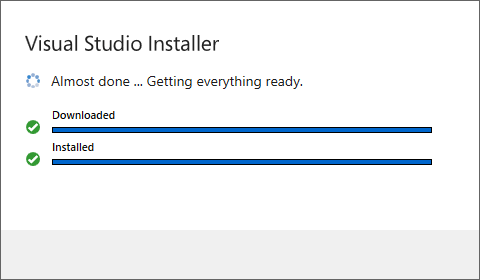
Step 6. After clicking on Continue, Visual Studio will start downloading its initial files as shown in the image below.
Step 7. It shows the screen below, in which you have to click on the install button as shown.

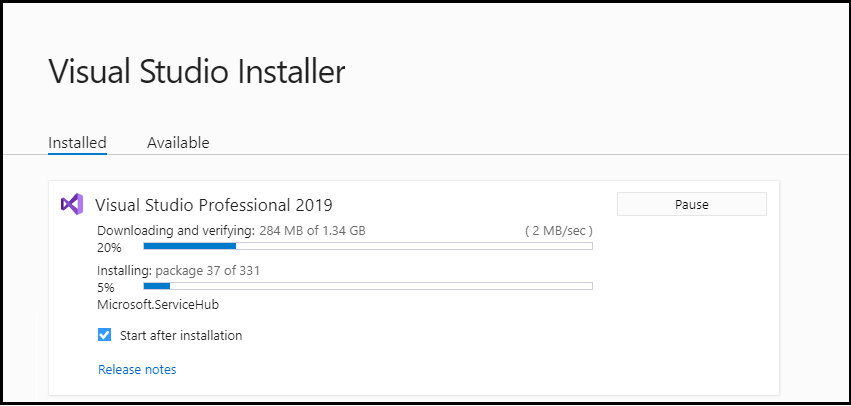
Step 8. After clicking on install button, your Visual Studio IDE will start downloading and then it displays the screen, as we have shown below.
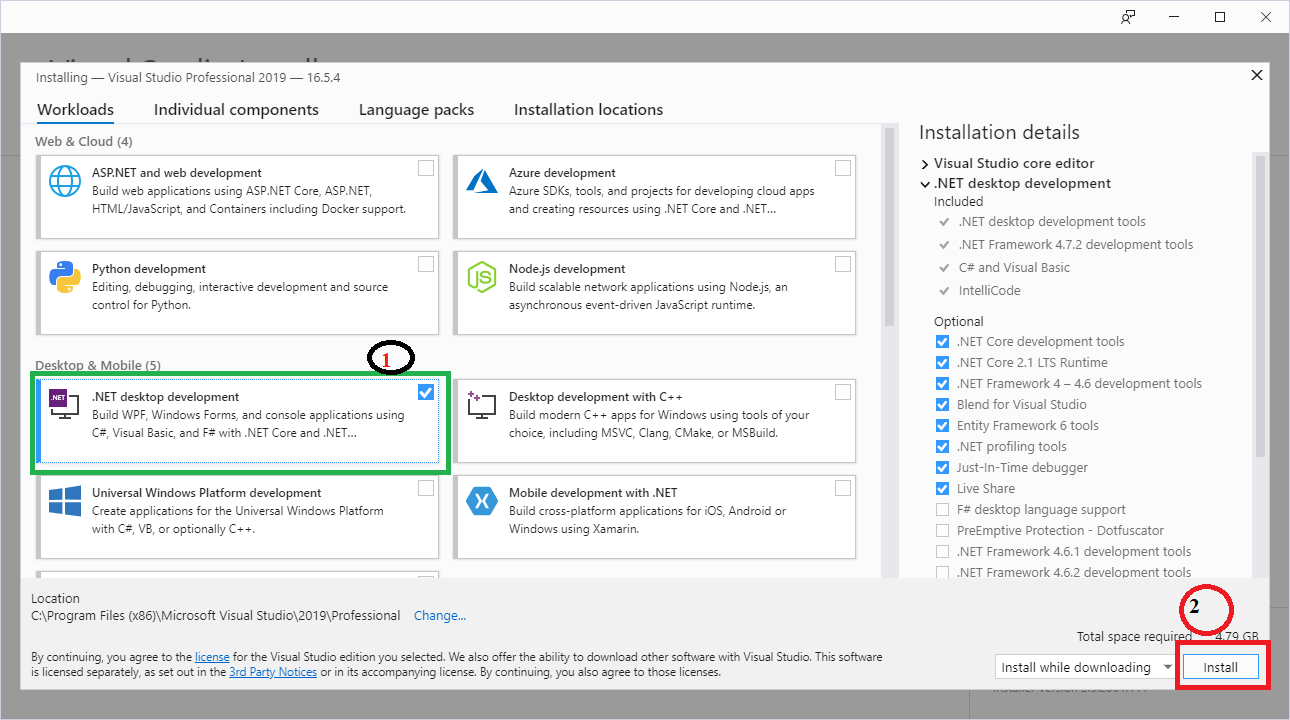
Step 9. From the above image, select .NET desktop development and click on install open which may take some time to download the Visual Studio in your system, as shown in below image.
Step 10. After successfully downloading and installing the Visual Studio’ supportive file, it shows the below screen in your system.
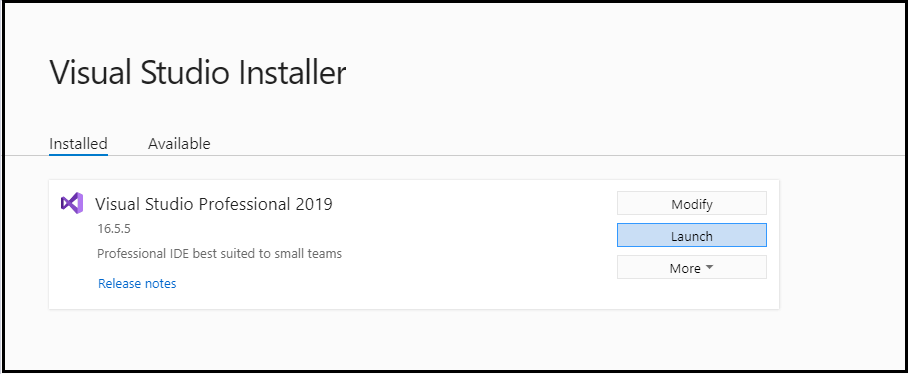
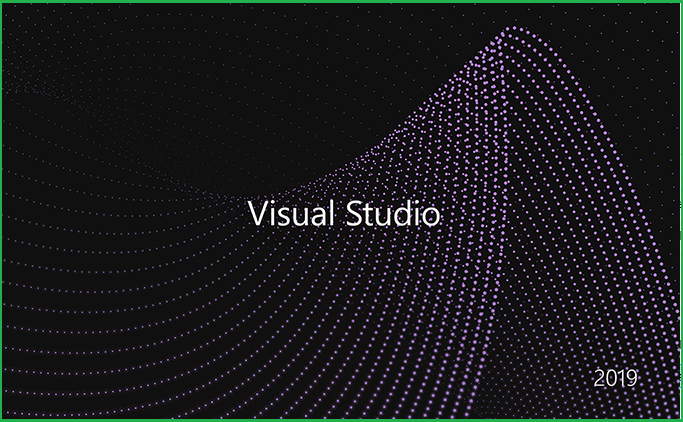
Step 11. Click on Launch button, and then it shows the below image in your screen that represents Visual Studio has been successfully launched in your machine.
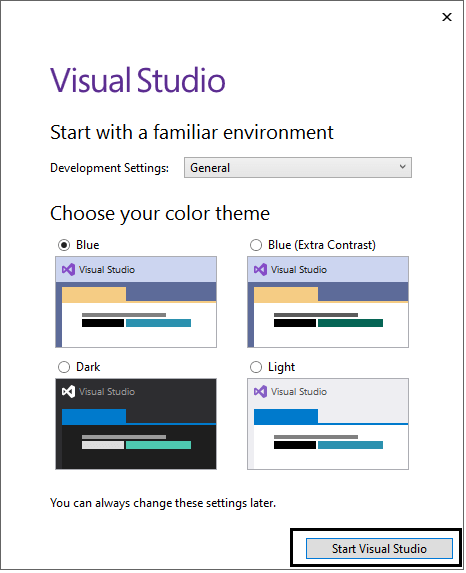
And then it shows a below screen to select the Visual Studio theme. By default, it takes Blue theme, and if you want to change, you can easily change the Visual Studio theme by clicking on other themes.
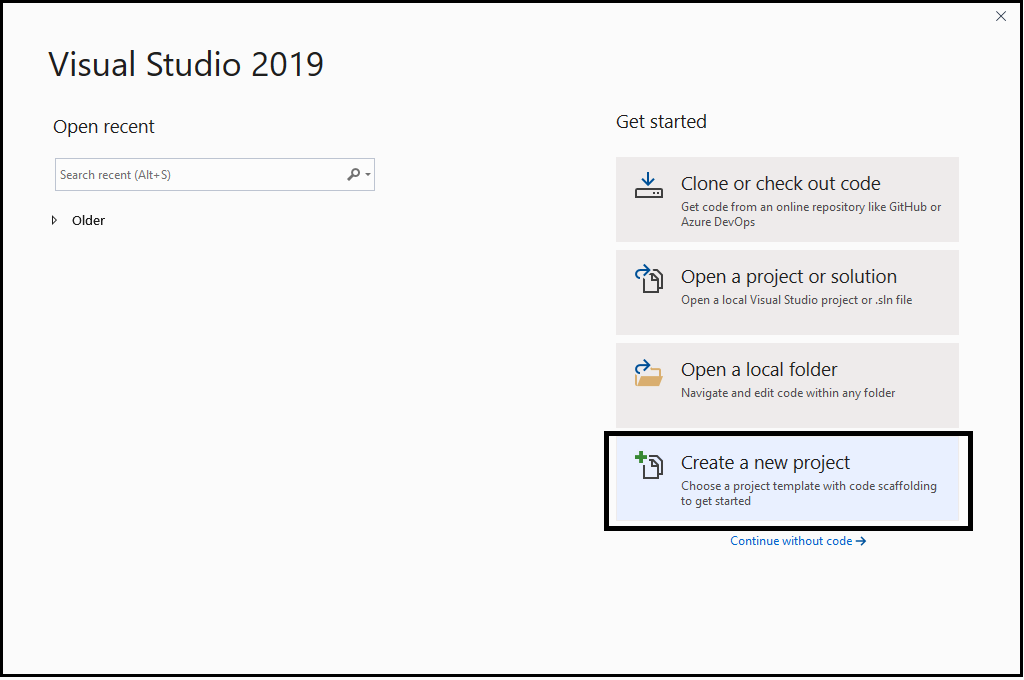
Step 12. After selecting the Theme, click on Start Visual Studio and then it shows a below image in your system screen for creating a new project.
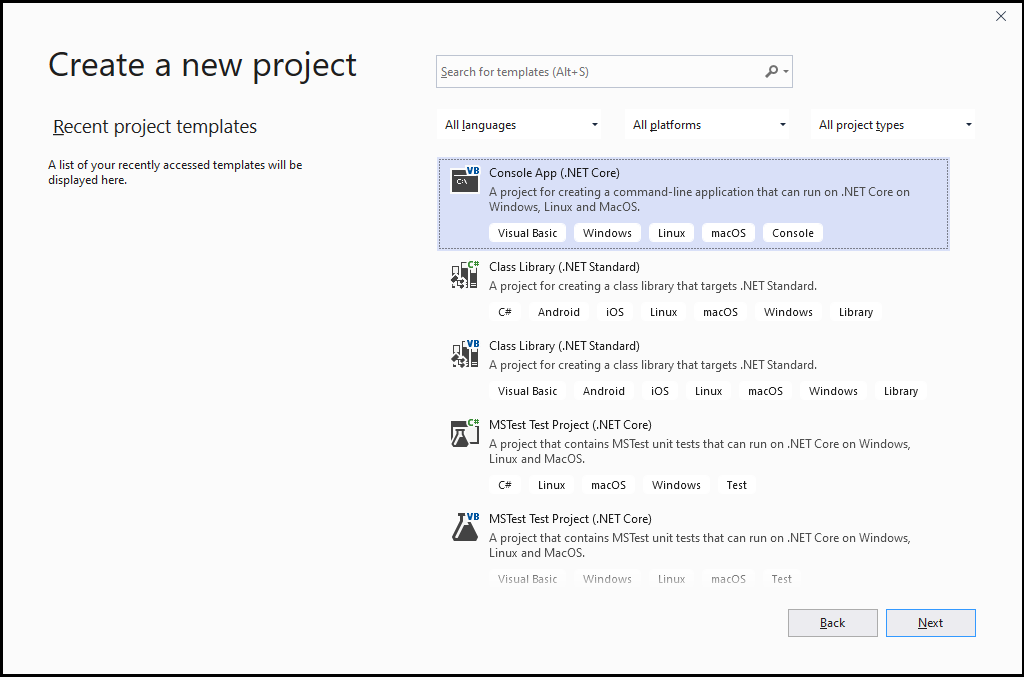
Step 13. After click on Create a new project, it shows the below screen to choose what type of application you are going to build in Visual studio. In this you can select the Console based application or Window Form Based application, as shown in below image. Here we chose the Console based application, and then click on the Next button.
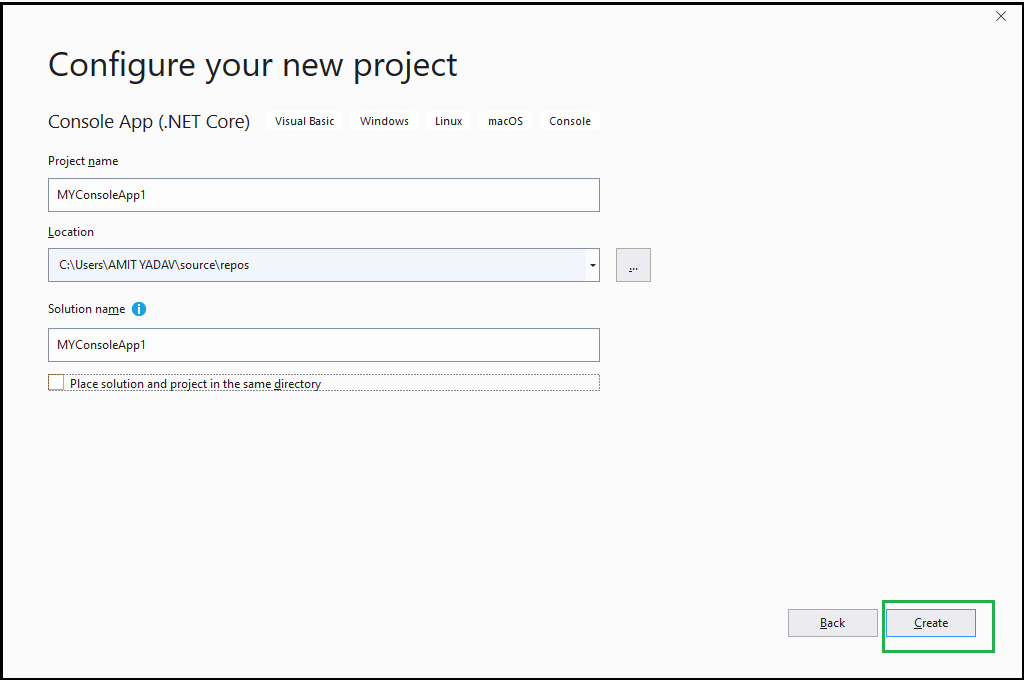
Step 14. When you click the Next button, it shows the below image to define the project name, and also reminds if you want to place the solution and project in the same directory.
Step 15. And finally, your new project will be successfully created.