Vue.js Events
In Vue.js, Events are used to respond to an action. Suppose, you have to build a dynamic website using Vue.js then you’ll most likely want it to be able to respond to events.
For example, if your Vue.js website has clickable buttons, forms, etc., you would surely want that if a user clicks a button, submits a form, or even moves their mouse Vue.js website would respond somehow.
Vue.js Event Handling
To handle an event with Vue.js, we have to add the v-on directive to the relevant DOM element. For example, if you want to handle a click on a button element then you should add the following code to your Vue template:
Syntax:
You can also use convenient shorthand @ instead of the v-on directive. It would look like this:
We add an argument to the v-on directive, which will be the name of the event we want to handle. In the above example case, it is a click event. After that, we have to bind an expression to the directive, which will normally be a method you want to use to handle the event. In this case, we’ve called it clickHandler.
Types of Vue.js events that you can handle
You can handle a lot of other Vue.js DOM events besides click. Vue.js can handle any kind of web or mobile native events as well as custom events. The most common events that are generally used to be handled:
- submit
- keyup
- drag
- scroll
- error
- abort
- mouseover
- mouseout
- load etc.
Event Handling Methods
Let’s see some simple examples to deploy s event handling methods.
Click Event
See the following example to demonstrate the click event handling in Vue.js.
Index.html file:
Index.js file:
Let’s use a simple CSS file to make the output more attractive.
Index.css file:
After the execution of the program, you will see the following output:
Output:
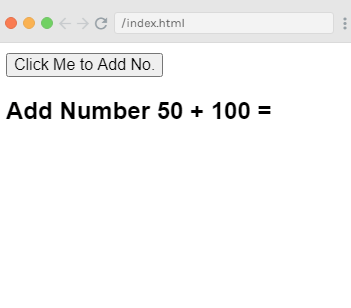
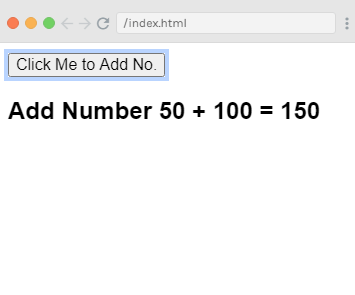
When you click on the above button, you can see that it has added the number. See the output:
Example explanation
In the above example, we have assigned the following click event for the DOM element.
When you click on the button, it will call the method ‘displaynumbers‘, which takes in the event, and we see the output.
We can also assign a shorthand @ instead of v-on directive. You can call the following event, and the result will be the same.
Mouseover and Mouseout Event
Now, let’s check two new Vue.js events named mouseover & mouseout. See the following example.
Index.html file:
Index.js file:
After the execution of the program, you will see the following output:
Output:
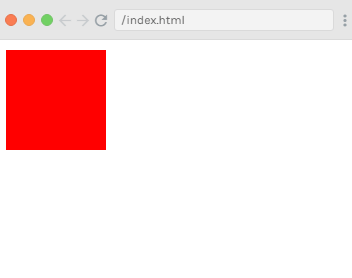
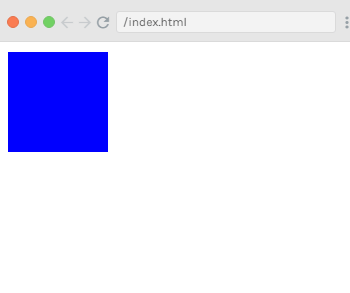
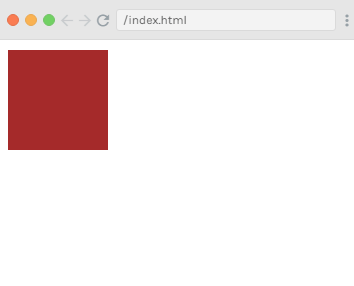
You can see in the output that the default background color is red. Now, move your mouse cursor to the box, and the box color will be changed to blue. See the output.
Now, move your mouse cursor out of the box, and the box color will be changed to brown. See the output.
Example explanation
In the above example, we have created a div element with width and height as 100px. The default background color of this div is red. On mouseover, the background color is changed to blue, and on mouseout, it is changed to brown.
During the mouseover, a method is called changebgcolor and once we move the mouse out of the div, a method is called originalcolor.
Here, we have used two events mouseover and mouseout and assigned them to the div. We have created a styleobj variable and given the required style to be assigned to the div.
The same variable is binded to the div using v-bind:style = “styleobj”. In changebgcolor, we are changing the color to green using the following code.
Using the stylobj variable, the color is changed to green. Similarly, we used the following code to change color to brown
Vue.js Event Modifiers
Vue.js provides some event modifiers available on v-on attribute. We can very easily call event.preventDefault() or event.stopPropagation() inside event handlers. Here, .prevent and .stop are event modifiers.
These modifiers are directive postfixes denoted by a dot. Following is the list of most common modifiers available on v-on attribute:
- .once
- .prevent
- .stop
- .capture
- .self
- .passive
The .once Event Modifier
It allows the event to execute only once.
Syntax:
You must add the dot operator while calling the modifiers as shown in the syntax above.
Let’s see a simple example to understand the concept and working of the once modifier.
Example
Index.html file:
Index.js file:
After the execution of the program, you will see the following output:
Output:
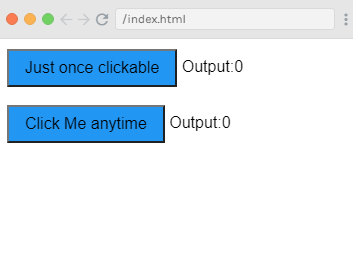
You can see that we have created two buttons in the above example. The button with Just once clickable label has added the once modifier and the other button is without any modifier.
When you click on the first button, it calls the method “buttonclickedonce” and after clicking on the second button, it calls the method “buttonclicked”.
We have also defined two variables in the clicknum and clicknum1. Both are incremented when the button is clicked. Both variables are initialized to 0. You can see it on the above output.
When you click on the first button, the variable clicknum is incremented by 1. On the second click, the number is not incremented as the modifier prevents it from executing or performing any action item assigned on the click of the button.
When you click on the second button, the same action is carried out, i.e. the variable is incremented. On every click, the value is incremented and displayed. See the following output:
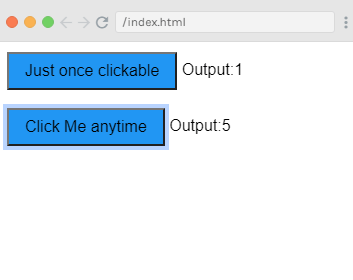
After clicking both buttons five times, you can see that the first button is shown just one time clicked and second button is shown 5 times.
The .prevent Event Modifier
The .prevent event modifier is used when you don’t want to open a specific id or url by clicking on a button.
Syntax:
Let’s see two examples, one without .prevent event modifier and one with it to understand it clearly.
Index.html file:
Index.js file:
After the execution of the program, you will see the following output:
Output:

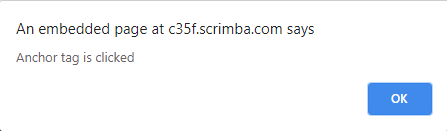
When you click on the “Click Me” button, you will see a pop-up message. See the below image.

After clicking on the “OK” button, the targeted url will be open as the following image:
Now, we will use the .prevent event modifier to see the result. Add the following code in Index.html file.
Once you added the code, if we click on the button, it will send an alert message but will not open the url anymore.
Replace the Index.html file with the following code:
Output:

Click on the “Click Me” button, and you will see that the pop-up box is open.
Now, click on the “OK” button, and you will see that the specified url is not open anymore.
Vue.js Event Key Modifiers
In Vue.js, key modifiers are used to handle and control the event handling. While listening for keyboard events, we require checking for specific keys. Vue.js provides a way to add key modifiers for v-on while listening for key events.
For example, suppose you have a textbox and want to call the method only when we press the Enter button. You can achieve it by adding key modifiers to the events as follows.
Syntax:
Example: If you want to apply keyup and enter button to your event, you can achieve it by using the following code:
Note: You can also use multiple keynames to your event. For example: Let’s use keyup, ctrl, and enter keynames.
Let’s see an example to demonstrate key modifiers with Vue.js events and understand it well.
Index.html file:
Index.js file:
After the execution of the program, you will see the following output:
Output:
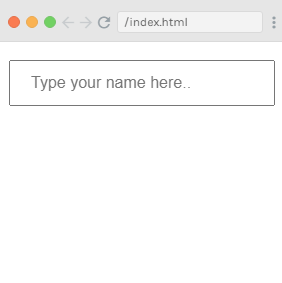
Write something in the textbox and see the result.
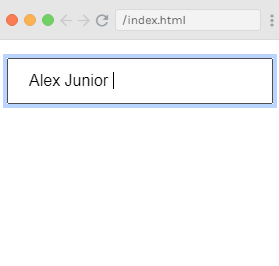
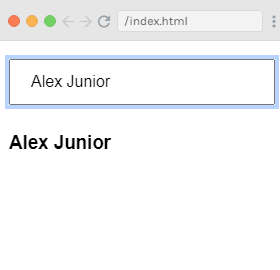
In the above output, you can see that even after typing the name in the textbox, it does not appear in the result. Now, press the enter button, and the name will be displayed. See the following output:
You can use the following key modifiers with your events.
- .enter
- .tab
- .delete (It reads both “Delete” and “Backspace” keys)
- .esc
- .space
- .up
- .down
- .left
- .right
Vue.js Custom Events
Custom events are used when we need to tell the parent that we want to make changes in the child component. The parent component can pass data to its component using the prop attribute.
The parent component can listen to the child component event using v-on attribute.
Let’s see an example:
Index.html file:
Index.js file:
After the execution of the program, you will see the following output:
Output:
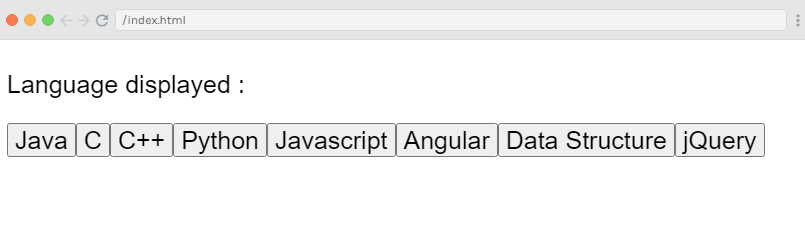
If you click on any of the buttons, it will be displayed in the output. Let’s click on the Python button and see the result.

Example Explanation
The above example shows the data transfer between the parent component and the child component. The parent component is created using the following code.
Here, the v-for attribute will loop with the languages array that contains a list of languages in it. We have to send the details to the child component, so the values of the array are stored in the item and the index.
To use the values of the array, first bind it first to a variable and then variable is referred using props property:
The name of the event is showlanguage and it calls a method named languagedisp which which we have defined in the Vue instance.
In the component, the template is defined as follows –
The method displayLanguage is used to call this.$emit(‘showlanguage’, lng);
$emit is used to call the parent component method. The method showlanguage is the event name given on the component with v-on.
Now, we have passed a parameter. The passed parameter is the name of the language clicked to the method of the main parent Vue instance. It is defined as follows:
Now, emit triggers the showlanguage which in turn calls languagedisp from the Vue instance methods. It assigns the clicked button value to the variable languageclicked and then the clicked value language is displayed in the output which you have seen in the above image.